RELAX AND CREATE - KNOCK OUT AND ALPHABET SUBSTITUTION CARD

stay-rad-dad.JPG

This is a technique I haven’t done in a long looooong time! When Channin Pelletier ‘s lesson on Letter Substitution came up on Day 10 in OCC’s Spring Card Camp 2, I was reminded of it and because my Dad is an avid gardener (among his many other talents) and Father’s Day is coming, it seemed providential to remake this card for him! You’ll see me pause and shift gears slightly, right before die cutting.

You’ll also see me deal with a mishap. A discerning card maker would notice the blip, but my sweet Dad never does and always displays the cards I make for him on the mantel. (big sappy grin)

In the past I’ve done this card with white card stock, but I decided to go with kraft on this one—love the look of colored pencils on it!

That little radish from Brandi’s Plant Lady was so perfect for this! The alphabet die set* I used is out of stock at the moment, but here is one that is similar in size, Chunky Alphabet Dies by The Stamp Market , and another that would make for a slightly different take on the concept, Something Extra Alpha Dies, by The Stamp Market.

Have a wonderful weekend!


FLOWER POWER 2020 ONLINE COLORING CLASS

“Not all of us can do great things, but we can do small things with great love.”

-Mother Teresa

So, I got some VERY cool news to share! I’m guest instructing in yet another card making class hosted by Sandy Allnock!

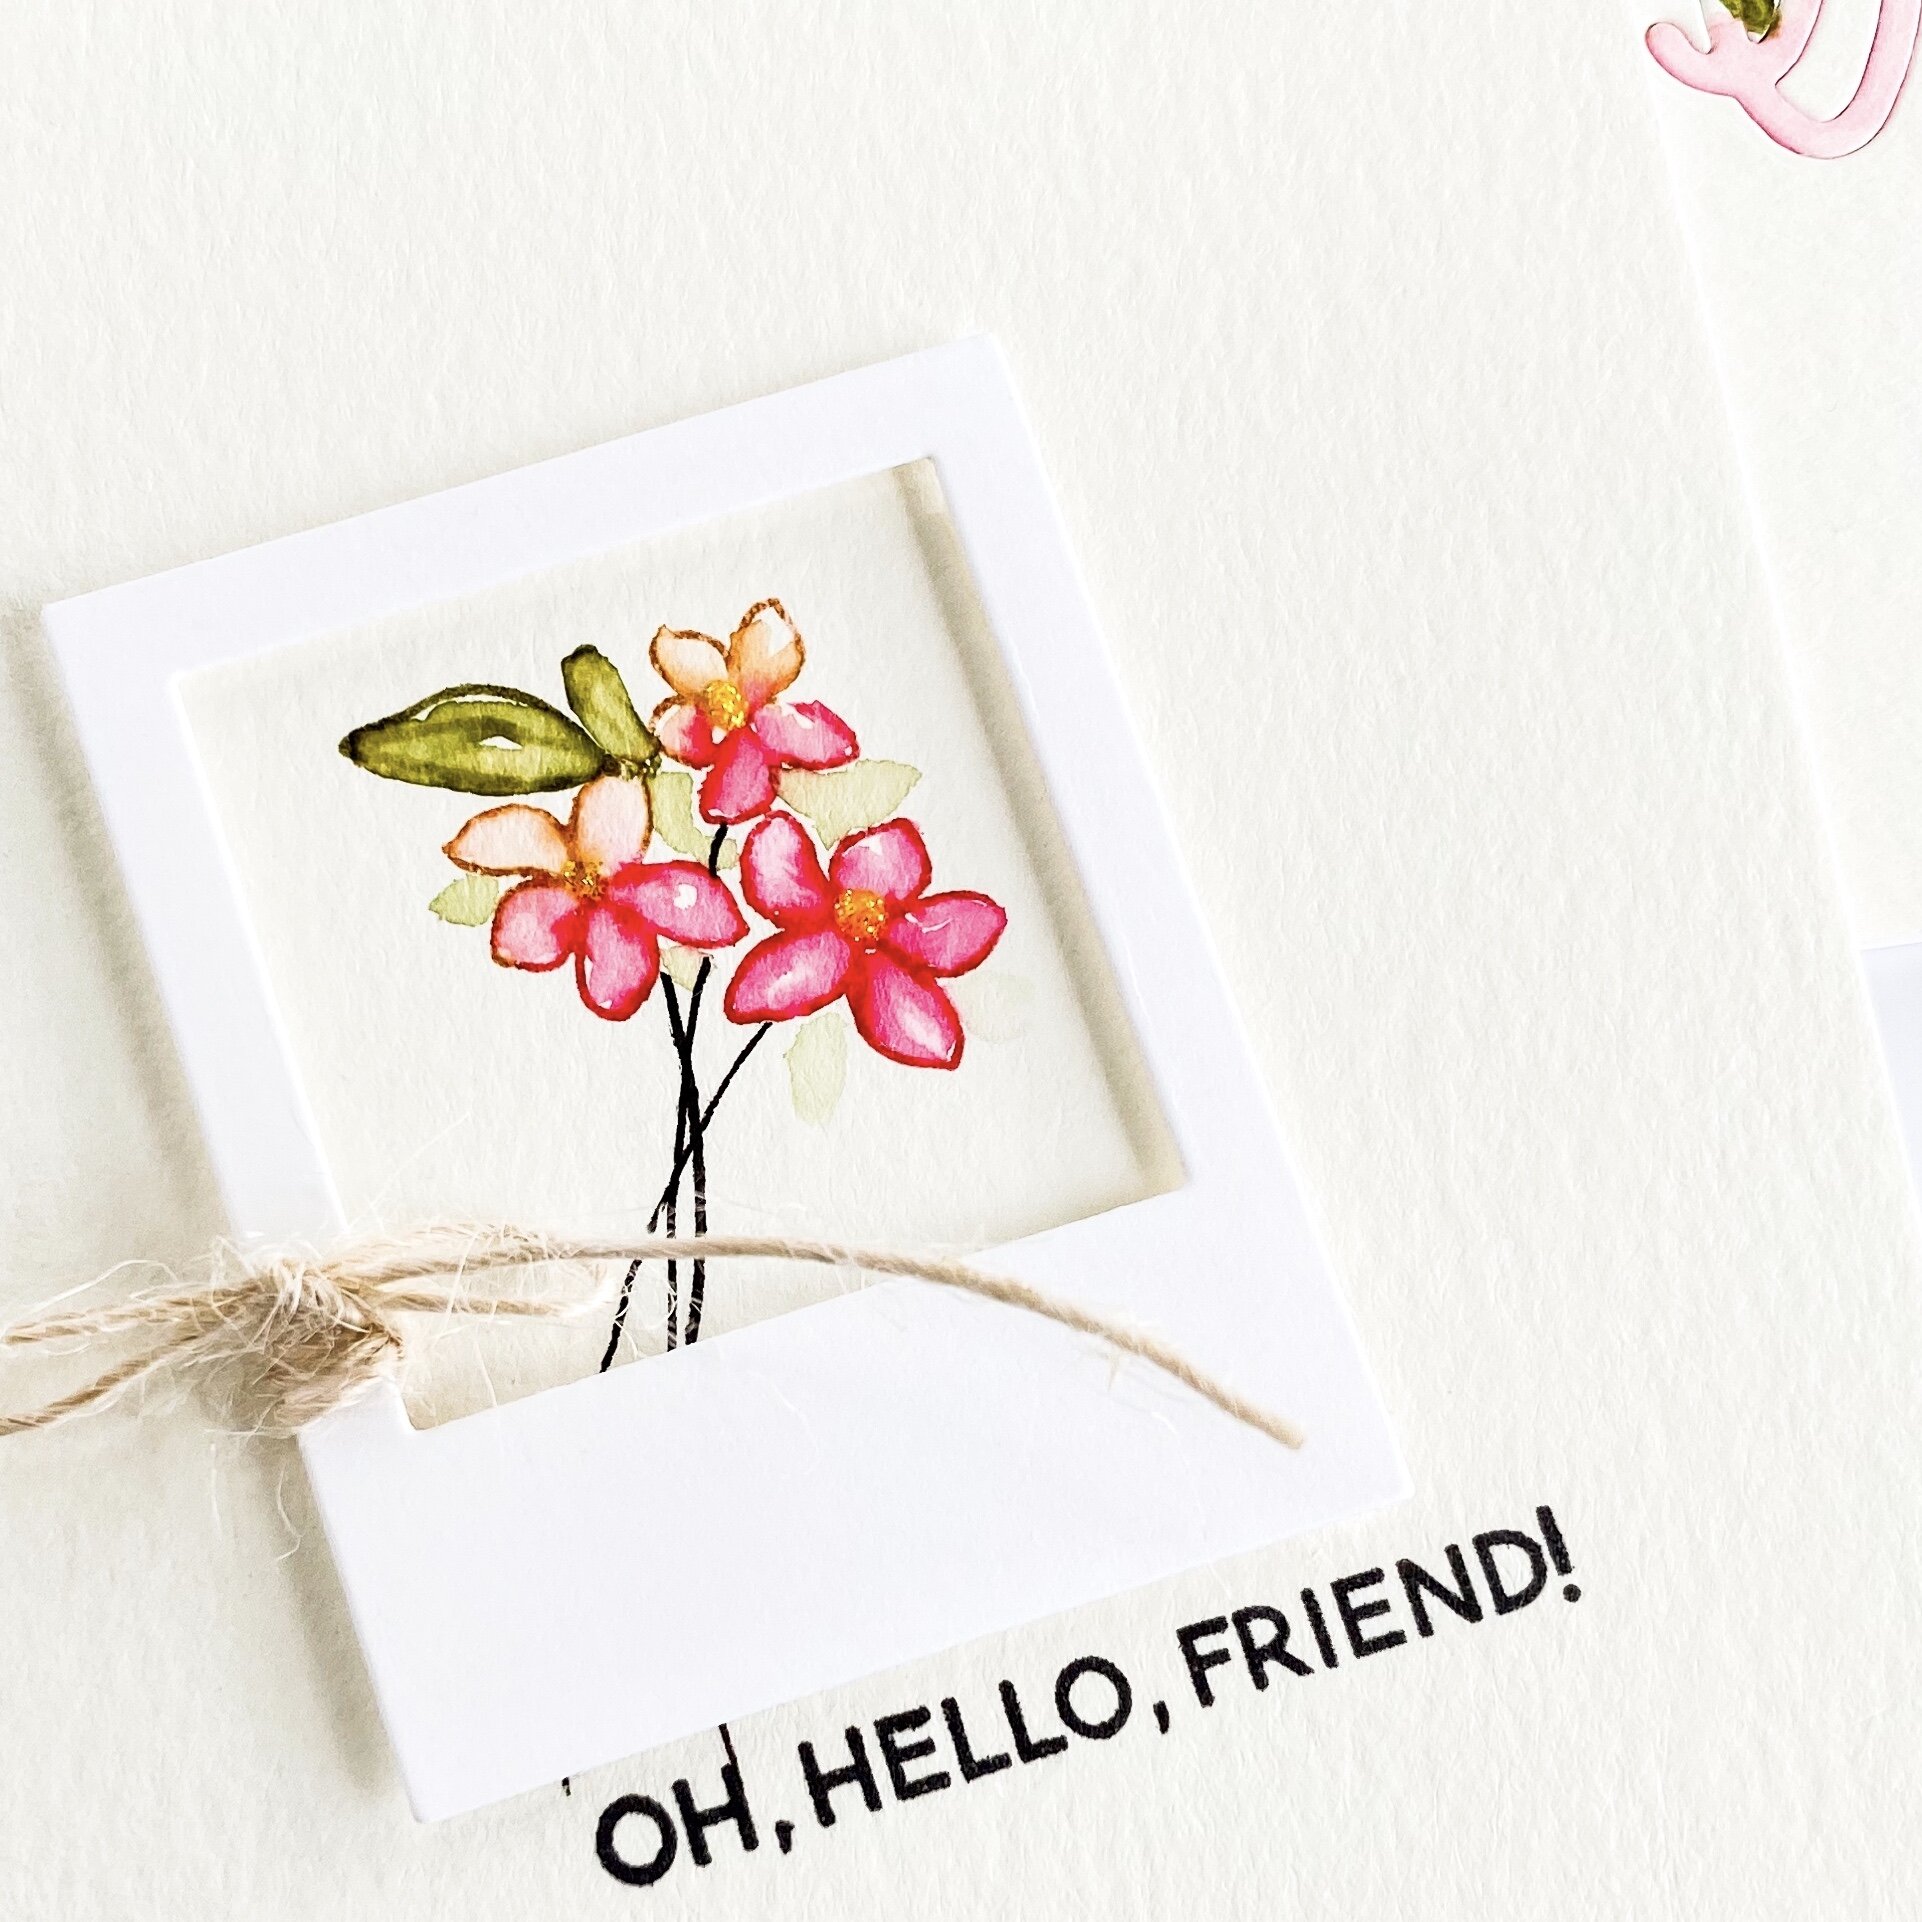
Here are some sneak peeks of my lesson, followed by a video explaining what the class is, how it works—all the yada yada. (wink!)

sqtd-framed-sneak.jpg
sqtd-thank-you-sneak-v2.jpg
Let’s make some lemonade, folks!

Let’s make some lemonade, folks!

Check out the video below:

The backstory and more about this very special class is on Sandy’s blog HERE. Purchase one of the stamp sets listed on Sandy’s blog post to qualify for the free class, OR $75 worth of any supplies at Ellen Hutson (previous purchases do not apply), OR just buy the class for $10 to help us fundraise for World Central Kitchen!!!

LINK TO CLASS: FLOWER POWER 2020

It’s a WIN-WIN!!! YAAASSSSS!!!!

RELAX & CREATE - WATERCOLOR OUTSIDE THE LINES

wtrclr-neg-amaryllis-je.JPG

TRUTH: I don’t enjoy coloring in large detailed images. •gasp

Please don’t huck tomatoes at me; I have always felt that way even since primary school. If it’s gonna take me a long time to color in, I simply won’t do it. I remember in first grade, a classmate looking down her nose at me because I colored outside the lines. My logic: We’re going to be cutting this out, what is the point of staying inside the lines??? Her coloring, on the other hand, was perfect—seriously, every stroke of the crayon was PERFECT. As the teacher came by to observe our progress, she praised my classmate for her beautiful, impeccable coloring. I got a smile and a pat on the back.

WHAT. EVER.

•hair flip•

But, I still absolutely love a large image that fills practically a whole card front and I love color!

I know that the Amaryllis is typically a holiday flower, but I like using it for non-holiday cards, too. I mean, it kinda looks like a lily, possibly a hibiscus flower (dang, that makes me wanna make a tropical floral card with this image—EEP!!!) . . .

This card actually is quite colorful, but, inspired by my friend Carly, I went rogue . . . heh, heh, heh!

Some things you may or may not have noticed in the video:

  • Anti-static pouches (Embossing Magic Bag, Inkadinkado) pounced over the paper surface neutralize moisture or oil from your finger tips and calm down a lot of static electricity so embossing powder doesn’t stick in unwanted areas.

  • Prior to stamping, blow off the excess powder from your paper surface. Otherwise, the pigment or embossing ink on your stamp will “pick up” quite a bit of the loose powder with every impression and transfer to your ink pad when you re-ink the image. Eventually, this can build up on your ink pad, and make it less tacky.

  • This image has finer detail lines; stamping over them a second time can make them bolder. The ink is also more saturated and even; helpful when stamping onto a textured surface like watercolor paper.

  • Every time I use black embossing powder, I end up with a hot mess; instead, I prefer a really good black pigment ink and clear detail embossing powder over top. Works beautifully every time.

  • Notice how I laid down “strokes” of color from the markers against the outside edge of the embossed lines. These aren’t like Sharpies; you don’t want to “brutalize” (a.k.a. smash) the brush nibs against the surface. Think of them like delicate paint brushes, pre-loaded with color.

  • With mid-to-dark hues, it doesn’t take a lot so be careful how much color you initially lay down; start with a few strokes and avoid trying to “fill in”. Paint by “pulling” the colors away from the embossing lines with your waterbrush. You can always add more color later.

  • If you get in a hurry and slop a little watercolor where you don’t want it, lift it out by using clean water on your brush and dabbing with clean paper towel, but keep in mind that with dark/intense colors, this can be harder to accomplish.

  • Note to self: I probably should have positioned my stamp in the lower right corner (with the bottom of the floral closer to the hinges) instead of the lower left. I would have had more room to let the paper hang outside the edges of the platform on that left side.


Minimalist coloring. YAASSSSSS!!! •fist pump•

And, before I bid you good weekend, I am so happy to share that the Ellen Hutson Warehouse Team is back! YAY!!! And they want to thank you for your support during the “Shelter In Place” with 15% off your orders. Use code BACK15 at check out and please check the fine print.

may-2020-sale-ig.jpg


Stay healthy, stay crafty.


SUPPLIES:

Disclosure: Just so you know, this post contains affiliate links; if you see something you like, want or need, and purchase via my links, I receive a small commission, at no extra cost to you, which I use to buy coffee, which fuels my creativity and provides energy to make more card ideas. And, pay the rent.

RELAX & CREATE - DIY STENCIL

rnc-diy-alpha-stencil.JPG

I have used the Classic Block Alphabet Die set for SOOOOOOOOO many cards—it’s one of my most used die sets!!! I spelled out what I wanted to say on a card front sized piece of stencil blank (Plaid brand, I think, found at Walmart years ago and squirreled away) and ran it through my die cutting machine.

The spray adhesive I used to help mount it temporarily in place is an old can (talkin’ 4-5 years old . . . sad); after one use, the stencil lost all tackiness. ARGH!!! So, I may need to get a fresh can or try Aleene’s Tack-It-Over-and-Over again, brushing a thin coat on the back side of the stencil. Any suggestions welcome!

I frequently make my own “disposable” stencils from card stock, sometimes even just typing paper, but it’s cool to have one more permanent, that I can use over and over again, clean up without damage. Especially if it’s a sentiment or word I use pretty often. HelloOOoo, staple word. (grin)

Hope you found this enjoyable and relaxing!

Stay well, keep bein’ crafty!


RELAX & CREATE - RAINBOW DIE CUT GREETING

rainbow-hello-slat-support.JPG

I collect “hellos”. Hello stamps, hello dies. I don’t think you can ever have too many because you need small ones, big ones, scripty and block styles, skinny and chunky styles, etc. I’m totally serious. “Hello” is a staple word.

Anyway, the DIY Sticky Mat shown in the video has really saved my sanity sooooo many times when working with die cuts!

I’ve been working on a magnetic cutting mat by Heidi Swapp lately. It comes with 4 little magnets and a magnetic ruler. These have come in handy for lining die cut letters, etc. or holding things down and preventing them from scooching (is that a word?) away from me as I work. I made a little custom washi tape “cross-hair” to remind me to keep my project in that spot for the camera when I’m filming, which I REALLY like because I could position that mark closer to me, rather than dead-center on the mat.

Hope you find the video below relaxing and that it inspires you in some way. ↓ There is an “enbiggan” button in the lower right corner, of the video player if you want to watch in full screen.

Thanks for stopping by!

Keep stayin’ safe, healthy and crafty! (wink)


SUPPLIES:


Disclosure: Just so you know, this post contains affiliate links; if you see something you like, want or need, and purchase via my links, I receive a small commission, which I can use to buy coffee, which fuels my creativity and provides energy to make more card ideas.