Gemini FoilPress

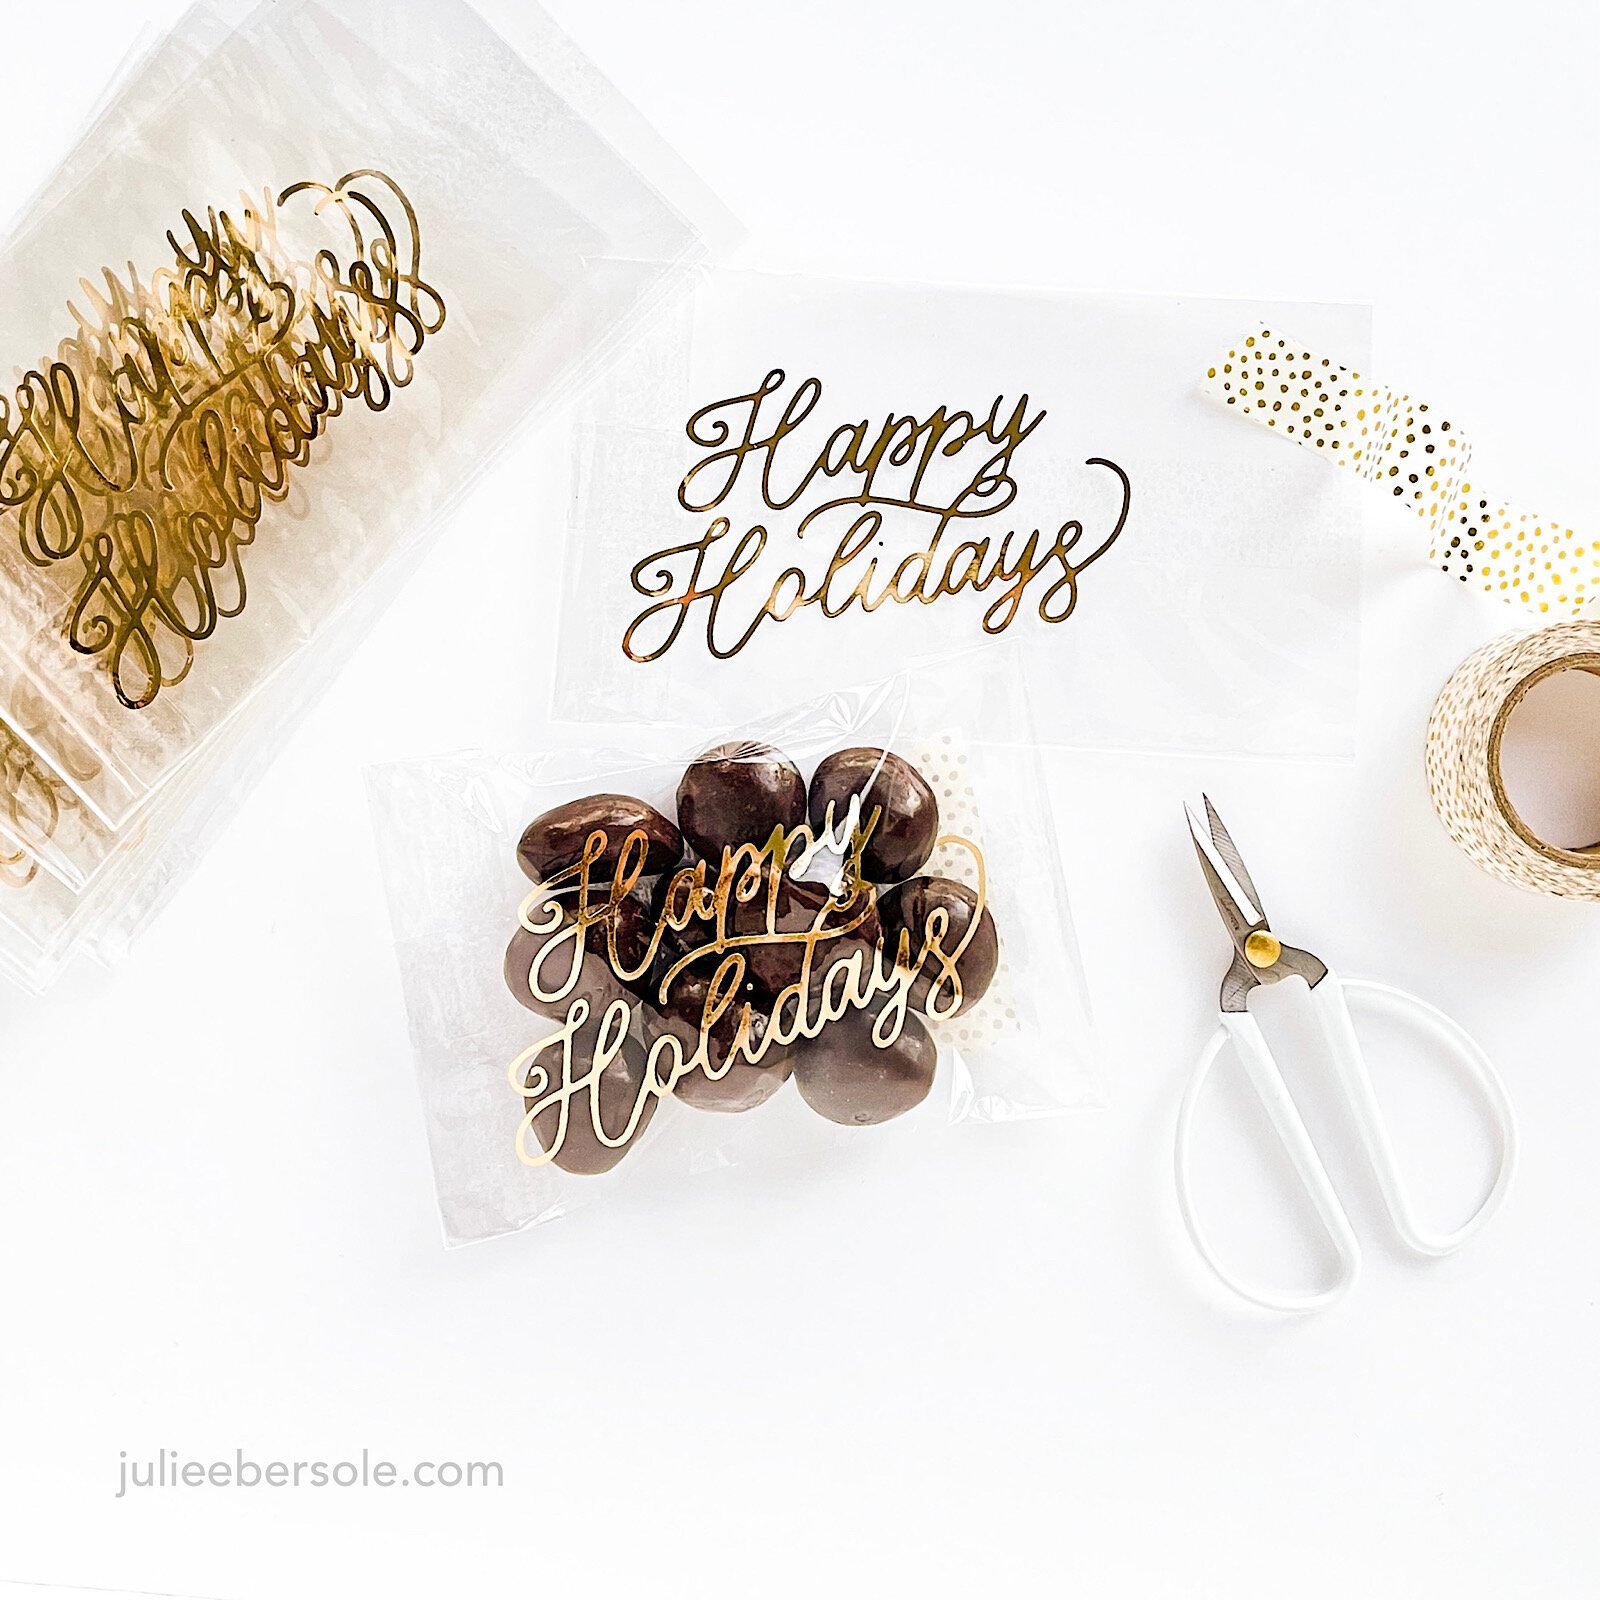
DIY HOT FOIL STAMPED CELLOPHANE PACKAGING

2020-12-hotfoilstamp-cellobags-001.jpg

When a girl’s oven breaks down right before Thanksgiving, she’s gotta scramble. Luckily, the Mister knows how to smoke and grill turkey, and girl knows how to make crock pot mashed potatoes and no-bake pumpkin cheesecake pie; the day was saved! But, the part my oven needs (the control panel ) is (still ) on back-order, we’re in the middle of a Pandemic and Christmas is 12 days away . . .

This year will be the one where everything got dipped. In chocolate. Have you ever had dried apricots dipped in dark chocolate? Sinful. White chocolate popcorn? Heavenly. Chocolate coated pretzels—with the fun little sprinkles? Delightful.

How to gift them in a way that feels special and, dare I say it, “upscale”? Today, I’m taking some plain jane cellophane bags and adding gold foil lettering for a gorgeous, high-end presentation and making Martha Stewart proud in the process! •wink• GO, ME!!!

PLEASE NOTE: I am foiling onto crystal clear CELLOPHANE bags NOT Polypropylene bags ).

My Gemini FoilPress Settings:

  • Medium Heat Setting

  • 15 second timer for a medium sized hot foil stamp

  • 110# sheet of card stock for additional shim

TIPS:

  • This method requires heat/pressure activated foils (NOT toner reactive foils ); while you can try other brands of foil, I have found Crafter’s Companion Paper Craft foils to work beautifully and quite consistently with the Gemini FoilPress system.

  • It’s always best to start with the lowest heat setting first and to test the results before proceeding to your project (be prepared to sacrifice a few bags to practice so you can find the settings that work best for your materials and your FoilPress; once you find the secret sauce, write it down and keep it handy. My notes are taped inside my cabinet door where I store my FoilPress ).

  • Slip a piece of card stock trimmed to fit inside the bag; this will improve foil transfer.

  • Removable/low-tack tape makes a great “hinge” for hot foil stamp placement, and anchoring in place to avoid shifting when sending through the Gemini Jr. I’ve been using Purple Tape, but you could also use washi tape.

  • Always allow the foil/cello bag to cool before peeling to reveal the foil.

  • Over-foiling on cello bags is best removed with the dull edge of the FoilPress Magnetic Tweezers or the dull side of scissors blade. (Do NOT use nail polish remover or rubbing alcohol to remove over-foiling on cellophane; it causes a chemical reaction that discolors the bag in a not pretty way. Ask me how I know . . . )

  • Tape residue on the back of your hot foil stamp can easily be removed with rubbing alcohol.

  • After filling your cello bags with a yummy treat, you can use twist ties, pretty washi tapes or possibly one of those heat sealer thingies (I don’t have one those—yet—but I just may have to bite the bullet . . . ).

2020-12-hotfoilstamp-cellobags-002.jpg

I seriously had THE.BEST.TIME foiling these bags! They turned out SO pretty! I’m packaging food, but DANG!!! you could package SO many different kinds of gifts this way!! YAASSSS!!! •fist pump•

My primary source for food-safe CELLOPHANE flat bags is Clear Bags. I also like their gusseted bags. With the Christmas holiday looming, however, they are currently out of stock of some of their most popular size configurations. ACK!!! You can also find cellophane bags on Amazon and big box craft stores that carry baking tools and supplies. You may even discover some vendors on Etsy that offer them ( ? — I haven’t looked but the thought just occurred to me ).

Thanks for stopping by today!


SUPPLIES:

  • Happy Holidays by Julie Ebersole, Essentials by Ellen Hot Foil Stamps - EH

  • Gold, Gemini FoilPress Papercraft Foil Rolls - EH

  • Rose Gold, Gemini FoilPress Papercraft Foil Rolls - EH

  • Silver, Gemini FoilPress Papercraft Foil Rolls - EH

  • iCraft Purple Tape 1-1/2 in X 15 yds - EH

  • FoilPress Machine, Crafter's Companion Gemini - EH

  • Crafter's Companion Gemini Junior EH

Disclosure: Affiliate links used wherever possible; when you purchase via my links I may receive a small commission at no extra cost to you, so please—buy all the things! And, thanks so much for your support!

FOILING ROUND-UP

I did a foiling project for the Ellen Hutson blog on Monday (photo and video tutorial link at the bottom of this post), and it reminded me of how much I love the look. Today I’m sharing a round-up of various foiling projects I’ve done over the past year.

Before you scroll down my "foiling memory lane” •chortle•, I did want to mention a few things.

There are many different ways to foil, and a lot depends on the end result you’re looking to achieve and the tools you’d like to use (:

  • Foil card stock and Foil tapes

    • Great for quick die cutting, simple borders or layering panels, etc.

  • Dry adhesives + transfer foils

  • Toner images (laser printed) or special toner paper + reactive foils + MINC or heat laminator

    • Reactive foil brands include Minc (Heidi Swapp), ThermoWeb I-craft Deco Foil, and WOW!, to name a few.

    • Toner, combined with heat + pressure, causes a chemical reaction that serves as an “adhesive” for reactive foils; reactive foils will not fuse to inkjet printed imagery.

    • Works best on smooth/non-textured and thinner card stocks/papers.

    • Fine lines/details may not foil well; reactive foils tend to perform best with bolder images/text.

  • Hot foil (metal) stamps OR low profile dies + hot foils + Gemini Foil Press / Spellbinders Glimmer Hot Foil System

    • Hot (stamping) foils are designed to fuse to surfaces by way of heat + pressure (not toner).

    • Hot foil brands include Crafter’s Companion and Spellbinders Glimmer Foil, to name a few. FYI: Crafter’s Companion produces a “paper craft” foil, and a “multi-surface” foil (i.e. fabric, ribbon, leather, etc.); each is specifically formulated to perform best on their prescribed surfaces.

    • Hot foils work best with metal “stamps” (also known as foil press dies, hot foil plates, foil impression dies, etc.) as well as low profile dies (Yup! Those thin metal dies you normally cut paper with work spiffy!). Watch any videos I’ve linked for more information and details.

    • Hot foiling with this method also yields a beautiful de-bossed, Letterpress effect.

    • Works well with textured card stocks/papers and will knock your fine stationery-loving socks off when done on Letterpress paper.

I own two foiling “systems”, the MINC and the Gemini Foil Press, compatible only with the Gemini Jr / Gemini die cutting machine) and I alternate between them and the other methods I’ve described, depending on the end result I want, and the tools/supplies available to achieve it.

Ogle on . . .

Link: DIY Foiled Letterpress, includes video tutorial and overview of the Gemini Foil Press System.

Link: DIY Foiled Letterpress, includes video tutorial and overview of the Gemini Foil Press System.

Sidebar: I’m gonna straight up confess to you that I’m most partial to the hot foiling method because I am an absolute sucker for Letterpress; gives me the vapors! •heart palps•

Hope these projects inspire and if you find the foiling bug has bitten you, be aware that you can snag 20% savings on in-stock supplies at Ellen Hutson now through January 17th, with code supplies 20 at check out!

Happy foilin’!


Affiliate links are included in this post; if you purchase via my links, it doesn’t cost anything extra and I receive a small commission. Thank you so SO much!

Gemini FoilPress Cheers

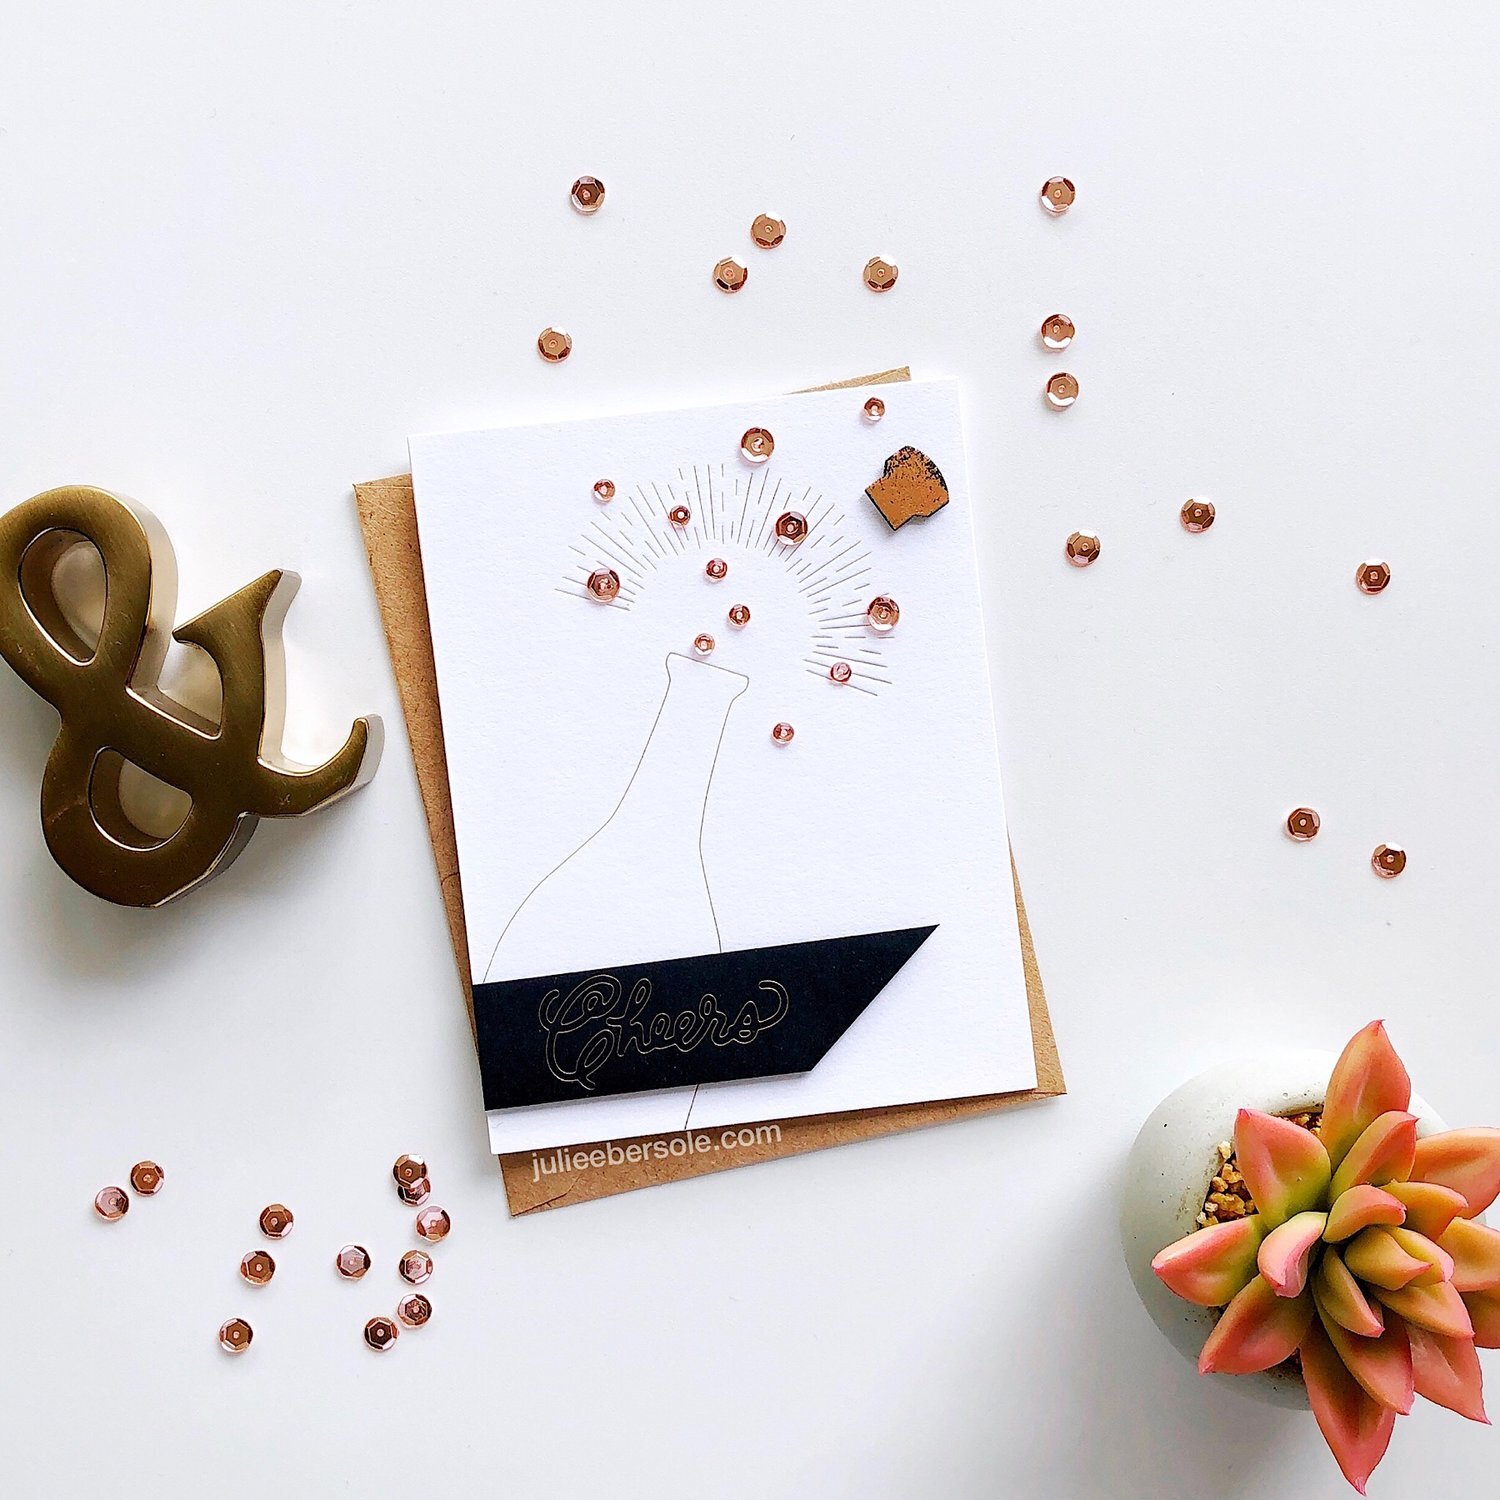
I’ve had my head down working on my upcoming release for the Essentials by Ellen line, but I needed to congratulate a young lady on her recent graduation from a dental assistance program and I couldn’t help it—I had to foil the card I wanted to make for her. Used low profile dies and the Gemini FoilPress (you can see a how-to-video HERE).

This Sunburst die set by Hero Arts was perfect for the “popping” visual effect. LOVE!!! •all the heart eyes•

This design also called for more sequins than usual; looks so purdy with the foil, right?!

Thanks for stopping by today and hope your weekend has been splendid!


DIY FOILED LETTERPRESS

Letterpress has always been my favorite type of stationery—I adore the clean, white space, elegant simplicity, and the luxurious texture of the paper and the debossed images and text.

I’ve been searching for a long time to find a way to do this at home, without an actual press (which I have no room to store/operate anyway). I’ve tried lots (and LOTS) of different methods, but none of them really ever gave me the professional looking results I was hoping for. This has come the closest, and what I also find exciting is that it didn’t make me tear my hair out with lack-luster results. It’s FUN, I didn’t get frustrated, and holy crow, I wanna foil and letterpress ALL THE THINGS!!!

WIN!!! YASSSSSS!!! MAJOR WIN!!! •fist pump•

Can you hear the monkey clappin’????

Notes and suggestions for what I found worked for me are listed directly beneath the video. All supplies I used are listed at the end of the post.

BASIC INFO:

  • The Gemini FoilPress is designed specifically for use with the Gemini Junior; it is also compatible with the regular Gemini, if you use the Extender Plate (available separately). I don’t know if it works with a manual machine, i.e. the Big Shot because I haven’t tried and am unlikely to—the last thing I want to do is break or void the warranty on either machine.

  • The FoilPress uses THERMAL foil; this foil transfers images using a “hot foil stamping” method that requires heat and pressure. Thermal foils will also transfer with sticky mediums such as double-sided sticky tape, double-sided adhesive foam, sticky embossing powder, dries-tacky types of glues.

  • Toner reactive foils, such as iCraft Decofoil, Minc Foils, etc. perform as described; they require toner and heat to transfer (foil images). Toner foils will also transfer with sticky mediums such as double-sided sticky tape, double-sided adhesive foam, sticky embossing powder, dries-tacky types of glues. HOWEVER, these foils do NOT work with hot foil (metal) stamps (dies). Sidebar: The Minc is a heat laminator type machine and is designed to work with toner images, NOT hot foil stamps. Would I risk it? Nope.

  • The FoilPress comes with pretty much everything you need to get started, however, you may need your Gemini Junior Magnetic Shim and/or the Gemini Junior Metal Cutting Shim in some instances.

  • You can foil using the FoilPress on pretty much any paper surface, including card stock, letterpress paper, and vellum (results may vary; I haven’t tried vellum as of this writing). You can also foil with the FoilPress on other flat materials such as leather, thin wood veneers, acetate, cotton fabrics, ribbon. Non-paper surfaces will require multi-surface thermal foils; multi-surface thermal foils are not suitable for paper, according to Crafter’s Companion. I haven’t tested that personally, but I’ll take their word for it.

  • You can use ANY low profile dies to foil with the Gemini Foil Press and Gemini Junior so long as their maximum depth is no more than 1mm; any thicker could damage your machine and will void the warranty.

  • Crafter’s Companion advises against foiling with embossing folders; doing so will void the warranty.


NOTES & SUGGESTIONS:

  • Download the Material Matrix from Crafter’s Companion and keep it somewhere you can refer to it easily when foiling. The Manual is a good starting point and I encourage you to take a few minutes to read it.

  • Always use foil stamps design side up (when foiling low profile dies, place them blades up on the platform; you do not want to cut into the purple silicone heating pad).

  • Place foil pretty (colored) side against the foil stamp/die; the “ugly” side of the foil goes against your paper.

  • Keep in mind you are working backwards/in reverse order, so you won’t be able to see through the foil when placing your paper on top of it; a template like I show in the video may be helpful. Use the grid lines to help with planning your layout and to align things straightly.

  • Once you remove the heated platform from the base, leave it disconnected or use the top panel power button to shut off the heating element until you are ready to foil your next project; it doesn’t take long to reheat when you reconnect/power on the temp setting. If you keep it connected and constantly heating, you will decrease the longevity of the heating element, as well as end up with inconsistent results from overheating.


SANDWICHES:

Hot Foil Stamps/Low Profile Dies (as listed in the manual)-

  1. Stamp/Die design (or blades) UP

  2. Foil, pretty side down against the stamp/die

  3. Paper

  4. Top Plate (heat resistant plate)

Cut n’ Foil Stamps (Dies)* - Heat setting LOW, Timer 10 seconds

  1. Cut n’ Foil stamp (die) design UP

  2. Foil, pretty side down against the stamp/die

  3. Paper

  4. Gemini Junior Metal Cutting Pad

  5. One (1) card stock shim (I used 60# card stock; you can try 80#, but I will admit when I tried 2 shims, it was too much pressure for a crisp clean foil and cut.)

  6. Top Plate (heat resistant plate)

*With the Cut n’ Foil stamp I happened to be using in the video, I couldn’t get good results with the manual’s suggested sandwich nor the timing. Experiment to find your sweet spot, as every machine is calibrated slightly differently.

Hope you found this helpful and that it has you excited about the possibilities now available! This is not intended to be a fully comprehensive guide to the FoilPress—I’m just sharing what worked for me during my play time. OK? OK.

Let me know down below in the comments, if you’d like to see more FoilPress videos from me!

Cheers!


YOU WON MY HEART

I love the copper spot foiling on these X’s and O’s—I used my Zig Two Way Glue Pen to coat only parts of the letters to create a really modern/graphic kind of look. This only works if you allow the two-way glue to dry completely—if it’s “wet”, this doesn’t work. When the glue totally dries, it will be tacky to the touch; I just applied copper foil over the top, burnishing the ugly side of the foil sheets against the tacky adhesive with the pads of my fingertips and then 3D mounted the letters to my card front.

Customized the sentiment by using the Letterboard Alphabet Die Set—this works pretty spiffy if you bulk cut the letters ahead. I did a Hello, Monday video about that on the Ellen Hutson Channel; you can check that out HERE.

The wheels are turning with ideas for 3D mounting all kinds of different images within that stitched Tic Tac Toe grid—how fun is that?!

Happy New Year!