catherine pooler ink

COASTAL GREETING DESIGNS

Disclosure: I include affiliate links to the products used in my projects and make a small commission when you purchase via those links, at no extra dimes to you. Thank you.

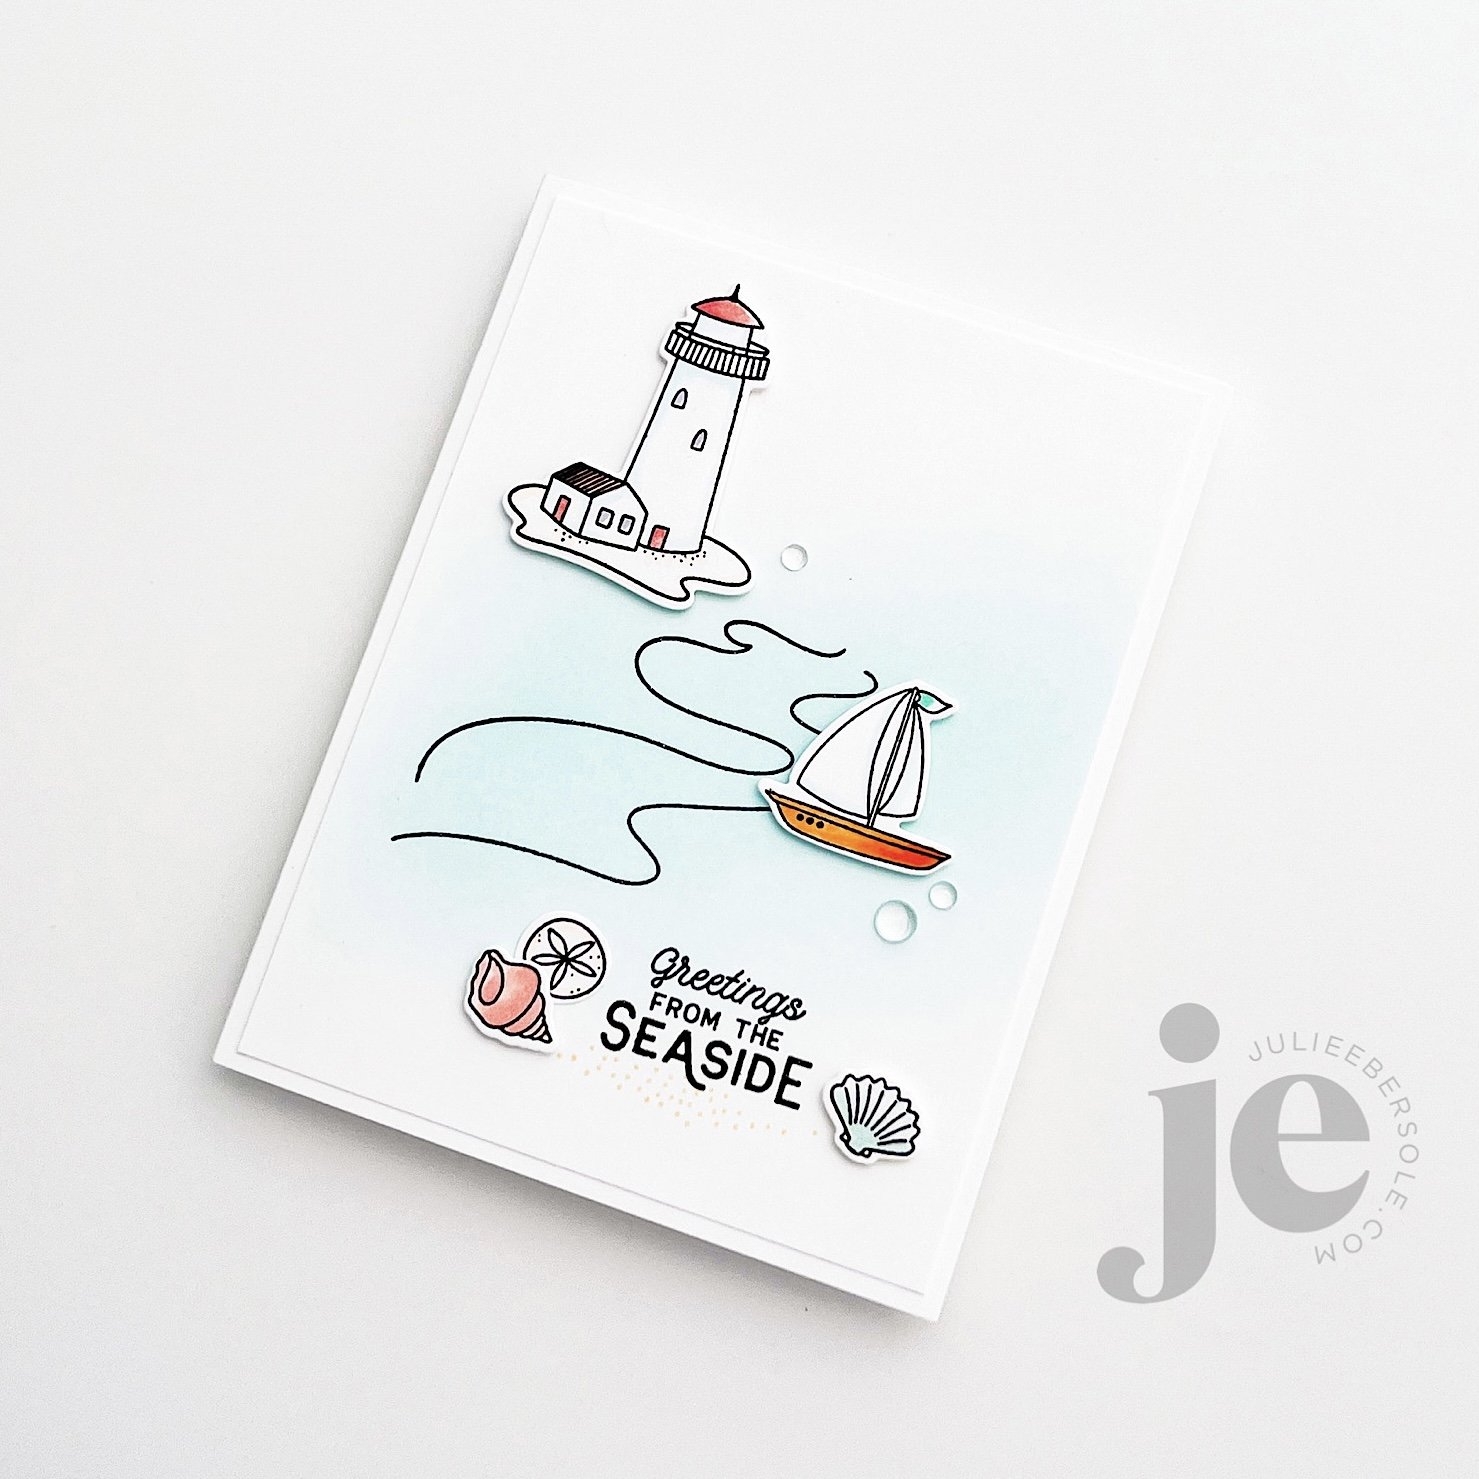
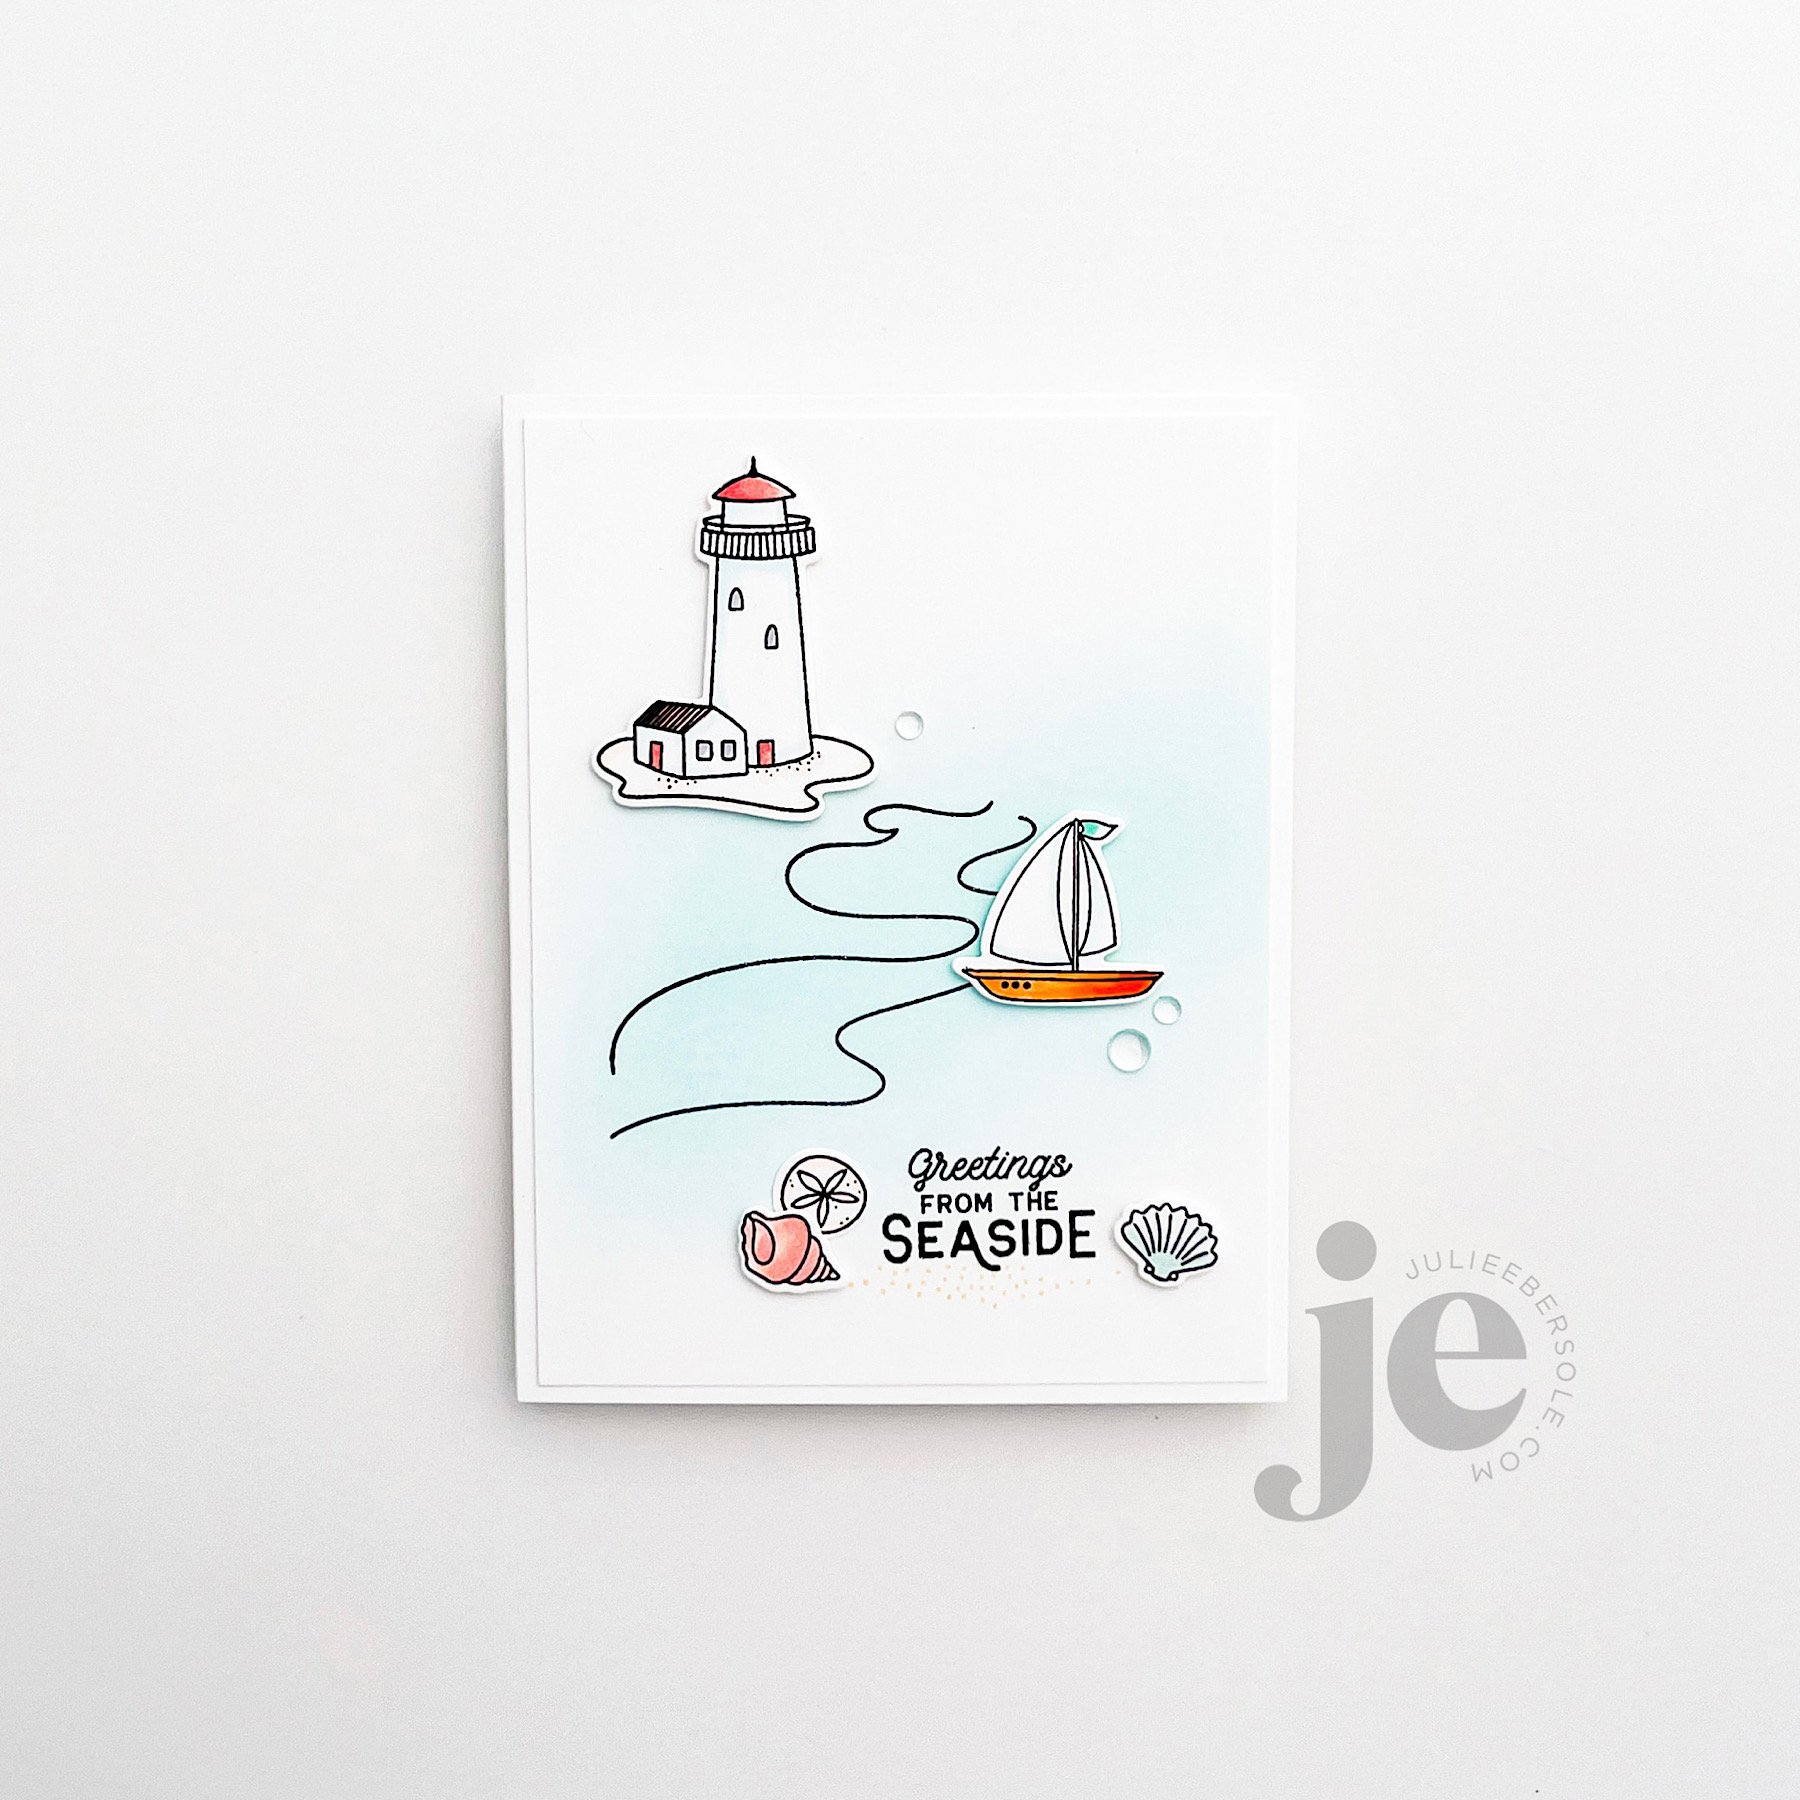
There are so many cool lighthouses along the Pacific Northwest coast line—it would be fun to take a road trip and visit them all. Some day, maybe I will. In the meantime, I have no problem creating little seaside scenes on paper, LOL!

Some really soft ink blending over the wave lines for the ocean, a little quick coloring with a few alcohol markers and just a few of those Clear Droplets!

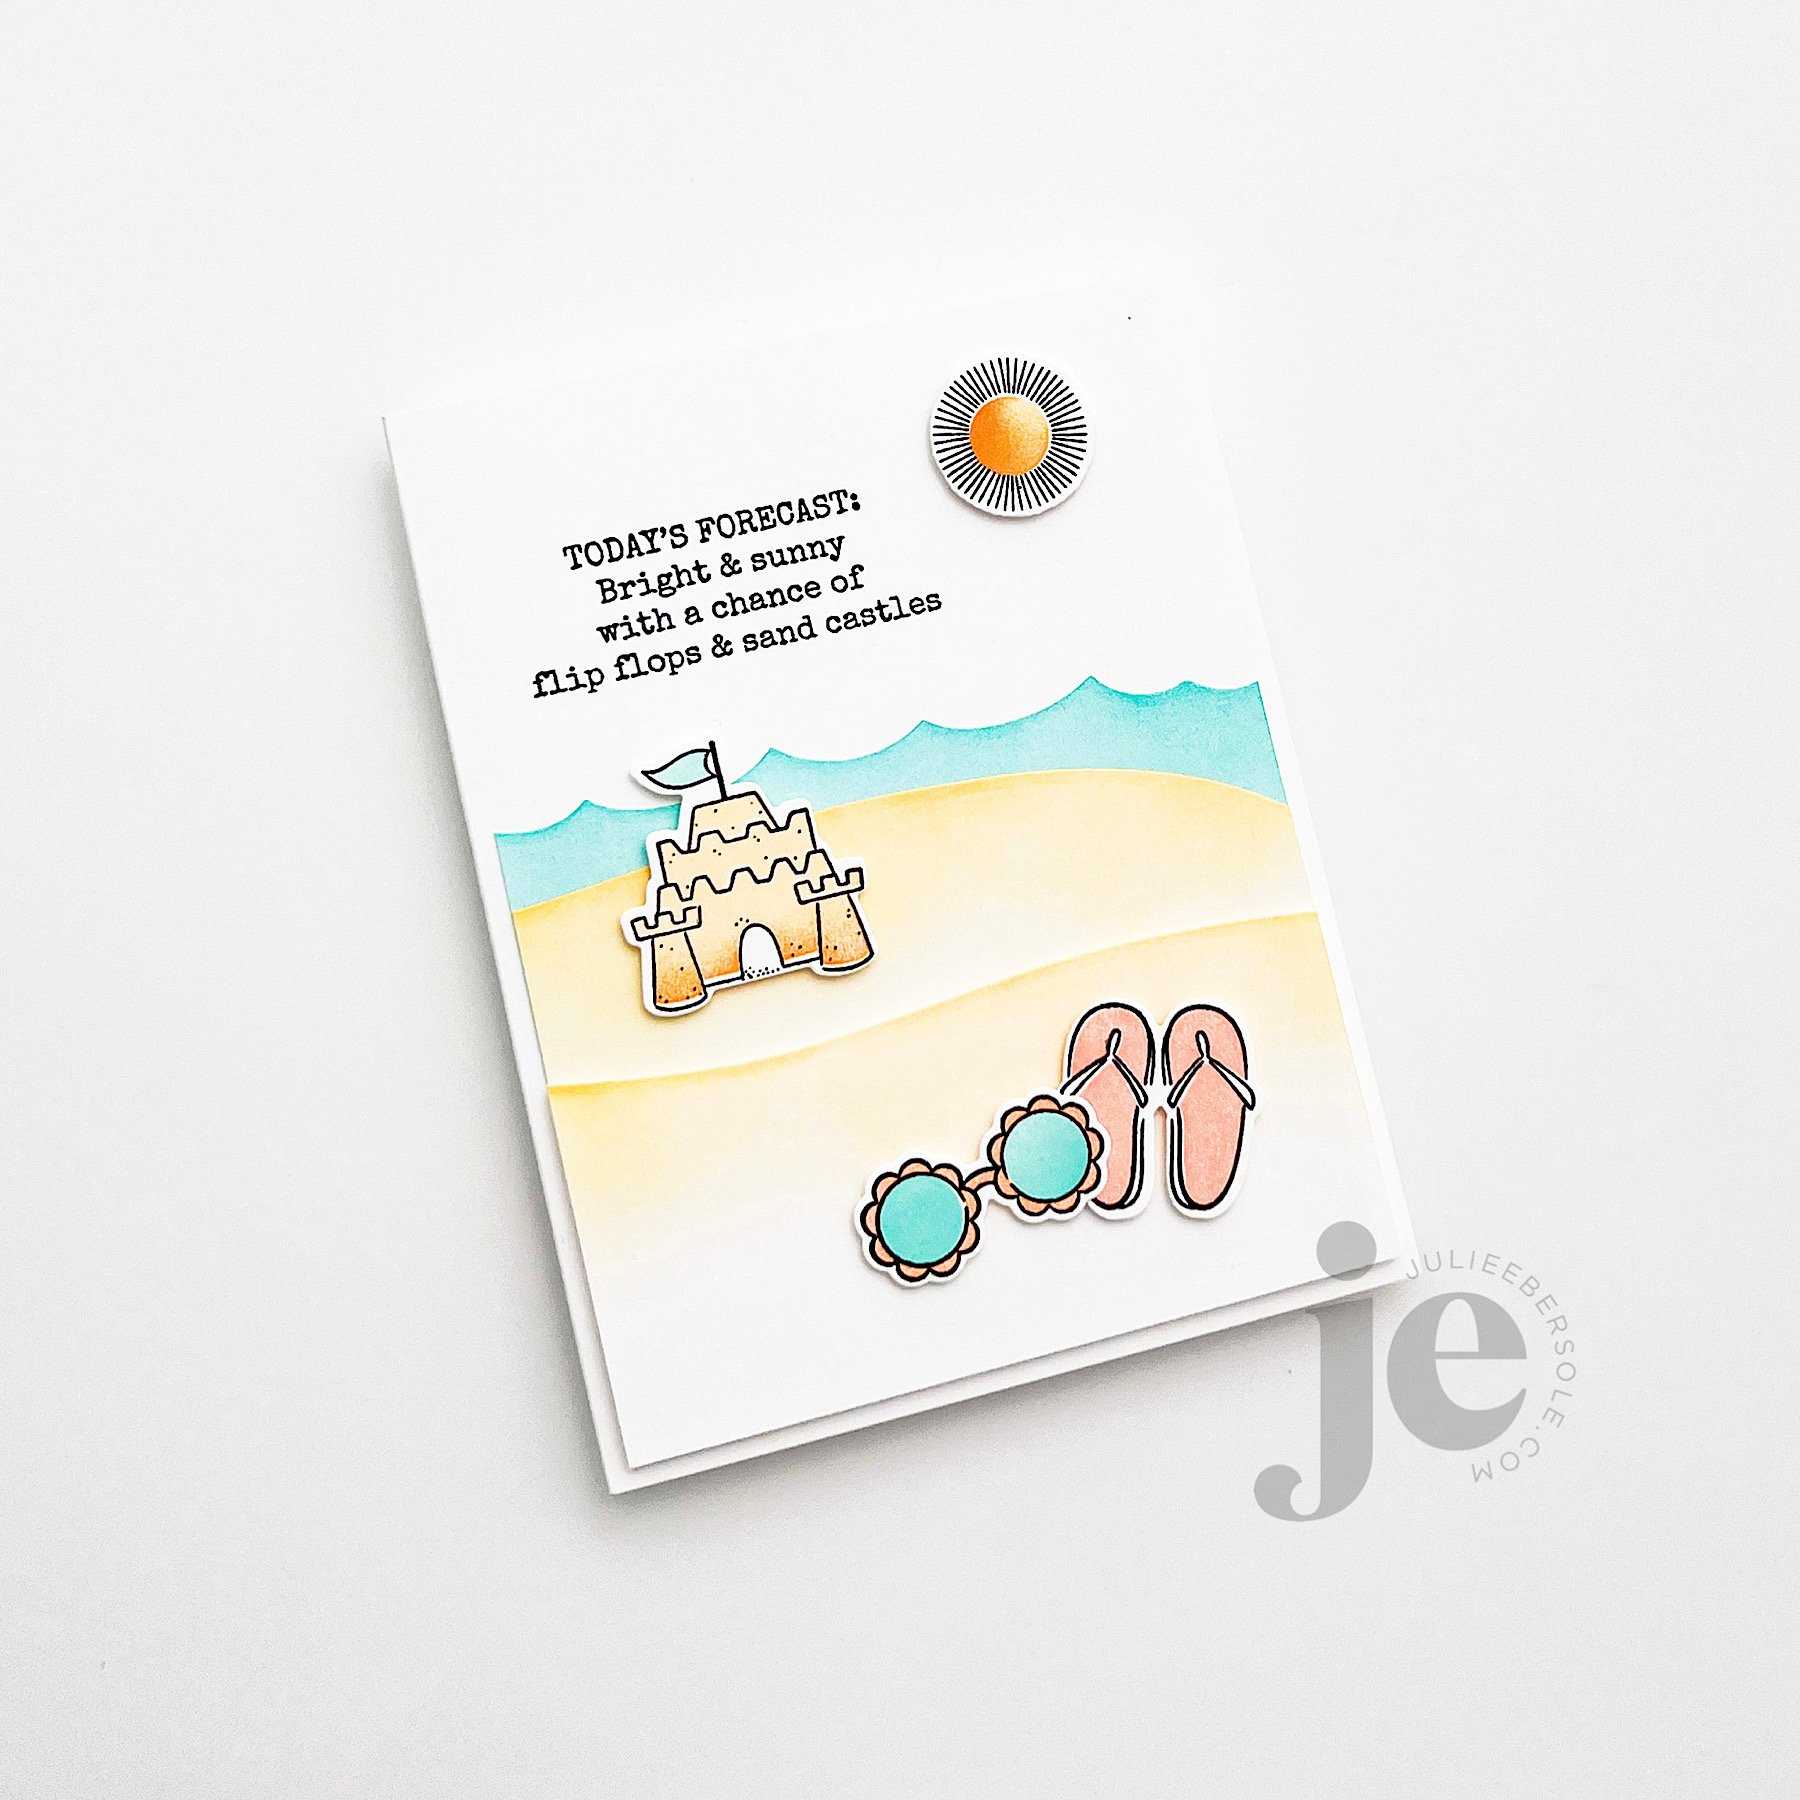
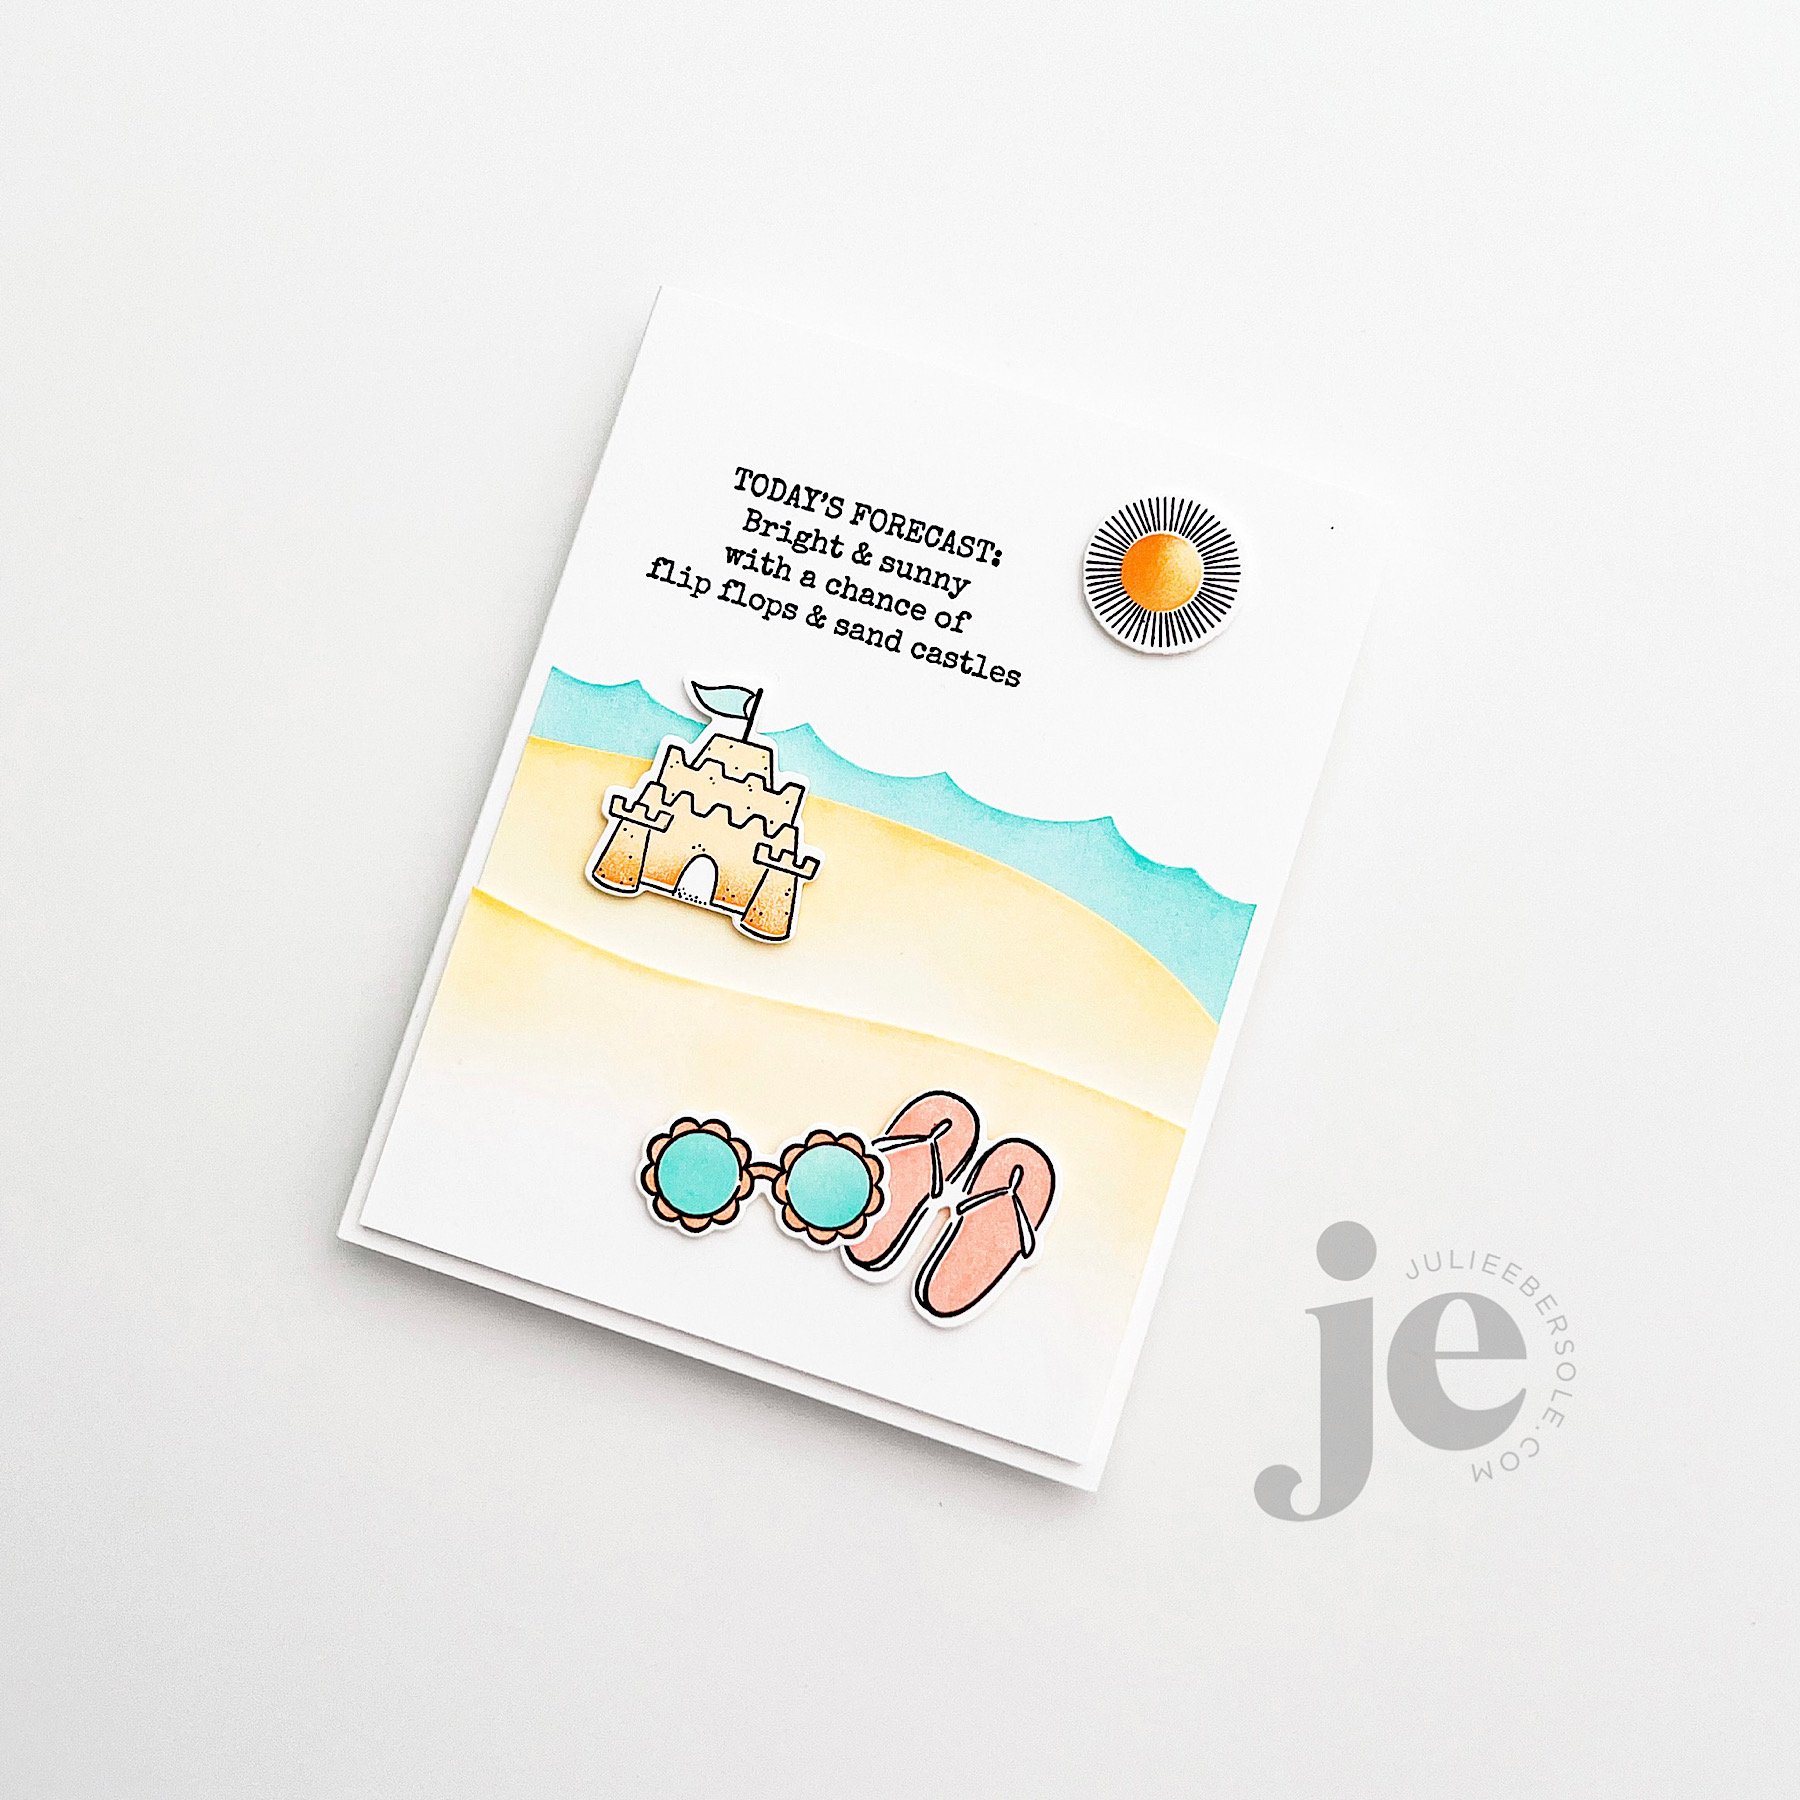
The wonderful thing about Seaside, is how well it combines with Summer Doodles—so many ideas in my head, but I haven’t yet had time to play with.

I adore a two-step stamp set like this one—those who like to color can, and peeps like me can use our beloved solids! YAY!!! An ink that stamps crisply and comes in beautiful colors is ideal, so I rely on Catherine Pooler and Concord & 9th for the job. I’ll have all the colors I used on this design listed down in the supplies.

After die cutting the landscape and wave pieces, I ink blended along the shaped edges, trimmed them and popped them up on my base card. I liked this one so much the way it was, I sat on my hands overnight. It’s always tempting to add “one more thing” . . . But, the next day I still felt the same about it, so that’s my story and I’m stickin’ with it.

Have a beautiful day and thanks for stopping by!

PEAS AND CARROTS: ELLEN AND JULIE LIVE ON YOUTUBE

all-the-feels-001.jpg

So… Ellen and I went LIVE on YouTube… We had some technical difficulties… And, we laughed. A LOT. And, I had fun re-making this card ↑ and sharing tips not only for this, but for clean and simple card-making in general. If you weren’t able to join us, you can catch the replay HERE.

Because my desktop computer is not close to my “work” desk, I left it off and therefore, I couldn’t see the comments on the chat. Ellen did her best to keep an eye on those and relay them to me, while she was running the back-end of things, because I am obviously sooooo not a good multi-tasker.

To the folks who asked what colors I used on my project, the supplies list is below!

We truly, TRULY appreciate the support all of you give us! Thank you for showing up, for listening to us dish and cackle—well, I cackle—and share the back-story of how our friendship came to be.

And, for hanging in there while I muddled my way through an entire LIVE demo! OY!

THANK YOU EVER SO MUCHLY!!!

367Ellen_Julie-500x332.jpg

I refer to Ellen and myself as peas & carrots with a whole lot of fondness and affection; we’ve been friends and crafty co-conspirators for a long, loooooong time. (grin) The photo above was taken the very day she had invited me to lunch at her house and we met FOR REALZ for the very first time!

GOOD TIMES!!!


RELAX & CREATE - DIY STENCIL

rnc-diy-alpha-stencil.JPG

I have used the Classic Block Alphabet Die set for SOOOOOOOOO many cards—it’s one of my most used die sets!!! I spelled out what I wanted to say on a card front sized piece of stencil blank (Plaid brand, I think, found at Walmart years ago and squirreled away) and ran it through my die cutting machine.

The spray adhesive I used to help mount it temporarily in place is an old can (talkin’ 4-5 years old . . . sad); after one use, the stencil lost all tackiness. ARGH!!! So, I may need to get a fresh can or try Aleene’s Tack-It-Over-and-Over again, brushing a thin coat on the back side of the stencil. Any suggestions welcome!

I frequently make my own “disposable” stencils from card stock, sometimes even just typing paper, but it’s cool to have one more permanent, that I can use over and over again, clean up without damage. Especially if it’s a sentiment or word I use pretty often. HelloOOoo, staple word. (grin)

Hope you found this enjoyable and relaxing!

Stay well, keep bein’ crafty!


FUN BIRTHDAY CARD FOR GIRLS - CATHERINE POOLER

catherine-pooler-hop-slider.jpg

Welcome! So glad you’re here for the Catherine Pooler blog hop! Be sure to take note at the bottom of my post for giveaway info!

I’m sharing a fun and colorful birthday card today that I think any girl would get a kick out of! Brace yerself for a flash-back to the 1980’s and 90’s—this card was totally inspired by the Lisa Frank Sticker and Stationery products, sooooooo very popular way back when!

cp-birthdayroll-001-A.JPG

I thought that rainbow paper from the Totally Rad collection, die cut into a Big City, would make such a great background for the roller skates!

cp-birthdayroll-001-B.JPG

I used the EH Swing N’ Slide Dies to make a penny slider channel for the skates to go back and forth on as you tilt the card. Of course, I had to add lots Stickles, right?! “This birthday card is too sparkly!”, said no one ever.

••• GIVEAWAY •••

One random & lucky commenter will win $25 to the EH shop! To enter for a chance to win, make sure to leave comments at each stop along the hop! Comment before Sunday, March 29th at 11:59pm PDT. Winner will be notified by email.

May the odds be ever in your favour! (wink)

Thanks for stopping by, and enjoy the eye candy from the rest of the Ellen Hutson Ambassadors hopping along:


3 SIMPLE AND SWEET NEW BABY CARDS - PRETTY PINK POSH

pretty-pink-posh-slider.jpg

Welcome to the Pretty Pink Posh Hop! You can see their latest release at this link: PRETTY PINK POSH SPRING 2020

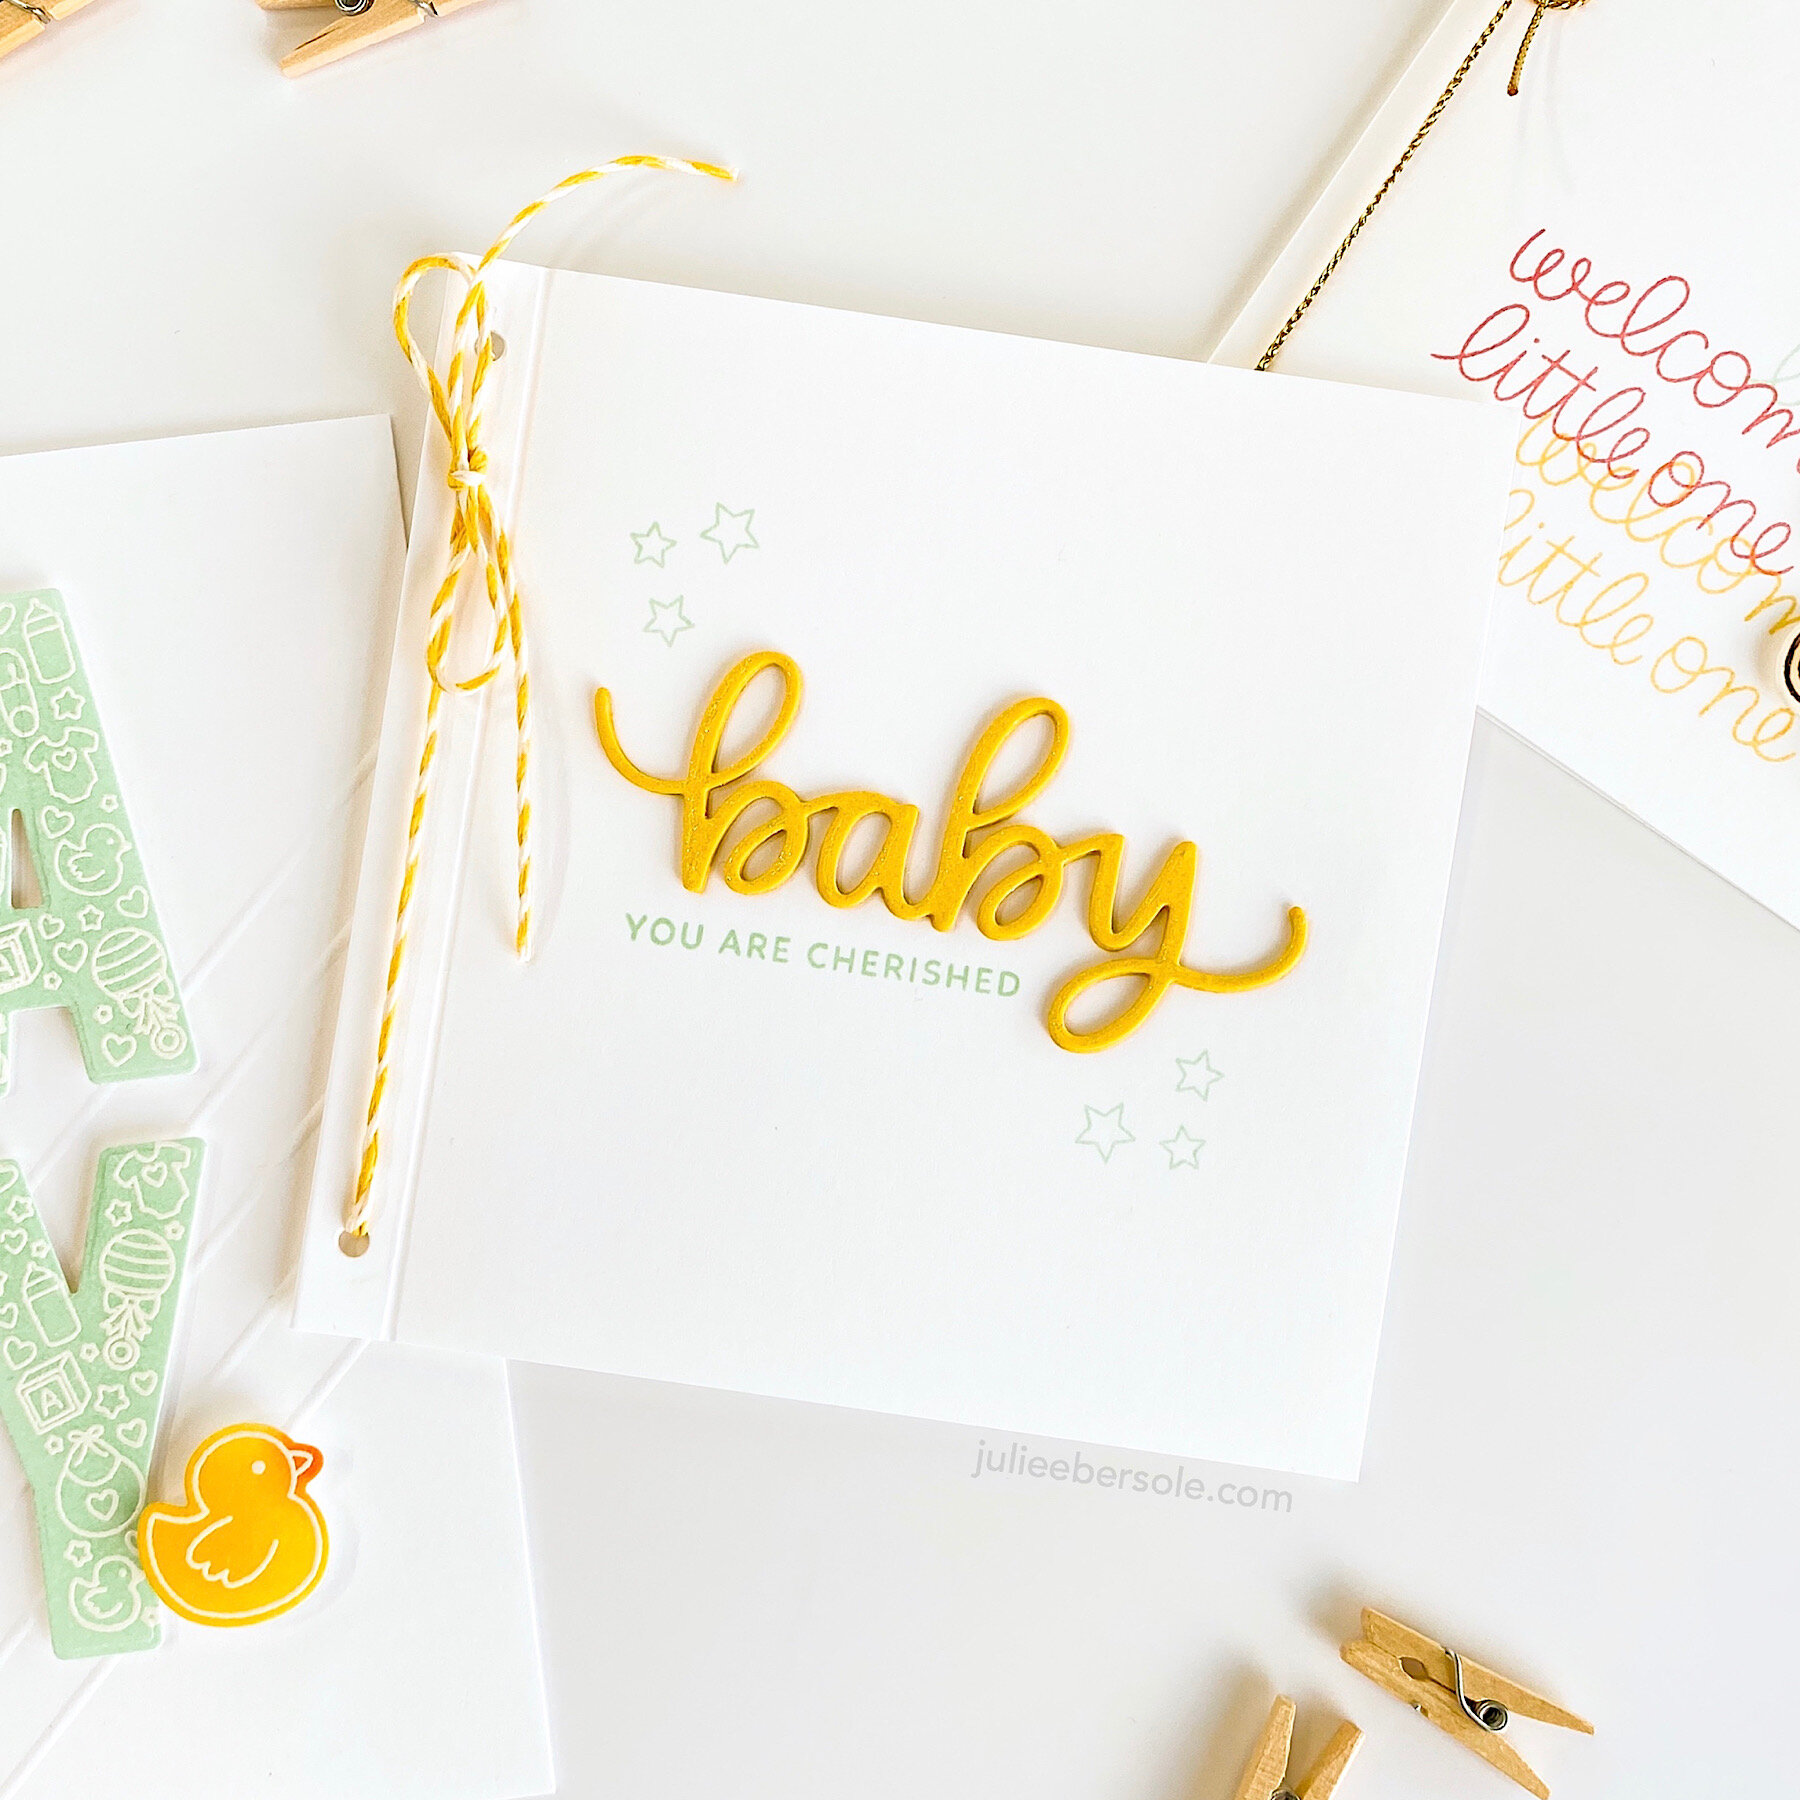
I have 3 darling but simple new baby cards to inspire you with!

ppp-baby-trio-grp.JPG

For whatever reason, I was drawn to yellow and mint for this trio’s color combo.

ppp-baby-trio-001.JPG

Images were white embossed onto white card stock, and then ink blended over the top, before die cutting. Just a little bit of scoring on the base card adds a nice bit of texture and interest, don’t you think?

ppp-baby-trio-002.JPG

The little lamb was embossed with Fallen Leaves Versafine Clair ink and clear detail powder onto watercolor paper and then watercolored using Zig Clean Color Real Brush Markers.

ppp-baby-trio-003.JPG

“Baby” was die cut 3x from yellow card stock and stacked together; after gluing onto the card, I coated the top with a Clear NUVO Glitter Gloss Brush Pen—wish that had shown up on camera better, but you get the idea.

Read on for some fun giveaway info and links to all the EH Ambassadors playing along!


••• GIVEAWAY •••

One random & lucky commenter will win $25 to the EH shop! To enter for a chance to win, make sure to leave comments at each stop along the hop! Comment before Wednesday, March 25th at 11:59pm PDT. Winner will be notified by email.

HOP ROSTER: