die cutting

MORE HUGS BY WAFFLE FLOWER

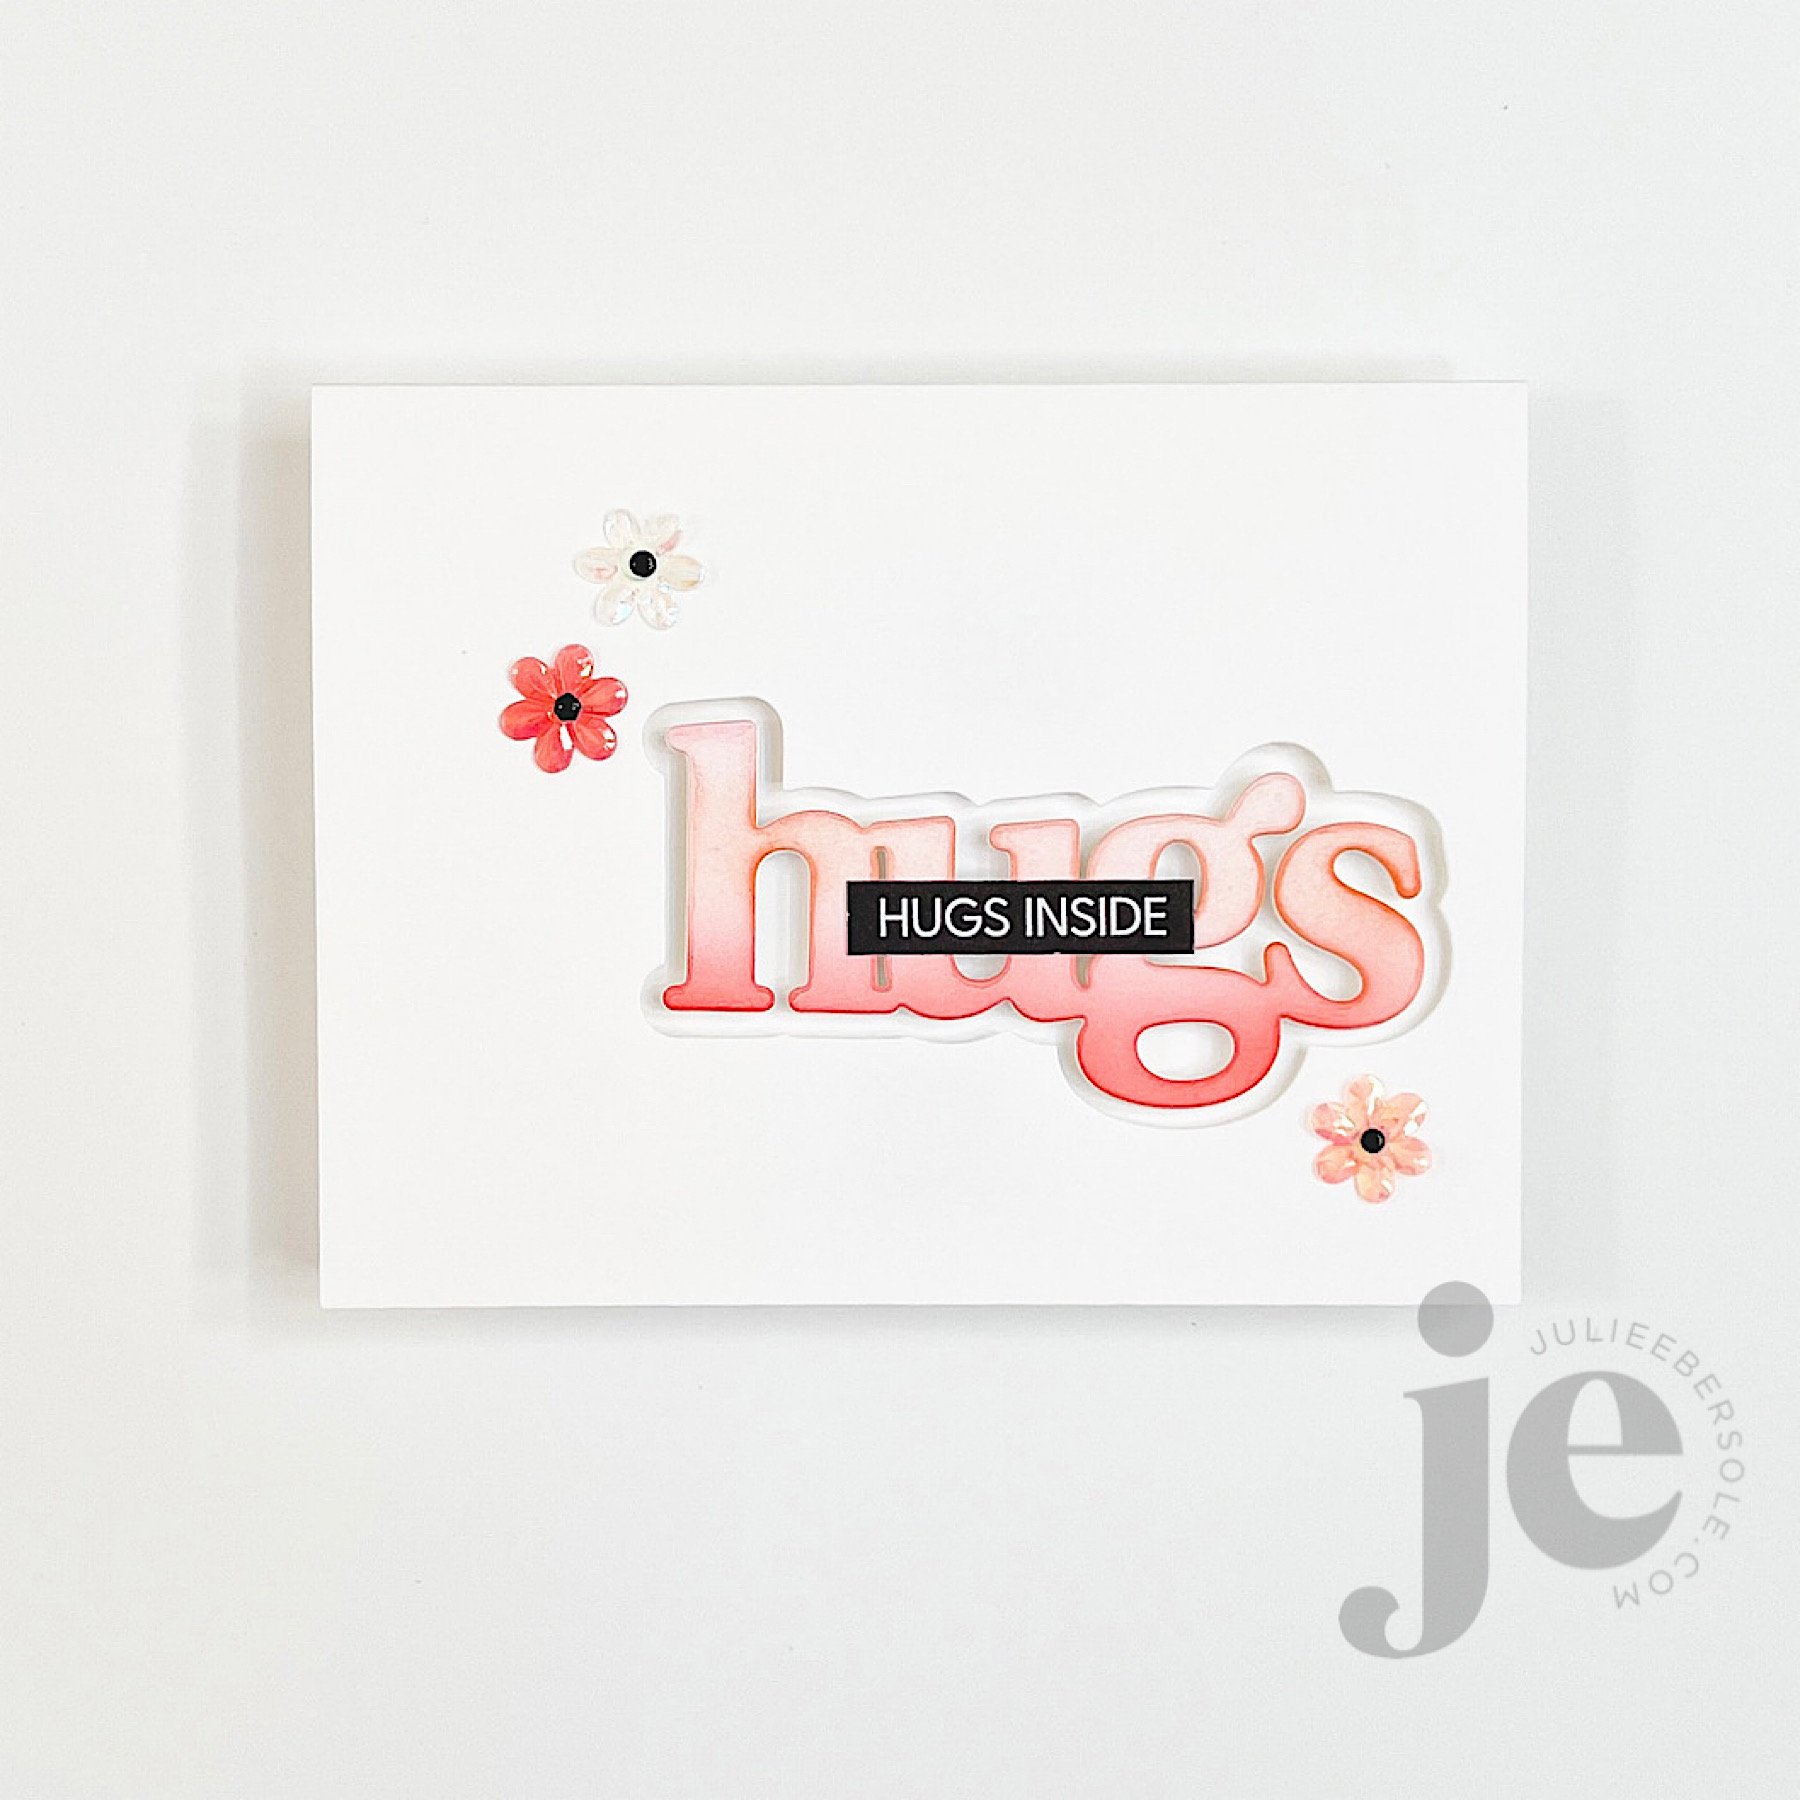
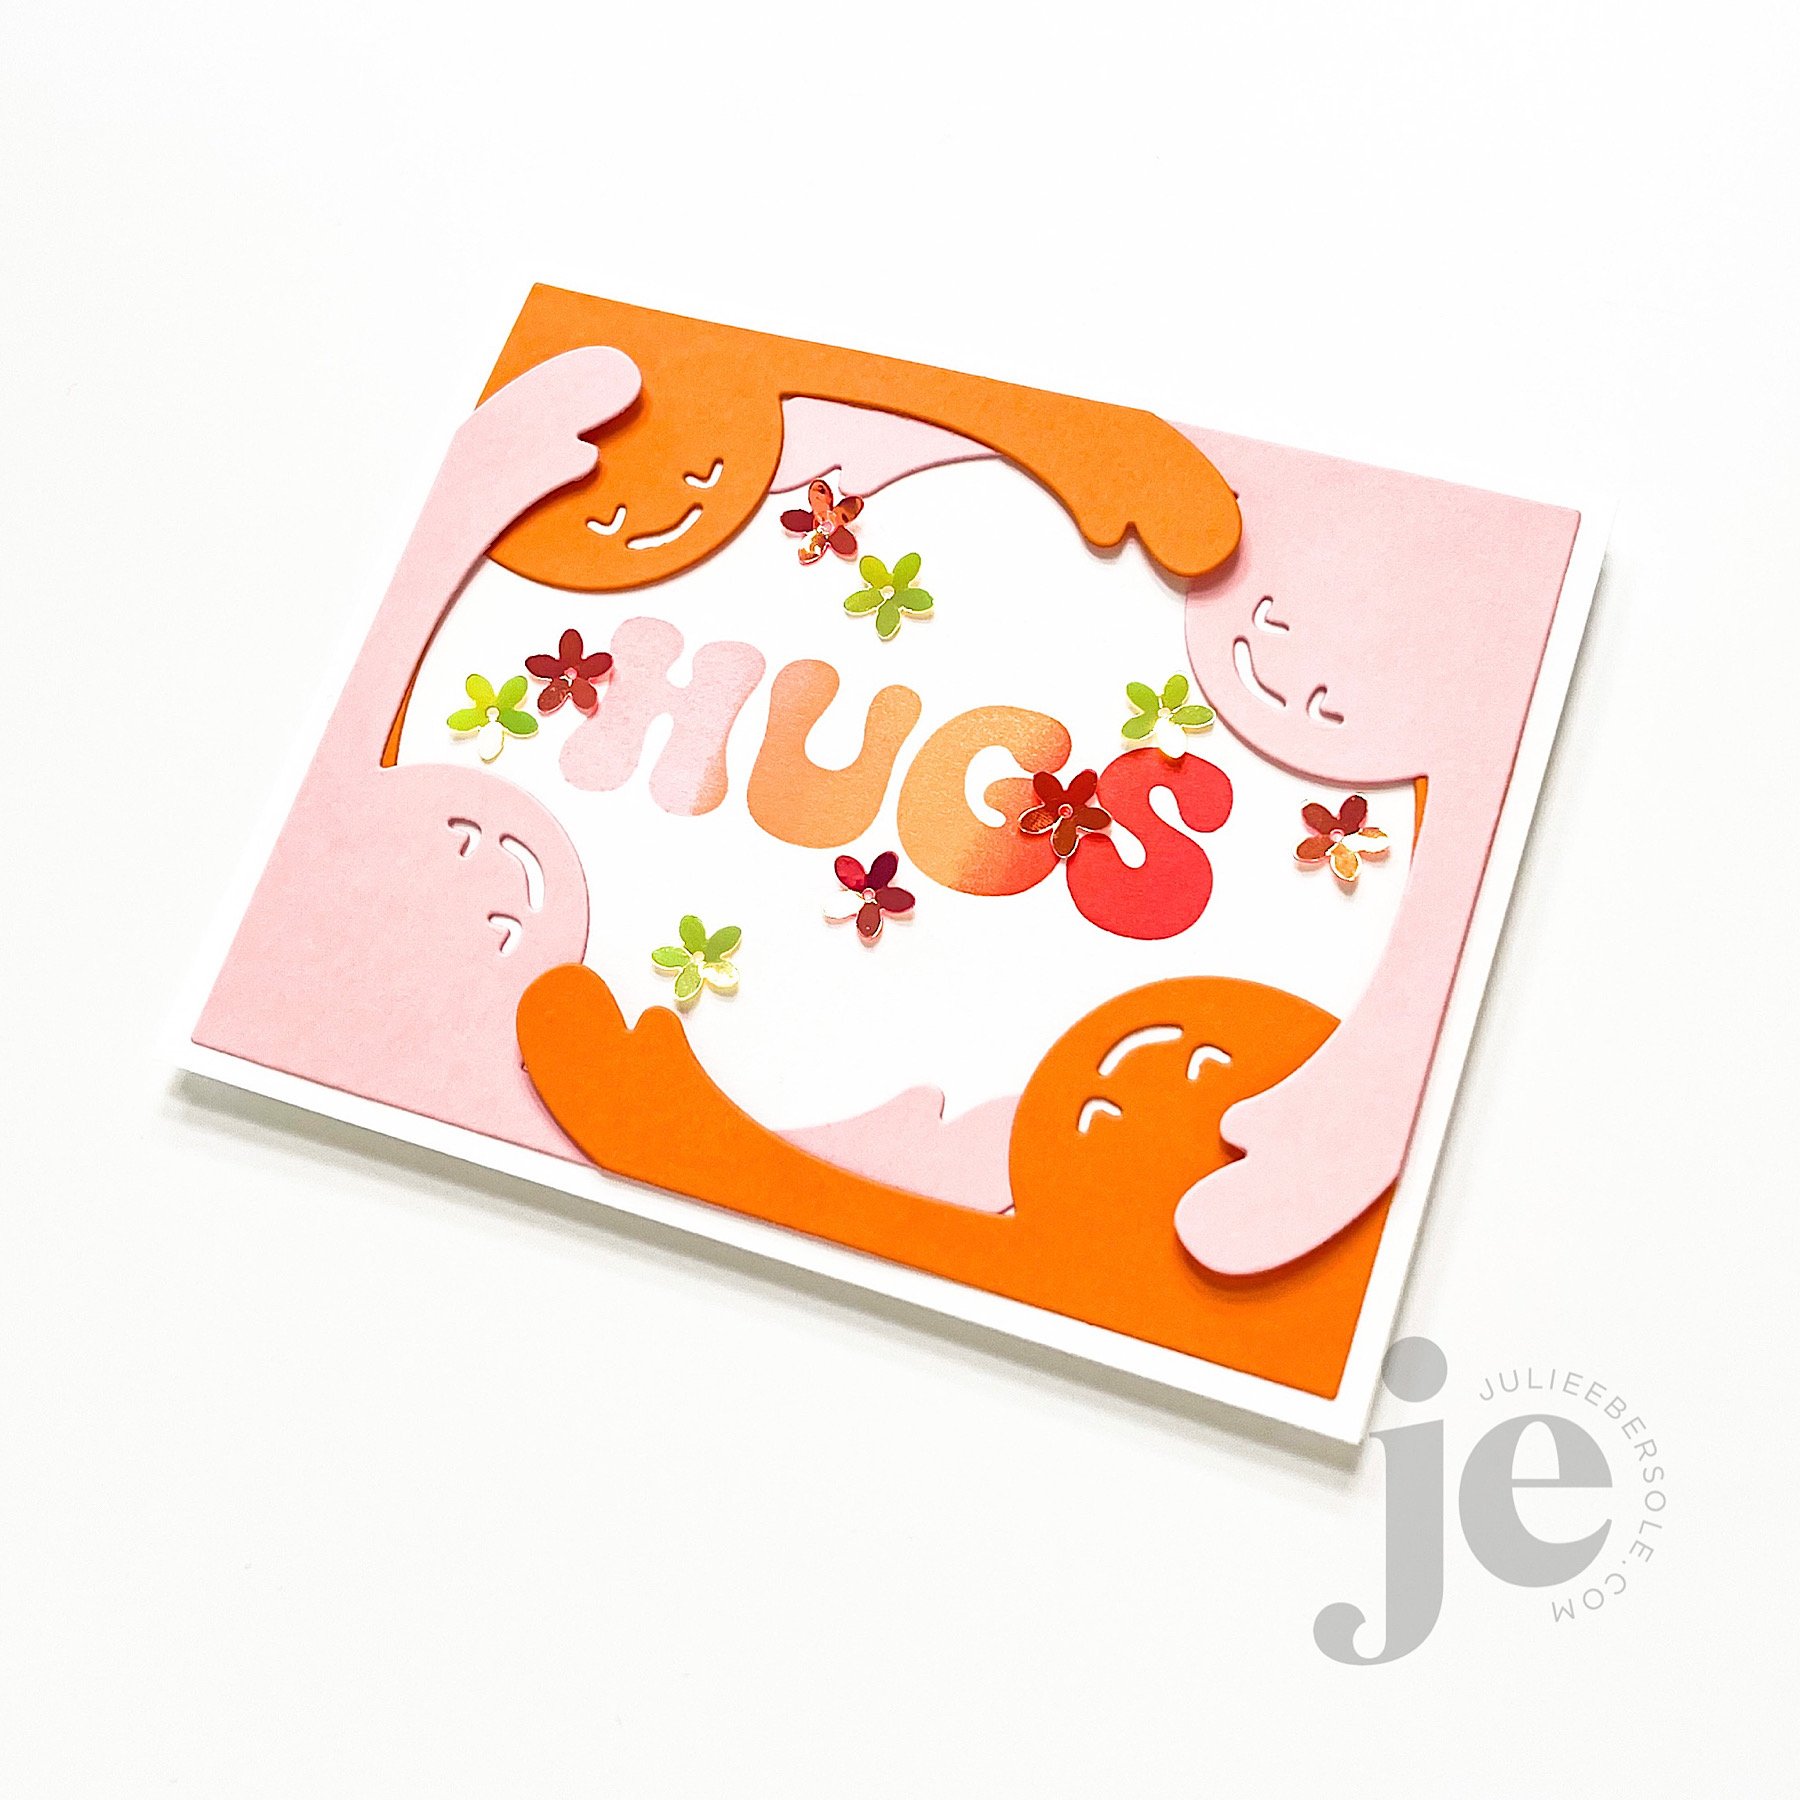
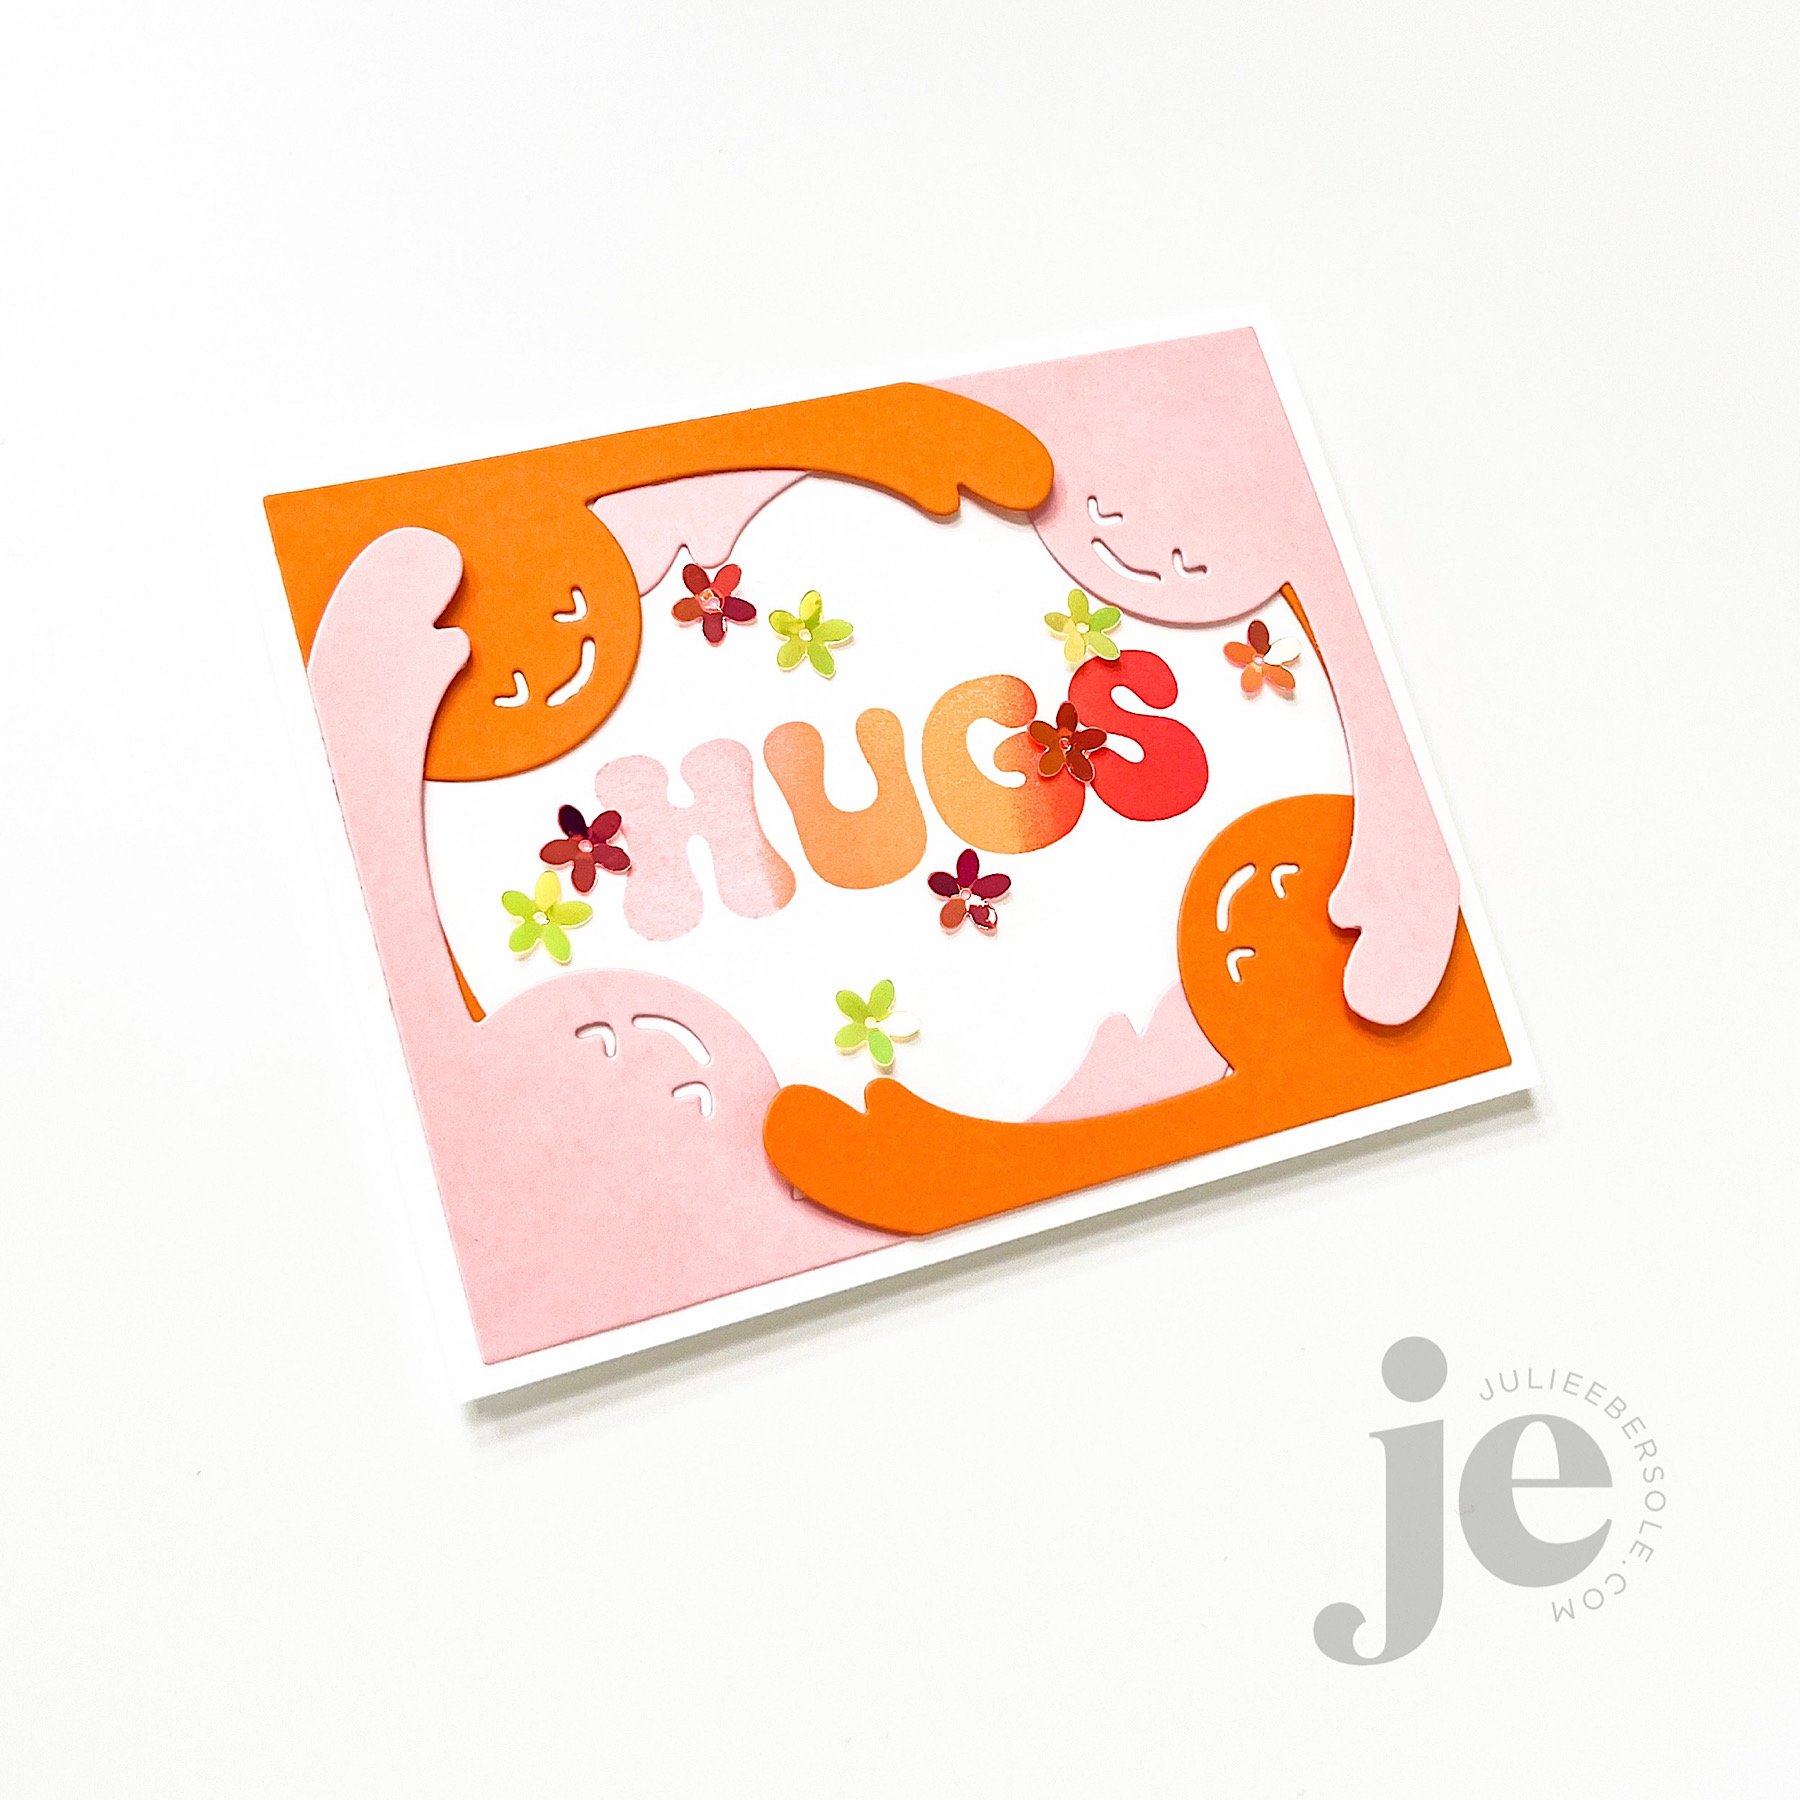
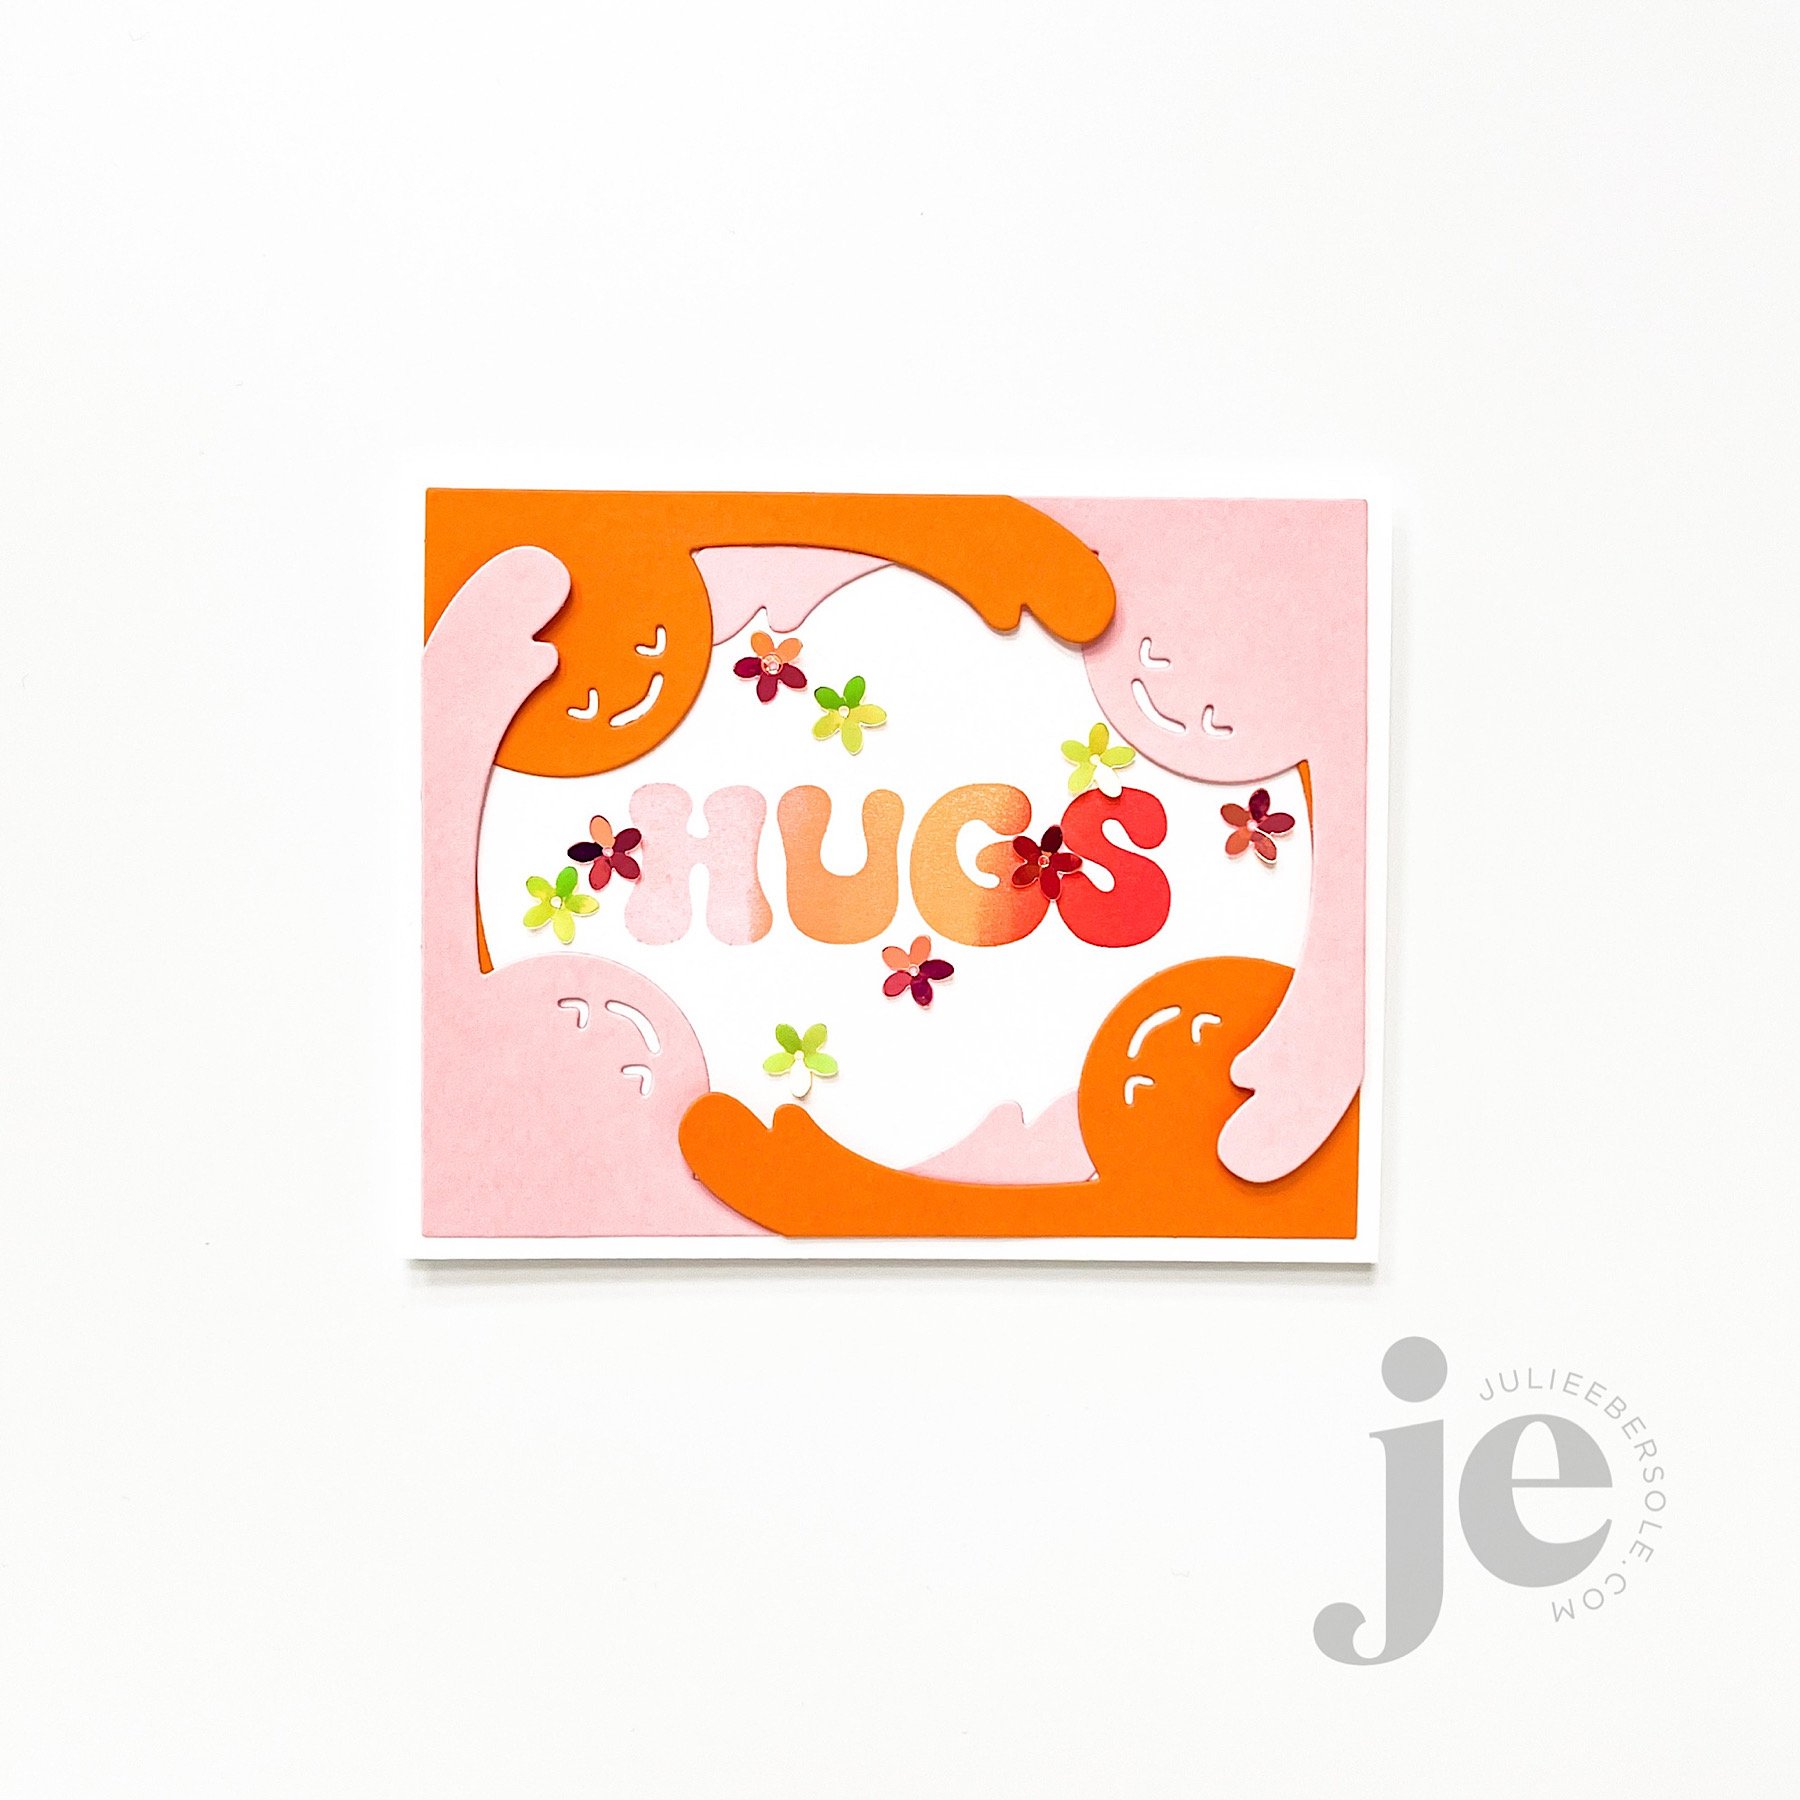
Waffle Flower’s recent release centers around hugs, and I have two sweet hugs cards to share! The first one, above features the Retro Hugs Stamp & Die Combo. It’s so gosh darn FUN to have a design style that was popular when I was growing up resurface and be embraced not just by myself but also by my daughter and granddaughters! I think that qualifies as multi-generational! Am I right?!

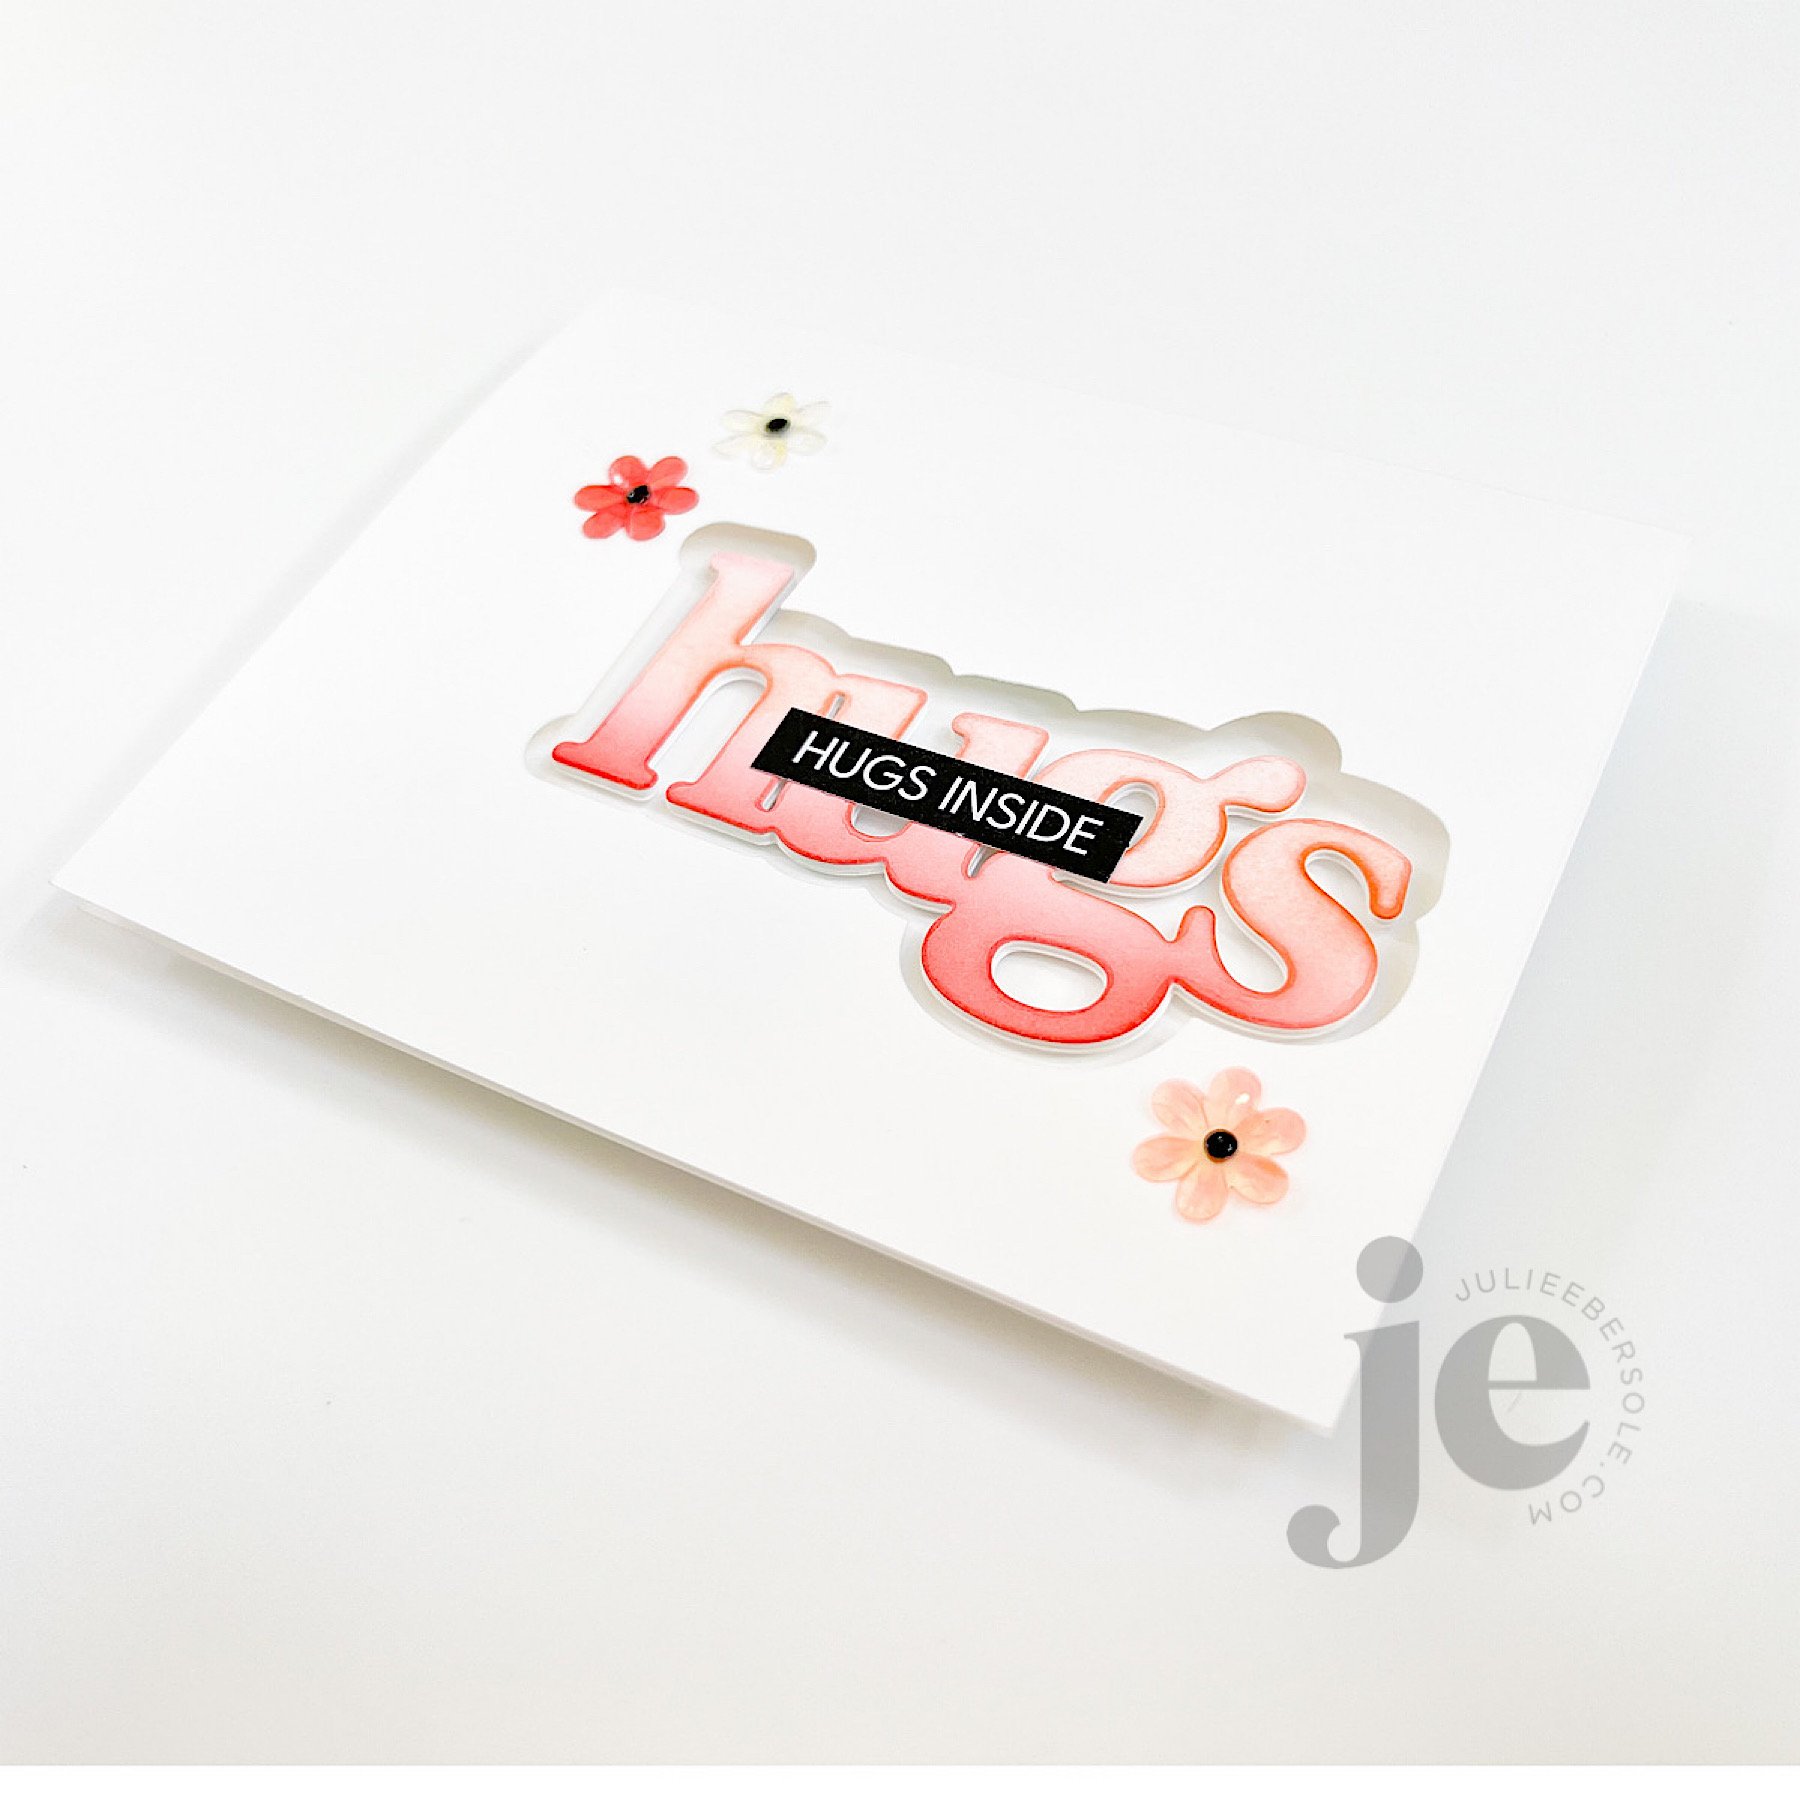
I thought it would be fun to “frame” the sentiment with the huggers, arms overlapping. I added pop dots under just the hands resting on top to add a little dimension. I’m STILL into this “warm” combo of pink, orange and coral hues, blending from one to the next. I usually ink up the area I want the palest color first, using these cosmetic blending sponges and stamp, then apply the mid-tone color, blending the edges where the two colors meet on the stamp, and then finally the final/darkest color. I used Glossy Accents to mount some flowery, concave sequins from my stash. Glossy Accents is great for things like this because it maintains its “loft” as it dries and it stays crystal clear.

Inside the card, I used the exact same ombré inking on a stamp that reads, “huggers gonna hug”. SO STINKIN’ CUTE!!!
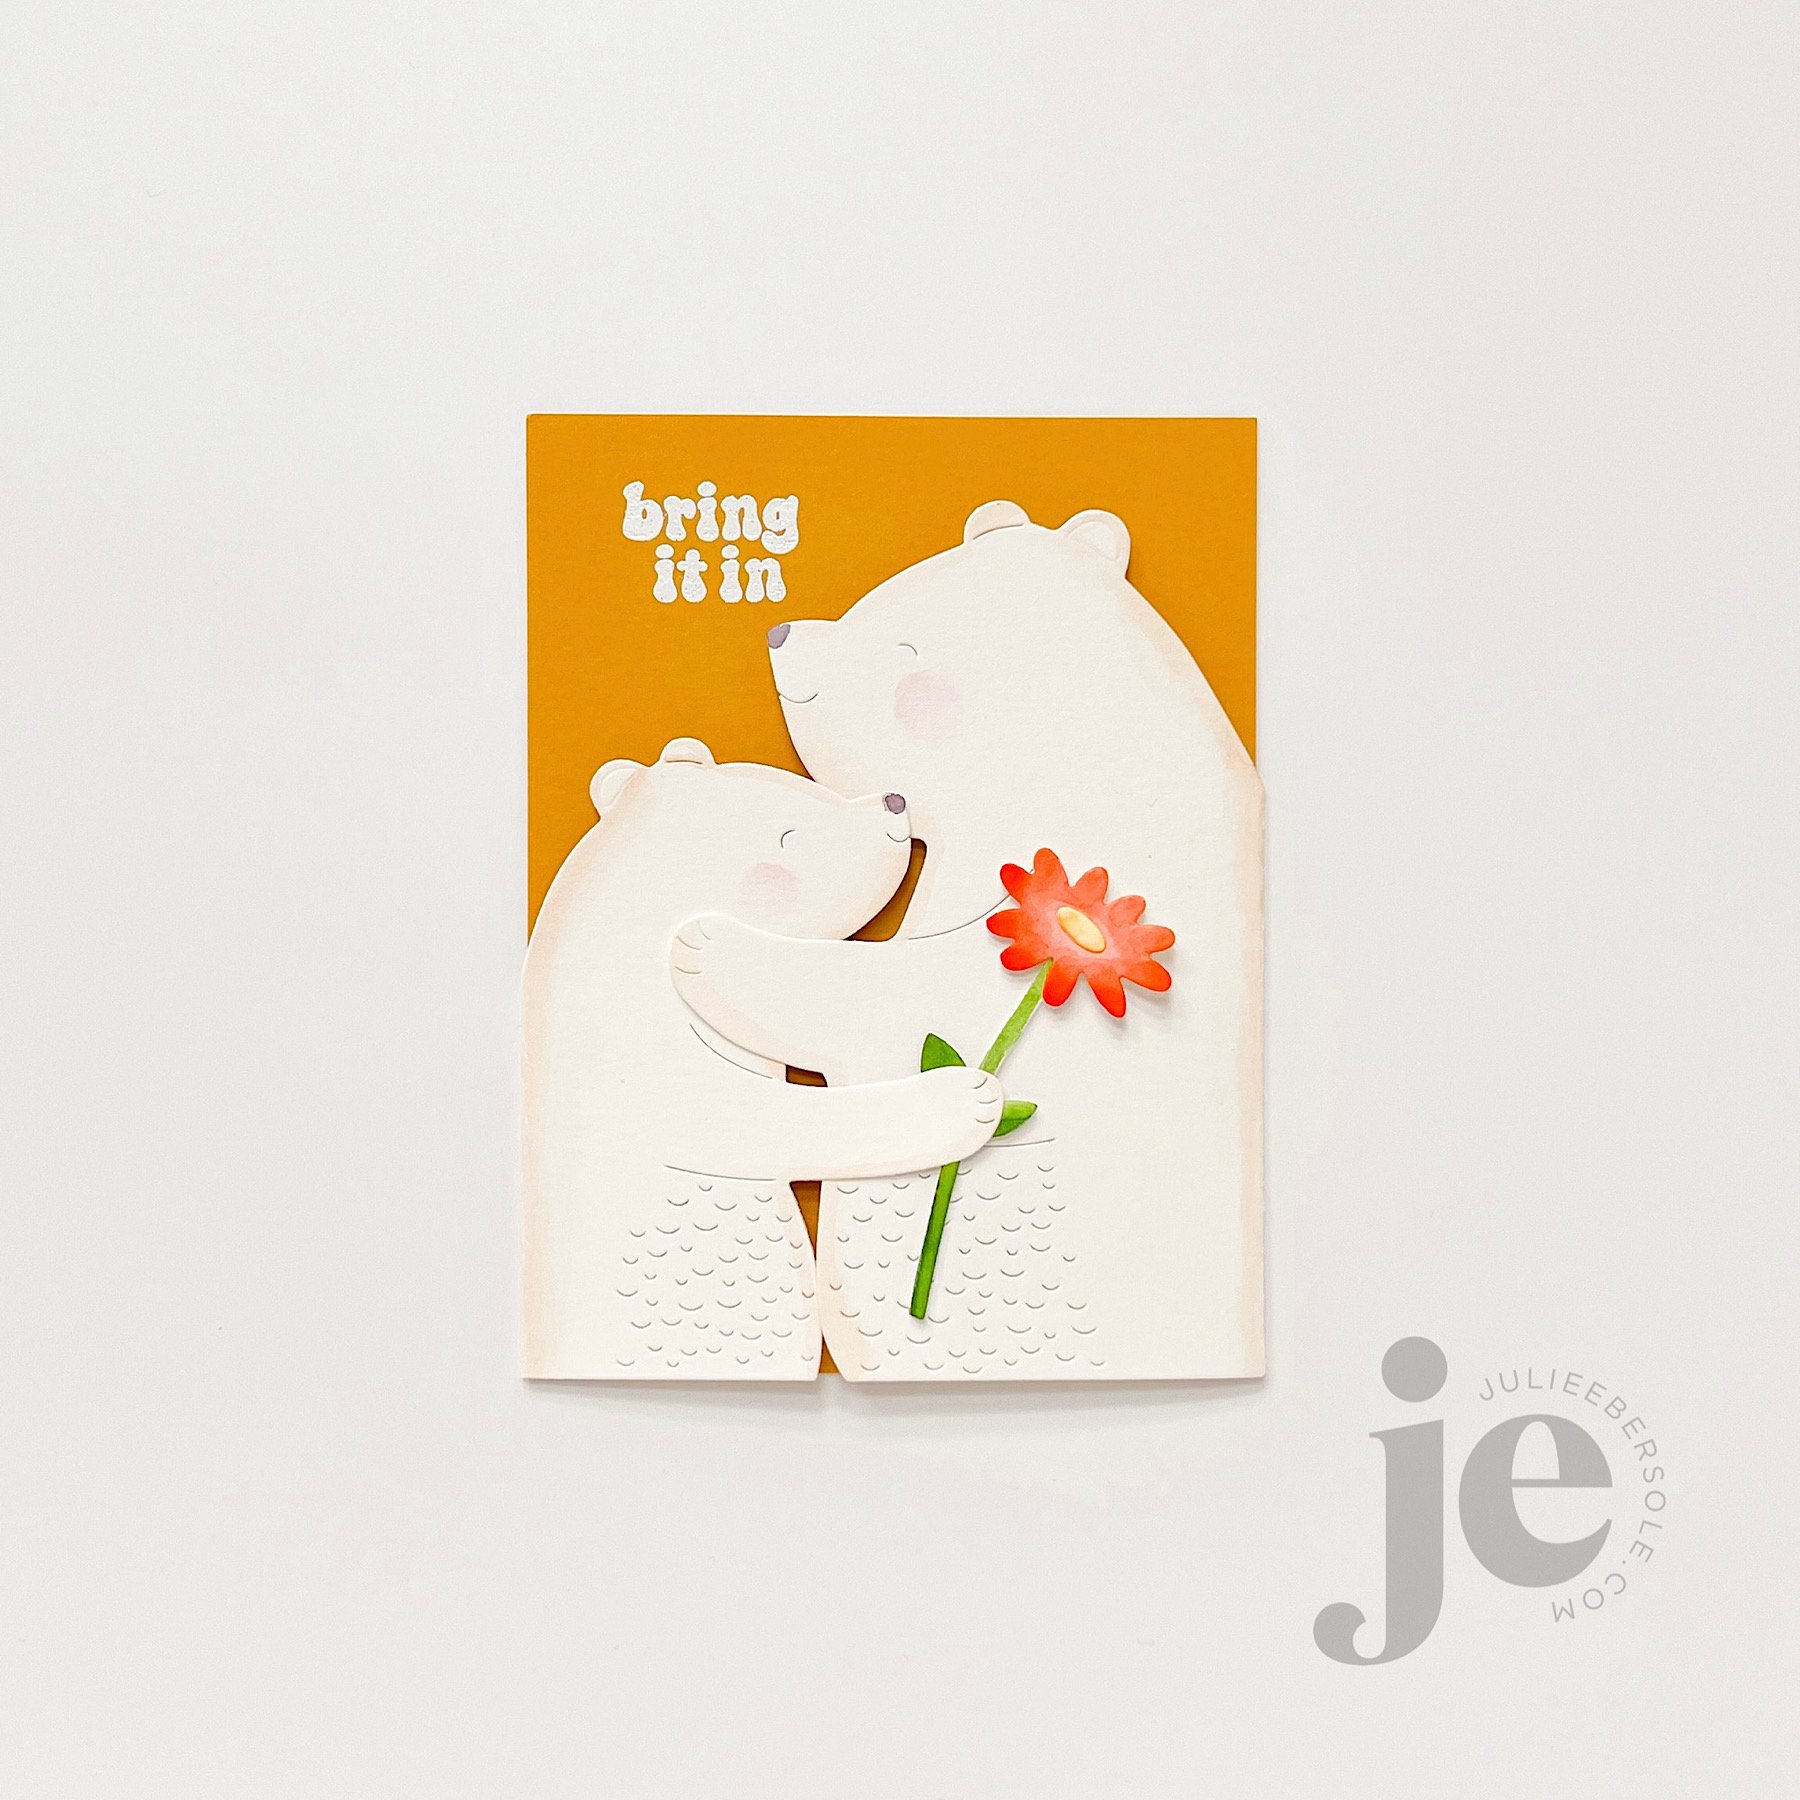
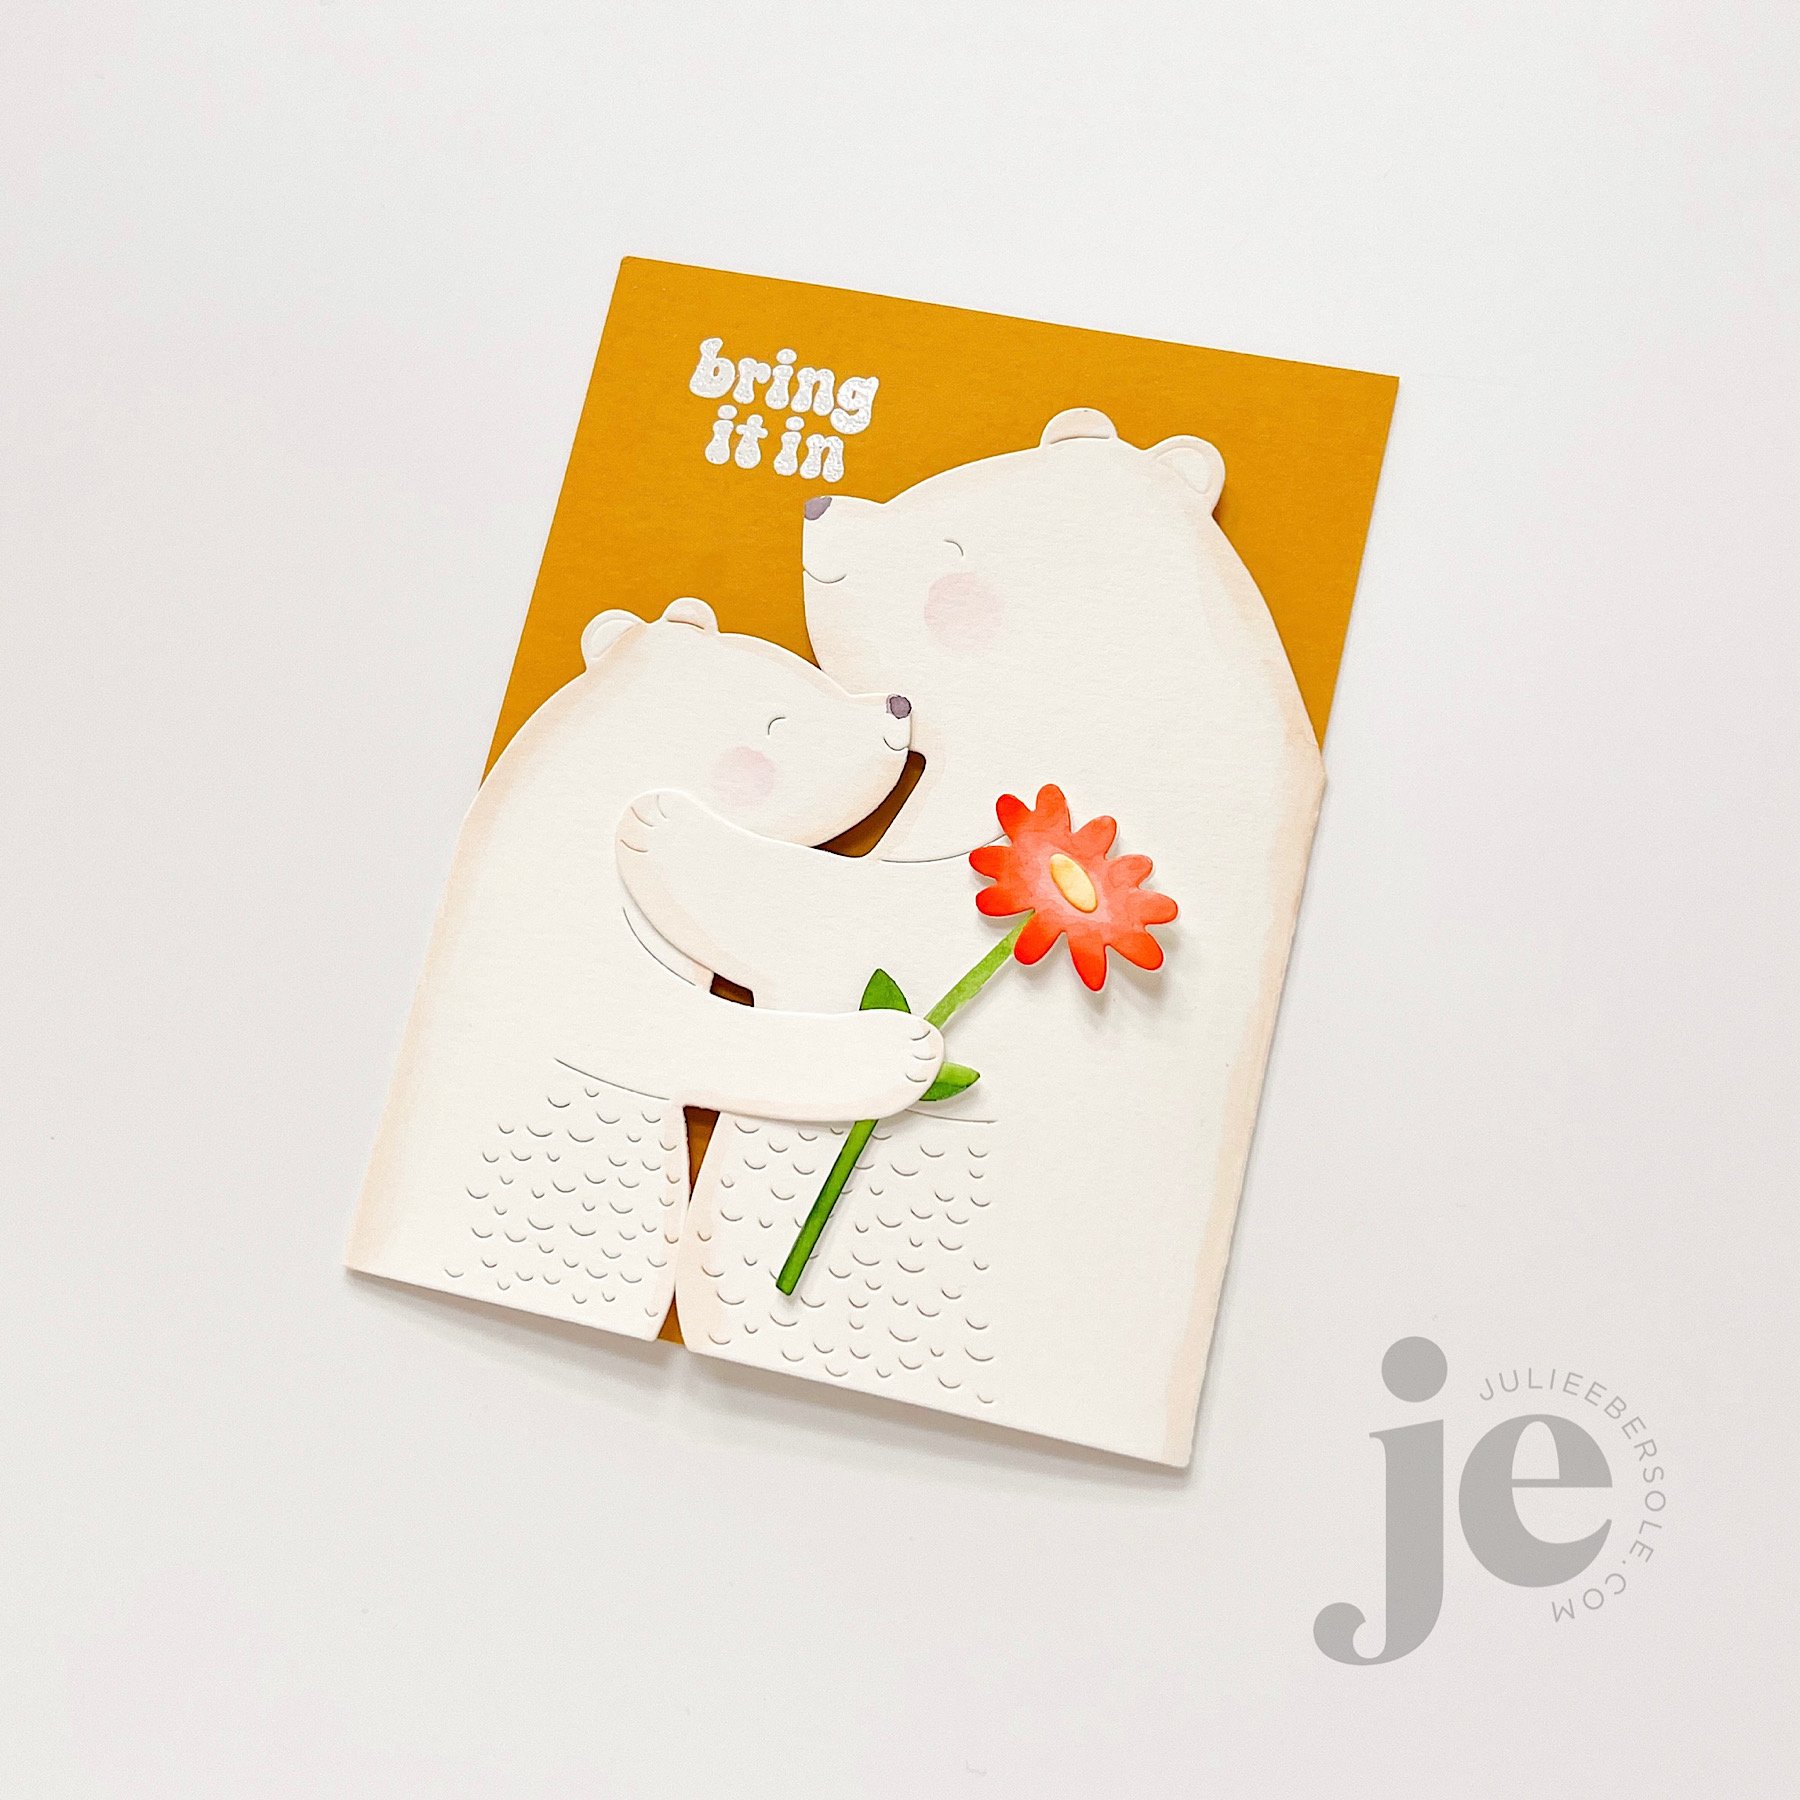
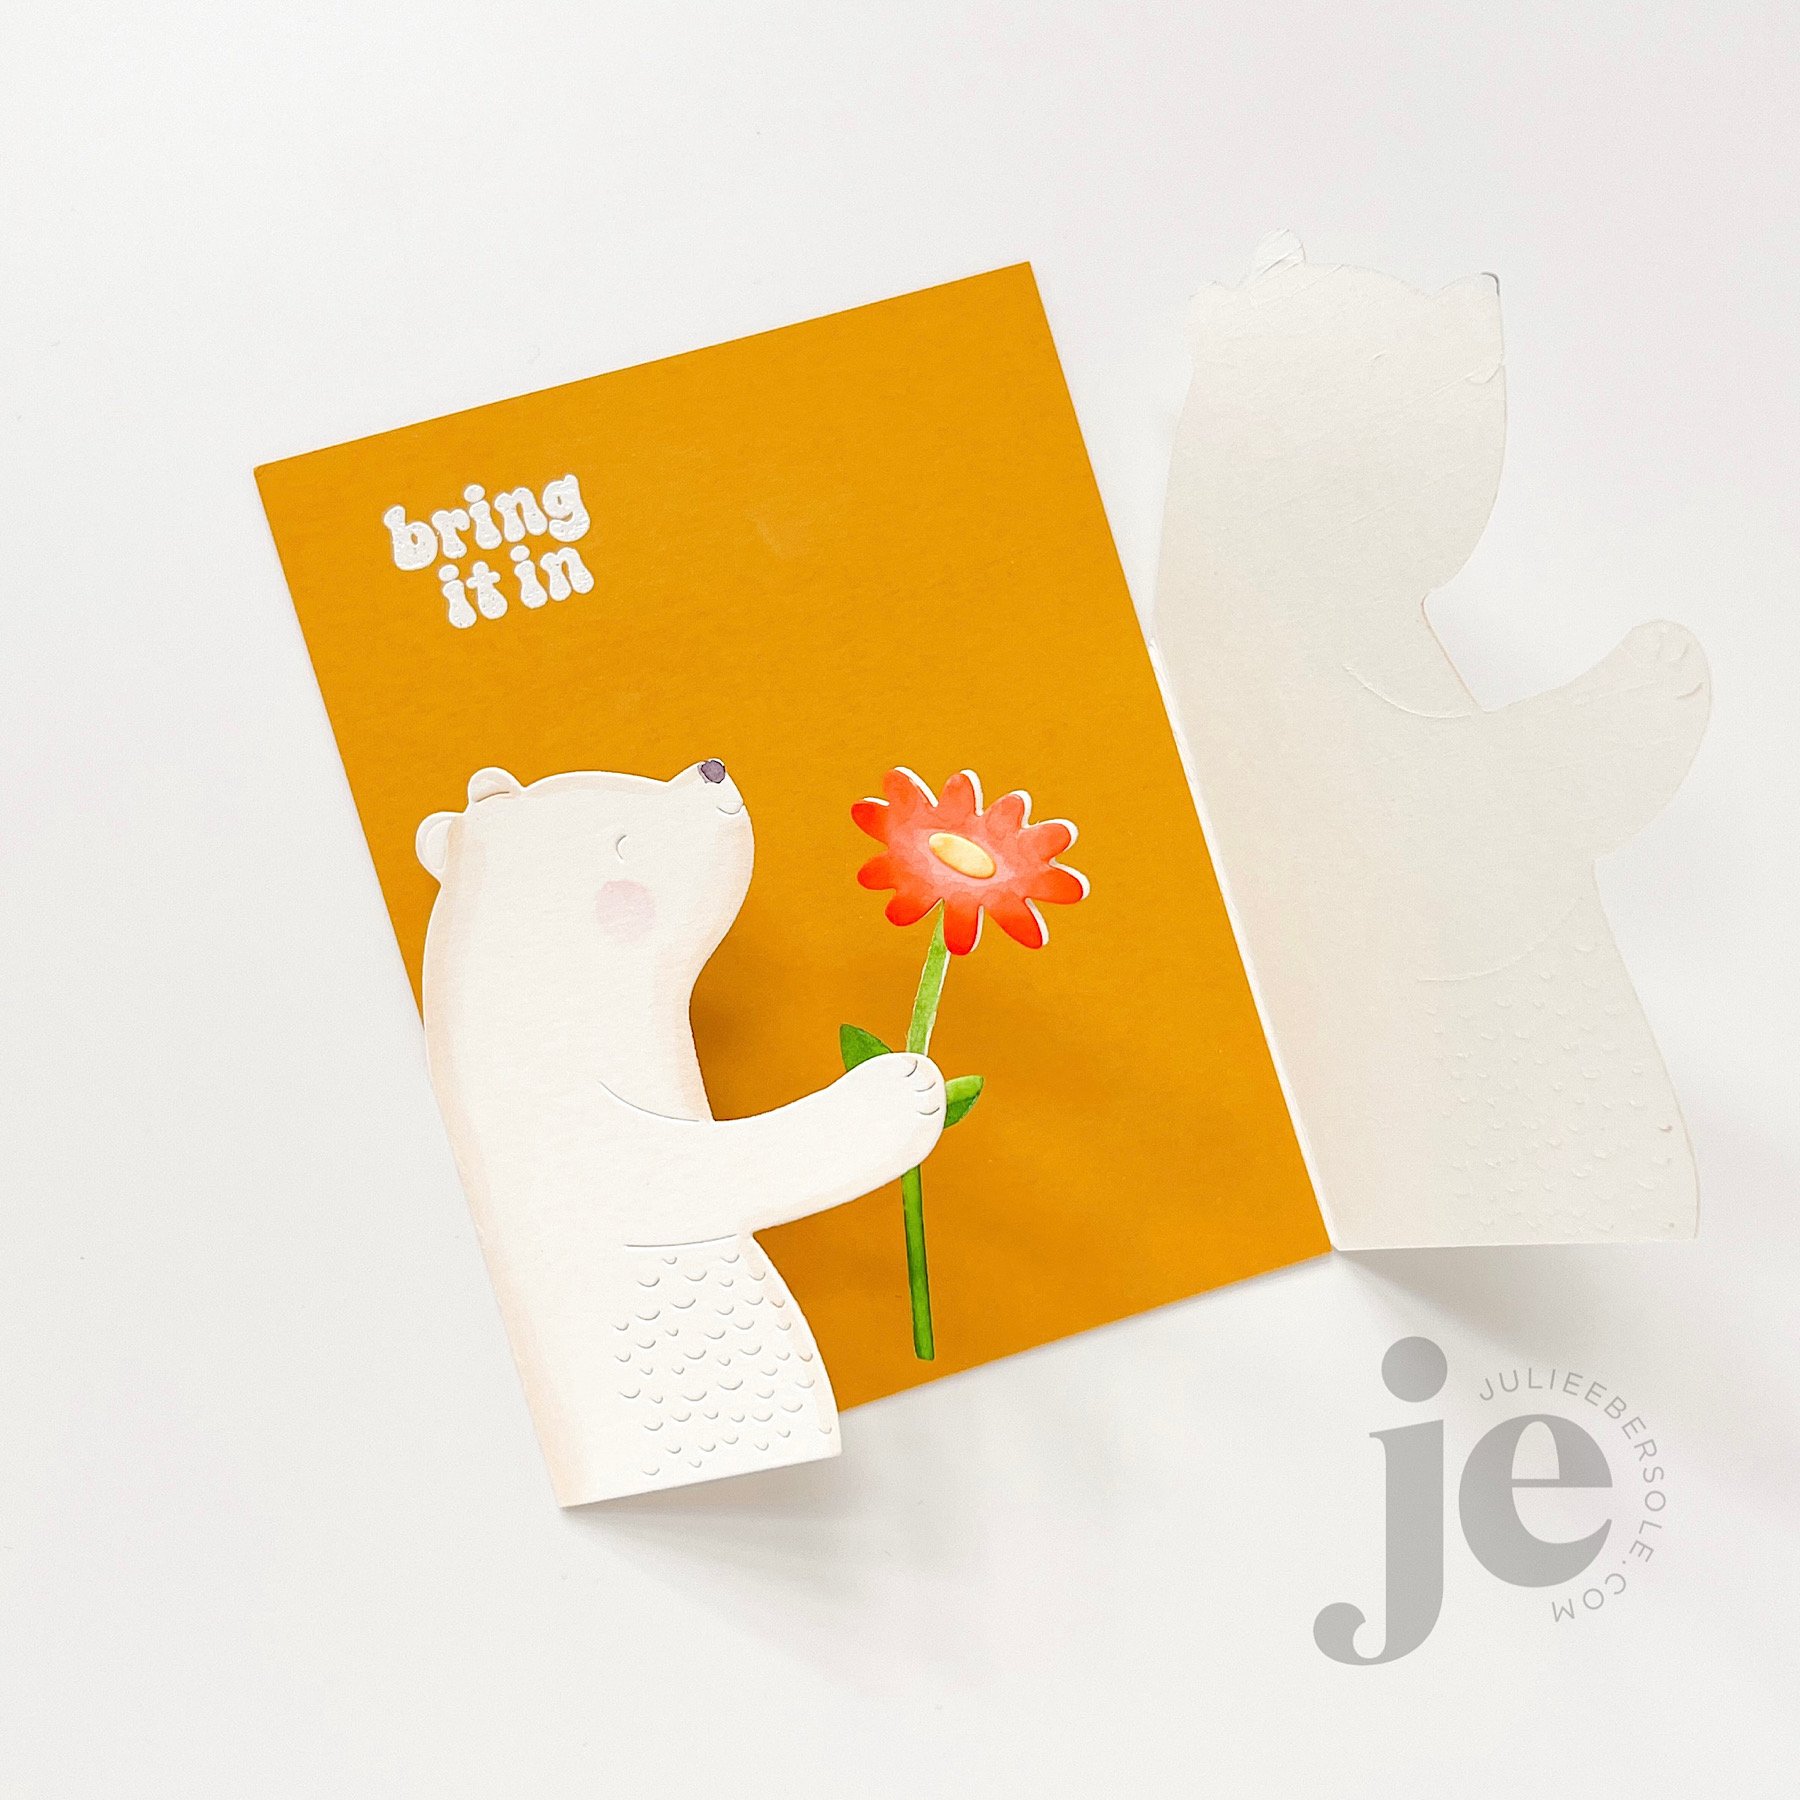
The Bear Hugs Die Set includes each of the bears you see, a flower, some hearts, butterflies and more . . . The bears have flaps so you can attach one to each side of a quarter sheet of card stock and then fold them towards each other, creating this ultra adorable interlocking gate-fold type hug.

I watercolored the bears around the edges with a very light hand using a brown tone, and the flower after die cutting them, and borrowed a sentiment from the Retro Hugs Stamp Set to white emboss a greeting in the upper left corner of a quarter sheet of warm gold card stock (one of my all time favorites). To finish it off, I mounted an extra quarter sheet of plain white card stock to the back, to conceal the flaps.

Although the bears intertwine, depending on the thickness of paper used, you may need to wrap it with twine or make a “belly band” to keep it fully closed. Without anything to hold it closed, it will partially open, and looks ADORABLE displayed on the mantel. Just sayin’ . . . (grin)

My two designs are super simple, but I’m so tickled with how quickly and easily they came together!

Thanks for stopping by and I hope your weekend was relaxing and fun—summer is getting so close now!


Disclosure: I include affiliate links to the products used in my projects and make a small commission when you purchase via those links, at no extra dimes to you. 🙂 Your support is appreciated more than I can say!

SUPPLIES:

Waffle Flower Crafts Retro Hugs Stamp & Die Combo - EH

Waffle Flower Crafts Retro Hugs Stamp Set - EH

Waffle Flower Bear Hugs Die Set - EH

Catherine Pooler Cotton Candy Ink - EH

Catherine Pooler Apricot Ink - EH

Catherine Pooler Coral Cabana Ink - EH

Versamark Embossing Ink - EH

Detail White Embossing Powder - EH

Heat Embossing Tool - EH

MISTI - EH

Neenah Solar White 80# Card Stock - EH

Canson XL Watercolor Paper 140# - EH

Pink Card Stock - EH

Orange Card Stock - EH

Golden Card Stock - EH

Watercolors - EH

Glossy Accents - EH

Sequins - *from my stash; original source: HAI Supply

Dimensional Adhesive - EH

Double Sided Adhesive Tape - EH

WAFFLE FLOWER SNEAK PEEK + A GIVEAWAY


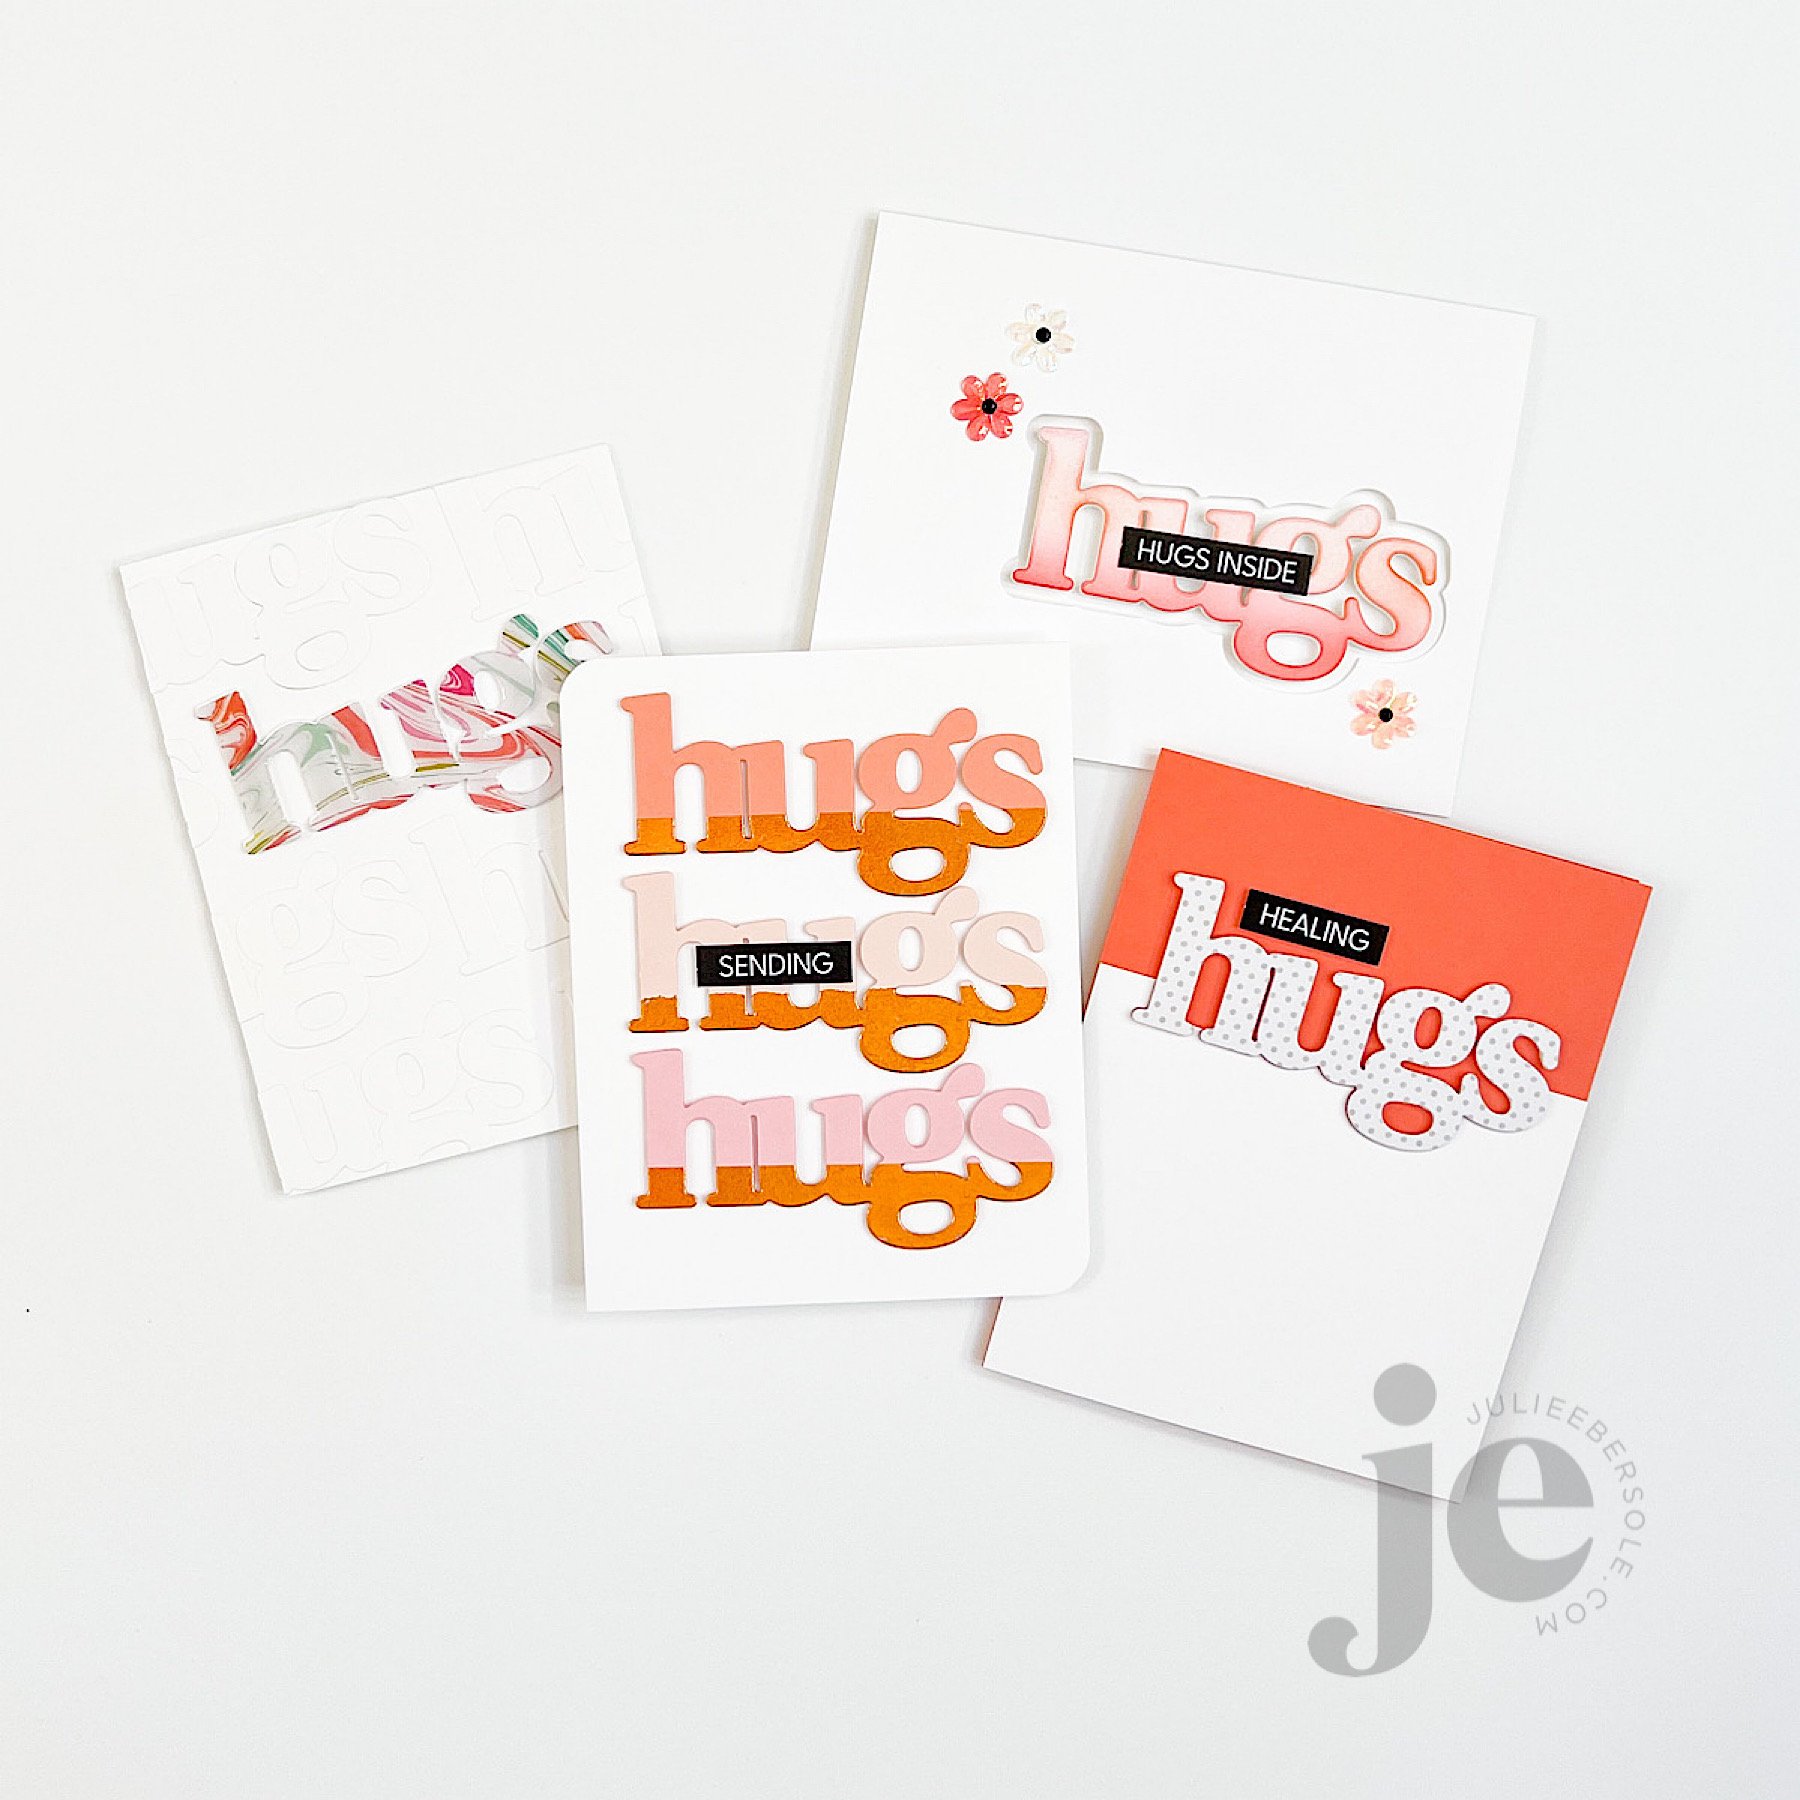
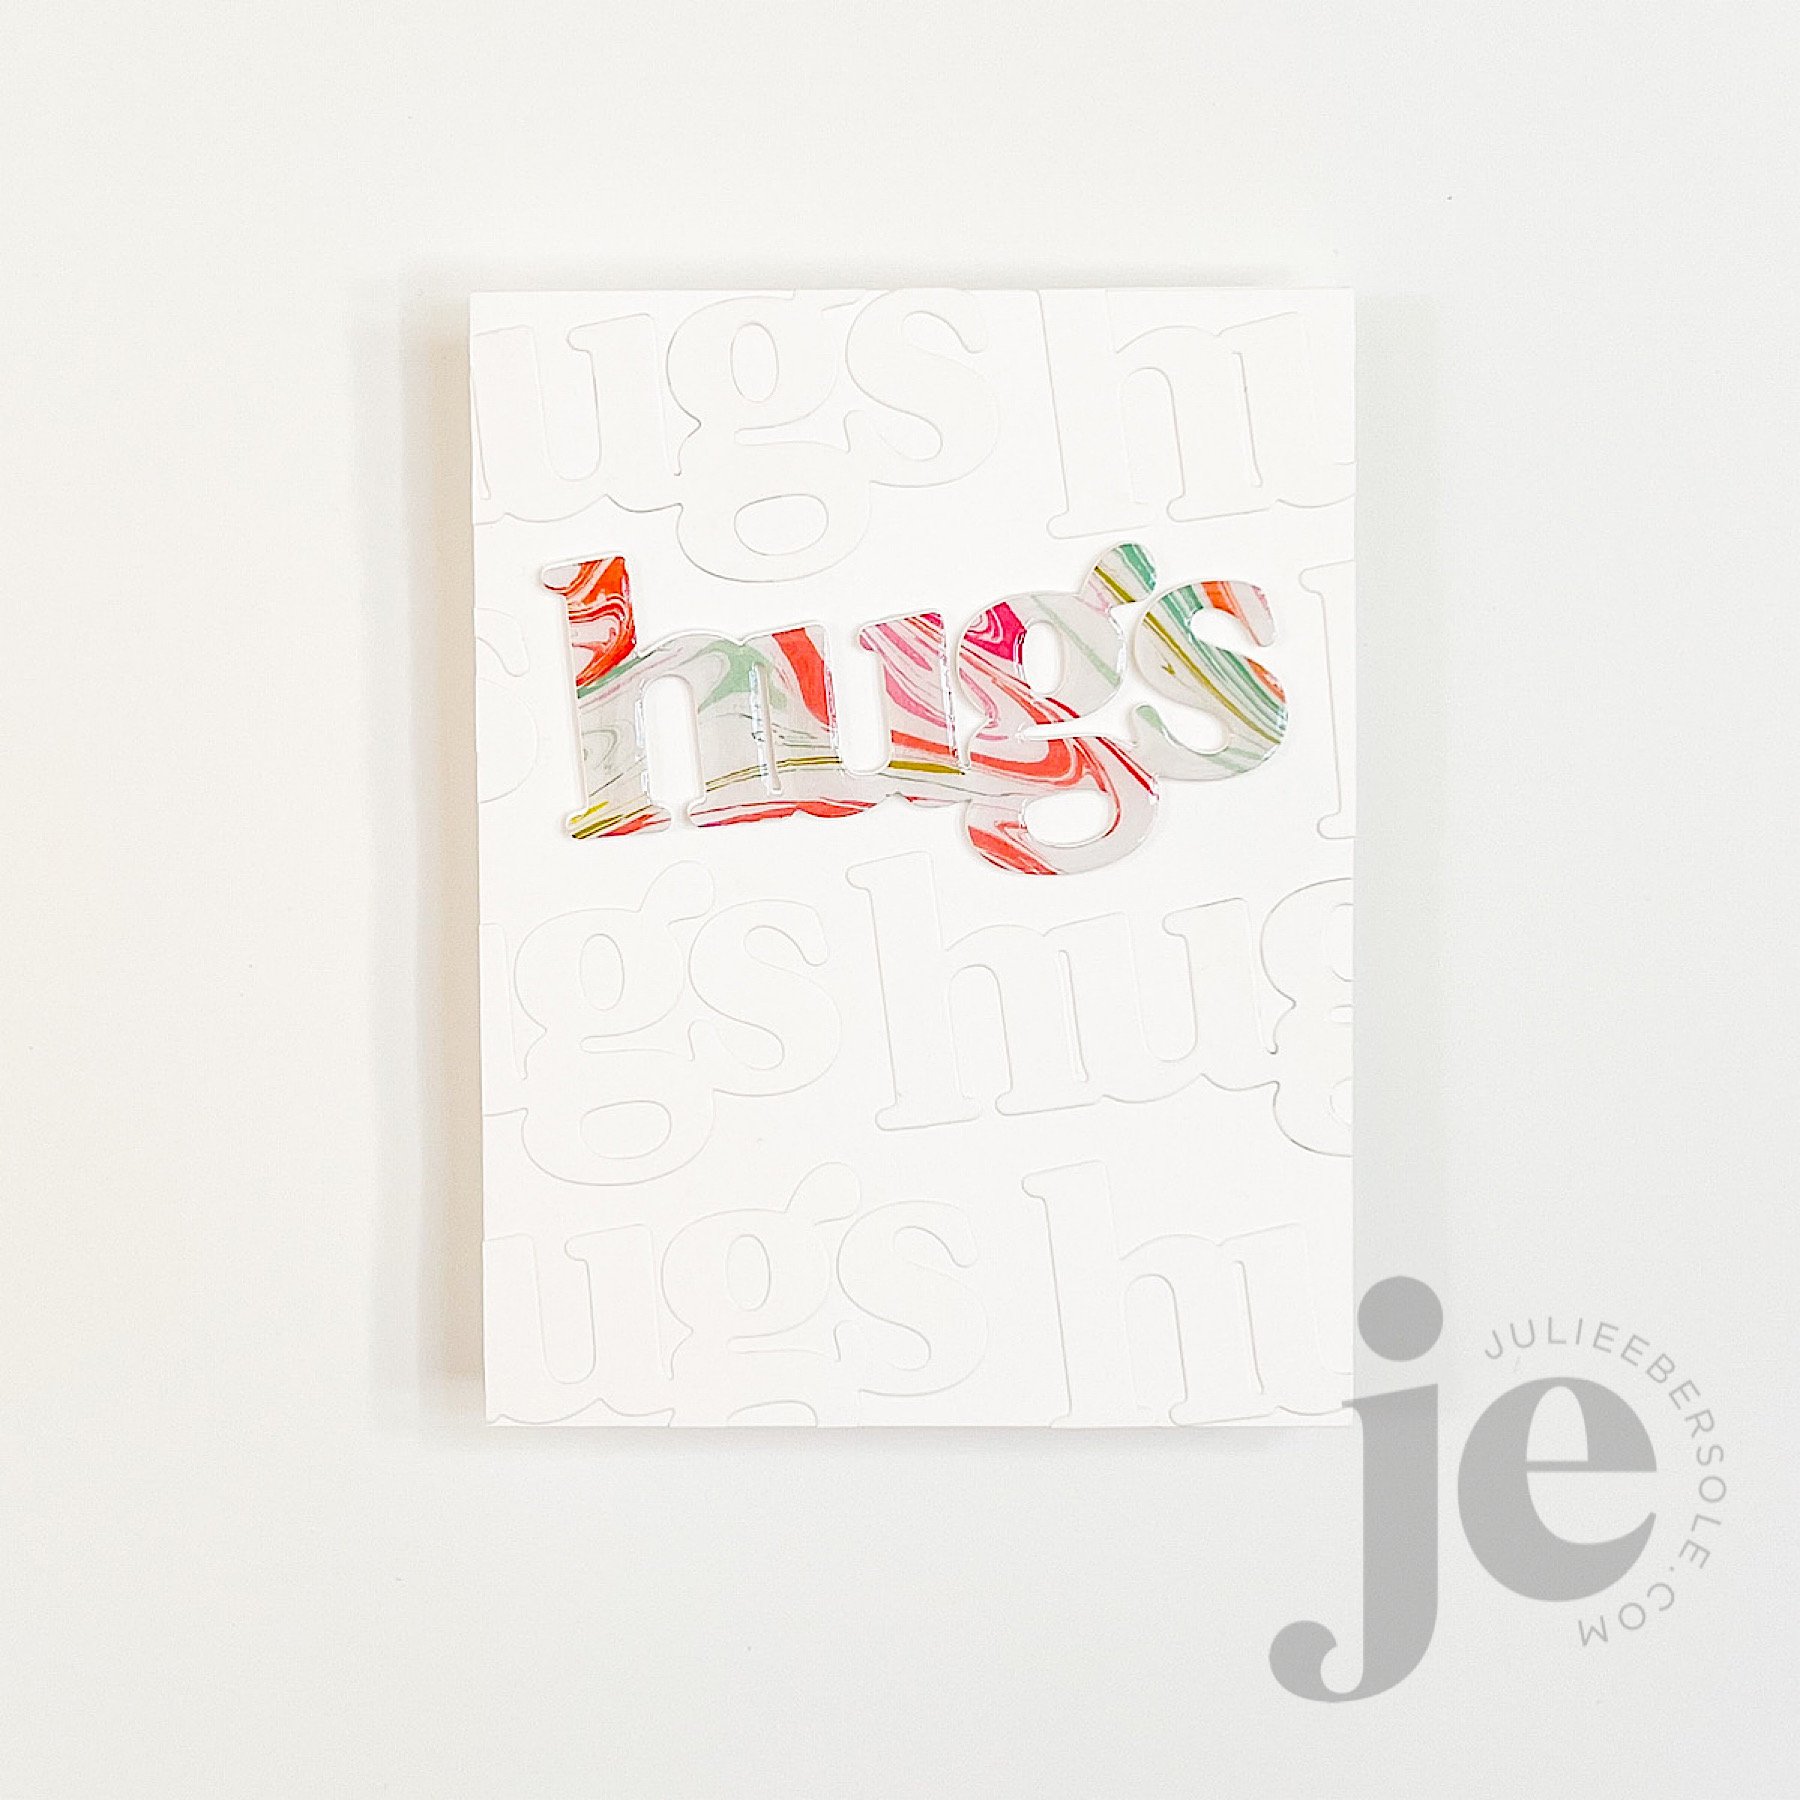
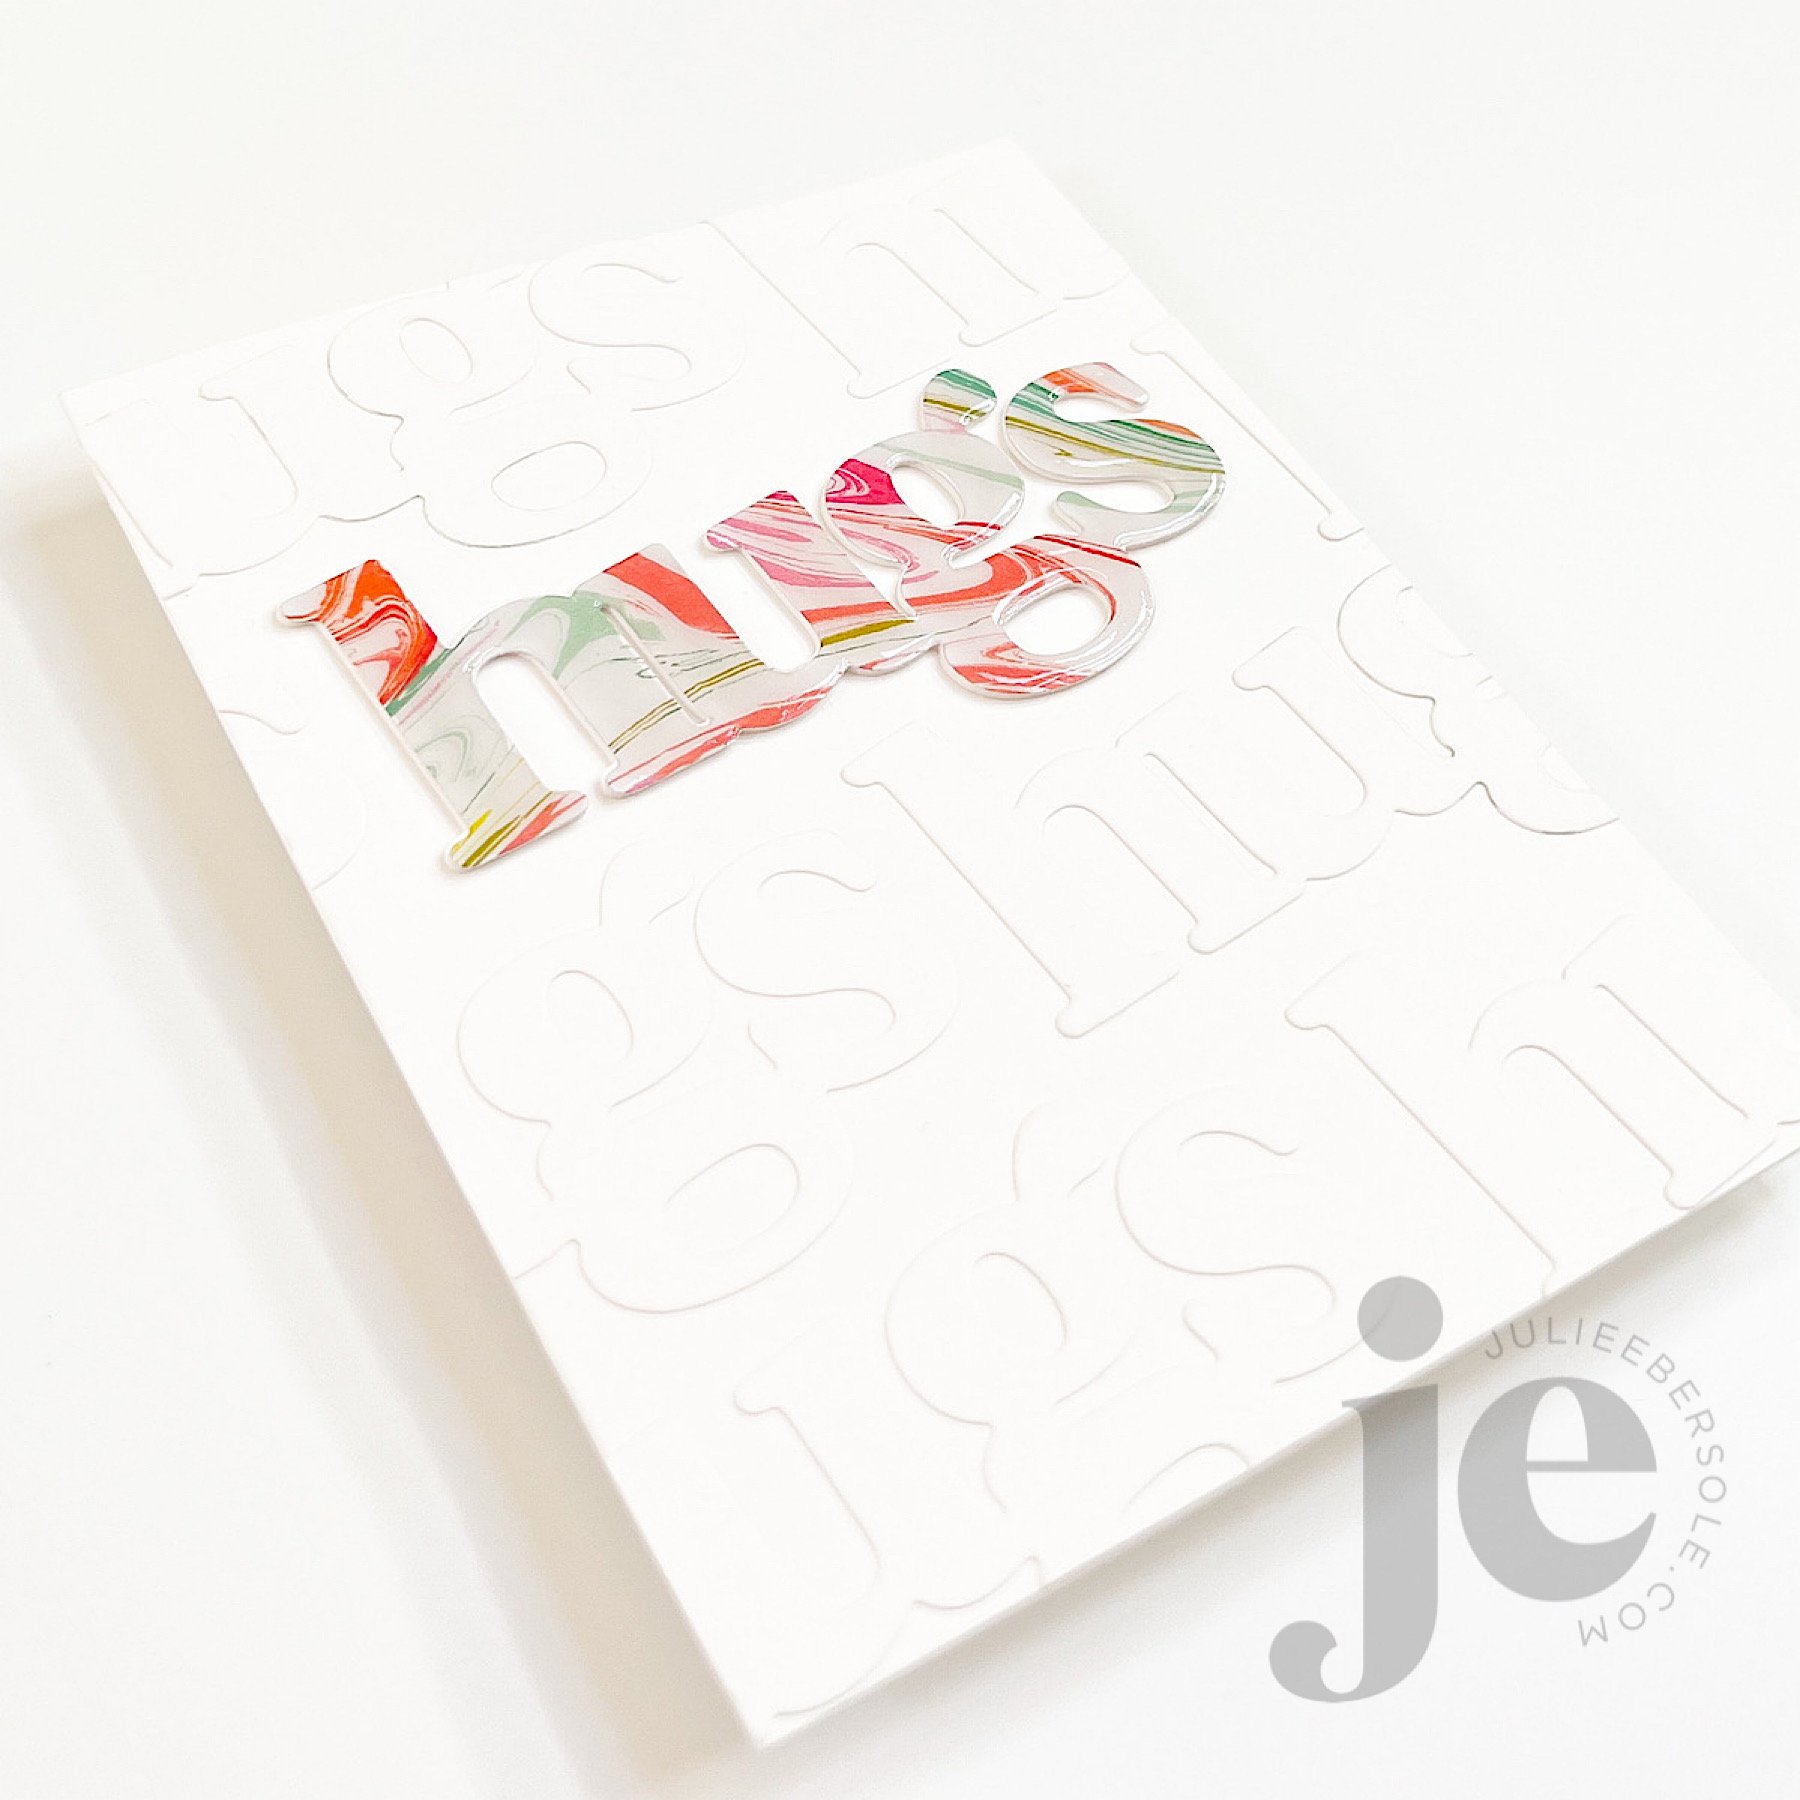
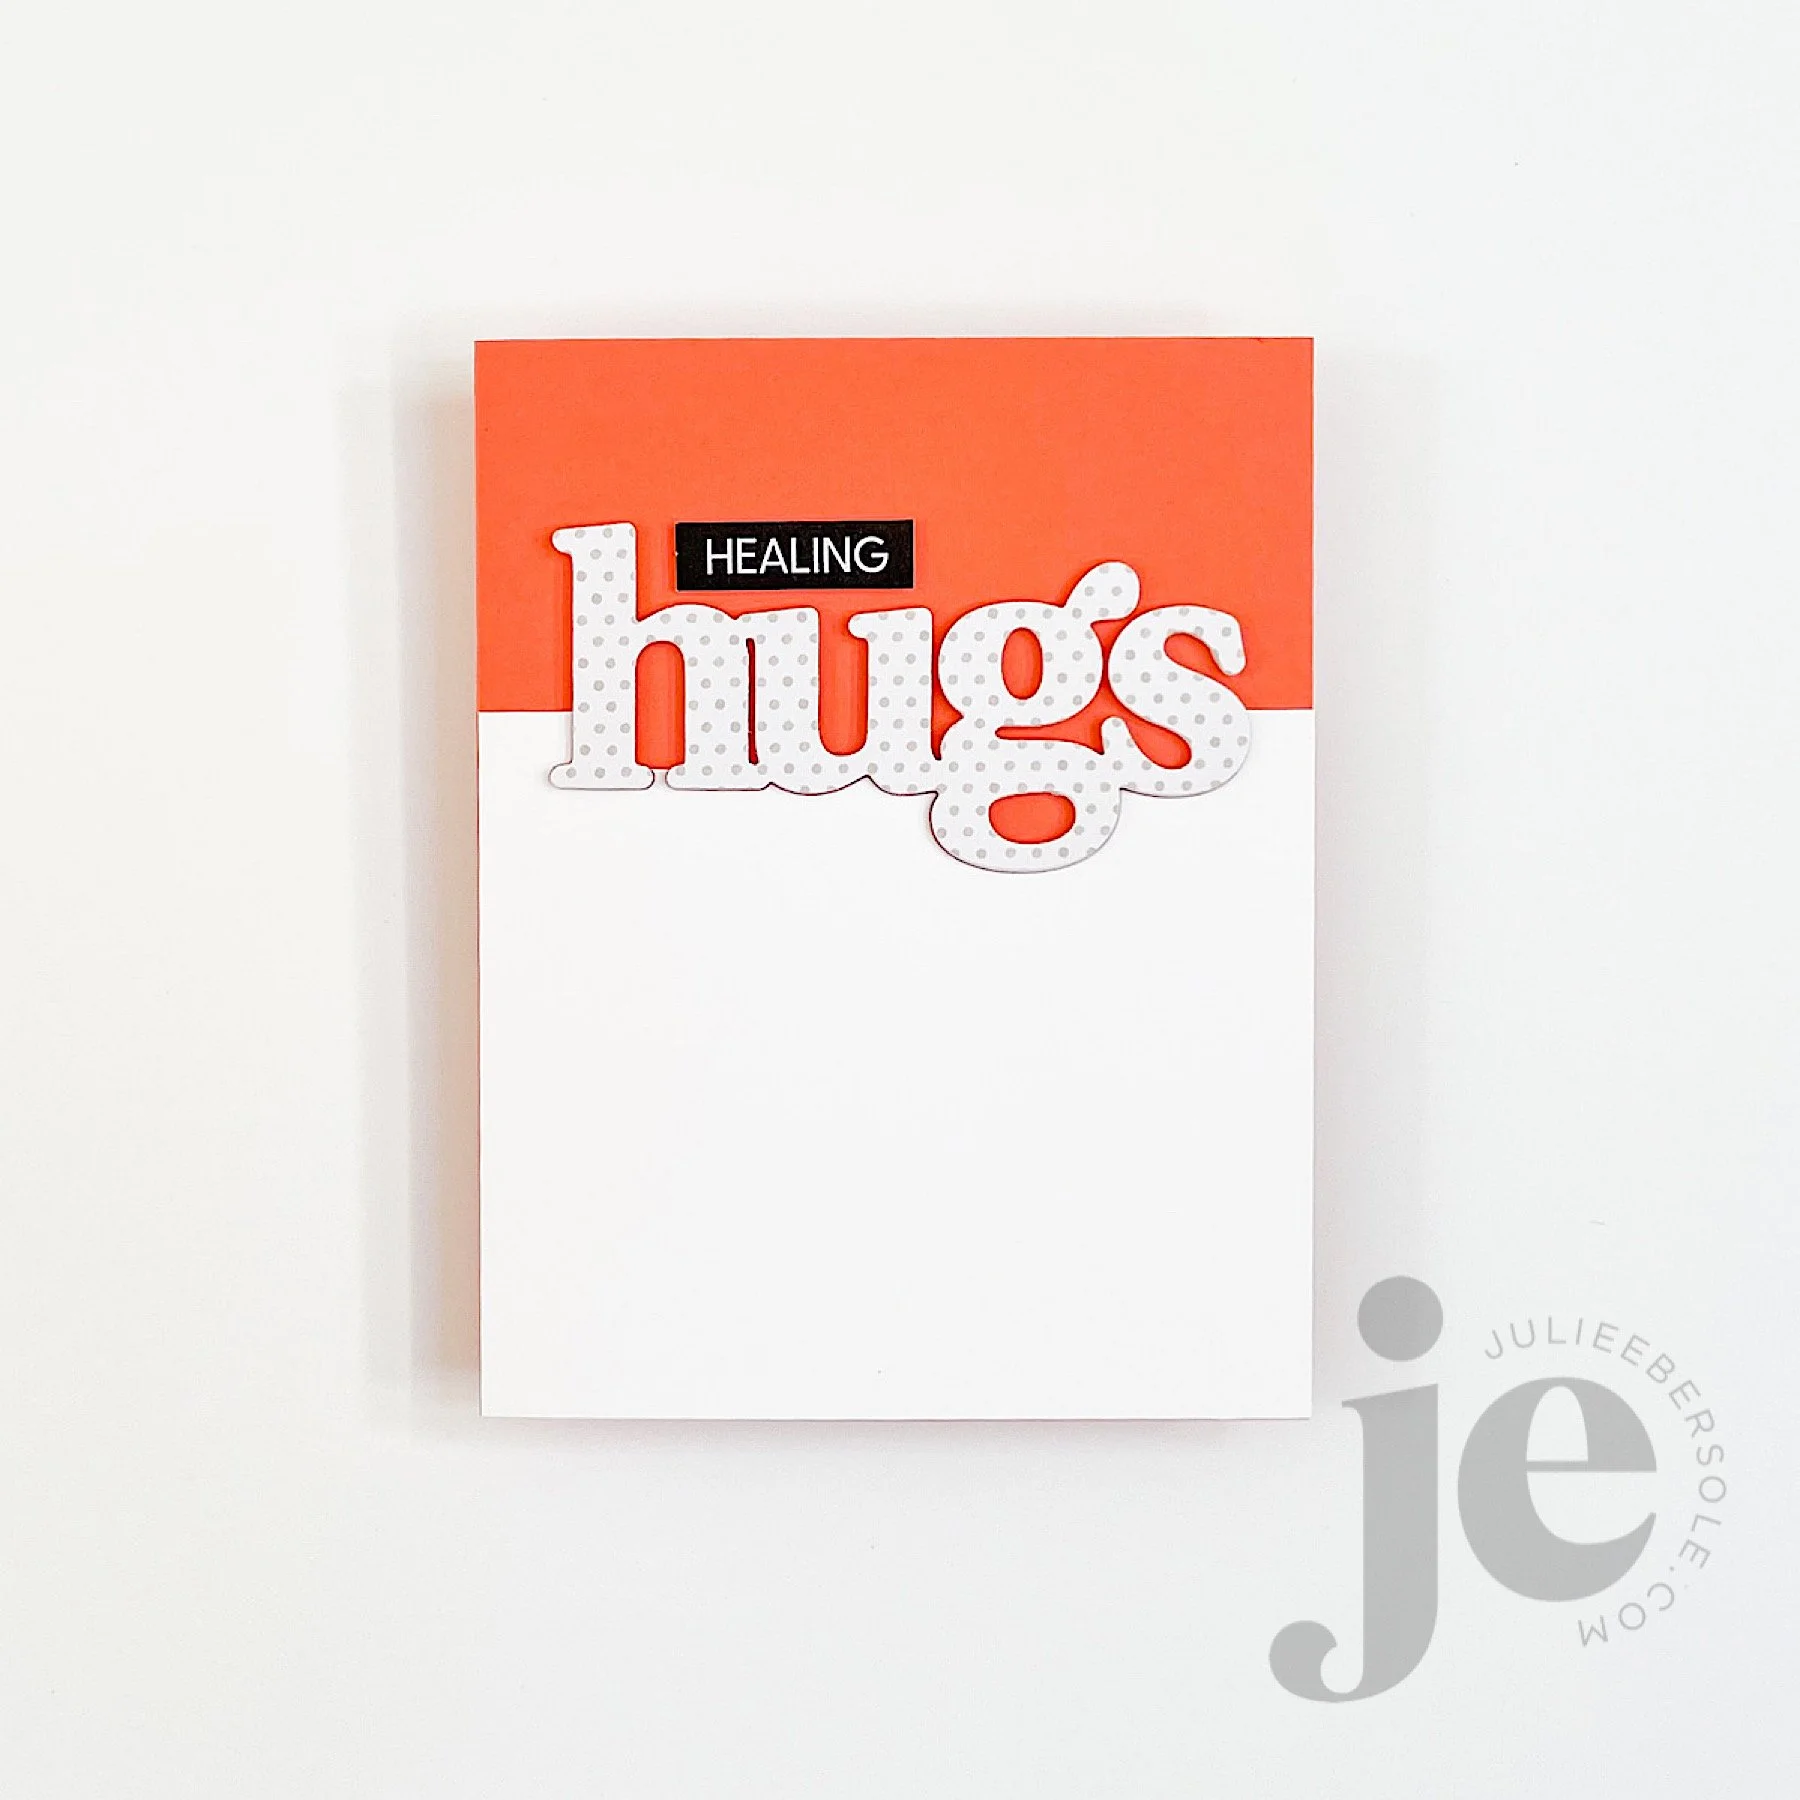
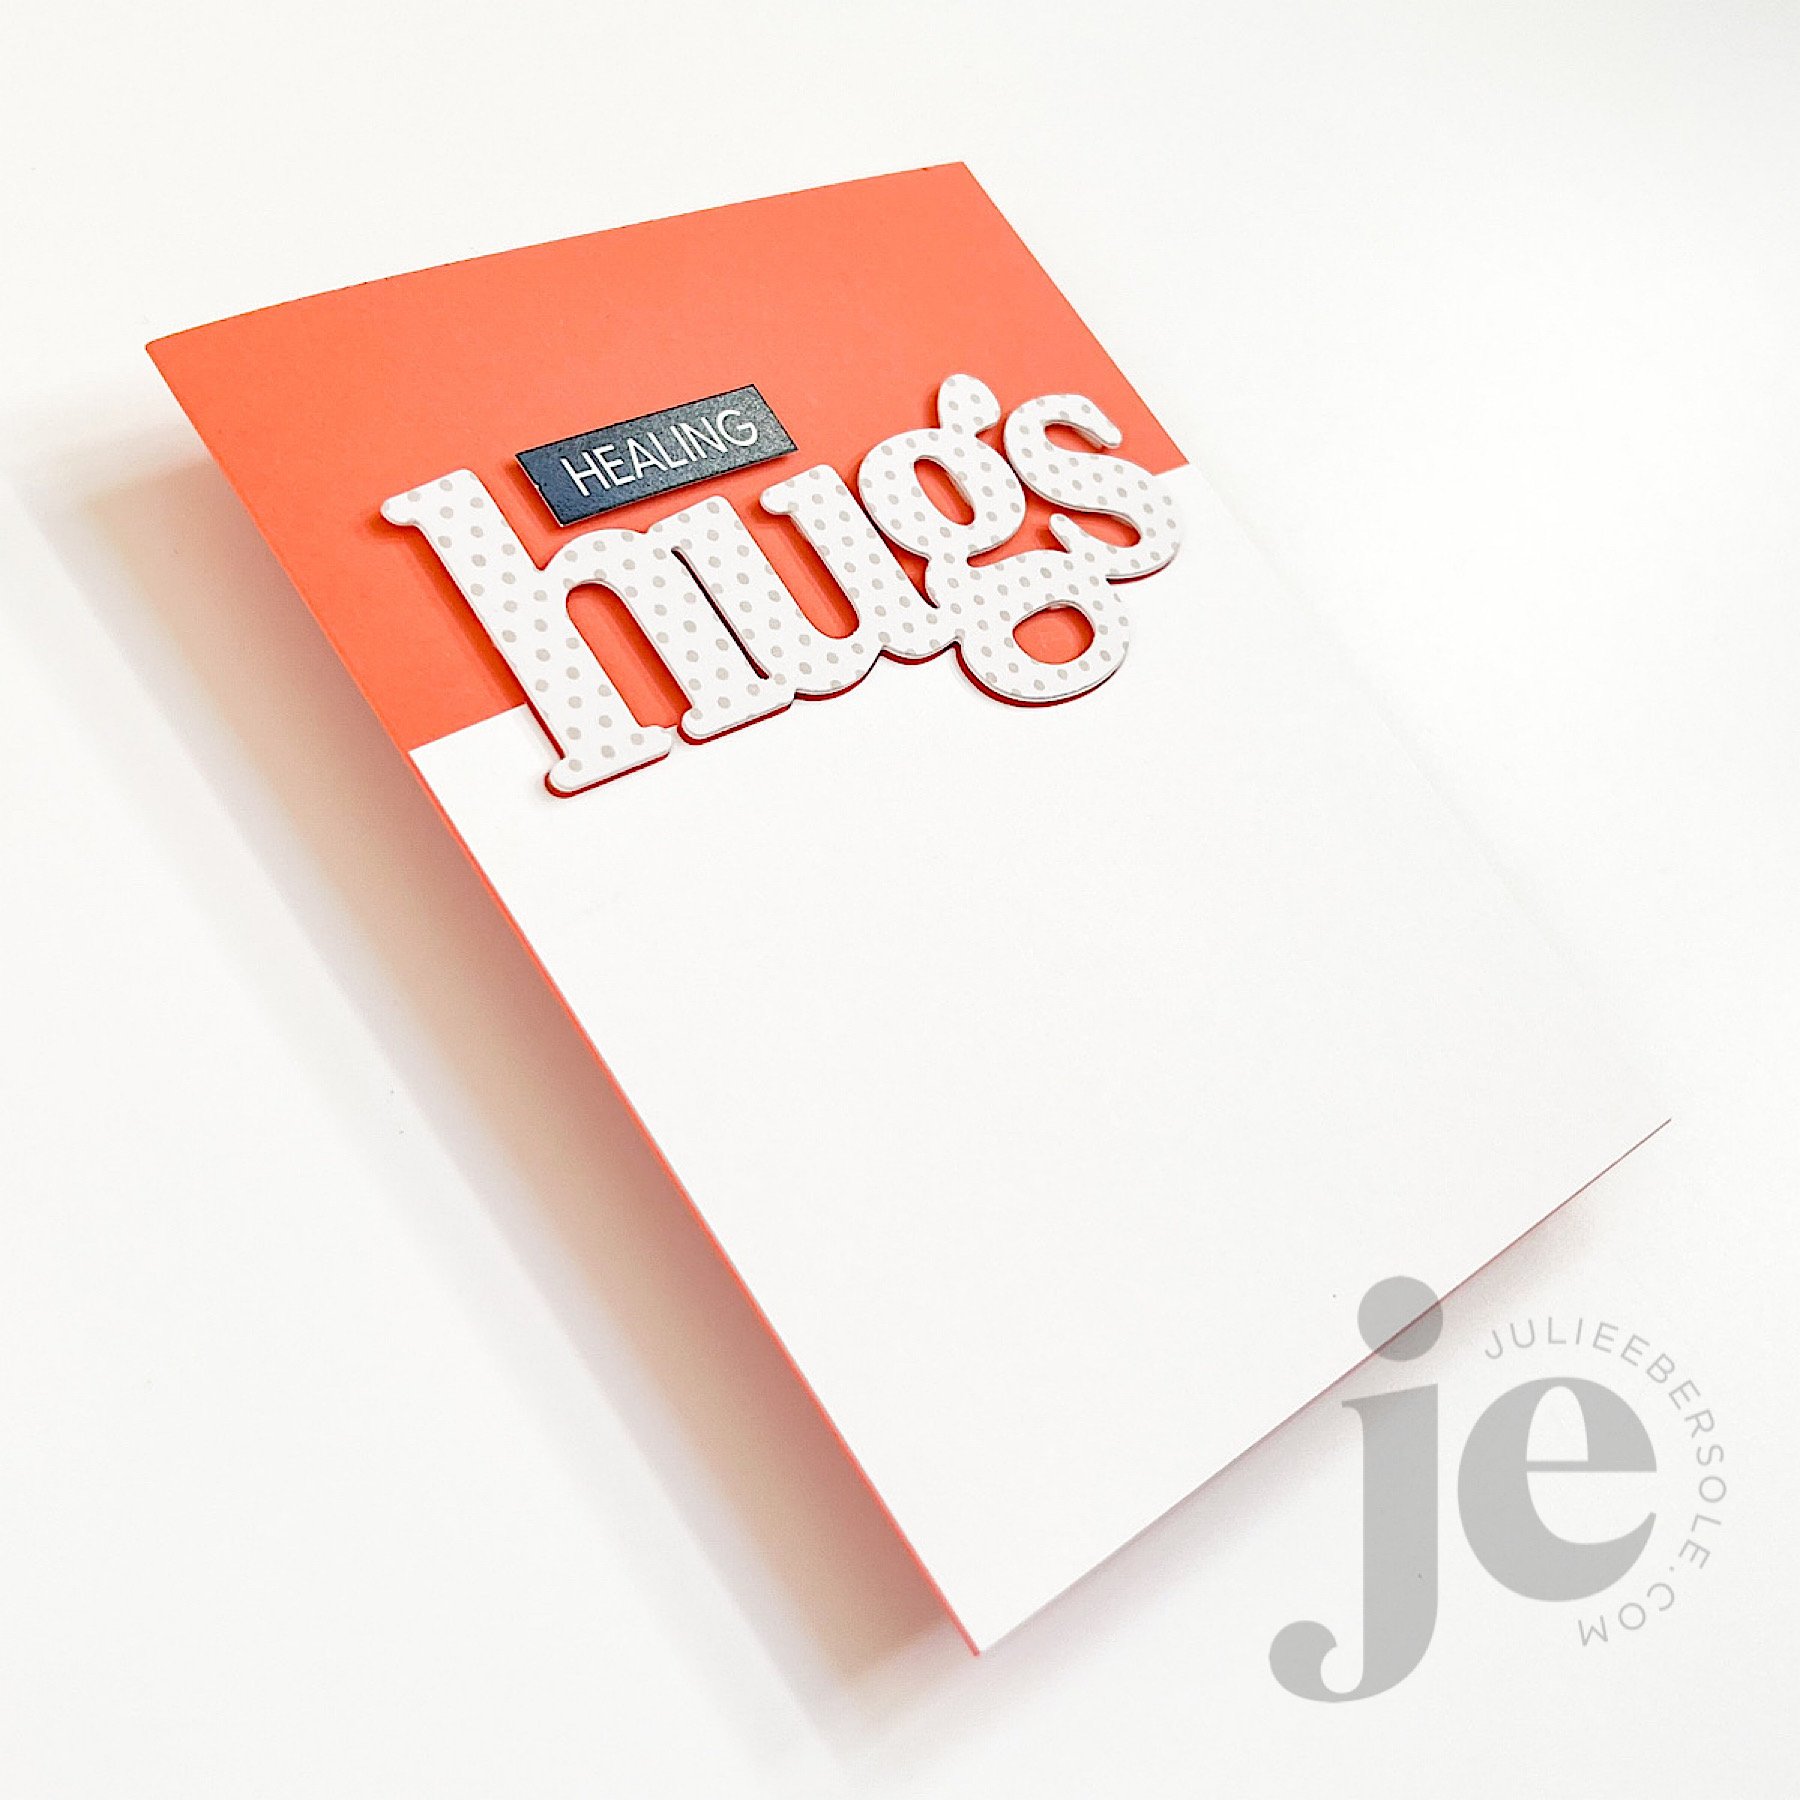
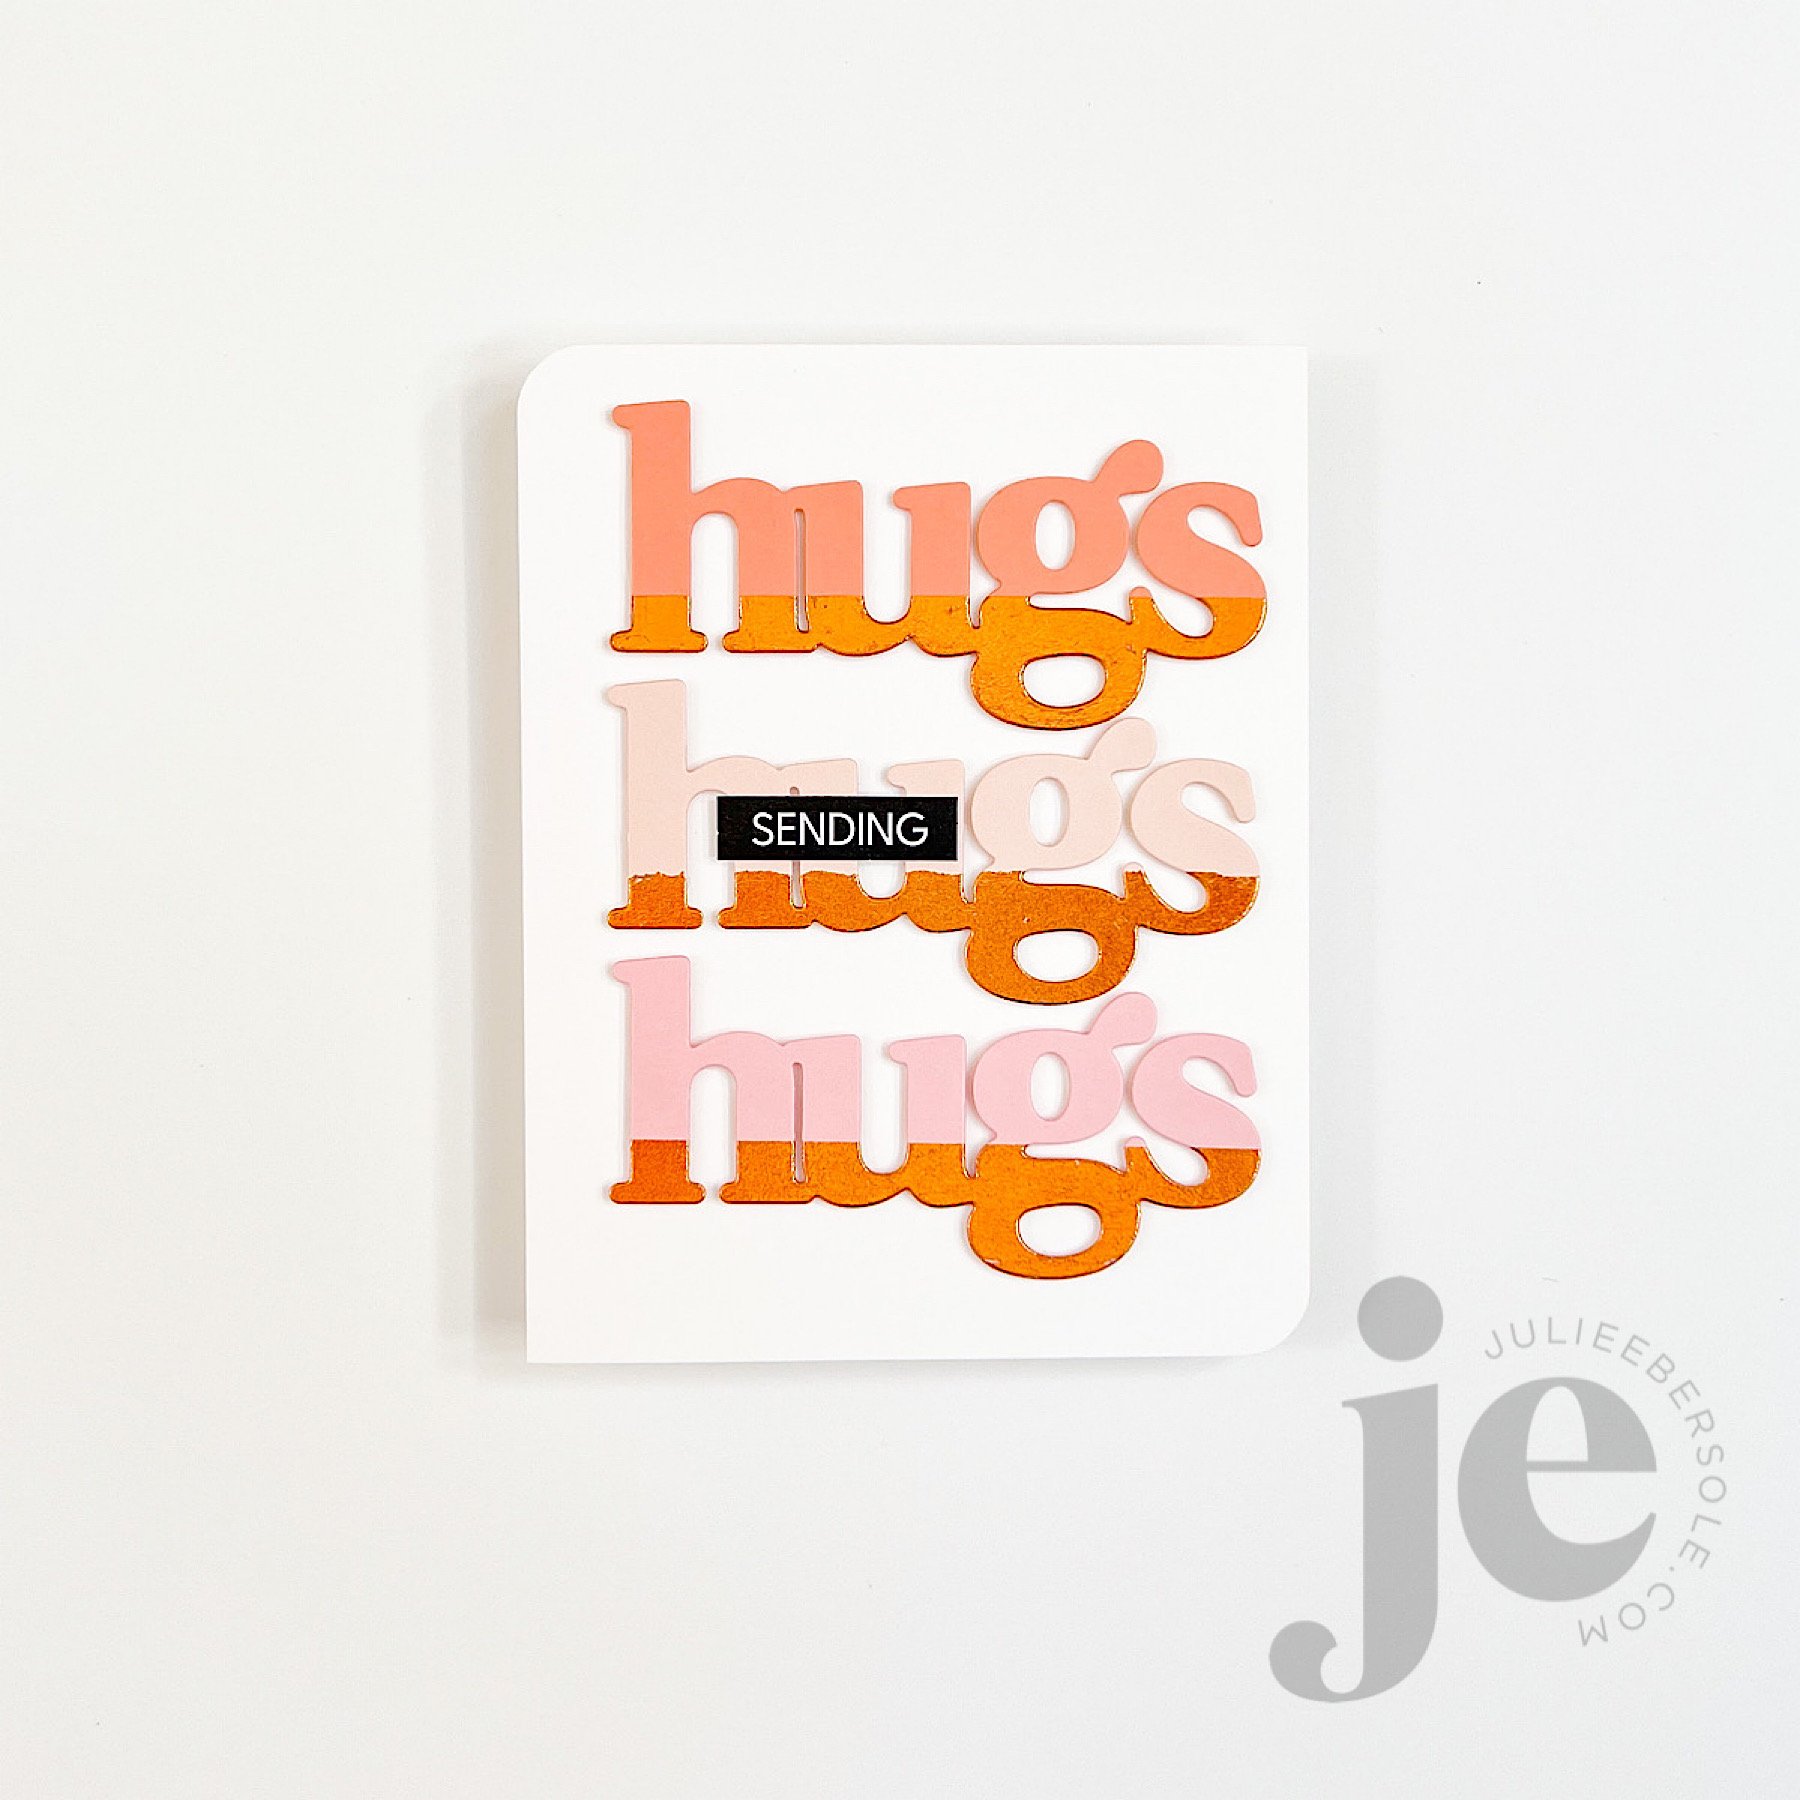
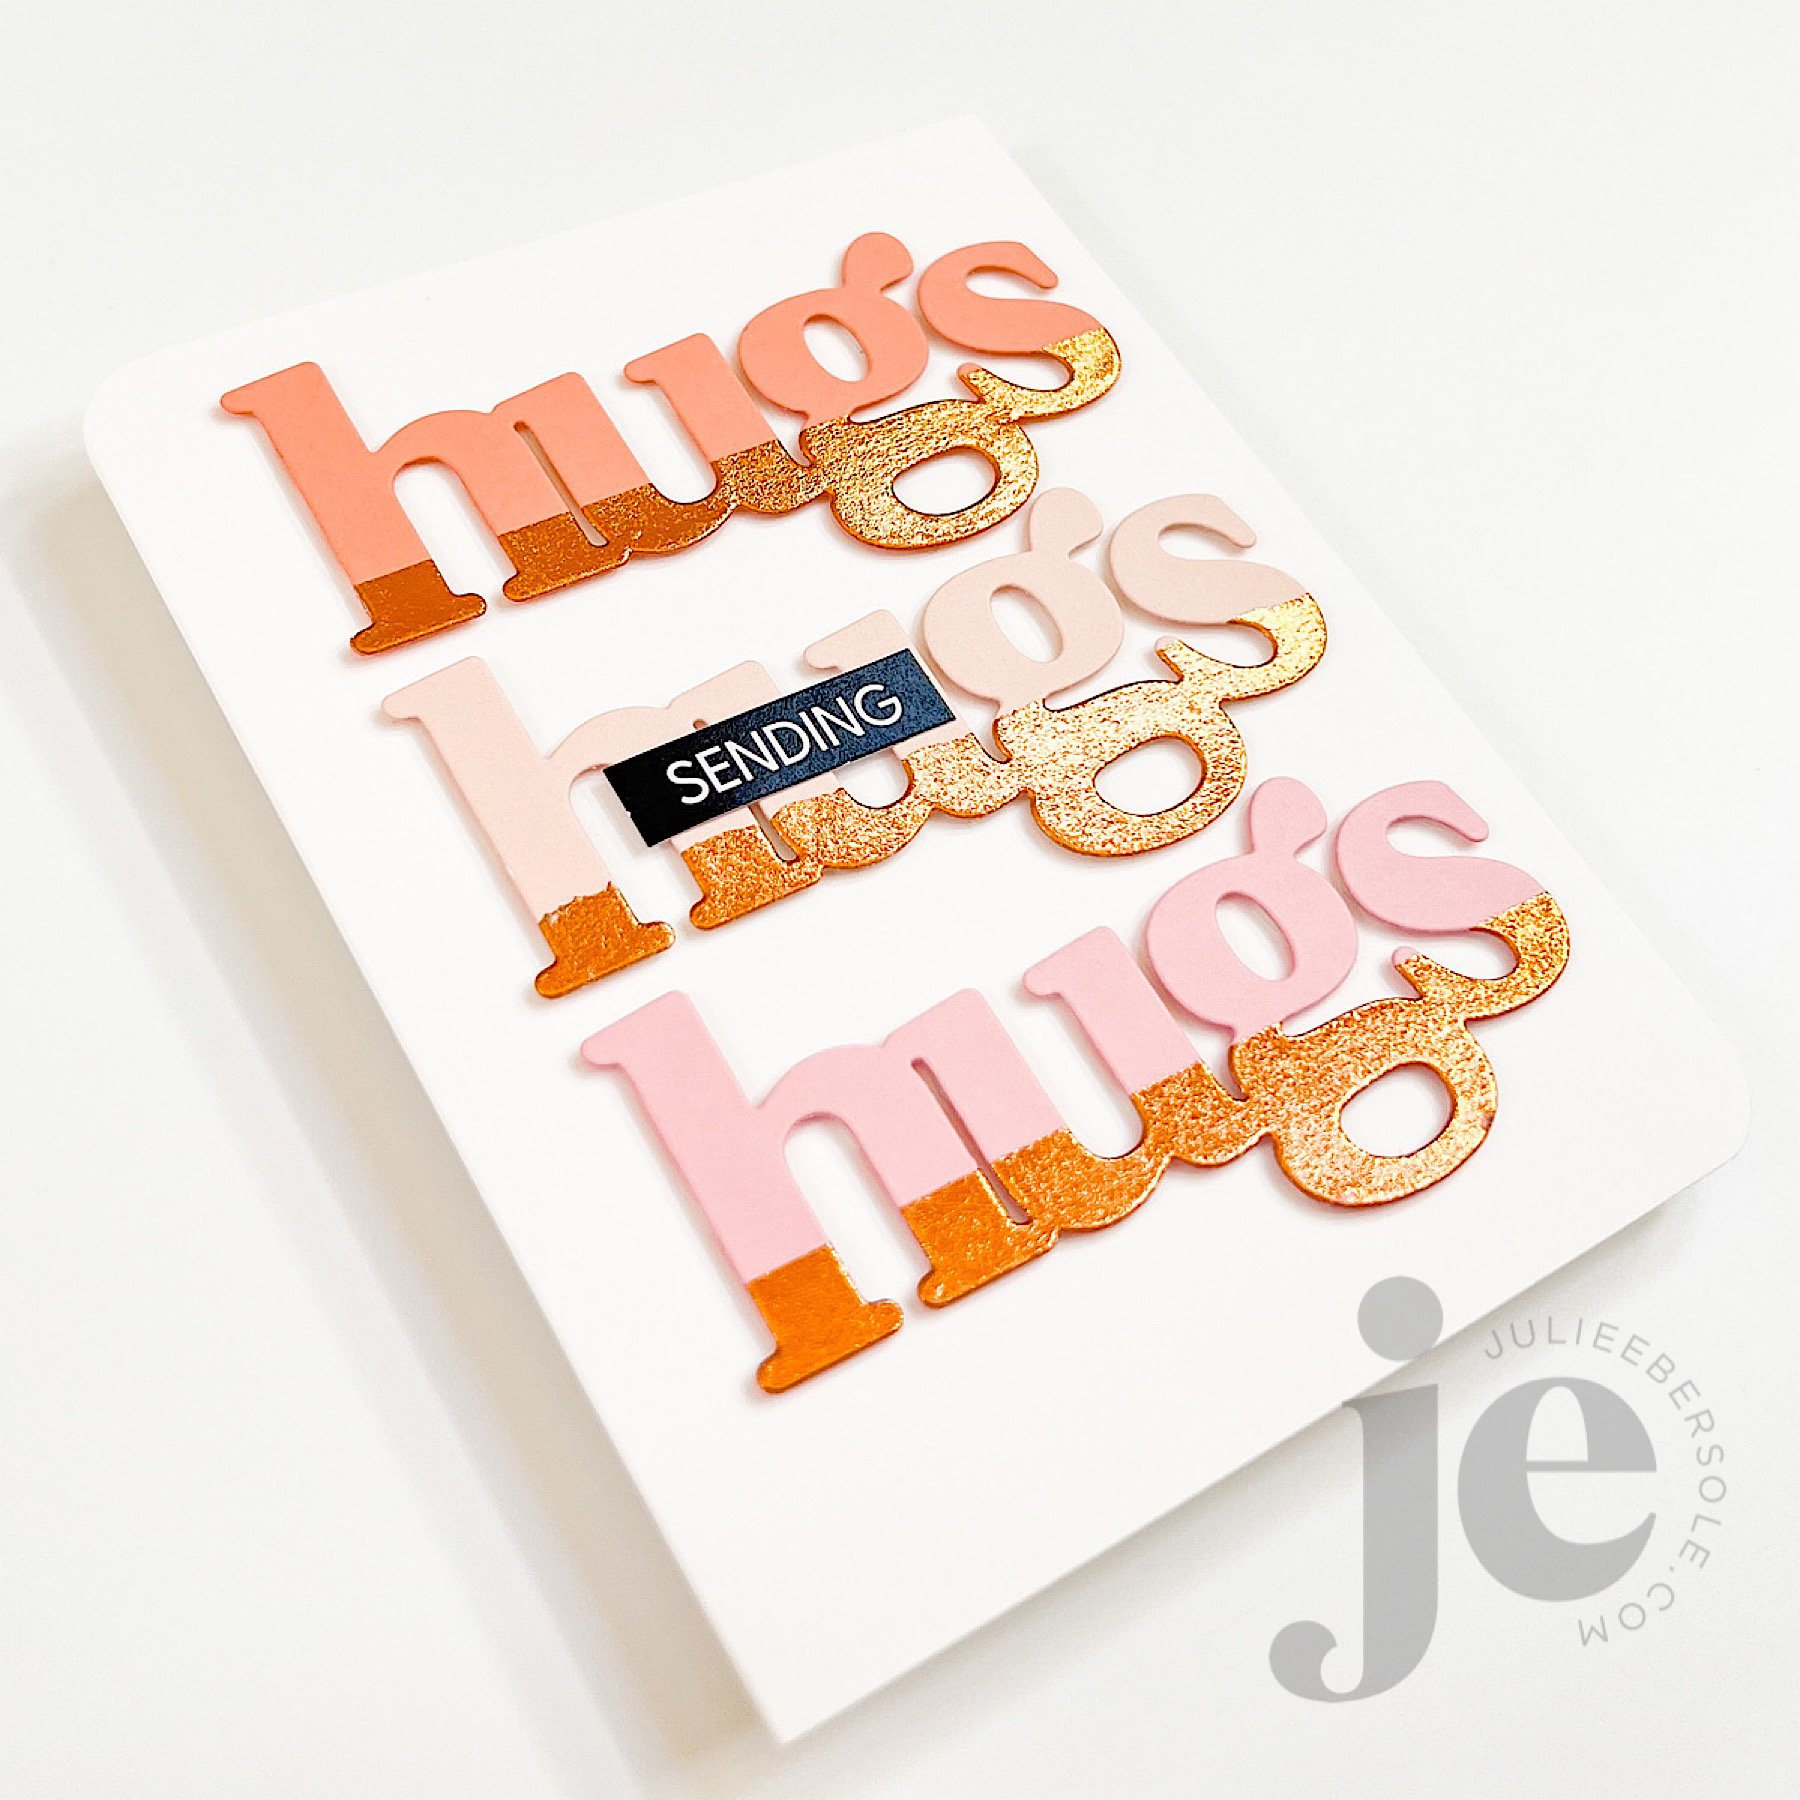
There are a LOT more ways this Oversized Hugs Die can be used, but today, I’m showcasing four!

And, Waffle Flower has a giveaway going on—you could win this Kit #05, from their Sneak Peek Club by leaving a comment for me over on this video on my YouTube Channel!

  • Open to folks with US addresses only at this time.

  • Be sure to comment there by 05/31/2023.

  • The folks at Waffle Flower will draw a winner and contact them.

FYI: Waffle Flower’s Sneak Peek Club is a monthly subscription, with each kit featuring part of an upcoming release. All the products included in Kit #05 will be available individually on 06/05/2023 when their release goes live. New subscribers to the Sneak Peek Club as of today’s date (05/25/2023) will receive the next upcoming kit.

Below is a slide show you can scroll through to see still shots of the 4 different cards I created:

So fun, right?! Scamper on over to my YouTube video so you can enter for a chance to win!

And, may the odds be ever in your favour! (wink!)


SUPPLIES: Affiliate links included wherever possible. I may earn a small commission from qualifying purchases made via my links.

  • Oversized Hugs Die by Waffle Flower (***Kit #05 products will be available individually on 06/05/2023***)

  • Catherine Pooler Cotton Candy Dye Ink - EH

  • Catherine Pooler Do-si-do Dye Ink - EH

  • Catherine Pooler Coral Cabana Dye Ink - EH

  • Blending Brushes - EH

  • Waffle Flower Mini Media Mat - EH

  • Double Sided Sheet Adhesive - EH

  • Scraps of Transfer Foil - *from my stash

  • Spellbinders Platinum 6 Die Cutting Machine - EH

  • Tonic Comfort Trimmer - EH

  • Tonic NUVO Drops in Ebony - SB

  • Flower Sequins - *from my stash

  • Ranger Glossy Accents - EH / SB

  • Bearly Art Glue - EH

  • Neenah Solar White 80# Card Stock - EH

  • Bazzill Pale Rose Card Stock - SB

  • Concord & 9th Ballet Slipper Card Stock - EH

  • Concord & 9th Sorbet Card Stock - EH

  • Patterned Papers - *from my stash

ECLIPSE DIE CUTTING EFFECT

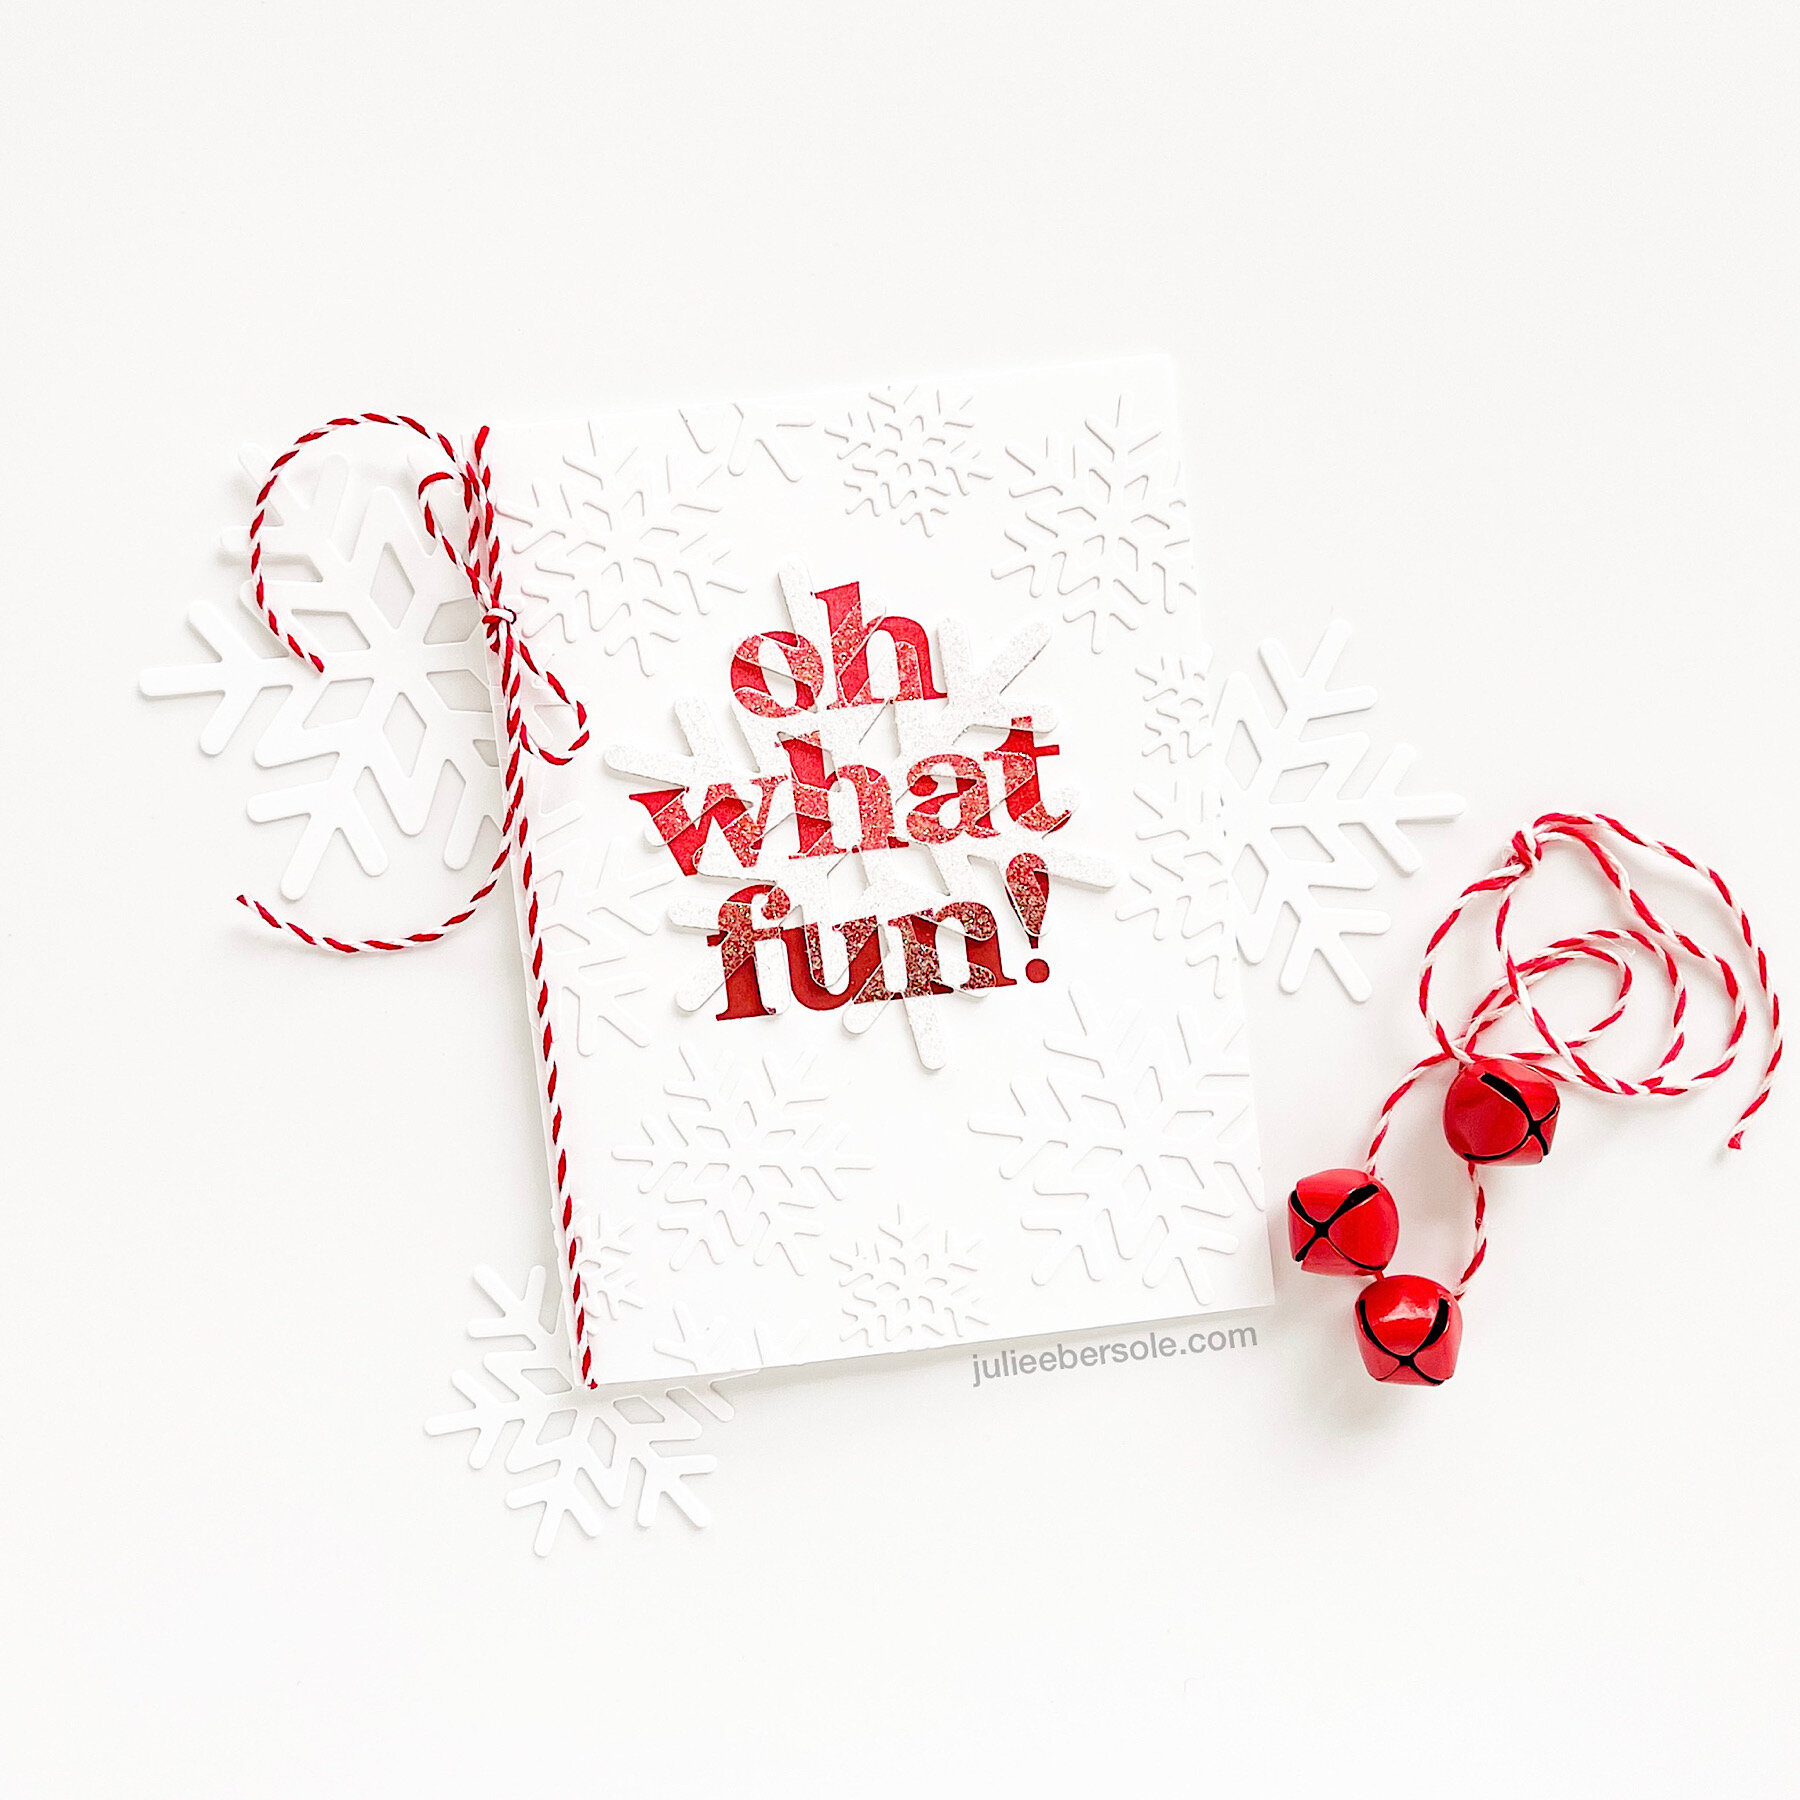
I have seen a number of questions regarding how I achieved the effect on the “Oh What Fun!” card; at the time, I was literally outta’ steam and just couldn’t pull off a video prior to sharing it for the Holiday Release.

Eclipse cards are among my most favorite to make—the technique is simple, not messy, and the end result is one that always seems to fascinate folks. While that’s the focus of my video, I also threw in 2 other techniques that I just happened to combine on these cards, so you’re actually getting a trifecta, LOL! Oooh, go me!

The other two are Ombré Inking, and Faux Embossing Folder (I have no idea if it’s actually called that; it’s what I call it because that’s what it reminds me of), neither of which have to be used in conjunction with the Eclipse Die Cutting, but at the time, that’s the direction the mojo went so I rolled with it. I ended up loving the end result so much I think it was worth the extra time and effort. I wouldn’t necessarily mass produce this type of card, but if I wanted to make an extra special card for someone’s birthday, it is an absolute stunner!

So, would you make a one-off card like this for special occasion? I think something like this would be suitable for a birthday, anniversary, wedding or new baby. If I were making a stack of these, I’d most likely skip the ombré inking and the faux embossing folder effect and just go for the Eclipse.

ANNOUNCEMENT

Also, I wanted to give you a heads’ up that I am going to be transitioning to a new email platform; currently my blog’s RSS feed goes out via MailChimp to those of you that signed up. But, how those emails look has always bugged me (like really, really bugged me!), so I’m moving over to FloDesk.

If you’d like to continue receiving updates/news, other yadda yadda via my email list, please sign up! There’s a new form along the bottom right of my site’s home page you can fill out.

If you’re not interested, no worries; I just didn’t want those who are accustomed to receiving that RSS feed via email to miss out when I finish the transition.

Thanks muchly!


SENDING HOLIDAY CHEER & HOLIDAY SPRIGS

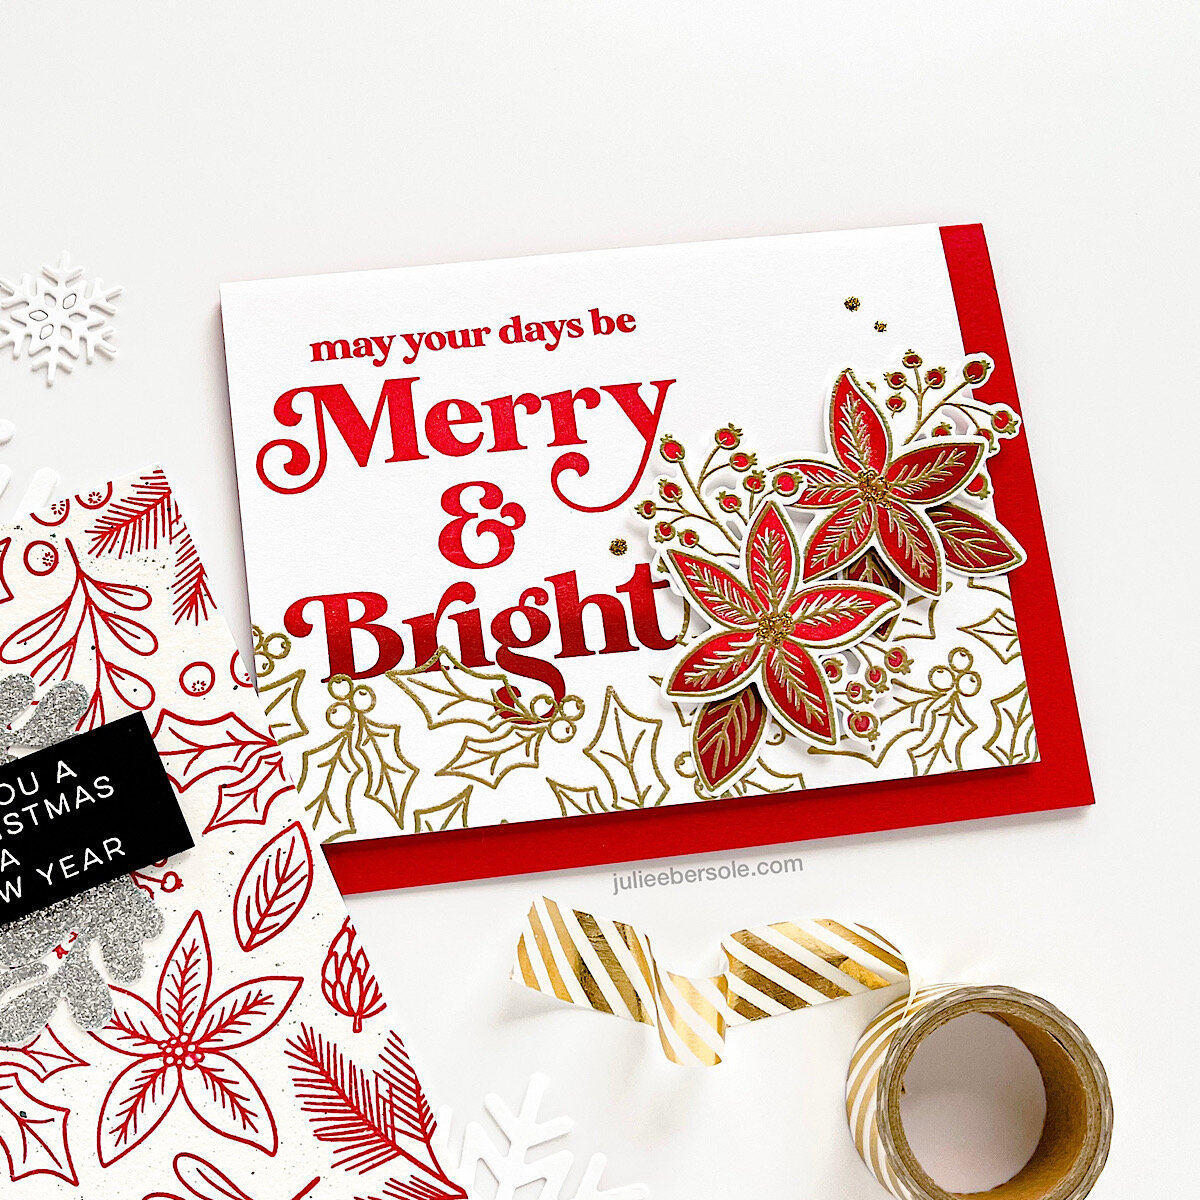
I’m always torn on color schemes for the holidays—not just for cards, but for holiday home decor, too; traditional vs. non-traditional . . . I do love red and white—especially a warm white—it just speaks cozy to me for the holidays. I have to laugh, tho, because at least on my cards I don’t have to “commit” with any permanency, LOL!

feat. Holiday Sprigs / Sending Holiday Cheer / “Wishing you a Merry Christmas…” from Holly Jolly Christmas

feat. Holiday Sprigs / Sending Holiday Cheer / “Wishing you a Merry Christmas…” from Holly Jolly Christmas

Sharing some samples today from the new 2021 Holiday Release that feature Sending Holiday Cheer and Holiday Sprigs. Now, I don’t show them on these particular examples, but there are some humorous quips in Sending Holiday Cheer that would totally bust me up if I opened a holiday card to find them inside. If that resonates with you, definitely take a close look at that set!!!

2021-holiday-WM-07.jpg

I love this ombré inking effect and couldn’t resist repeating that throughout a number of the samples I made for the release page. Holiday Sprigs has solid imagery to coordinate with outline counterparts so if you are not a colorist (like me!), you’ll be happy to have that kind of flexibility.

2021-holiday-WM-06.jpg

The outlines even look so pretty stamped simply in a rich red color against that natural white hue of watercolor paper. I added some fine spatters of black acrylic paint for just a tiny bit of texture and used one of the dies to cut sprigs from glitter paper to create a wreath effect—IRL the sparkle really sets off the whole design.

2021-holiday-WM-08.jpg

I was somewhat hesitant to try this on a darker card stock, but I think the white embossing looks stunning against this grey card stock, especially with the pops of red from the NUVO Drops—such a sophisticated, upscale look! I’m glad I tried it!

I’m so curious to know what other folks lean towards for their holiday colors!

Sidebar: Ellen Hutson is giving away prizes over on our Instagram Hop—if you’re so inclined to toss your name into the hat, go comment along the hop to enter! You can start at my Instagram or the Ellen Hutson Instagram account—just look for the hop graphic so you know you’re commenting on hop related pics!


ESSENTIALS BY ELLEN HOLIDAY 2021 RELEASE IS NOW LIVE

Click on the graphic above to go straight to the release page.

Click on the graphic above to go straight to the release page.

Have you determined what you wanna make for your holiday cards this year? Cuz you’re in luck today! The Ellen Hutson Holiday 2021 Release just dropped! We’ve got snowflakes, stockings, festive holiday botanicals, bold typography and some lighthearted snark for the insides of your greetings (HINT: take a close look at Sending Holiday Cheer on that release page; just sayin’ . . . ) that will elicit some laughs from the recipients of your creations!

feat. Essentials Snowflakes Die Set / Oh What Fun Stamp Set (Gift with $75 purchase)

feat. Essentials Snowflakes Die Set / Oh What Fun Stamp Set (Gift with $75 purchase)

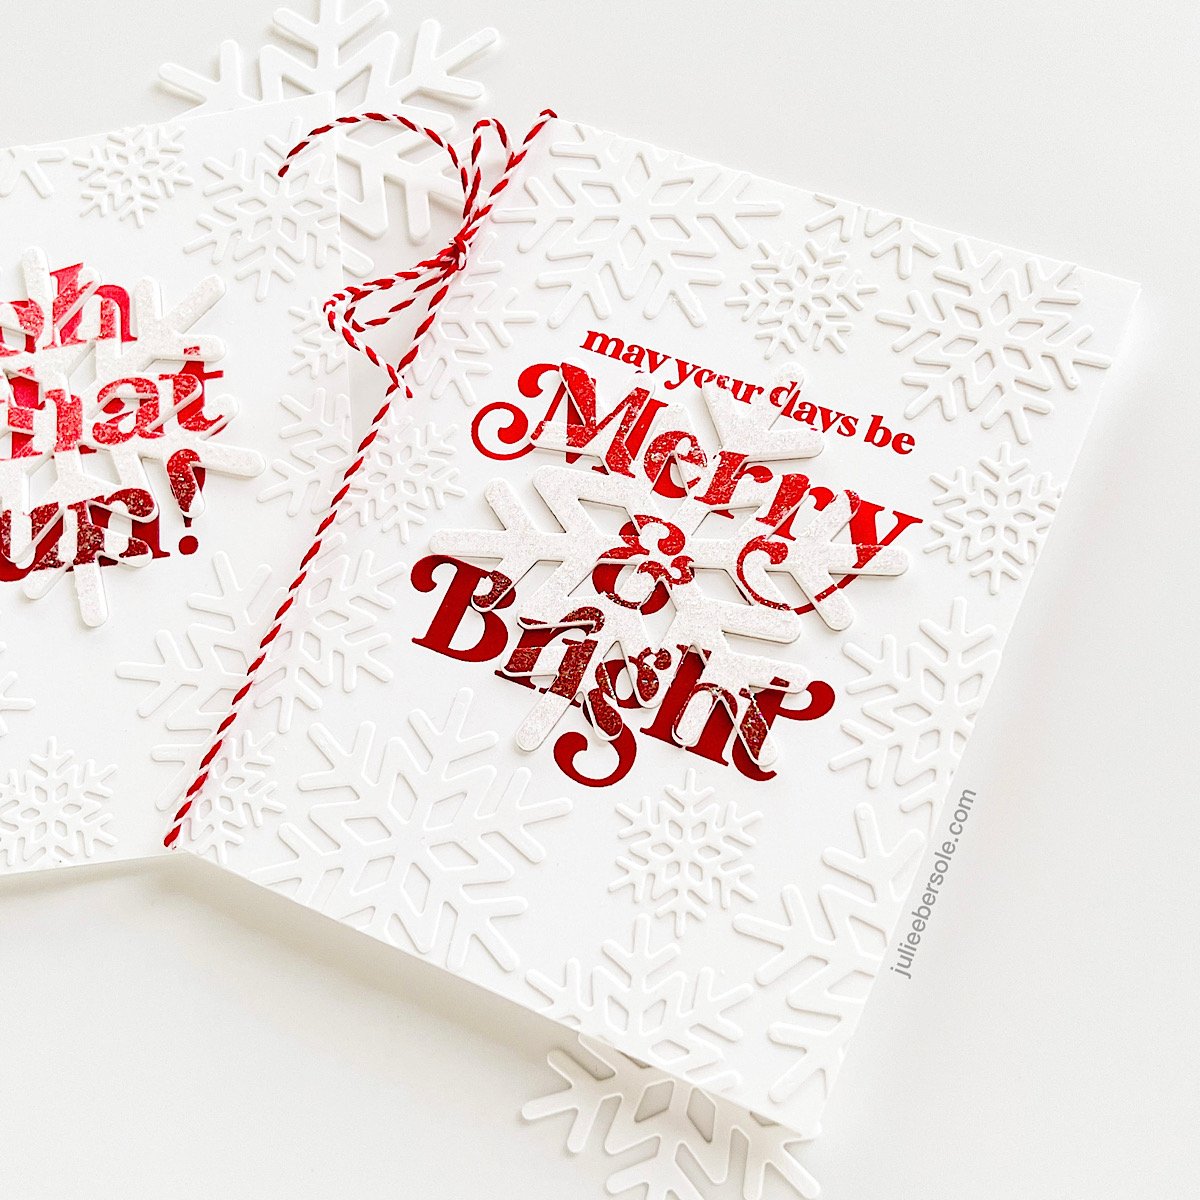
Today I wanted to highlight the Gift With Purchase Set “Oh What Fun”—I adore the modern lettering and how nicely it plays with this “eclipse” technique, using the new Essentials Sowflakes set (the largest of the set was used to create the eclipse, and the other sizes were layered all over to create a faux embossing folder effect!

“On What Fun” will be included with any orders of $75 at ellenhutson.com Oct 15-17 (while supplies last; please see the website for details).

The ombré inking effect on the sentiment was achieved by inking and stamping first with Rockin’ Red (a stamp positioning tool, like the MISTI, is key to creating this effect with precision), then inking the lower half of the sentiment with Peppermint Scrub, blending the edge with a smooth blending sponge, to avoid a hard line, and stamping again directly over the first impression. The end result will be a beautifully smooth transition from the red to the deeper almost wine hue. I’m a sucker for ombré . . .

If you’re not familiar with the “eclipse” technique, you can see me demonstrate it during a LIVE with Ellen that we did for Summer of Stamping. It’s definitely one of my all-time favorite techniques. Because easy.

As for the faux embossing folder effect? I have a tip for ya’:

Apply Stick-It Sheet adhesive to the back of your card stock BEFORE die cutting the snowflakes; then you can just peel and stick ‘em wherever you want on your card front all quick-like. When you trim off snowflakes that end up hanging off the edge of your card front, many of them can be positioned elsewhere you feel there are any gaps (along the outer straight edges). •fist pump•

I’ll be sharing more samples in the coming days—thanks so much for reading!