stencil

TROPICAL VIBES

Disclosure: I include affiliate links to the products used in my projects and make a small commission when you purchase via those links, at no extra dimes to you. Thank you for the support!

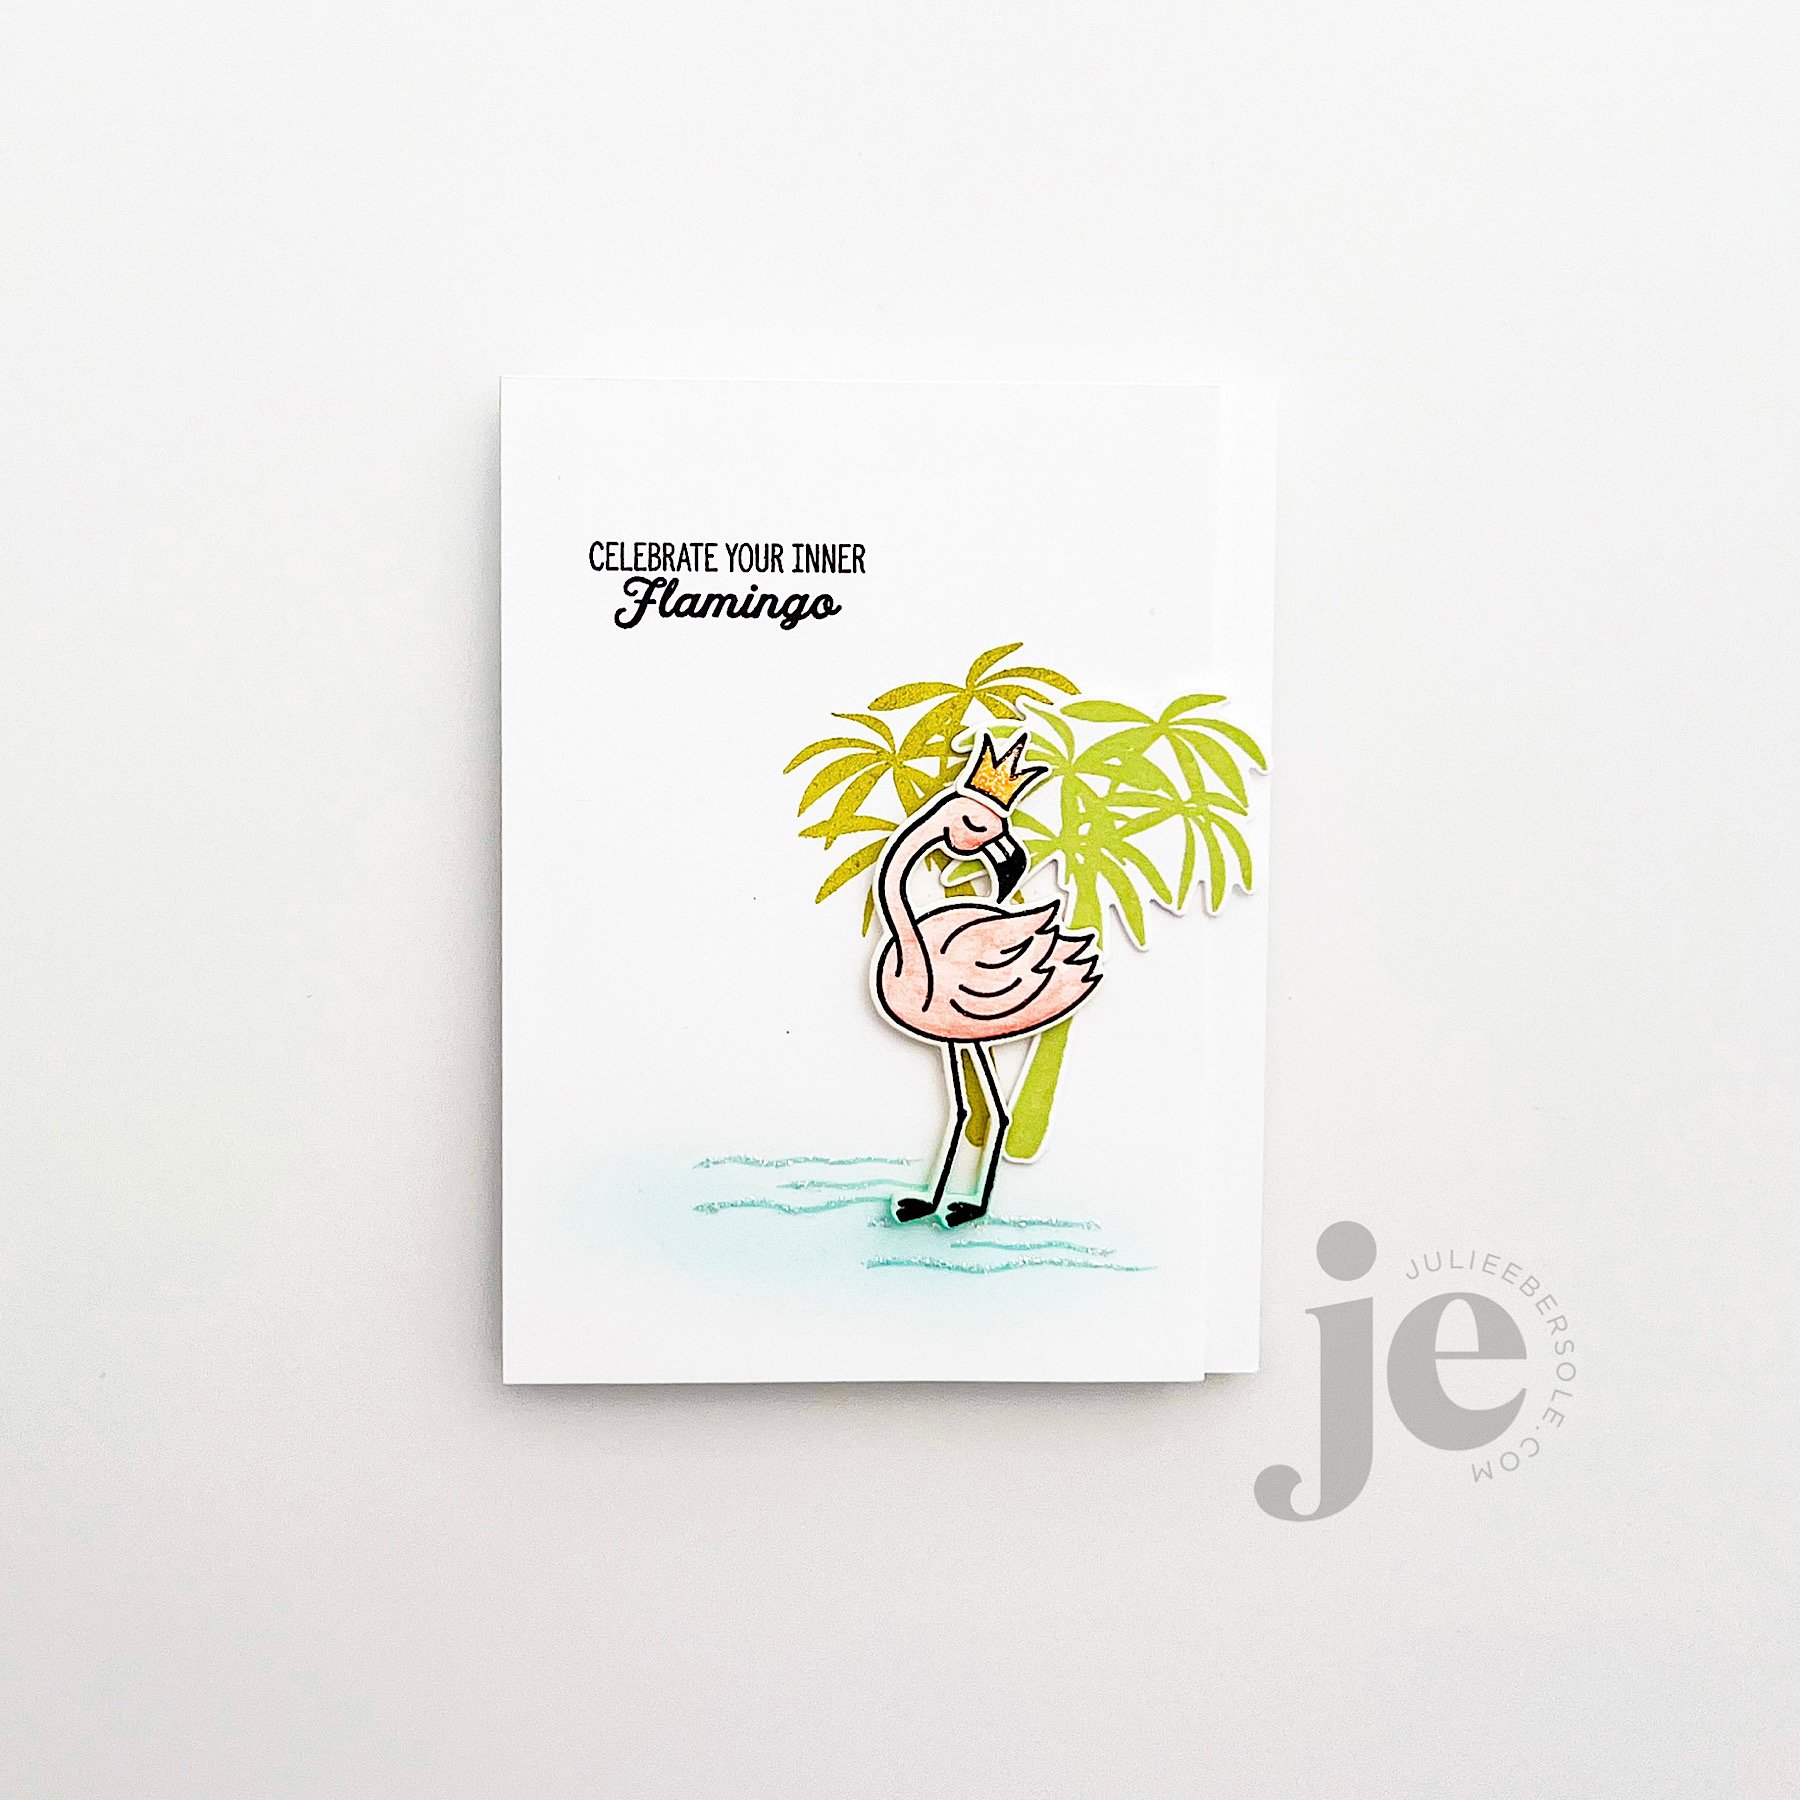
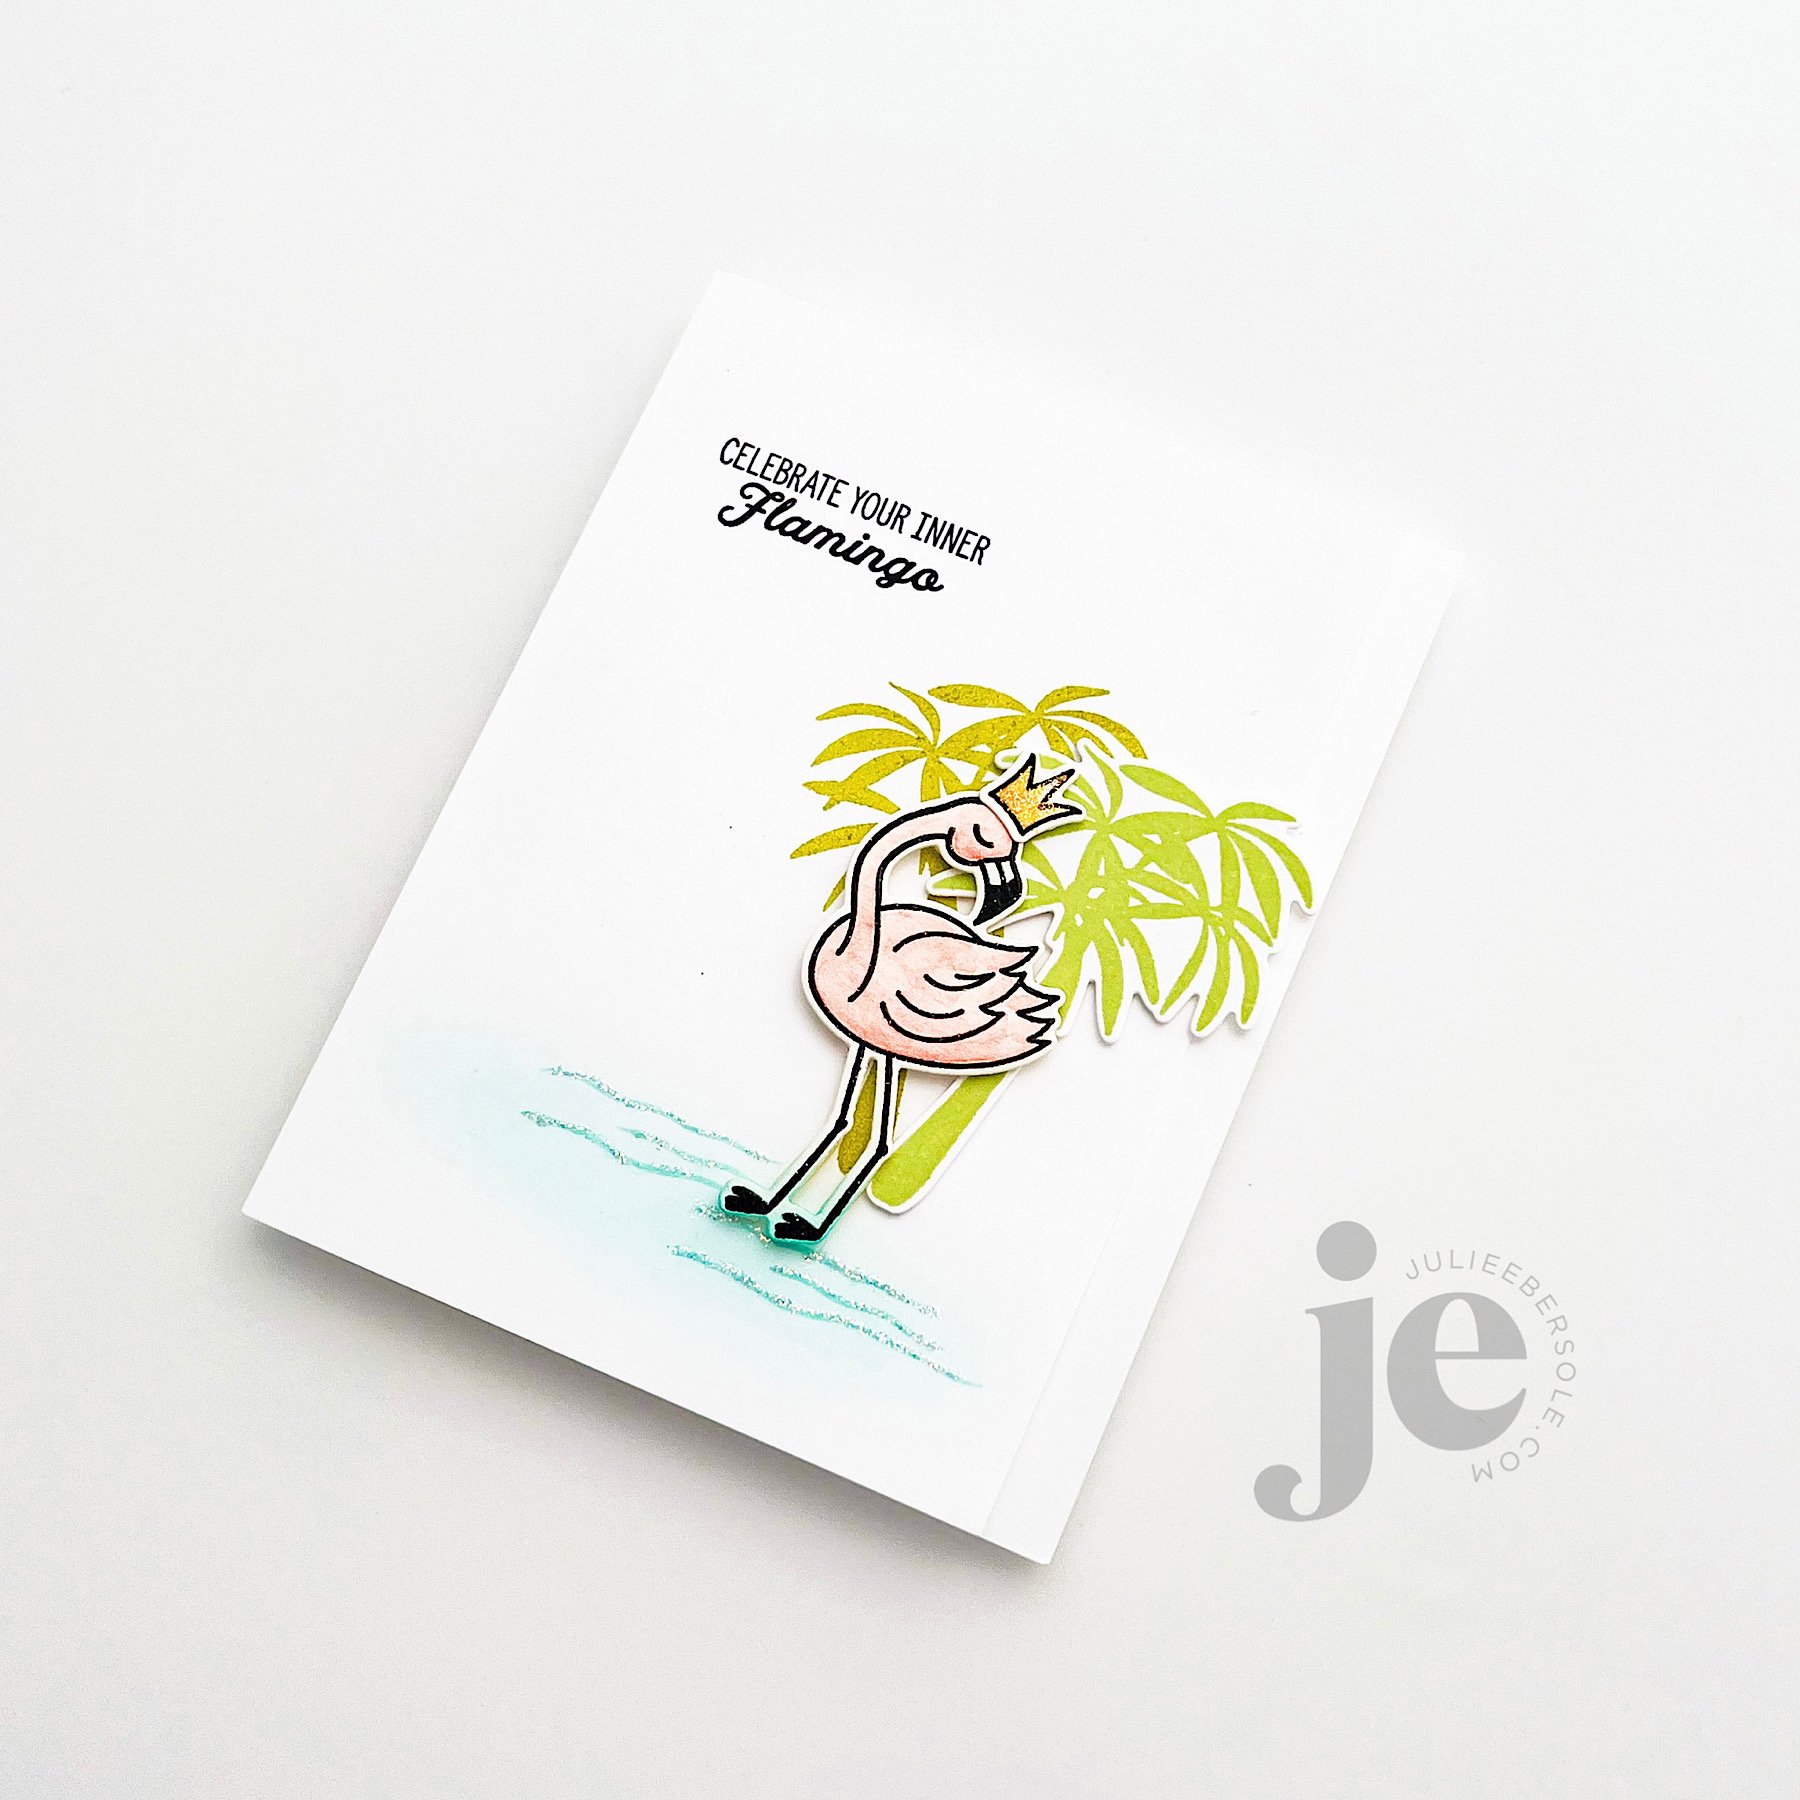
My little flamingo was black embossed onto some watercolor paper, then watercolored. She has a few palm trees behind her in this little scene. I created a two-tone effect by using Green Tea Ink on the one stamped directly on the card front, and Matcha for the die cut popped up version. By trimming about 3/8-1/2” off the long edge of the card front, I could allow the palm tree to lean right and float over that edge, which is a fun way to give the illusion of more layers to the card than there really are. I felt the crown was apropos.

I used the same Cummerbund ink to stamp the water and then ink blend a little over top. Then, I just chose to embellish her simply, with some Stickles Diamond Glitter Glue on her crown and along the water—hard to pick up on camera, but love, LOVE that stuff! Such an easy, mess free way to add a bit of sparkle to any project. Wish it came in a jumbo size bottle!

For a pinky/peach vibe, I very lightly blended Grapefruit ink, followed by Orange Twist—with a VERY light hand. It’s very subtle and the eye picks that up more than the camera does.

Die cutting the Aloha from different colors of card stock from the palette I was working with and just popping them up, aligning them askew from each other is casual and fun—I love how the lettering allows the pattern in the background to show through.

A natural/rustic tassel made of my favorite twine was calling out to me for this design and I couldn’t resist; I think it really sets off the island/tropical vibe I was going for!

Hope these two designs sparked some ideas for you and thanks for stopping by!

PINKFRESH STUDIO HOLIDAY RELEASE

Pinkfresh Studio has a new holiday release and I’m playing along on their Instagram Hop! There’s prizes and GOBS of eye candy, so if you’d like to check it out—which I highly recommend you do—you can hit my Instagram HERE and check out all the details.

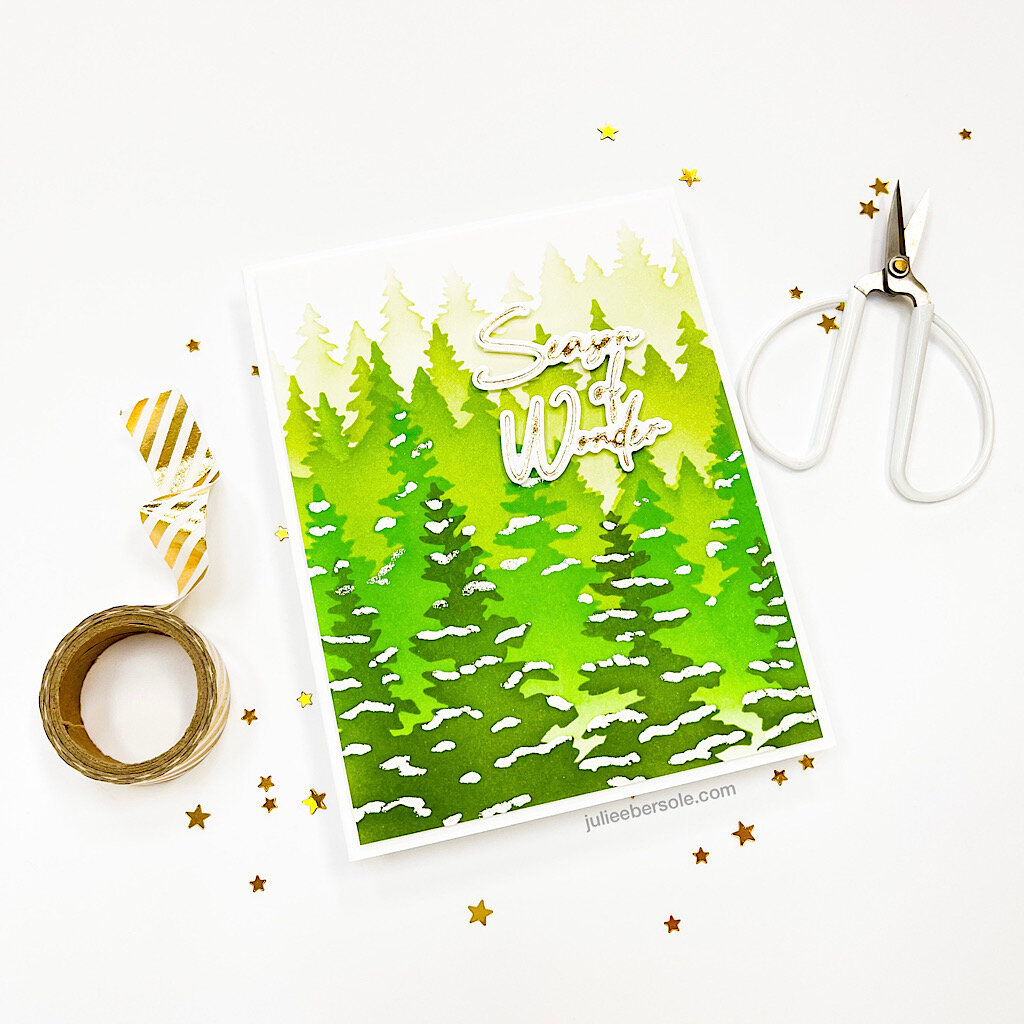
Being a girl from the Pacific Northwest, this Wintry Forest Stencil really got me—love! If you haven’t worked with Pinkfresh Studio’s stencils before, they are numbered so you know exactly in which order to proceed. BUT, do you see the white “snow” detail on my trees? That’s stencil #6 in the set; technically, it would be the last, right? But to create the illusion of snow on the branches, I actually STARTED with #6, using a Versamark PEN to hit all those spots. Then I removed the stencil and applied white detail embossing powder and heat embossed. Afterwards, I grabbed a range of green inks and went back to #1 and started with the softest hue of green ink, and used a subsequently darker color with each stencil layer. I used a dry cloth to buff off any remaining ink that was sitting on top of the embossing lines.

Trimmed down to create a nice layer on a simple white base card.

After hot foiling the sentiment, it was die cut and popped up on the card front. Super simple, but I love ow striking it is! I personally LOVE hot toil stamping and am thrilled to see more companies adding this to their product lines.

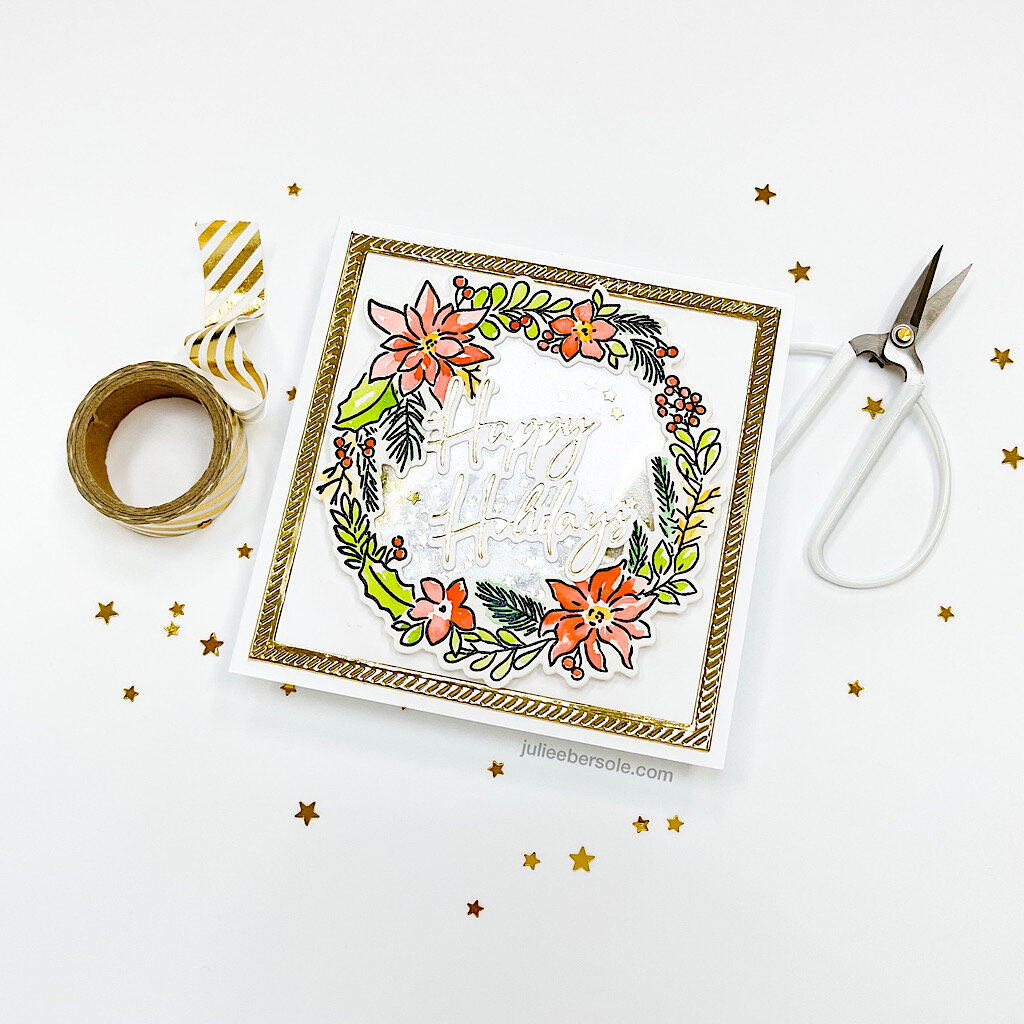
Here, I used the wreath stamp image to create a shaker on a square card; the image was stamped with black pigment ink and heat embossed with clear embossing powder, then watercolored. The gold frame compliments the hot foiled sentiment quite nicely here without being over-bearing. I had a heckuva time shooting this—foil and acetate are so reflective; this card has a lot of sparkle and glimmer in real life that I just couldn’t pick up with the camera.

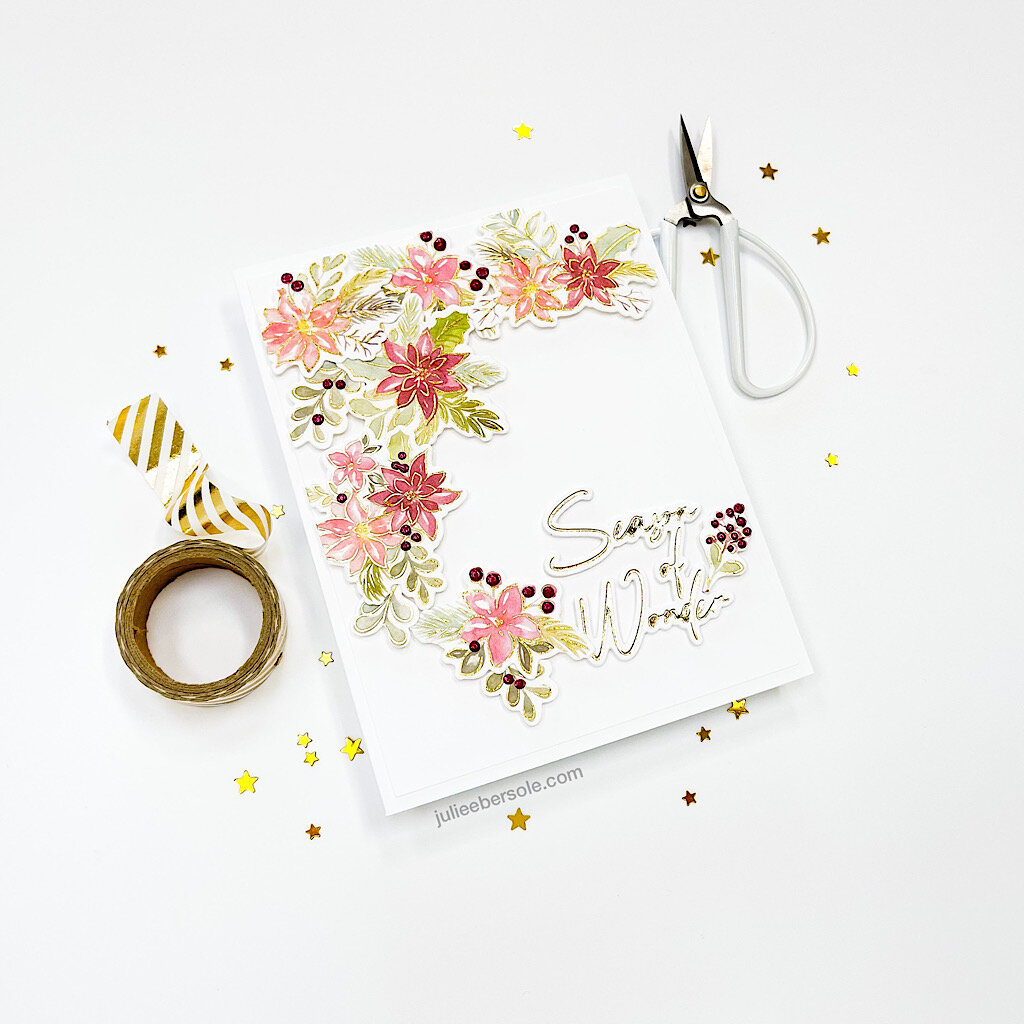
The Poinsettia Washi Tape and coordinating die make cards like this a cinch because you can skip the coloring; it’s all done for you! The tape is gorgeous and features gold foiling details. I just spread the tape smoothly along a piece of card stock measuring 4.25 x 11”, die cut everything and positioned them in a pleasing way. I used some NUVO drops to accent the berries. FYI, you CAN cut apart some of the die cuts to create your arrangements—the Crafty Po-Po will not come after you. Truth.

Here is another variation of this beautiful washi tape, using the wreath. Again, sooooooo very simple! I’m honestly not much of a colorist (if I have to color, I usually reach for watercolors because it’s the fastest) so the idea of being able to skip the process of hand coloring when mass producing holiday cards is tremendously appealing to me—the time-savings is HUGE!!!

Hope you found these ideas inspiring and thanks for stopping by!


The Pinkfresh Studio Holiday release is LIVE; please click HERE to view them all.

Disclosure: Yup, those are affiliate links to the products used in my projects and I make a small commission when you purchase via those links, at no extra cost to you. Thank you for buying all the things!

JUST SQUIDDING IDEAS & INSPIRATION

Click on the photo above ⬆︎ to see my video tutorial for the creation of this design on the Ellen Hutson YouTube channel!

Click on the photo above ⬆︎ to see my video tutorial for the creation of this design on the Ellen Hutson YouTube channel!

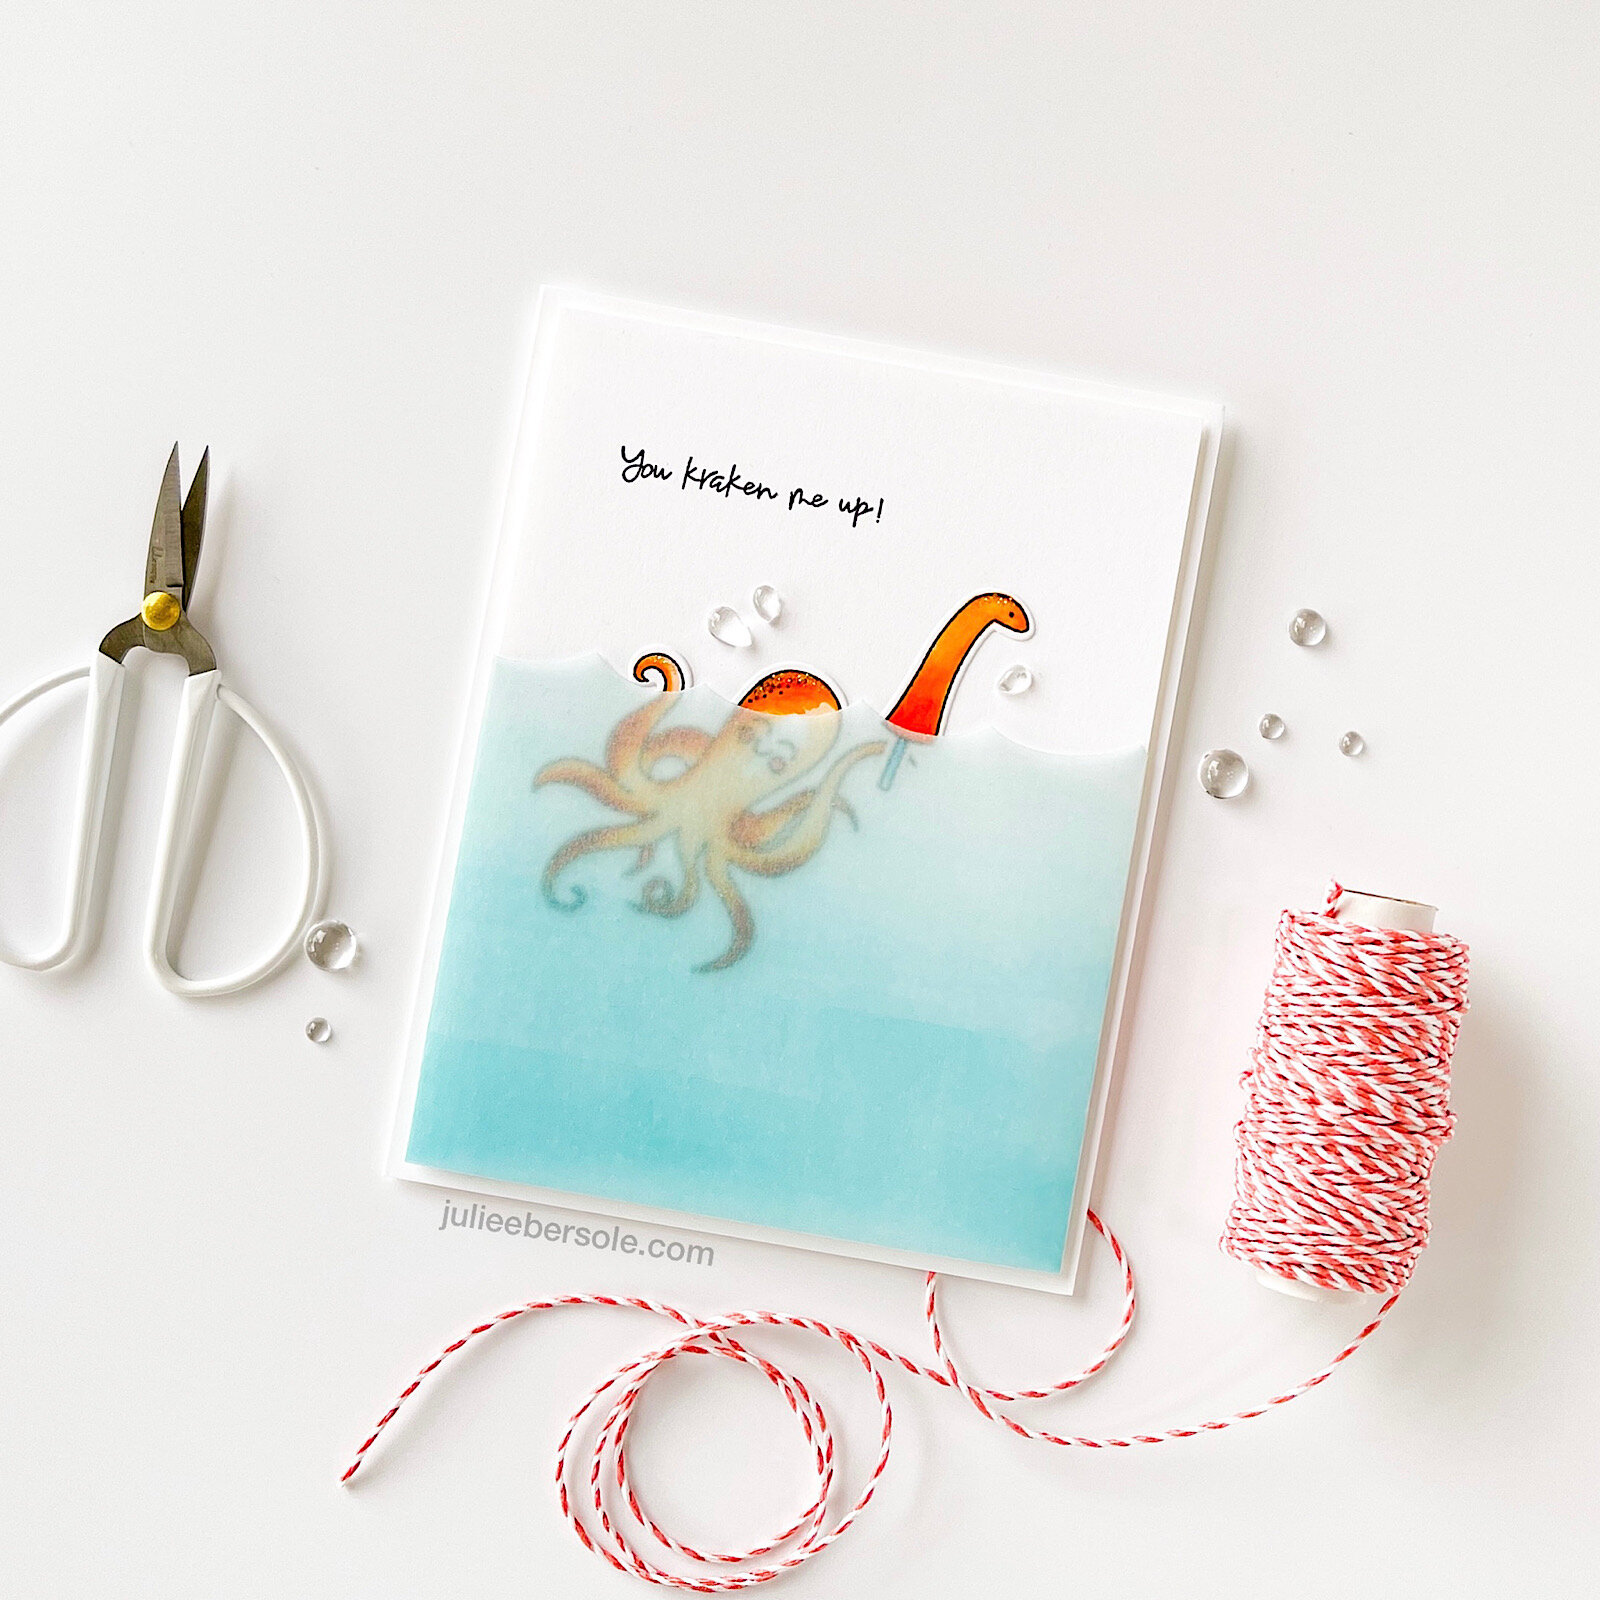
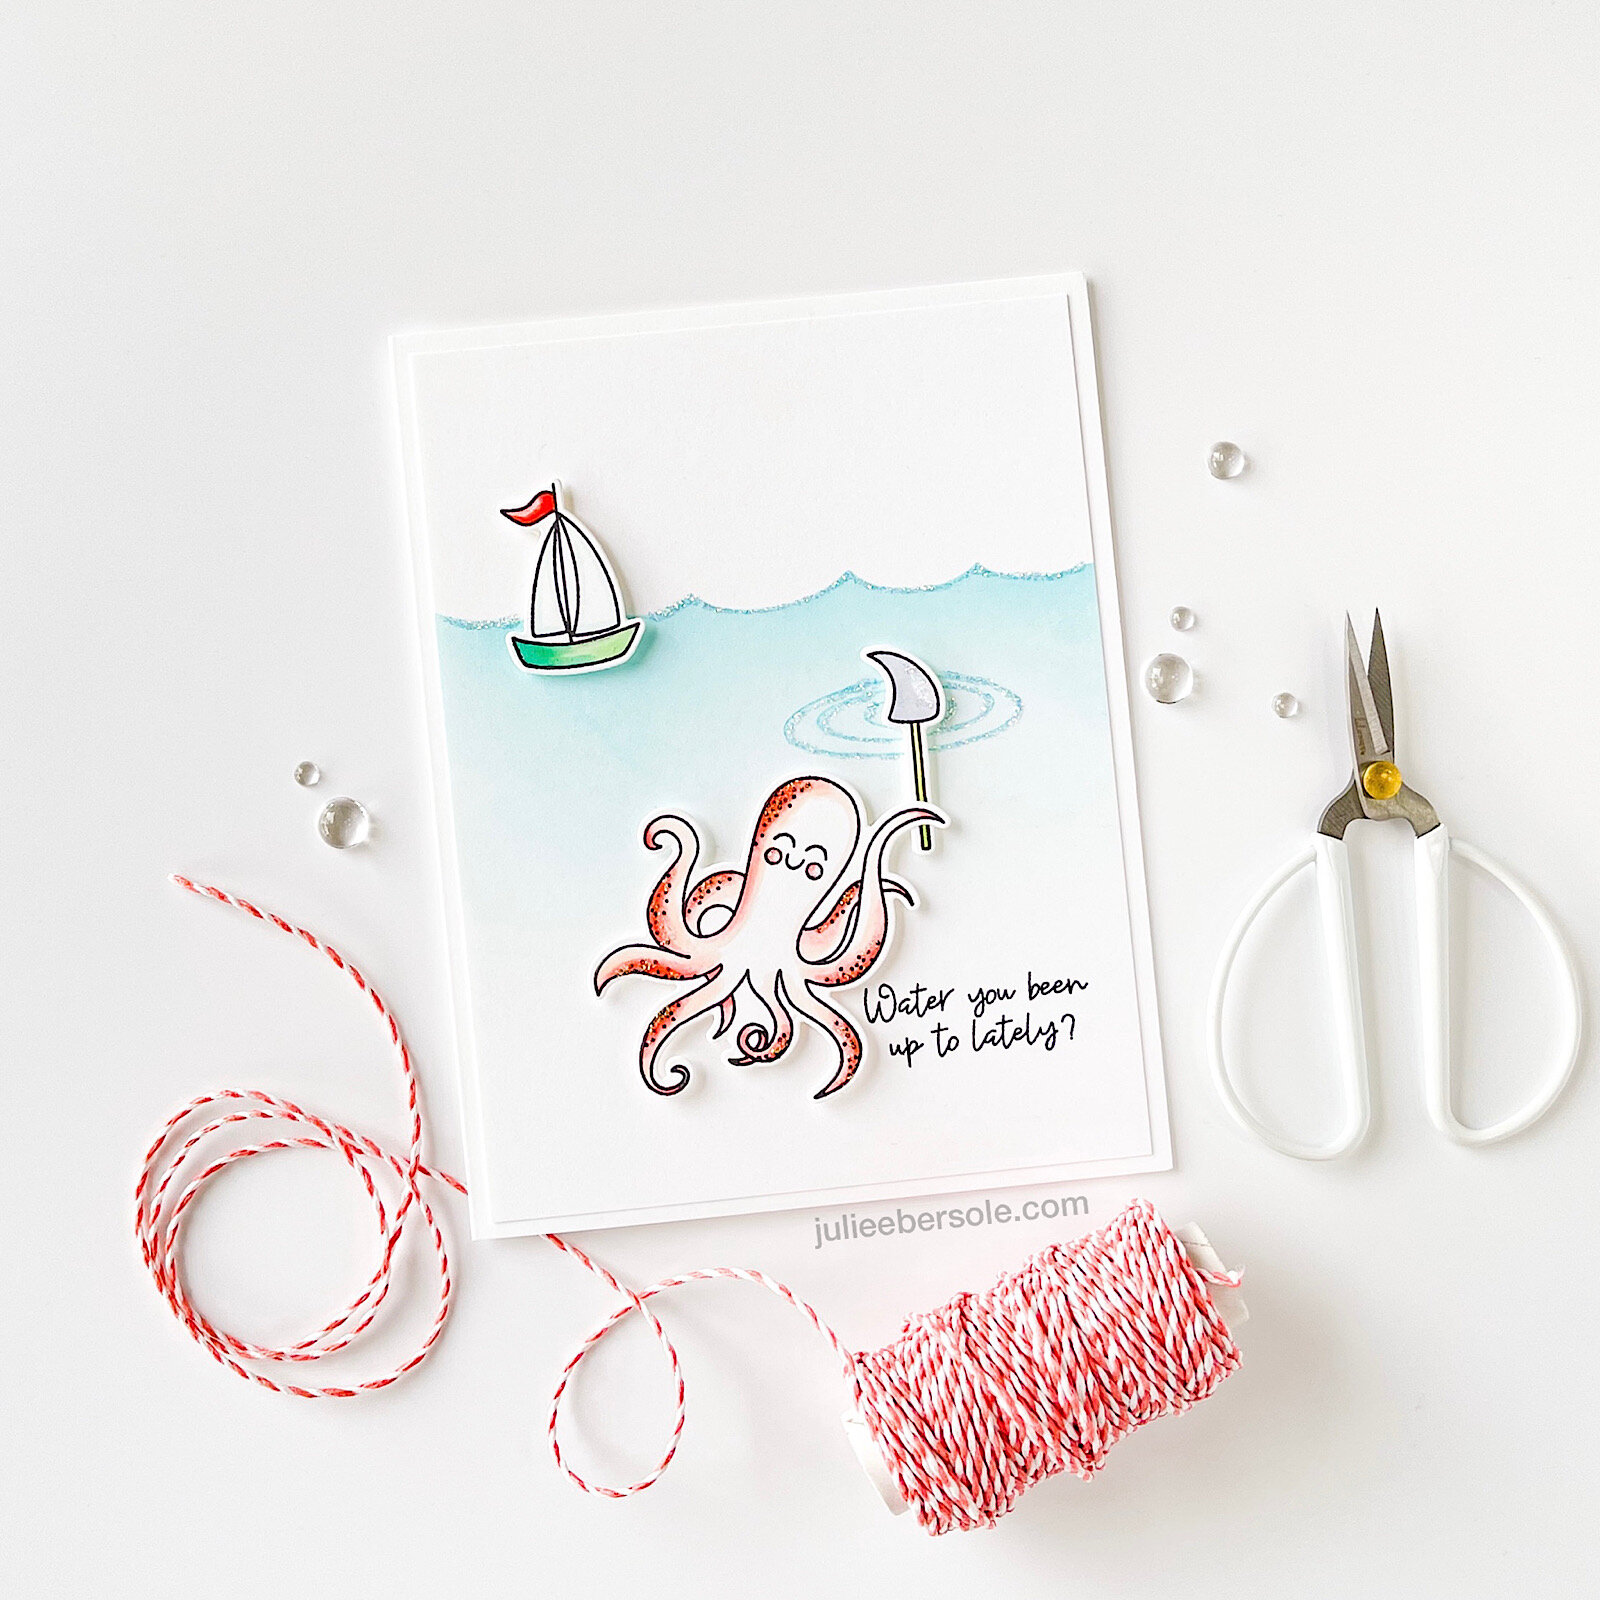
If you love sea creatures and get as much a kick out of puns as I do, you will probably love working with Just Squidding! I have a variety of samples here that I hope will inspire you! It is a seriously fun set to play with!

just-squidding-samples-6.jpg

I used a waves die in a number of these examples to DIY a stencil for ink-blending my ocean background—such an effective way to make subtle backgrounds!

I used Copic Markers to color in all but one of the examples shown here. Can you guess which one I actually used bonafide watercolors on, instead of Copic Markers?

just-squidding-samples-3.jpg

I created a porthole effect on the above card, by die cutting the inner circle first with an Essentials Circles die, then ran it through again with one of the Essentials Stitching Dies so I could stitch embroidery floss around the entire edge for accent—in my head it was a cute idea, but I was thrilled when it turned out even cuter in real life!

just-squidding-samples-4.jpg

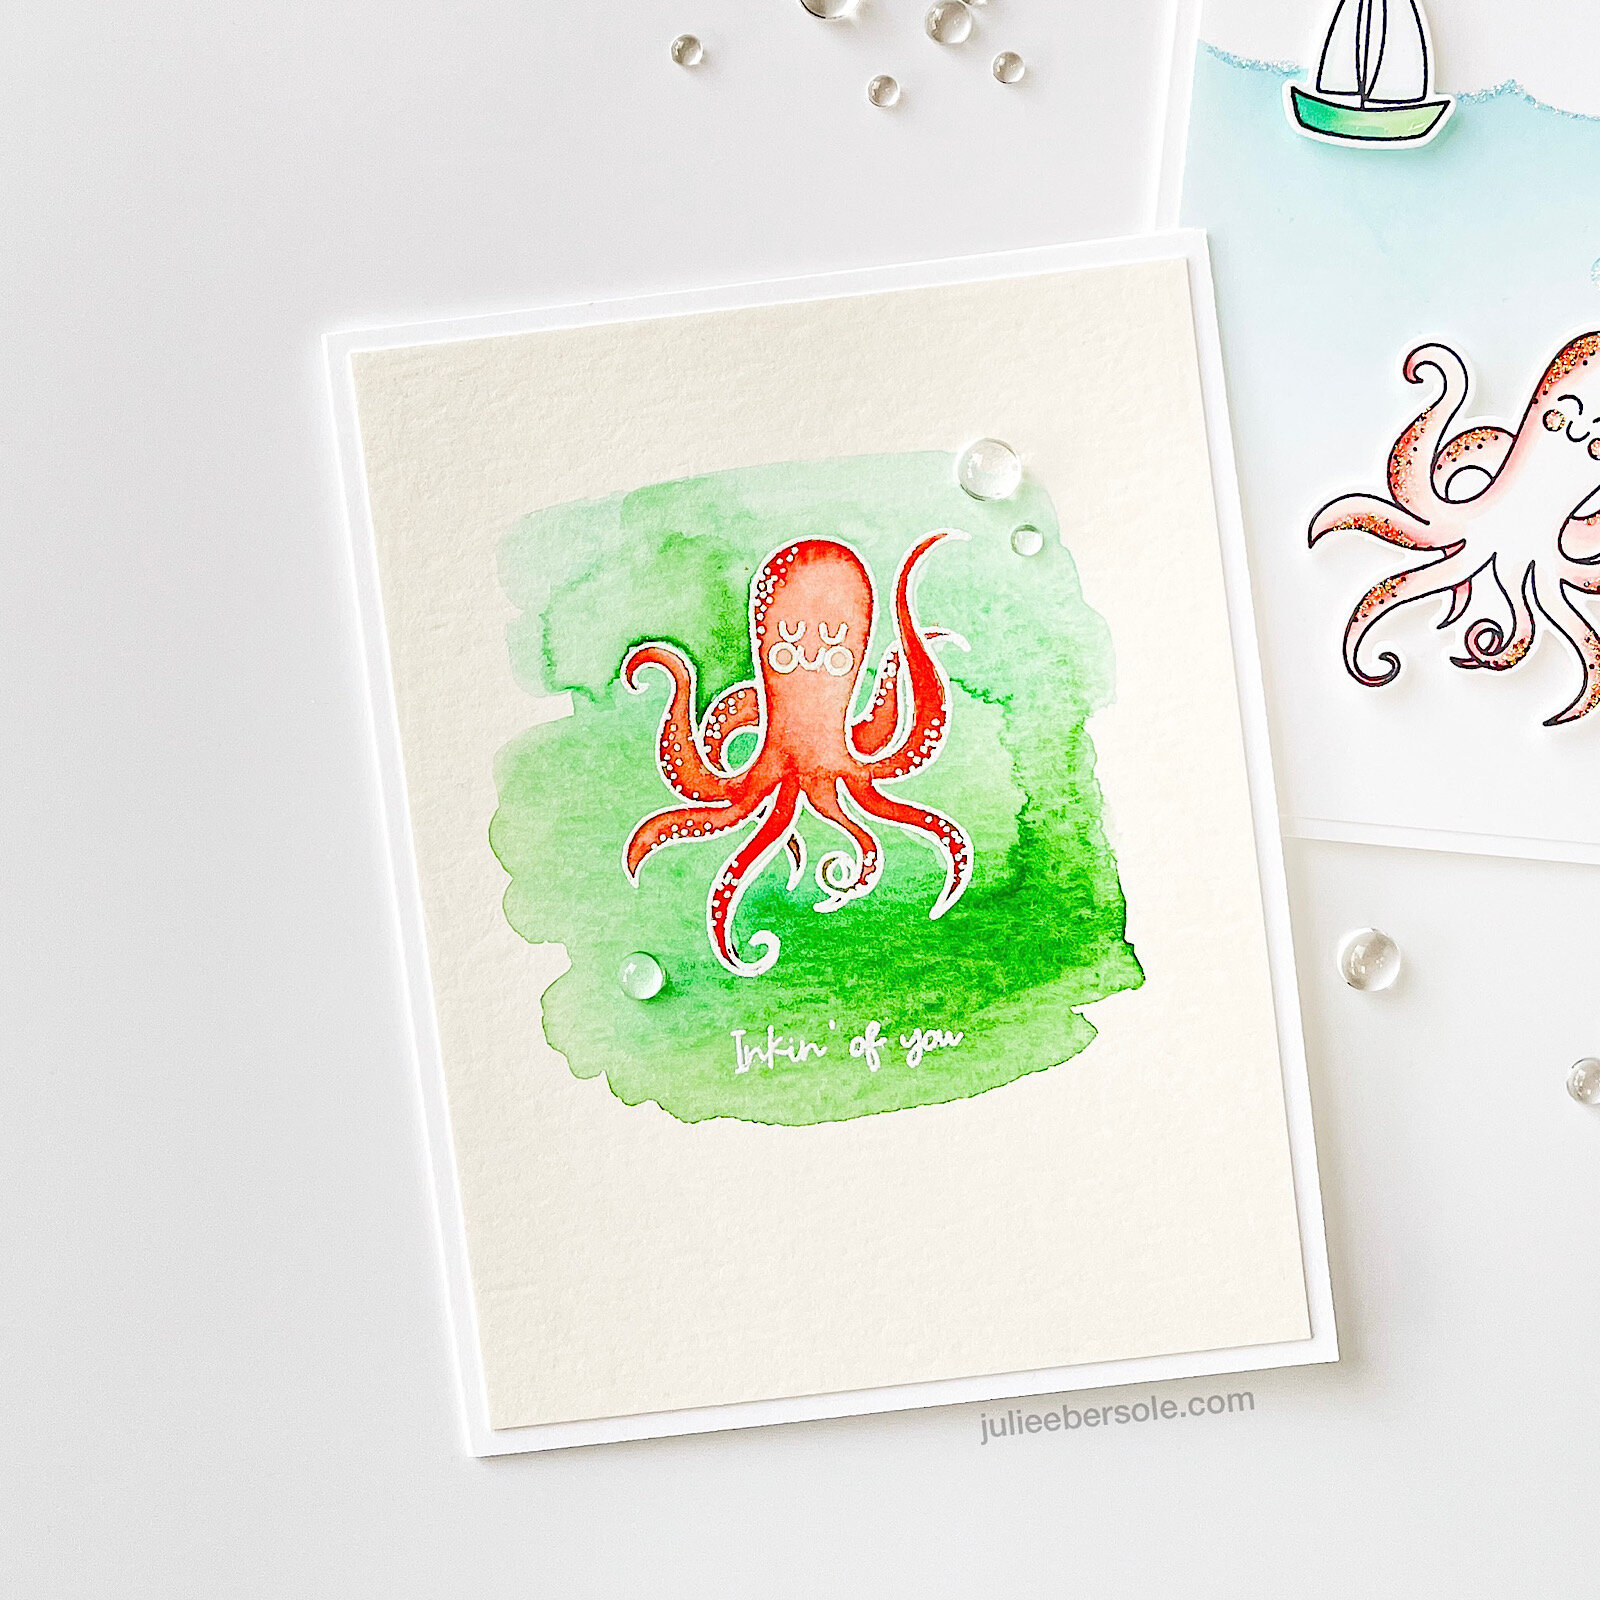
White embossed my li’l octopus and have to say that bold colors really make her details stand out! And, those Clear Drops were just begging to be used—any time I’m doing a water scene, I immediately want to reach for them to embellish.

just-squidding-samples-5.jpg

I still haven’t used all the puns available in this set—I need to get busy! Too many chuckles to be had!

Hope you’re staying healthy and safe and that many of you have been able to get vaccinated so you can once again visit and hug loved ones without worry!

Thank you for taking time out of your day to stop by!

P.S. It was the “Inkin’ of you” card . . . (grin)


SUPPLIES:

Disclosure: Affiliate links used wherever possible; when you purchase via my links I may receive a small commission at no extra cost to you. Thanks a bajillion! And, if I could reach through the interwebs to hug you, you’d be wrapped up in the most appreciative mondo squishy hug on the planet!

RELAX & CREATE - DIY STENCIL

rnc-diy-alpha-stencil.JPG

I have used the Classic Block Alphabet Die set for SOOOOOOOOO many cards—it’s one of my most used die sets!!! I spelled out what I wanted to say on a card front sized piece of stencil blank (Plaid brand, I think, found at Walmart years ago and squirreled away) and ran it through my die cutting machine.

The spray adhesive I used to help mount it temporarily in place is an old can (talkin’ 4-5 years old . . . sad); after one use, the stencil lost all tackiness. ARGH!!! So, I may need to get a fresh can or try Aleene’s Tack-It-Over-and-Over again, brushing a thin coat on the back side of the stencil. Any suggestions welcome!

I frequently make my own “disposable” stencils from card stock, sometimes even just typing paper, but it’s cool to have one more permanent, that I can use over and over again, clean up without damage. Especially if it’s a sentiment or word I use pretty often. HelloOOoo, staple word. (grin)

Hope you found this enjoyable and relaxing!

Stay well, keep bein’ crafty!


SNOW DAYS WITH STRIPES

Why is it I always have too many irons in too many fires? Launching an online holiday class almost simultaneously with a new release is nuts— I’m still trying to catch my breath . . . The above is one of several samples I made for the November release but I got completely overwhelmed . . .

Alrighty, on to the project I’ve posted today! I love using these smaller dies, like the Skinny Stripes, for DIY Stencils—makes me supremely happy!

I tested out a bunch of different tools for getting multiple ink colors stenciled within this tight pattern, with the least amount of fuss/work (y’all have no idea; I was like a woman possessed) and, after many fails, it was actually my Sponge Daubers for the win! YASSSSSS!!! •fist pump•

Glossy Accents over the diamond shapes makes them look like epoxy dots! LOVE THAT!!!

Crystal Clear Plastic for the pop-up platforms are almost invisible. Cool. Video for how to assemble the Pop-Up Mittens Die Set is HERE; just scroll down the page a bit until you see the video player.

Hope you’re having a good week!

How did it get to be Tuesday already????? Note to self: Get a clone.