faux chipboard

INK SWIPED BACKGROUND

Joan Bardee, a.k.a. Dear Paperlicious has shared a number of card designs featuring bold colors that just had me craving to make something along the same lines . . .

“Ink swiping” is an oldie but goody that fit the bill so I grabbed some Altenew Dye Ink Cubes for this project.

The sentiment was clear embossed over the ink swiping so the colors would show through—I love this look so much! But, a word to the wise: Make sure the inked surface is COMPLETELY dry before heat embossing. Sit on your hands and wait, or be like me, •hair flip• and heat set, then pounce the surface well with an anti-static powder (blow excess off before stamping) so the embossing powder only sticks to the embossing ink from the sentiment itself.

2020-10-05 18.33.30.jpg

The deer couple looks so elegant and sophisticated all in white—I just layered the die cuts multiple times to create faux chipboard, and then spot foiled some details using a Zig Two Way Glue Pen and some gold I-craft Deco Foil

INK SWIPING TIPS:

  • Pigment inks or dye inks work for this; you can use full size or ink cubes, as I did here, but having them well inked (as opposed to dry) will tend to give you the best results. Dry ink pads can result in the pad separating from the base, instead of gliding over the paper surface.

  • Depending on the desired effect, small cubes can be easier when applying multiple colors.

SPOT FOILING TIPS:

  • Use a glue that remains tacky when dry; I personally like Zig Two Way Glue Pens because they go on blue, but become clear when dry.

  • Make sure the glue is dry and tacky or foil will not transfer.

  • Apply transfer foil with pretty side up; use pads of your fingers (not your nails) to rub firmly to transfer the foil. For a project like the above, scraps of foil are all you need, so it’s worth saving foil scraps . . . just sayin’ . . . •wink•

Have you tried ink swiping? I should remember to use it more often.

Thanks for stopping by and continue to stay safe and healthy out there!


HUMAN RAINBOW

human-rainbow-001.JPG

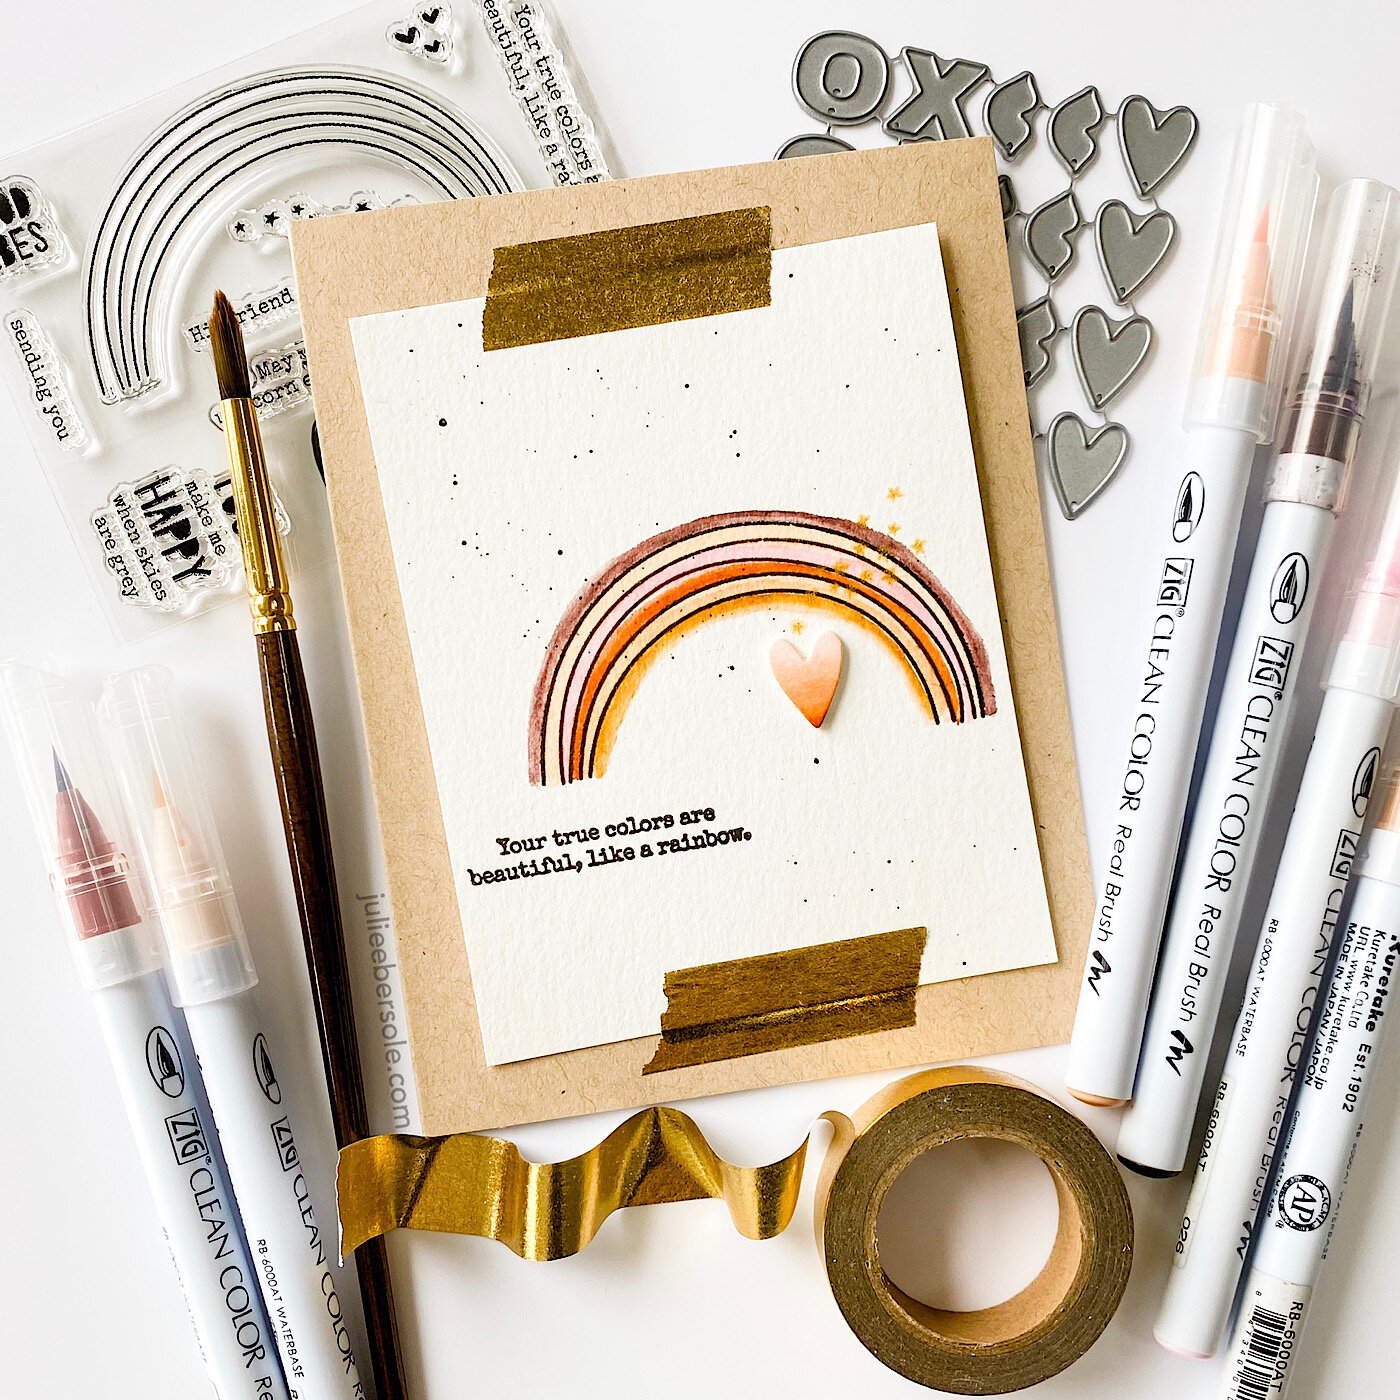
Making a card, or art, is an expression of so many things—in this case, I was feeling this (among many other things) and the card just kinda happened. The world is in need of a lot of love right now . . .

human-rainbow-002.JPG

I’ve been asked about what kind of paper to use with the Zig Clean Color Markers. I’ve tried this and that, but I seem to get the best results when I use Canson XL 140#. I cut most of the sheets down to 4.25 x 5.5” for card making. The above panel was initially cut to 3.75 x 5”, and later 3.5 x 4.34” to achieve better visual balance.

I hope you are all staying safe and healthy.


RELAX AND CREATE - DISTRESS OXIDE INK SPATTERS

I heard it on good authority that the Amaryllis is a tropical flower, so don’t let the fact that it’s not Christmas stop you from using it all.year.round. (chinkle)

I heard it on good authority that the Amaryllis is a tropical flower, so don’t let the fact that it’s not Christmas stop you from using it all.year.round. (chinkle)

Distress Oxide Inks and I haven’t gotten along ever since they were first introduced; they’re messy. And, let’s face it, I’m a clean and simple kind of card maker. I don’t like to get my hands covered in ink and I don’t like getting it all over my work surface; I’m an oxymoron in the stamping world. After several attempts, I just didn’t find them appealing and tossed them into a drawer where they sat, gathering dust. I regretted the purchase and was glad I didn’t go “all in”.

But, recently I was working on a design and wanted to spatter some color mists (remember those?) onto it, and I got to wondering if I could get the effect I wanted by using the Oxide Inks. Snagged an acrylic block and pressed an Oxide pad against it, then flicked the color with a wet paint brush onto some scrap paper . . .

 
rnc-oxide-spatter-amaryllis-002.JPG

I didn’t even have to protect my desk; just tossed the card onto a paper plate and that was enough to keep the mess contained. The acrylic block wiped clean easily and I didn’t feel the need to put on any gloves. (GASP!!!)

I guess I’ll dust off the rest of those ink pads. (shrug)

I still don’t plan to go all in, but a few more colors may work their way into my stash . . . Oy. (wink)

Hope you are continuing to stay safe and healthy!


LUCKY LADY(BUG)

lucky-ladybug-001-1.JPG

Once I get on a roll with something, I seem to enjoy making various reiterations of it; this time, after making the DIY chipboard with Pale Rose Card Stock, I used Copic Markers to create the ombré effect. Just had to include this sweet ladybug from the Mondo Gerbera Daisy—just too perfect for this particular design.

The ladies got coated with Glossy Accents for dimension, after I used a colored pencil to lightly shade them in.

lucky-ladybug-001-2.JPG

I didn’t apply Glossy Accents to the “lucky” chipboard this time around because I really loved the matte finish in contrast to the glossy ladybugs. And those little black scallop rows* are such a sweet and delicate accent! I tossed the leftovers into a zip lock bag for any time I need them. Handy!!!

Have a fab day!

*ETA: The above sample was made in NOV 2019; since that time, the Scallops die as an individual has sold out so I have linked to the Pattern Dies Combo.


LUCKY FAUX EPOXY

lucky-diagonal-001-1.JPG

I love LOVE me a good chunky font—especially in a die because you can make these awesome DIY chipboard/faux epoxy embellishments! And, whether you believe me or not, whenever I play with these types of dies, I start to groove to Big & Chunky . . .

Truth.

I digress . . .

I actually made several cards with DIY chipboard—this is probably my all-time favorite thing to do with word dies—the first of which is actually in a Hello, Monday video, linked HERE. The cards are slightly different, but the process is the same.

lucky-diagonal-001-2.JPG

The expression beneath “lucky” was sloppily colored with random strokes of a few Copic Markers (colors listed in supplies).

This project and the one with the video currently showcased on the Ellen Hutson blog were all actually made back in November 2019; I noticed the Cotton Candy Pink Card Shoppe Card Stock I used in the above is no longer available in the Ellen Hutson shop, BUT, I listed another color which would also be pretty for this—Candy Hearts. Yes, it’s darker/deeper, but it does look quite pretty with the Pale Rose and bright Marshmallow Chick (yellow) colors! I actually debated back and forth when making the card which hues of pink to use and at the time, tossed a coin and went with Cotton Candy. But, I won’t hesitate to make another with Candy Hearts in the future. (wink)

Don’t have any Glossy White NUVO Drops? No worries—just swap in pre-made Enamel Dots (listed below in supplies).

Hope you’re all safe at home and staying healthy! And, maybe getting in a little crafty time to keep the cabin fever at bay. (mondo squishy hugs all around)