Can you use just “glitter embossing powder”—you know, the kind with the glitter built right in? Sure! It works! But, what if you want a “luxe” glitter effect? Oh, man, nothing beats Sticky Stuff + glitter and in my opinion? Totally worth that extra step!

I’ve used Sticky Stuff for well over a decade; I like the grind and how it’s always beens super reliable for me. Yes, there are other similar sticky embossing powders out there, but I always come back to this one for the best sticky experience. LOL!
Hope you are doing well and getting some holiday crafty time in! Stay safe and healthy!
TIPS:
Use a well-inked embossing pad so this specialty embossing powder really sticks.
Pre-heat your embossing tool for at least 30 seconds.
Watch carefully as you apply the heat; once the powder turns “wet” looking, move on to the next area; do not overheat or it will cause the embossing powder to cure/harden. When properly heated, you can let it cool and touch it with your finger tip to feel that it is tacky. If it’s “hard”, you overheated and nothing will stick to it.
After applying the glitter, “lock” it in (cure the embossing powder) by reheating with powder from the back side and around the front; this will cause the powder to harden and trap the glitter to it.
Glitter not your thing? Try ground coffee, sand, flock powder, transfer foils . . .
SUPPLIES:
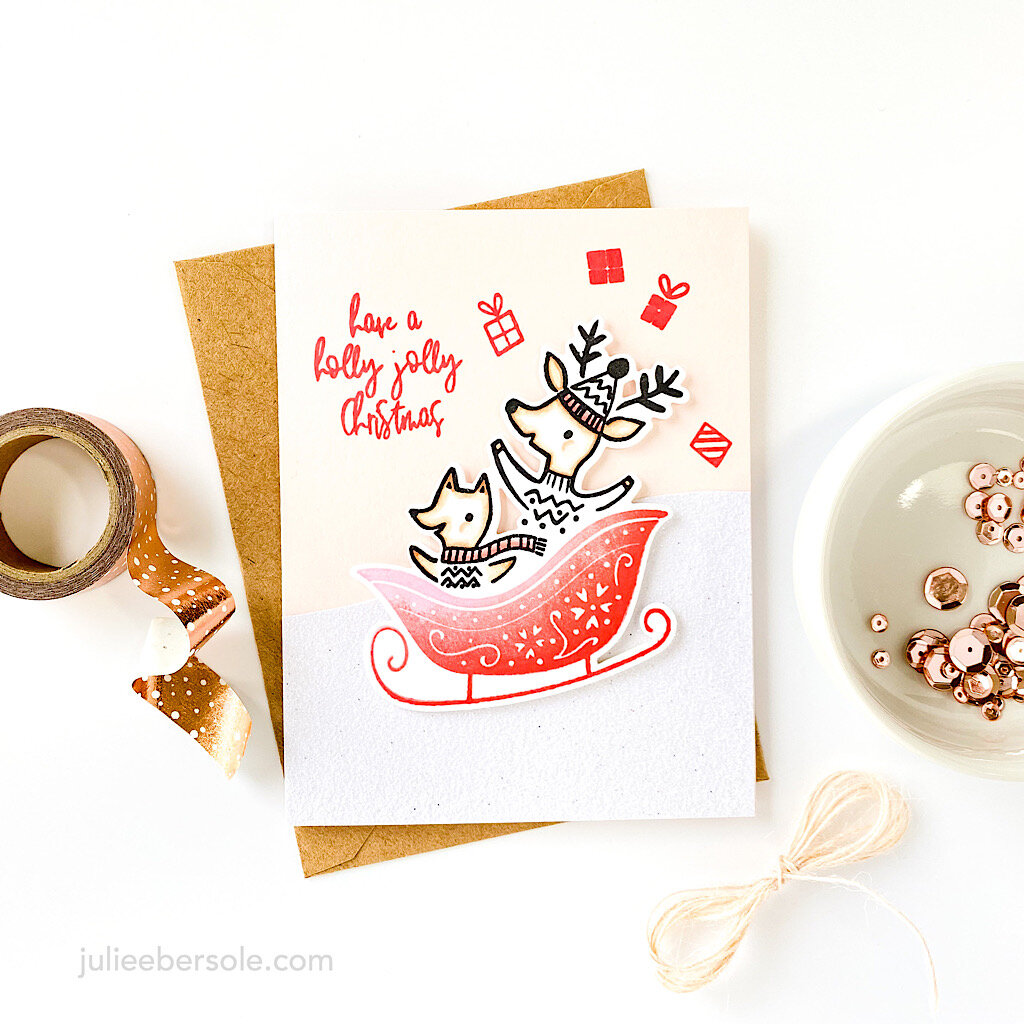
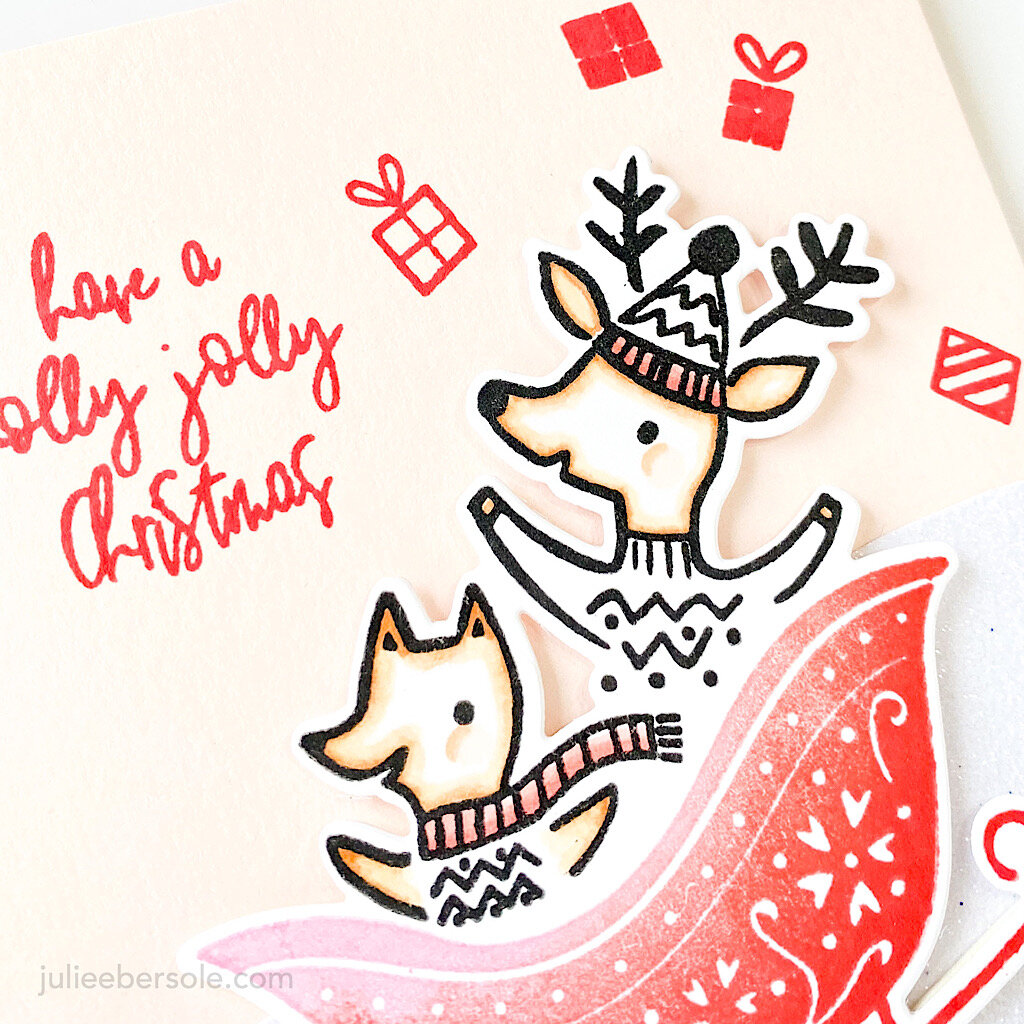
Sparkly Christmas by Julie Ebersole, Essentials by Ellen Clear Stamps
Santa's List by Julie Ebersole, Essentials by Ellen Clear Stamps
Santa's List by Julie Ebersole, Essentials by Ellen Designer Dies
Twirling Flurries by Julie Ebersole, Essentials by Ellen Designer Dies
Black Mini MISTI Laser Etched Stamping Tool (6-1/8 X 7), Hero Arts
Mini MISTI Laser Etched Stamping Tool (6-1/8 X 7), My Sweet Petunia
Platinum 6 Die Cutting And Embossing Machine, Spellbinders Tools
Disclosure: Affiliate links used wherever possible; when you purchase via my links I may receive a small commission at no extra cost to you, so please—buy all the things! And, thanks so much for your support!