ombré

EBE SUMMER OF STAMPING STAY COOL

Here’s three ideas for using all the fun shapes in Stay Cool! As I was developing the concept for this set, it was fun to imagine what I would want to do with all these shapes—I have a tendency to work backwards and think with the end result in mind, and then figure out what is needed to get to that point.

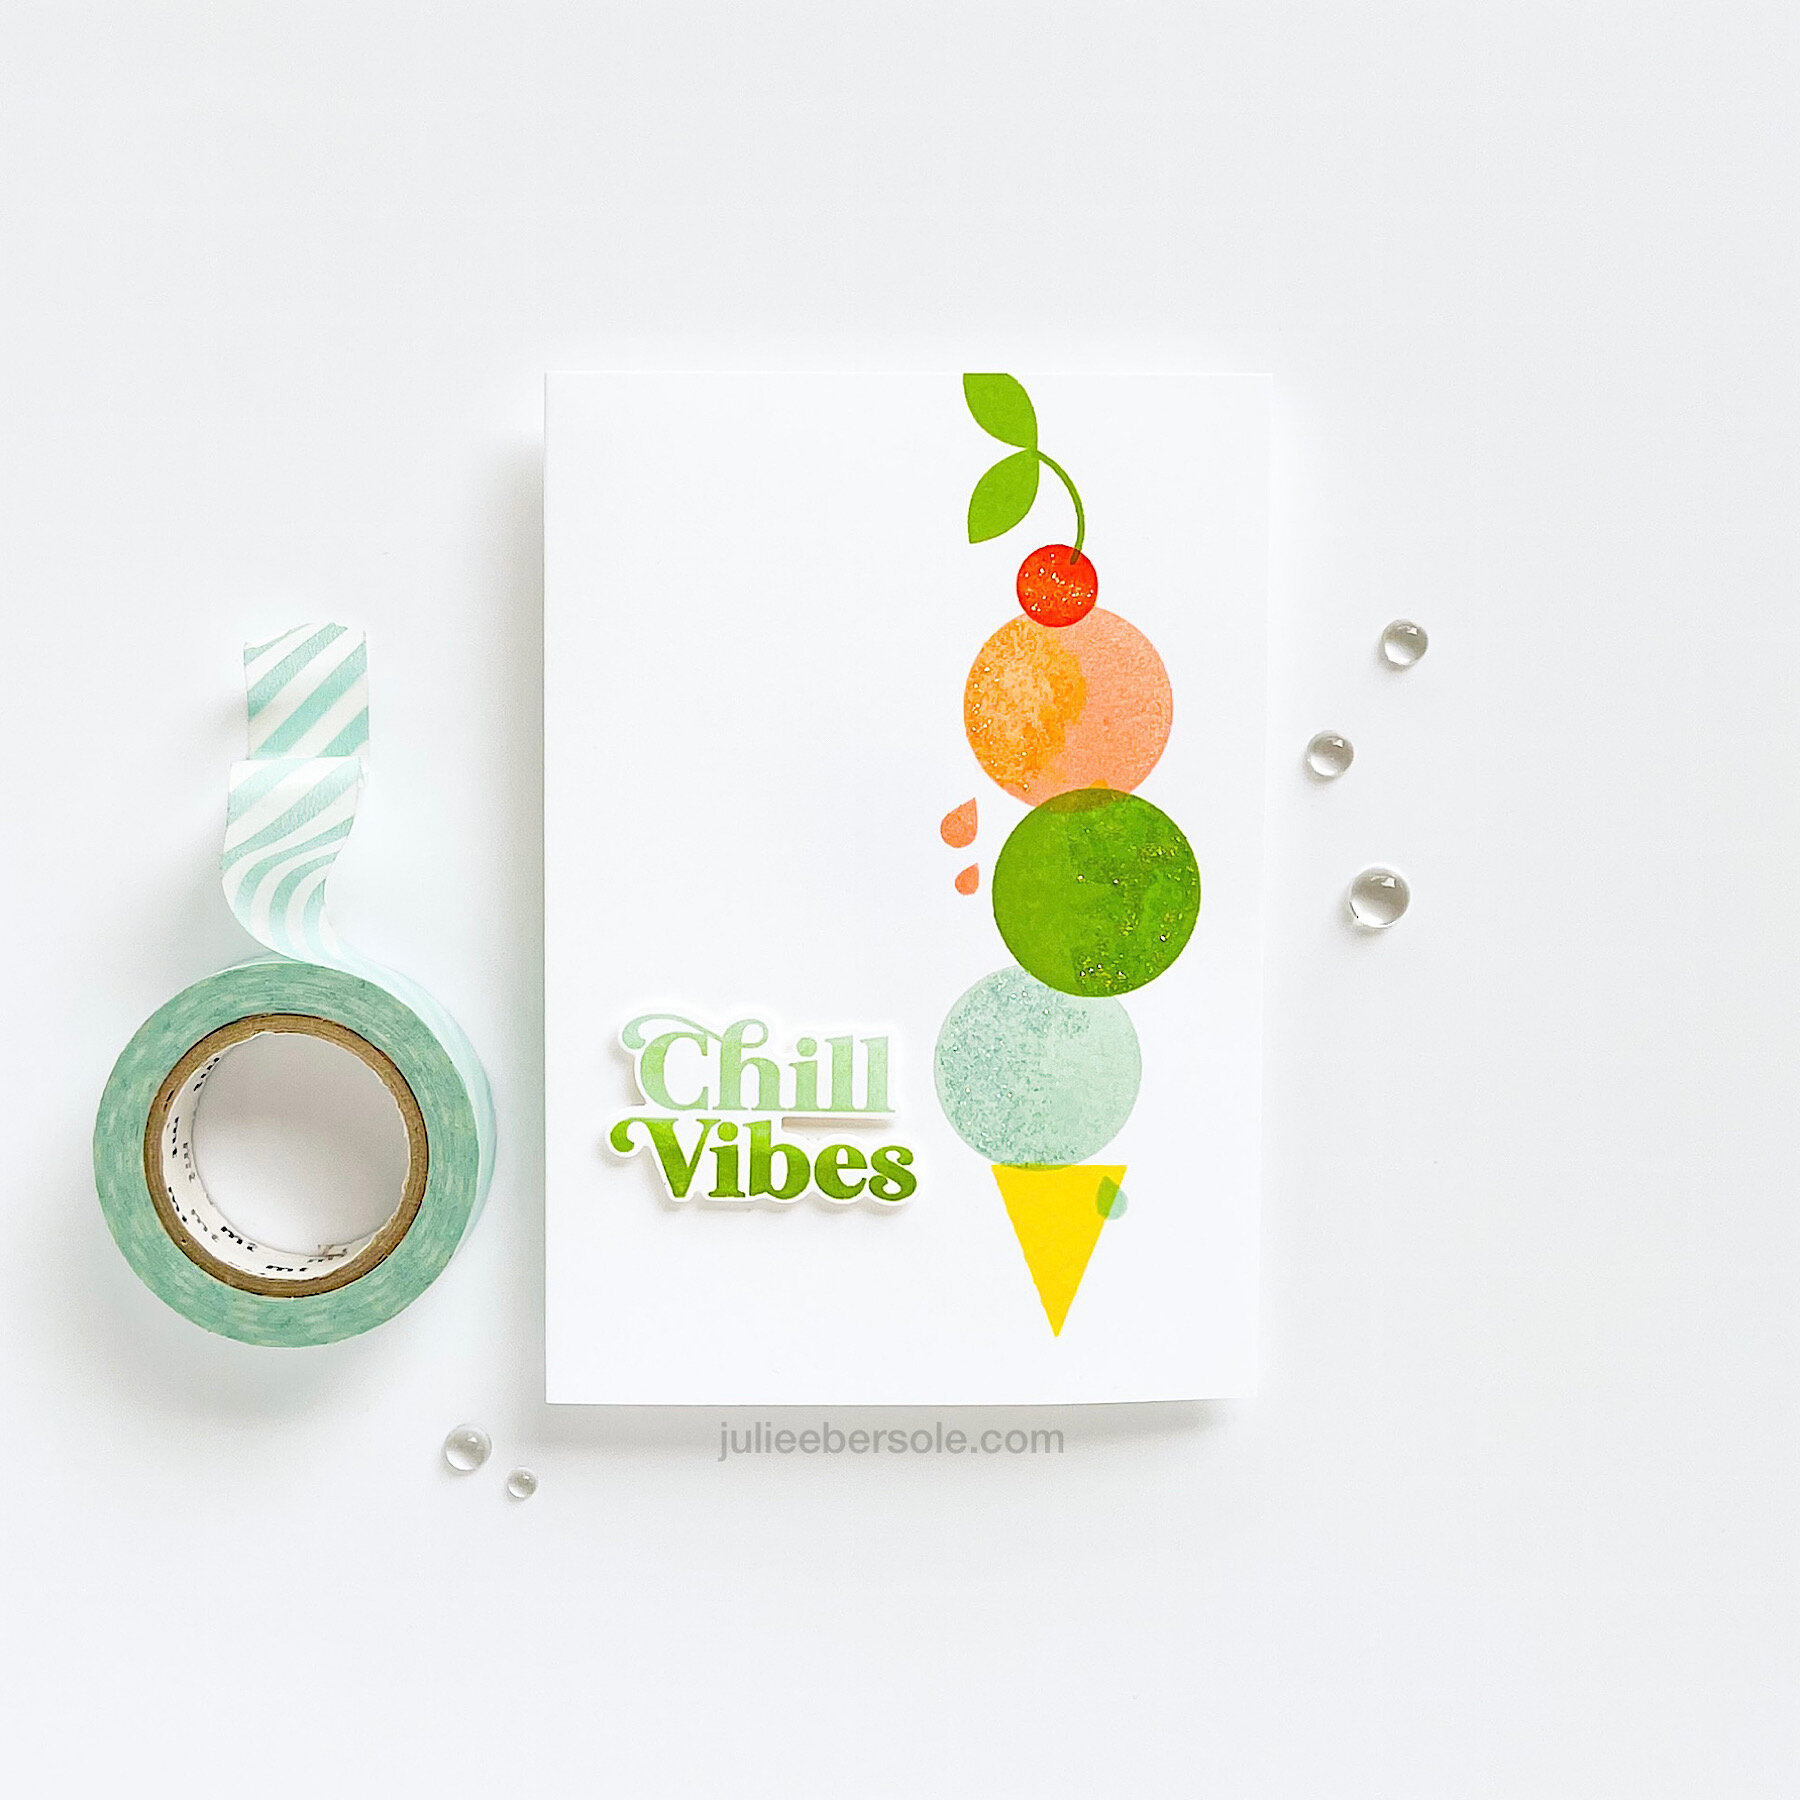
Nothing’s more chill than plenty of scoops of ice cream on a sugar cone, right?! This particular design played out well on a 4-bar size note card; it’s all one layer, except for the sentiment and I’m super stoked to have coordinating dies for cutting them out. Not that I mind fussy-cutting; it’s just super convenient not wield the scissors for things that are more intricate. Besides, I couldn’t do it that perfectly by hand anyway… Ask me how I know… (chortle)

Stay-cool-3.jpg

I stamped the waves here starting towards the BOTTOM on my top panel and worked my way up using a MISTI so I could slide the paper easily; I eyeballed, rather than actually measuring. Used Mint-to-be, Lime Rickey and All That Jazz inks. The sun was stamped with Limoncello, and then I blended Orange Twist along the lower portion on the stamp and stamped over it; repeated one more time with Tutti Frutti to get that blended sun effect. LOVE. And, as long as I’m working from lightest to darkest inks, I usually don’t have to clean off the stamp when switching colors.

Stay-cool-4.jpg

I’m also stoked that I included some textural stamps in this set—that pin dot background was stamped in a quadrant pattern with Mint-to-be and it makes great visual support for the popsicles without overpowering them! The popsicles were stamped tone on tone, using inks a little darker than the scraps of card stock they were stamped on and the sentiment was “shadow” or “3D” stamped. Sometimes, I like this better than stamping onto white; it doesn’t look so much like a sticker when you camouflage that border edge from the die cutting.

Have you seen all the colors of twine in the shop? I have a drawer full—I love having an assortment of colors available for cards and tags—I even use them in lieu of ribbon when gift wrapping small packages!

Hope you’re keepin’ cool this summer!


If you’d like more info on products that coordinate well with the Stay Cool , please visit the release page HERE.

Disclosure: Yup, those are affiliate links to the products used in my projects and I make a small commission when you purchase via those links, at no extra cost to you. Thank you for buying all the things!

HOW TO MAKE A FULL GLITTER PANEL

If you could see how much this sparkles IRL, you would ooh and aaaaahh. Seriously.

Oh, and I do have a few extra tips that I’ve included (towards the end of my post) that I didn’t actually think to mention in the video at the time of recording, so you may want to check those out, too.

Deer-antlers-2.jpg

This is really a simple card, but it looks a LOT more complex. And, the “full-on glitter” always seems to dazzle peeps! I’m sure it also shocked anyone that knows me that I would actually let my hands get glitter all over them. Now, in all honesty, I really do hate getting stuff on my hands like this, BUT, this is one of the few end results that I will actually tolerate getting a little messy over.

And, if I can do this, you can do this. Well, I should say, “most of you”; I do have one stamping friend who cannot abide loose glitter and she would refuse.

FULL-ON GLITTER PANEL TIPS:

  • Stamp images with a fast-drying dye ink; pigment ink takes a long time to dry completely and sheet adhesive (double-sided sticky tapes, tape runners, etc.) will not stick to any surface that has wet ink.

  • Bold images tend to show through the glitter better than fine/detail images.

  • If you have a Xyron machine, use that instead of sheet adhesive.

  • A plastic bin large enough to place a card front face down makes this technique much easier and more convenient.

  • Turn OFF your ceiling fan during the “glitter bath” (if you have one); ask me how I know . . .


LUCKY LADY(BUG)

lucky-ladybug-001-1.JPG

Once I get on a roll with something, I seem to enjoy making various reiterations of it; this time, after making the DIY chipboard with Pale Rose Card Stock, I used Copic Markers to create the ombré effect. Just had to include this sweet ladybug from the Mondo Gerbera Daisy—just too perfect for this particular design.

The ladies got coated with Glossy Accents for dimension, after I used a colored pencil to lightly shade them in.

lucky-ladybug-001-2.JPG

I didn’t apply Glossy Accents to the “lucky” chipboard this time around because I really loved the matte finish in contrast to the glossy ladybugs. And those little black scallop rows* are such a sweet and delicate accent! I tossed the leftovers into a zip lock bag for any time I need them. Handy!!!

Have a fab day!

*ETA: The above sample was made in NOV 2019; since that time, the Scallops die as an individual has sold out so I have linked to the Pattern Dies Combo.


OMBRÉ RETRO HOLIDAY TAGS

12 tags of Christmas are underway at the Ellen Hutson blog — are you up for the challenge???

It just occurred to me that even tho I had made these ombré holiday tags a long time ago, I hadn’t photographed or shared them (face palm) . . . Truth: The Shipping Tag Die is one of the simplest, yet most ingenious things I believe I have ever designed. Why? Because if I’m a gonna make tags, they have to be quick and easy to make a butt load of. I am a vewy lazy tag maker.

I’m very in to persimmon, coral, orange, and mustard for the holidays this year, I’ve noticed . . .


YOU'RE MY BOO