MONDO RHODODENDRON

A while back someone asked if I could add our WA state flower, the Rhododendron to the mondo floral series. This set went through many (understatement, OY!) renditions before I landed on this . . . There are about 1,000 species of Rhododendrons. 😳

How in the world are you supposed to choose ONE to translate into a stamp??? The two outside my front door are kinda scraggly looking, but the ones next to my Mother-in-law’s house are ginormous, lush things, with vibrant fuchsia coloring! Her Rhodis make me think of giant floral pom-poms, LOL!

The Gold Finch is also the WA state bird, so it seemed fitting to include her—that flash of yellow is so bright and cheerful!

Clear embossed over black pigment ink , on my favorite Canson XL Watercolor paper and then watercolored with Gansai Tambi before die cutting it out.

I like the effect of the flower itself, repeated as a background to support the focal.

This time, the Rhodi was stamped in a softer pink color, with the Gold Finch mounted over top of it and a hexagon frame cut from gold foil card stock.

If any of you are Washingtonians, I hope this set holds a special place among your stamps! Also, did you know ALL Azaleas are Rhododendrons, but not all Rhododendrons are Azaleas???

I don’t know if that’s a “fun” fact, but it’s a fact . . . ROTFLMBO!

Also, a note of thanks to those of you who left a comment or messaged me via email about my previous post . . . XO∞

You’re the bestest!!!


Disclosure: Affiliate links to the products used in my projects, that I like and use may be included; I make a small commission when you purchase via those links, at no extra cost to you. Thank you for all your support!

RADIO SILENCE . . .

“Creativity needs to rest.”


I read that statement somewhere, and wish I could recall exactly where.

Sidebar: If this is a topic that doesn’t interest you, scroll on past.


But, it is something that hit me hard last spring and throughout these summer months; my work is “creative on demand”, by its very nature, and this comes with its own unique set of stressors. This is compounded, for me personally, by inherited clinical depression , anxiety (yes, I take medication and am not ashamed) and as someone who is a slow, methodical and linear sequential thinker (I envy those that can multi-task), with strong tendencies to hyperfocus on one task until it is completed. To the point of obsession.

When I am overwhelmed by all the above, I “withdraw” as a matter of self-preservation.

I’m pretty much a hot mess on a hamster wheel. Yeah, that sounds about right. And, while I can laugh about the vision this conjures up, I also know if I don’t step off the wheel when the warning signals begin rearing their ugly heads, things are really gonna’ go south. Don’t get me wrong; I firmly believe in hard work, but I also believe that the American “hustle culture”, in its current state, contributes greatly to mental health issues and burn out.

Like so many others, I am STILL trying to find balance between work and living life within my limitations . . .

“That’s all I got to say about that.”—Forrest Gump


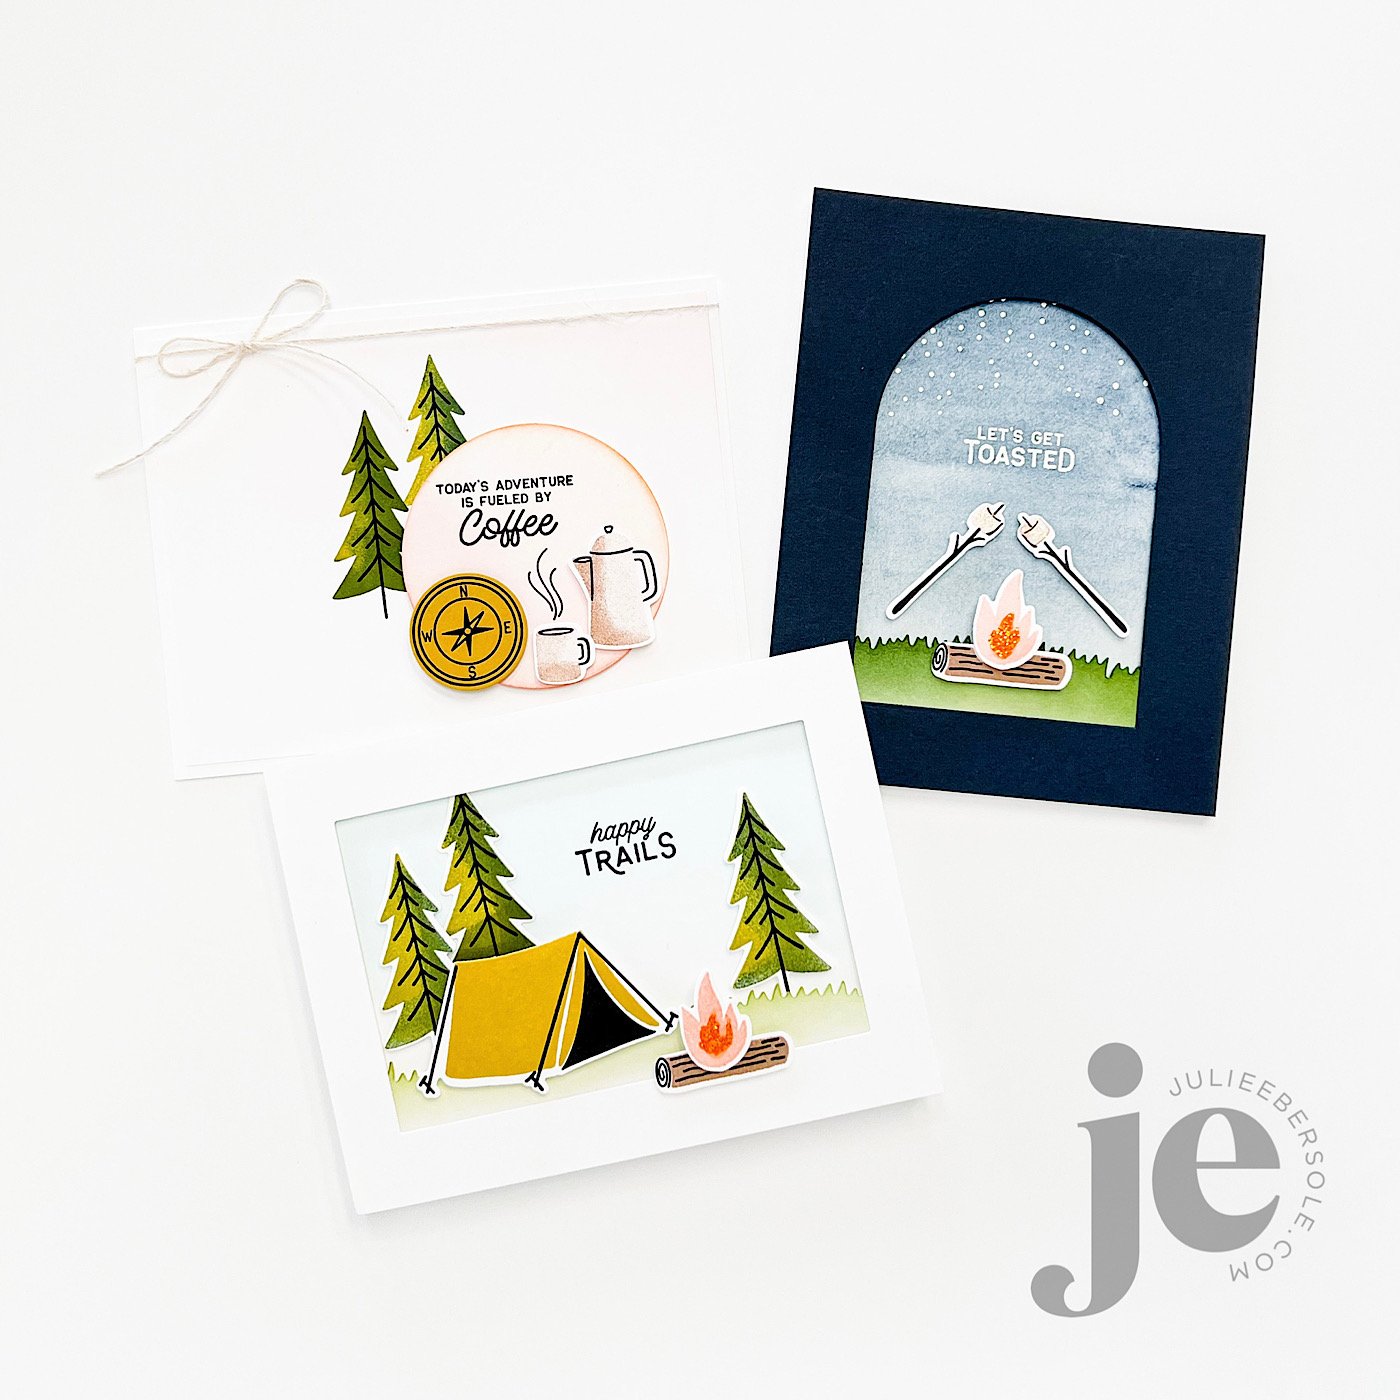
My latest collection of stamps & dies released last week on ellenhutson.com and I have a few samples to share that might inspire you! Do you love the great outdoors or have peeps in your life that do? Then this release is soooooo perfect!!! You can see the entire collection over on the Ellen Hutson Release Page HERE (affil. link)

Gosh, I love solid stamps so. much. !!! They just make me so giddy I can’t even . . . #allthehearteyes


And, I gotta share my little “Airstream™” trailer tutorial from the Ellen Hutson YouTube Channel:

Video Tutorial HERE

If you don’t have that Birch Trees Cover Panel in your collection yet, well, by golly, you are missin’ out! Just sayin’ . . . I love that thing . . .

Have a great weekend!


Disclosure: Affiliate links to the products used in my projects, that I like and use may be included; I make a small commission when you purchase via those links, at no extra cost to you. Thank you for all your support!

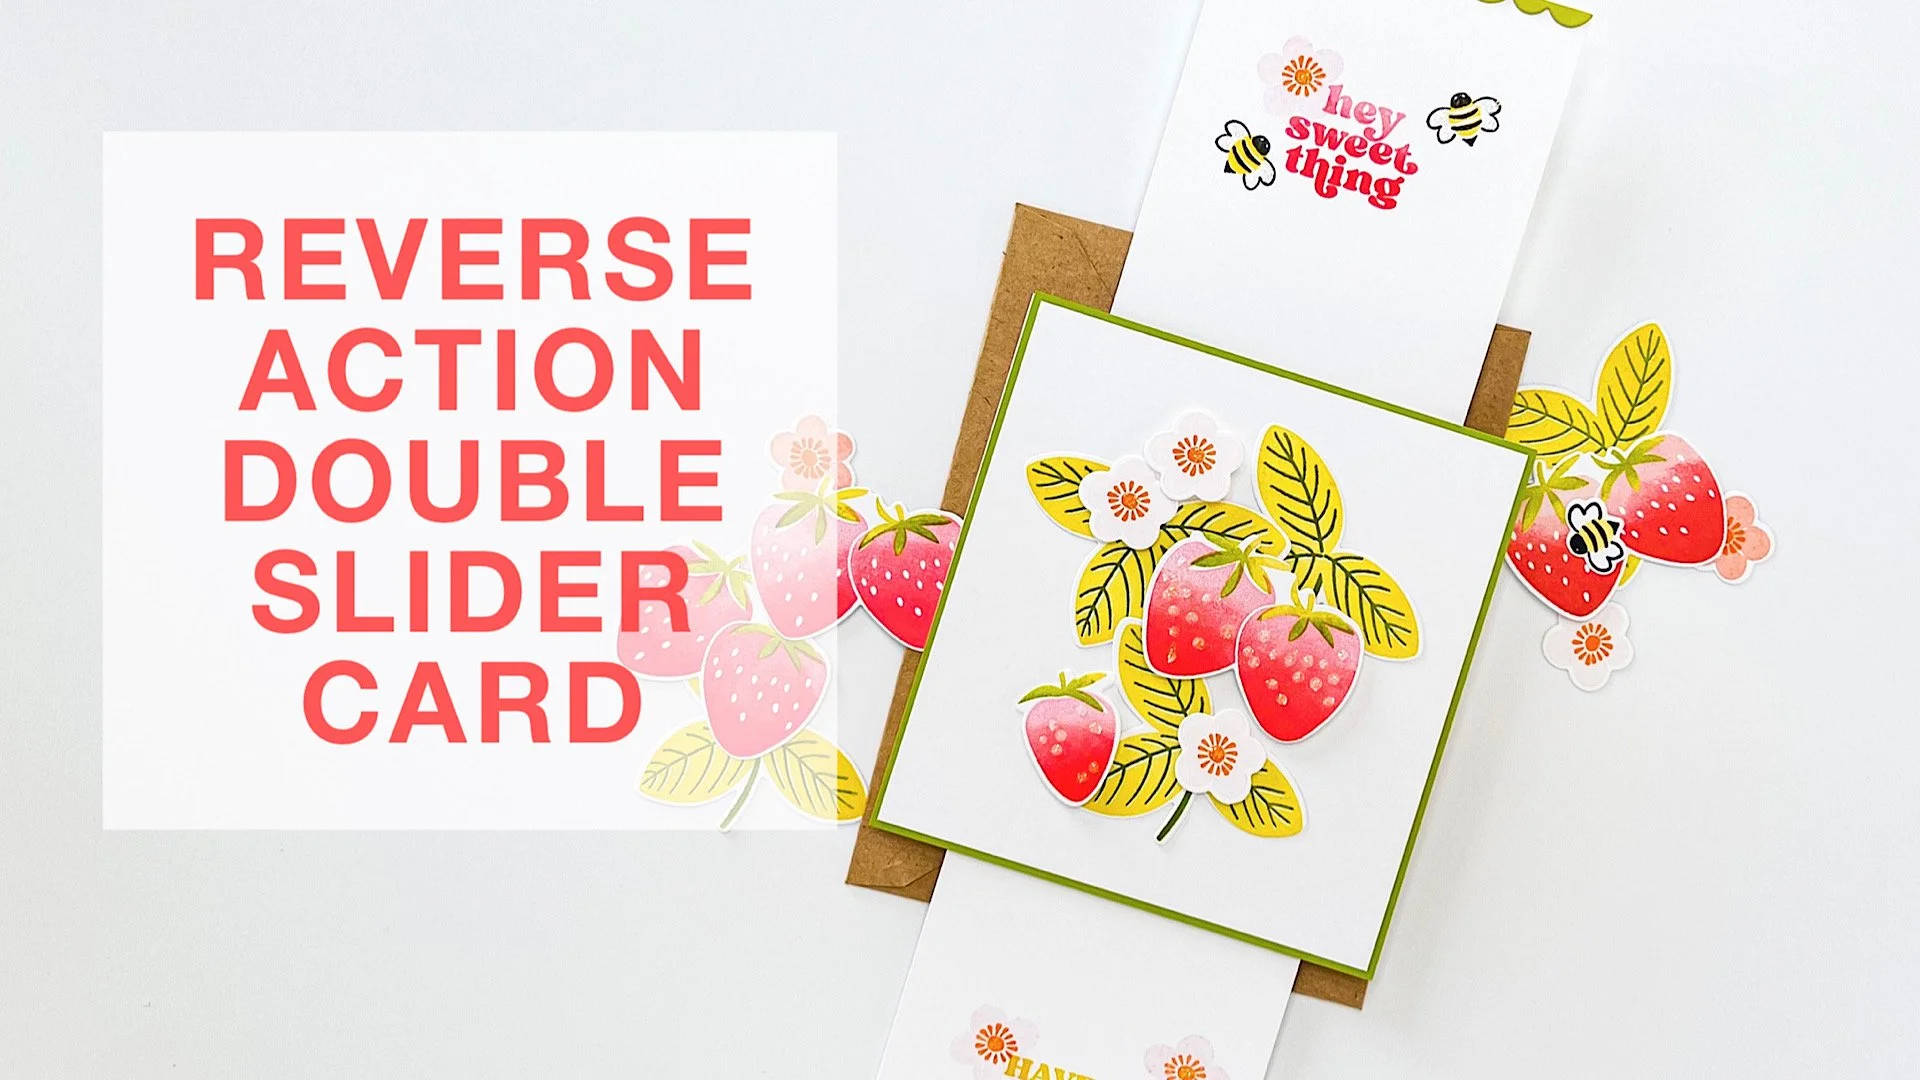
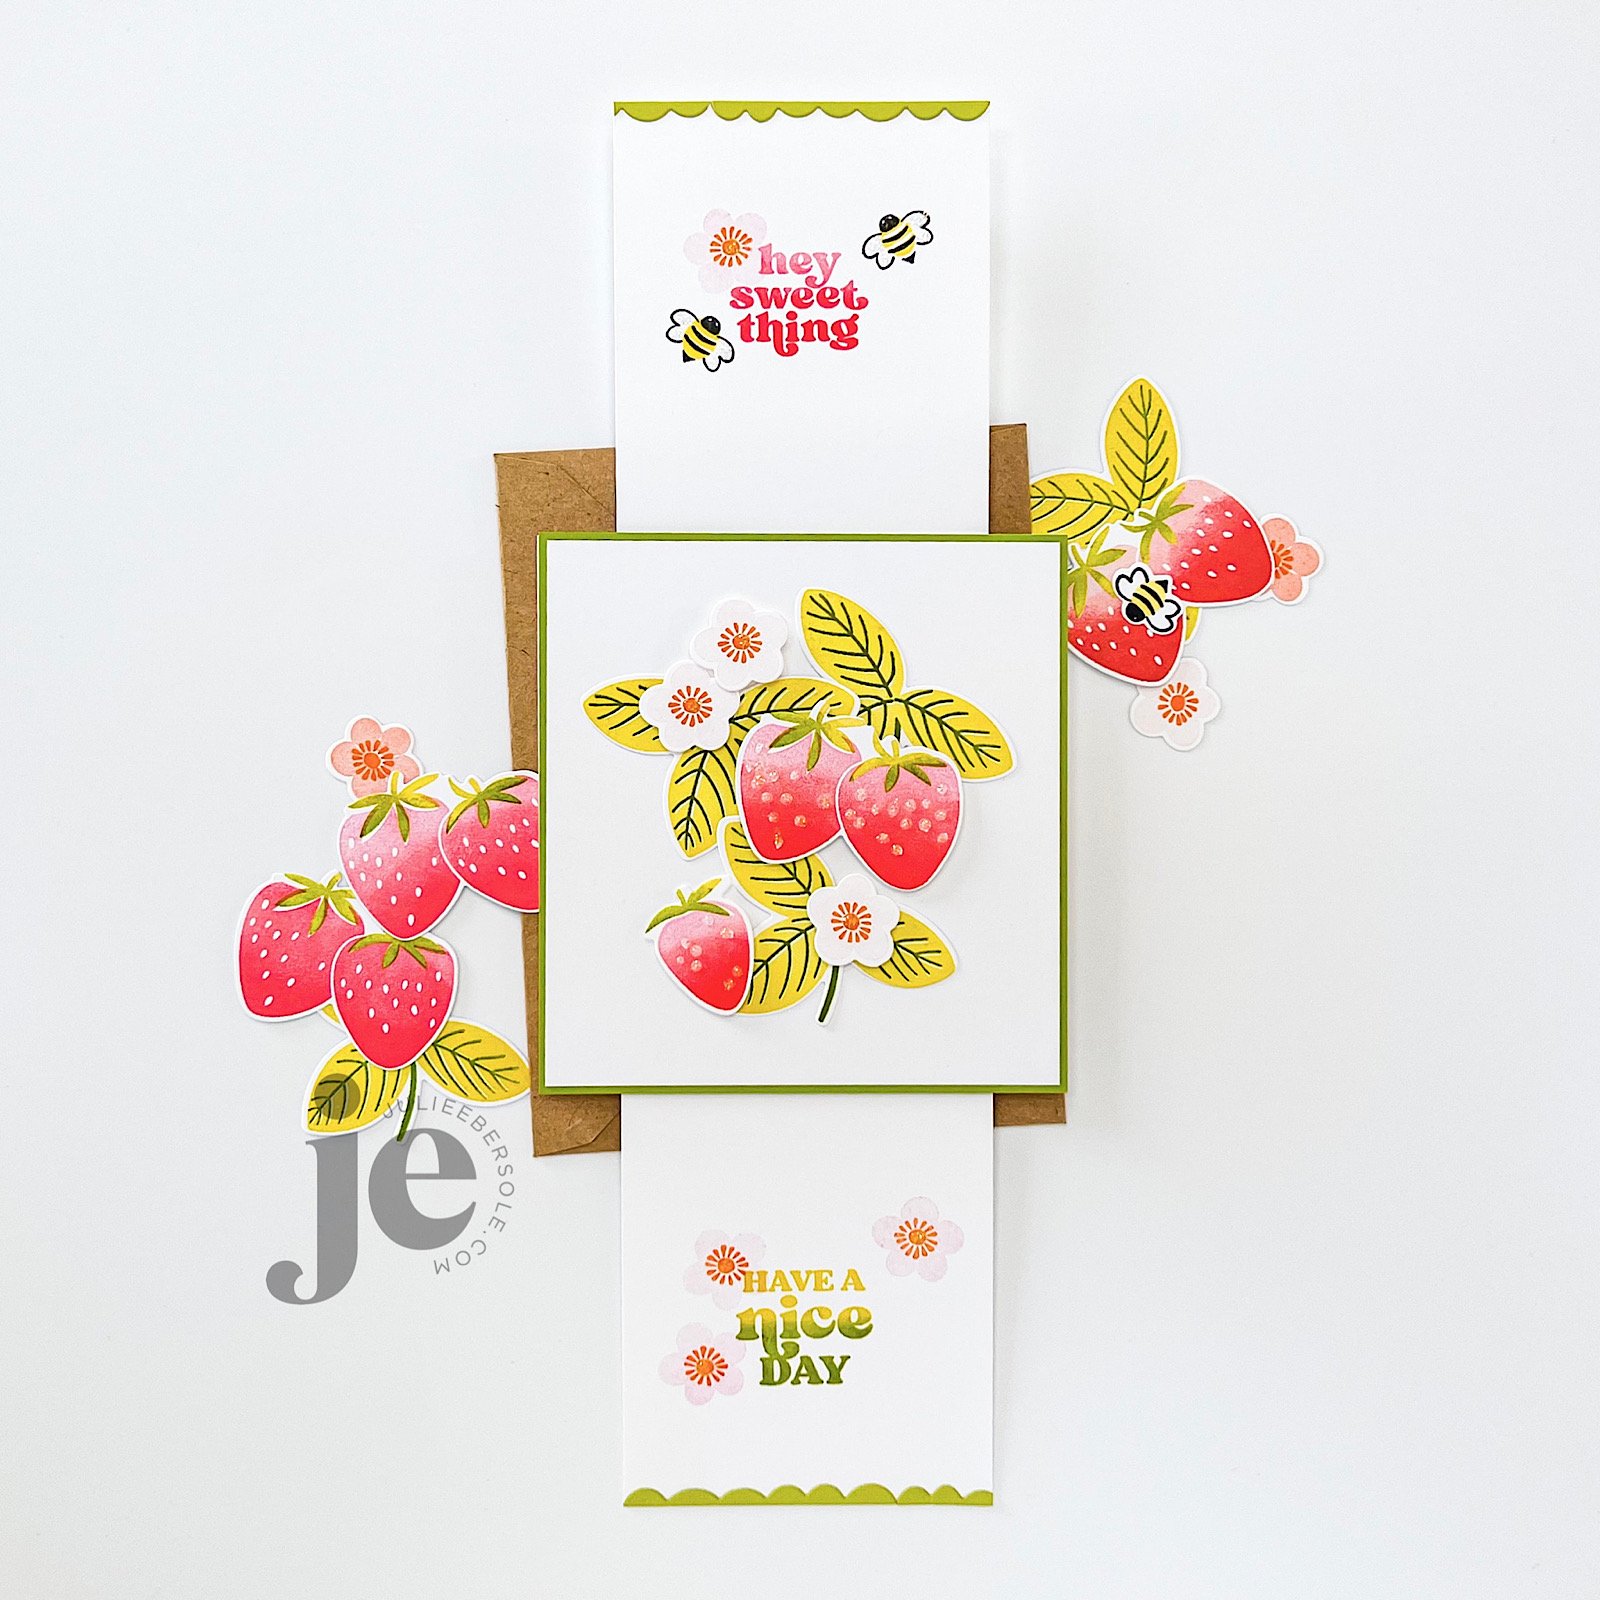
PUSH-ME-PULL-YOU FRIENDSHIP CARD

Finished card is A-2 size

Consider this a (basic) tutorial (one of many different types that already exist, for sure!) for creating a reverse action/double slider card; it works for either portrait or landscape layouts—just make sure your images and sentiments are going the same direction.

I used the smaller slit from the Push-me Pull-you Die set. Is this set necessary for making this type of slider? Nope! You can use a straight-blade trimmer or a craft knife + a metal edge ruler, if that’s what you have. I just find the slit die works great and is the perfect size for this particular type of slider card, and I love that you can completely adjust the gap between the slits to suit your project, whereas on a duo slit die, the gap is fixed.

BASE MATERIALS:

  • 2 pcs. White card stock - 4.25 x 4.5” (for the back cover and for the mechanism itself)

  • 1 pc. Preferred color of card stock - 4.25 x 4.5” (for the front cover)

  • 2 pcs. White card stock - 3 x 4.5” (for the “handles”)

    • Optional: 1 pc. White card stock - 4 1/8 x 4 3/8” (for layering onto the front cover and allowing for a slight mat or border effect)

  • 1 strip of thin plastic or cellophane - 3 x at least 8” long (excess can always be trimmed off during assembly; grocery shopping, zipper style and cellophane bags work or you could even use ribbon, if you have some laying around that meets the dimensions)

VIDEO TUTORIAL

Now, if you prefer to skip the mat layer (the green “front cover” one shown in my prototype), just swap it out for white and you can skip the optional smaller layer. But, if you want to stamp directly onto that, make sure to do so while it’s flat and before you start assembling things.

And, don’t forget: Stickles LAST!!!

Have a fab day!


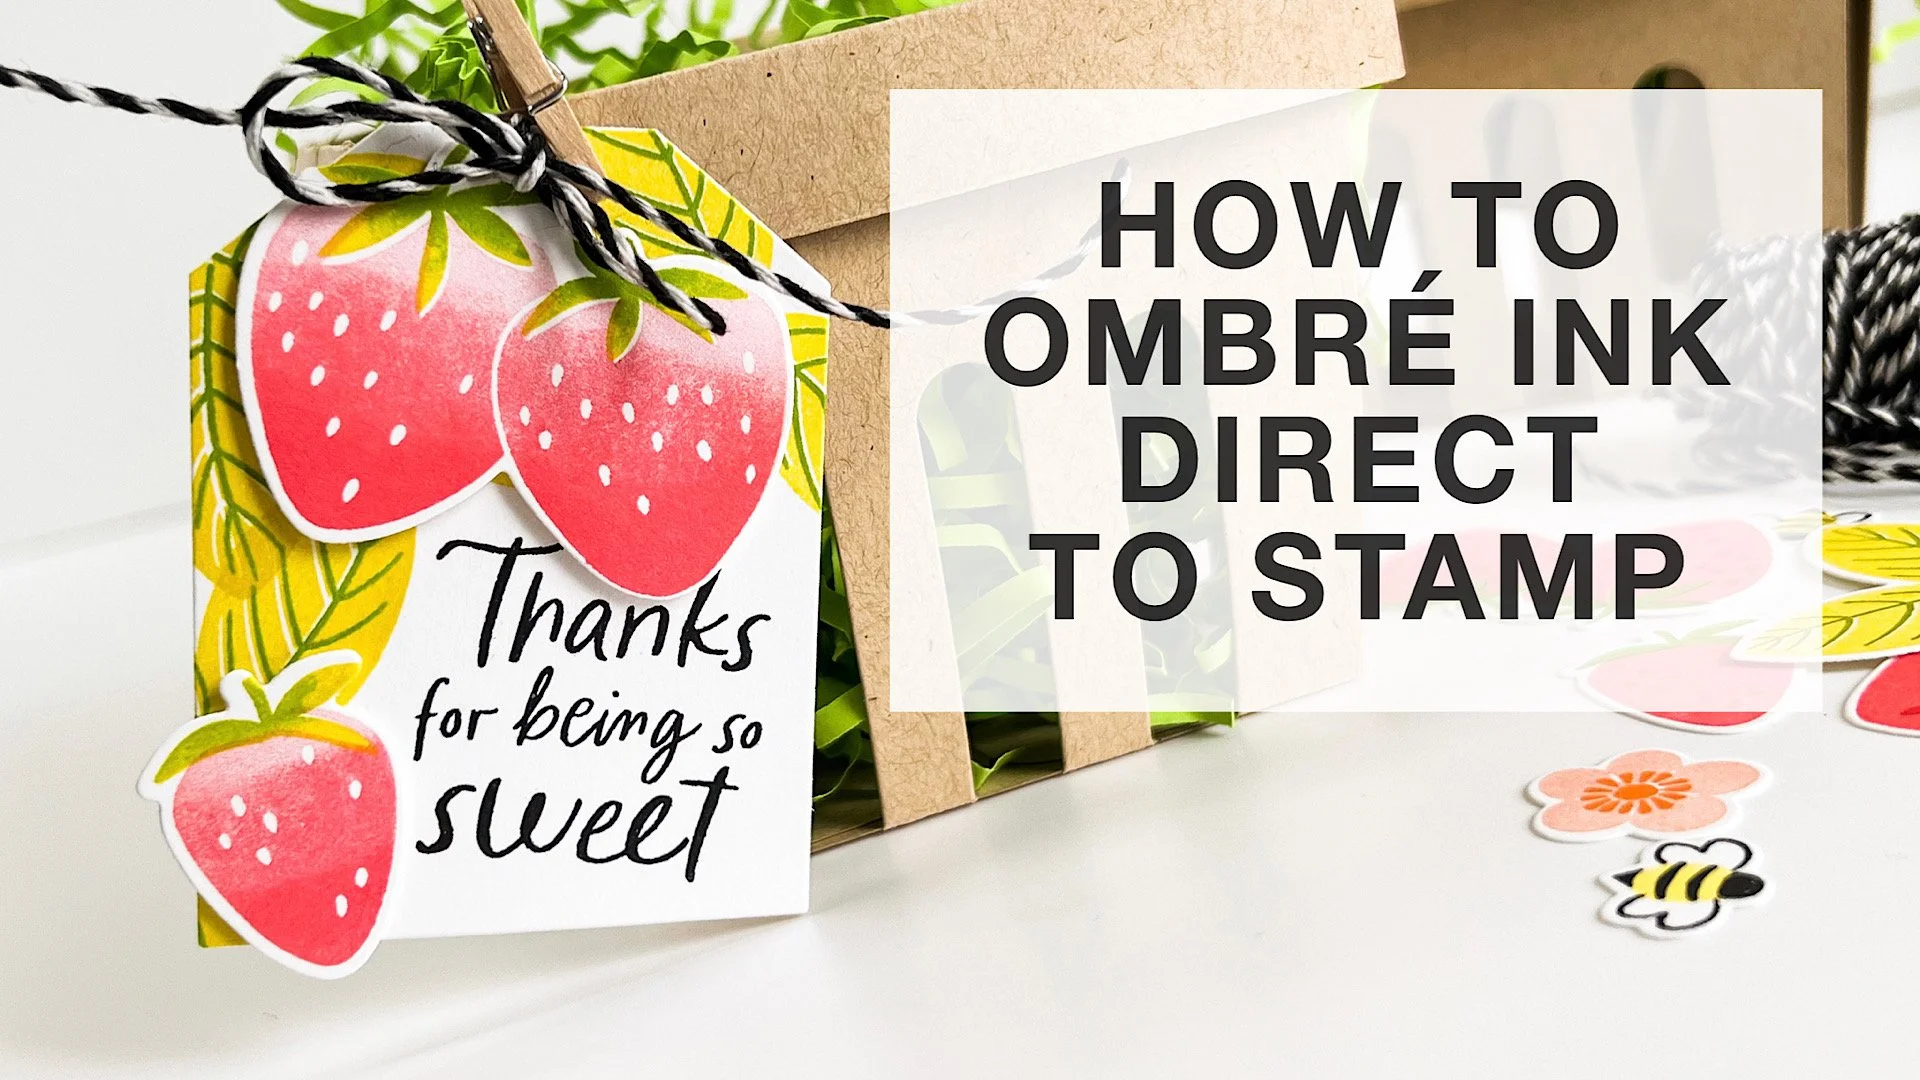
HOW TO OMBRE INK DIRECTLY ON YOUR SOLID STAMPS

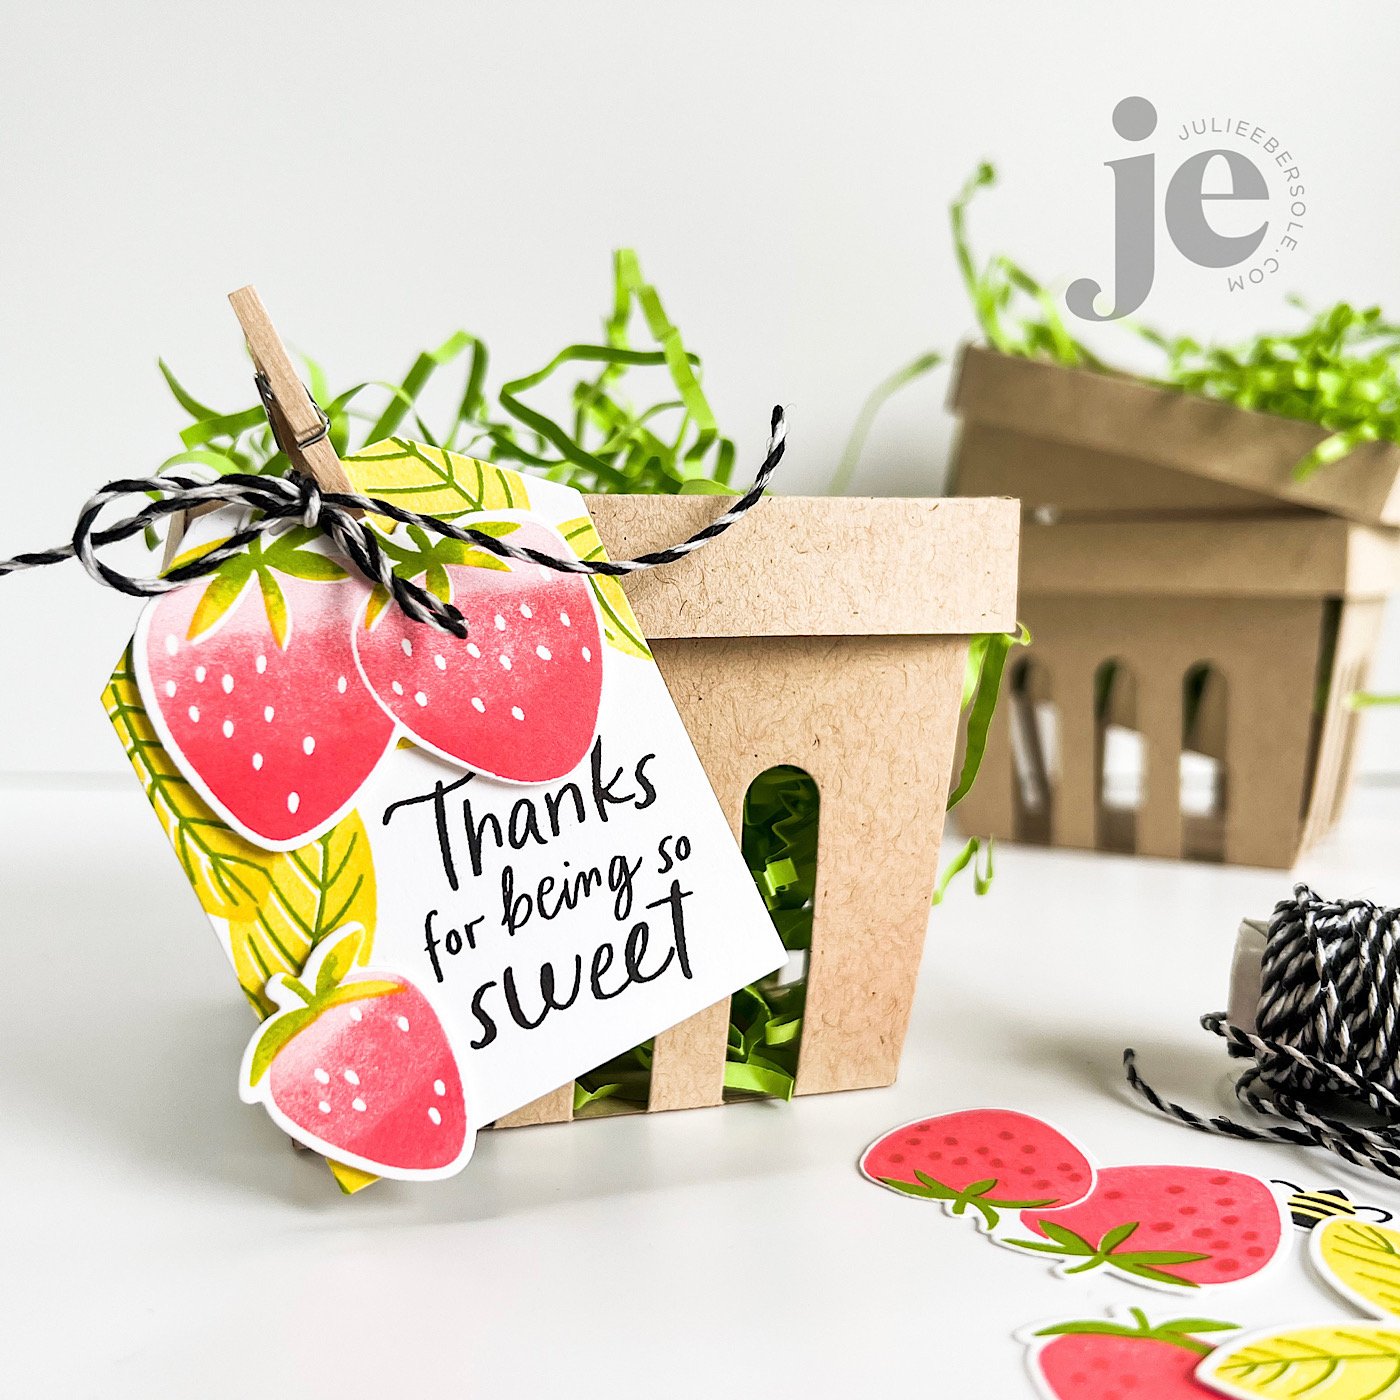
That beautiful variegated or ombré ink effect is a wonderful look when combined with solid stamps. You can achieve it by blending ink colors directly on the stamp surface! I’m working with water-based dye inks and using a MISTI positioning tool; for this method, a positioner is key to being able to stamp precisely over the original impression multiple times.

VIDEO

HOW TO:

  1. Select 2-3 shades of ink in the same hue, ranging from light/pale to dark (for really large stamps, you may want 3-5 variations of ink color, but for stamps the size used in this project, 2 is plenty).

  2. Ink stamp with lightest color first and impress to paper; if mass producing and die cutting images out, try my suggestion of trimming quarter sheets of card stock even further down into smaller pieces so you only have to rotate those pieces and not reposition the stamp in order to maximize the paper.

  3. Use the darker color to ink only a portion or a side of the stamp where you want shading or deeper color.

  4. Use a blending tool, like the Little Smoothie, to rock or pounce the rounded end of the sponge across the edge of the ink to soften. Stamp over original impression.

  5. Repeat Step 4 as often as desired.

  6. Highly contrasting colors of ink may require you to clean the stamp before switching colors to avoid cross-contamination of ink pads.


All the beautiful shades of ink pads out there make this one of the easiest methods for achieving “multi-colored” images, especially when working with solid stamps!

Thanks for stopping by!


SUPPLIES:

Disclosure: Affiliate links to the products used in my projects, that I like and use may be included; I make a small commission when you purchase via those links, at no extra cost to you. Thank you for all your support!

INK 101

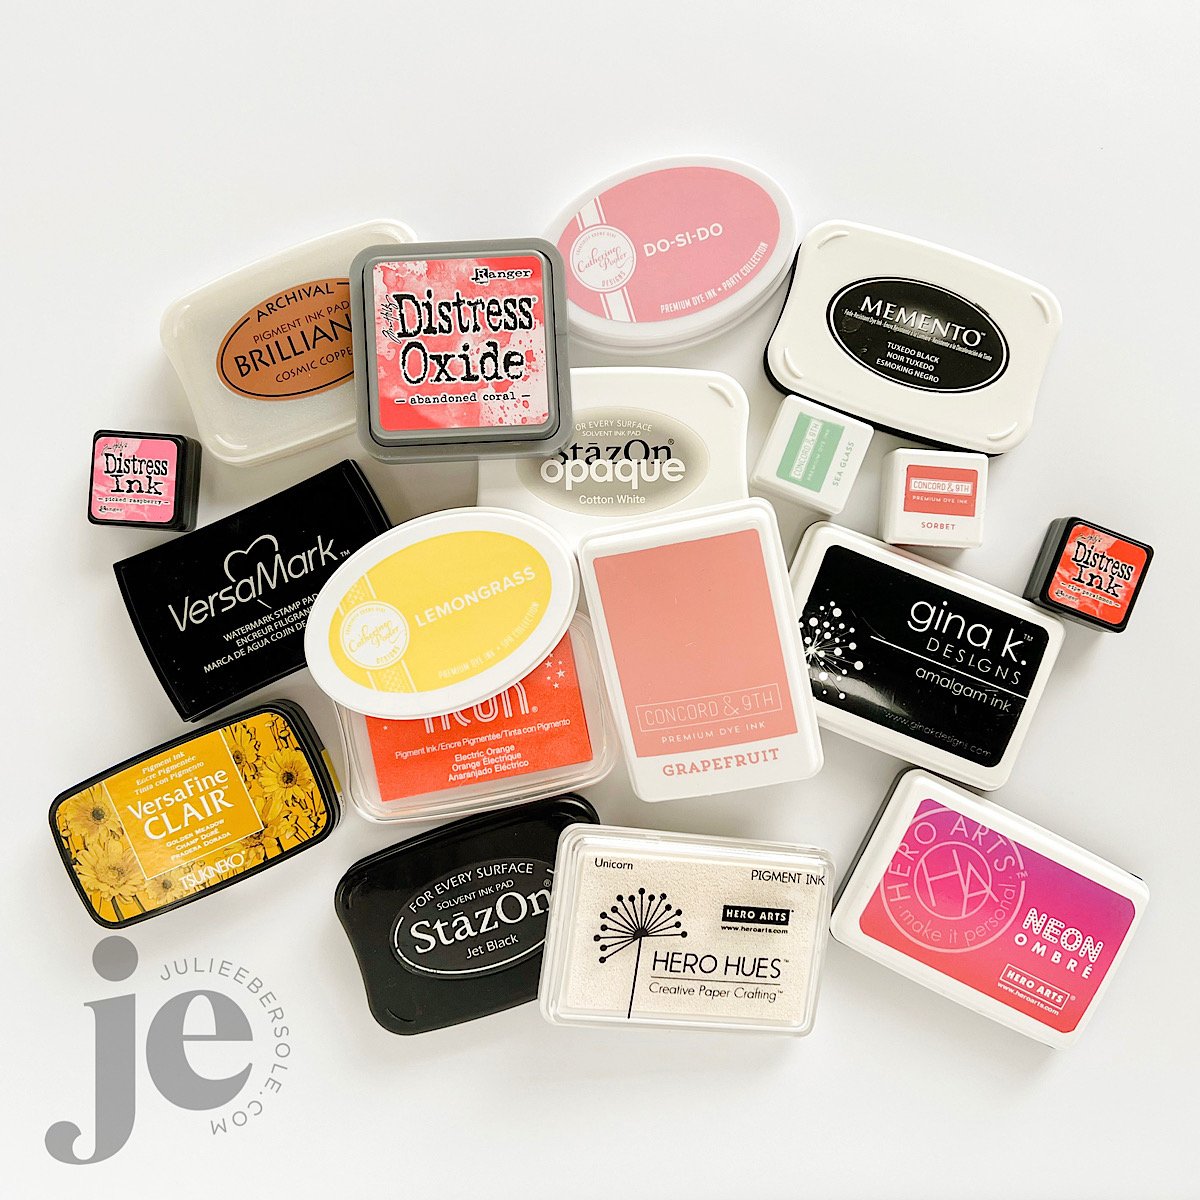
People often ask, what’s the best ink. Honestly, there is no “best”, nor is there one ink to rule them all . (heh, heh, heh . . . LOTR fans will totally get me with that reference.) Inks come in a variety of formulas and ink pad formats, and ink pad sizes (full-size or cubes, often referred to as “minis”).

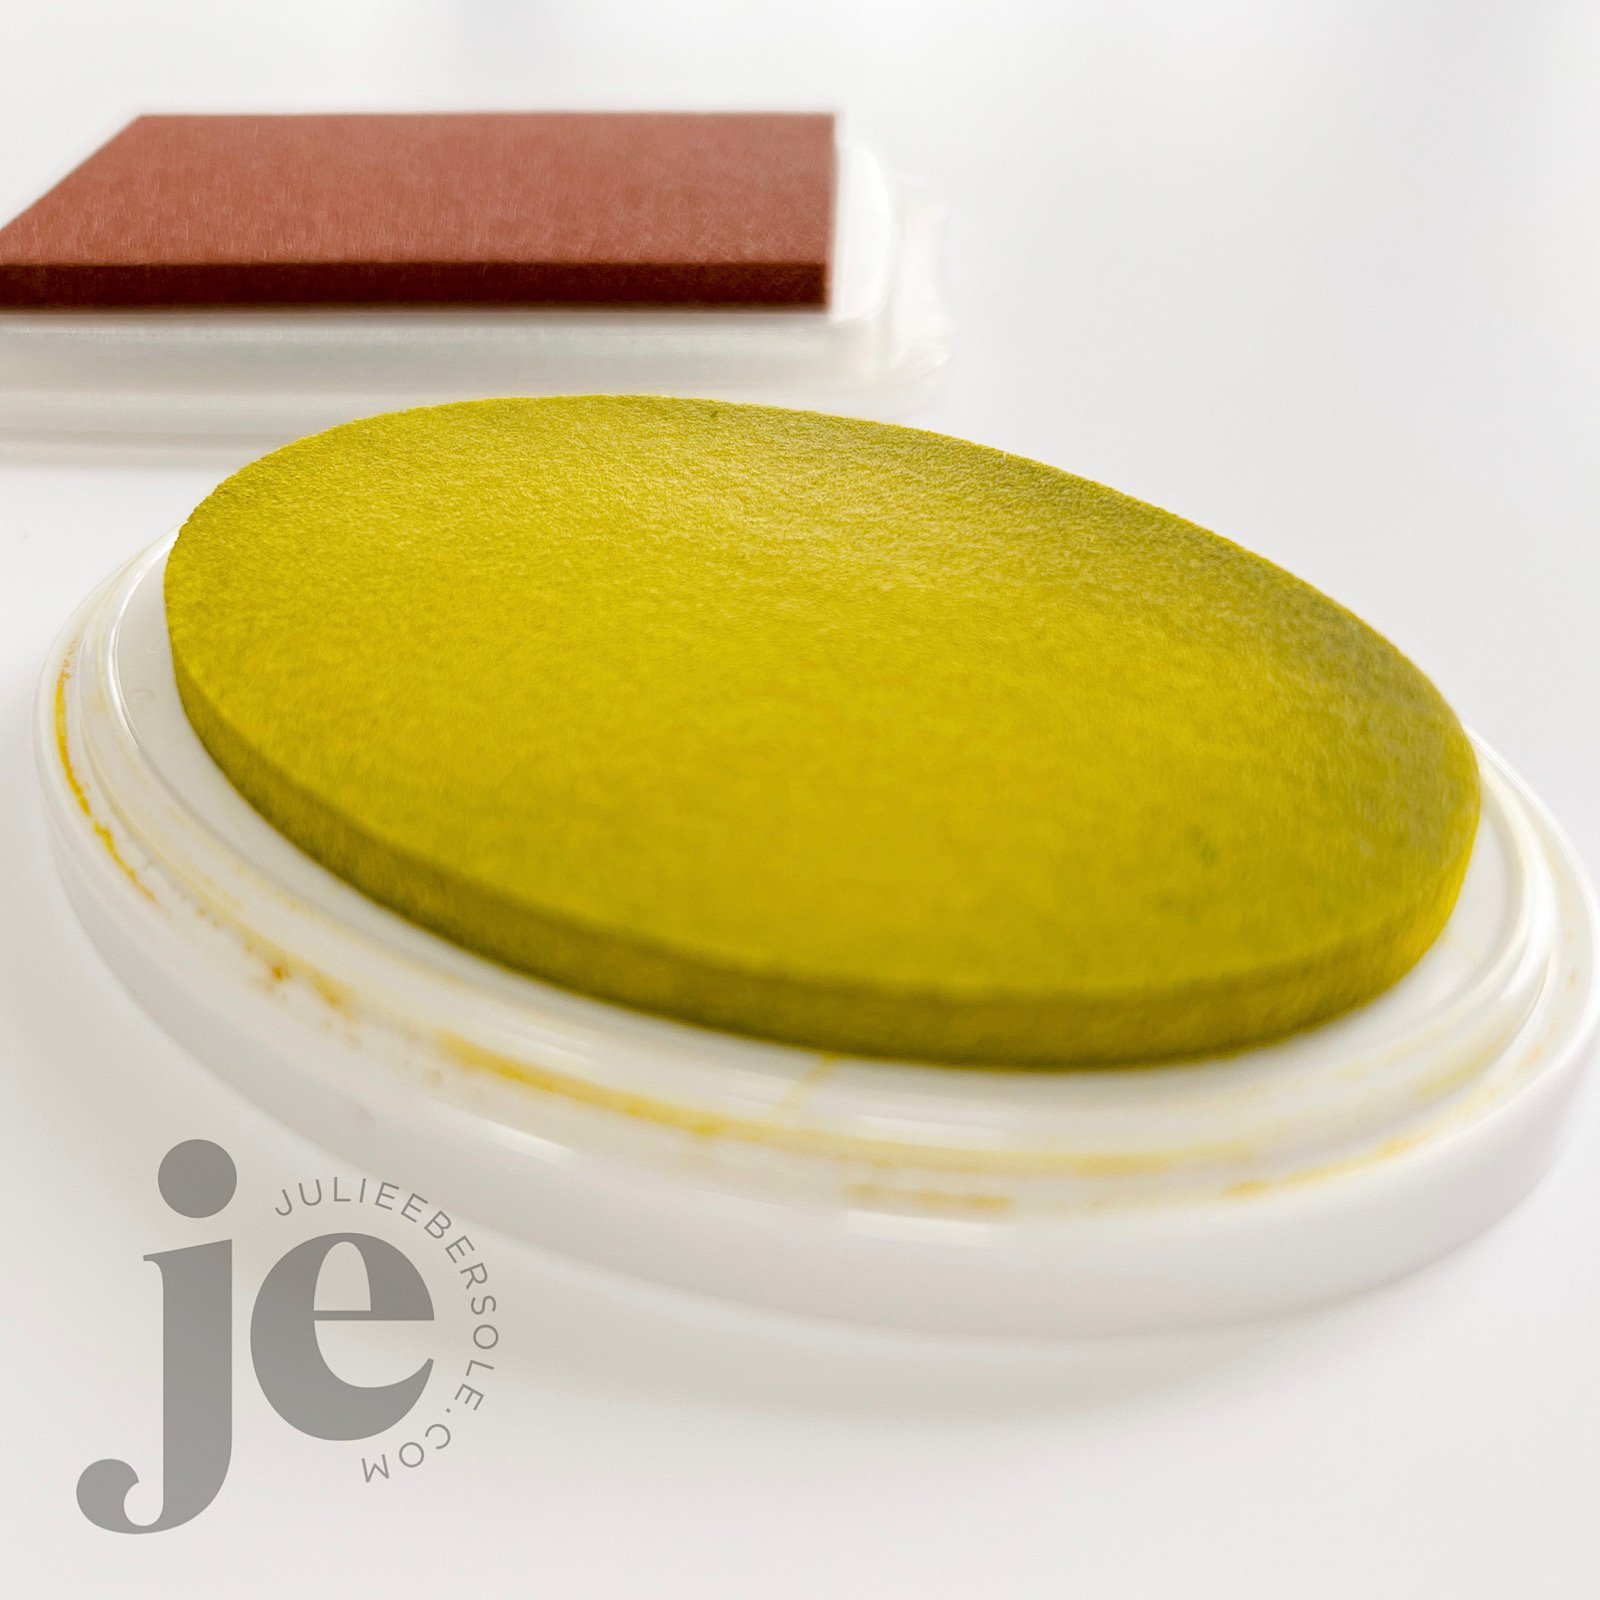
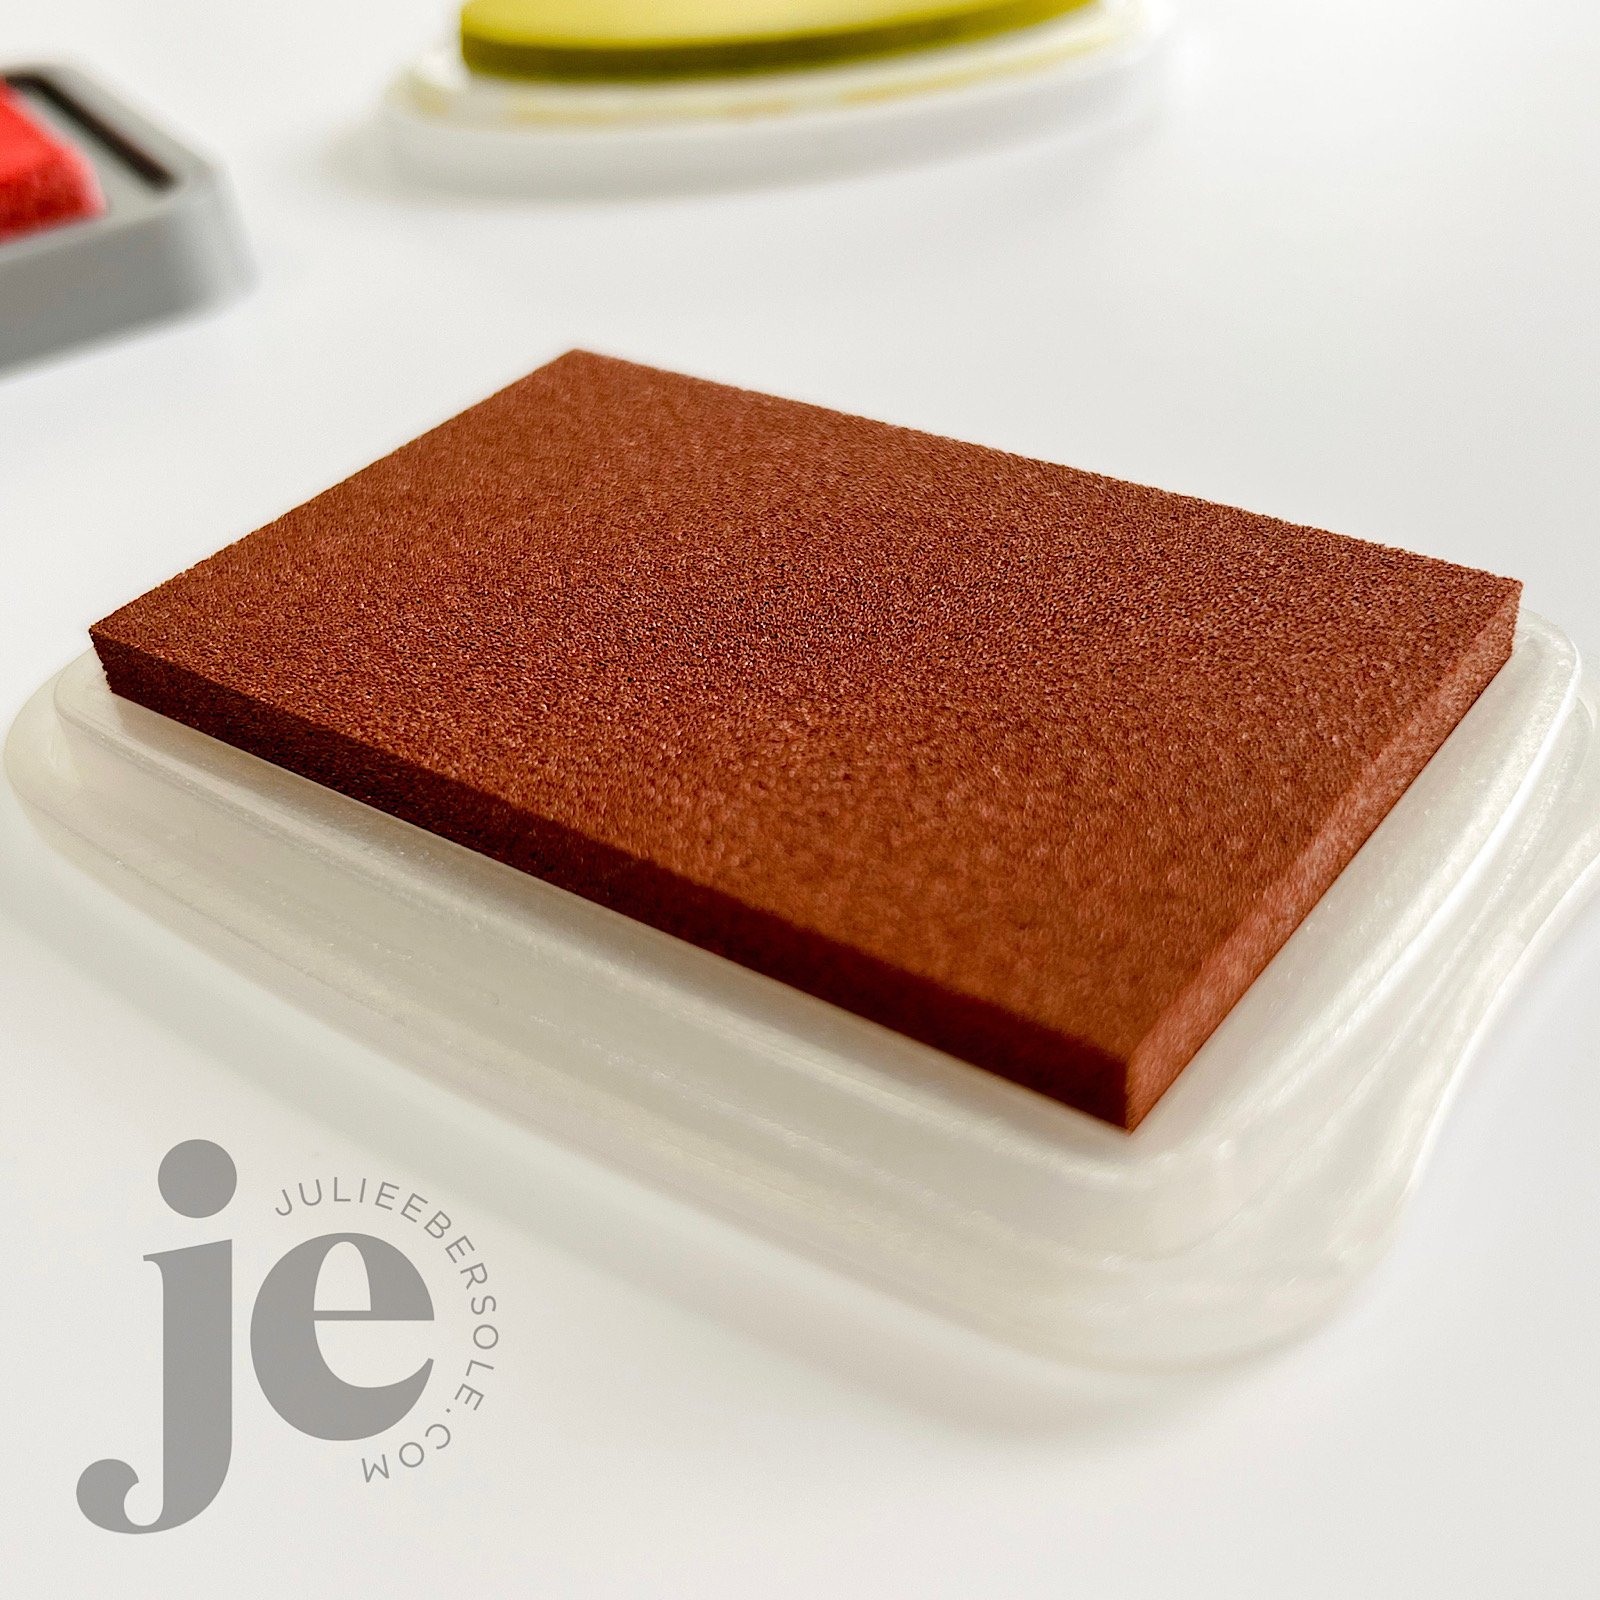
Click on the pics to enbiggan and see in greater detail.

In basic terms, these are the primary categories of ink:

DYE

  • Dye inks are typically very fluid, quick drying on porous surfaces, as well as glossy style card stocks.

  • They can be water-soluble (non-permanent), or permanent, and, with the exception of dark colors, can have a lovely transparency to them.

  • Some are archival quality, bleed-proof and fade resistant.

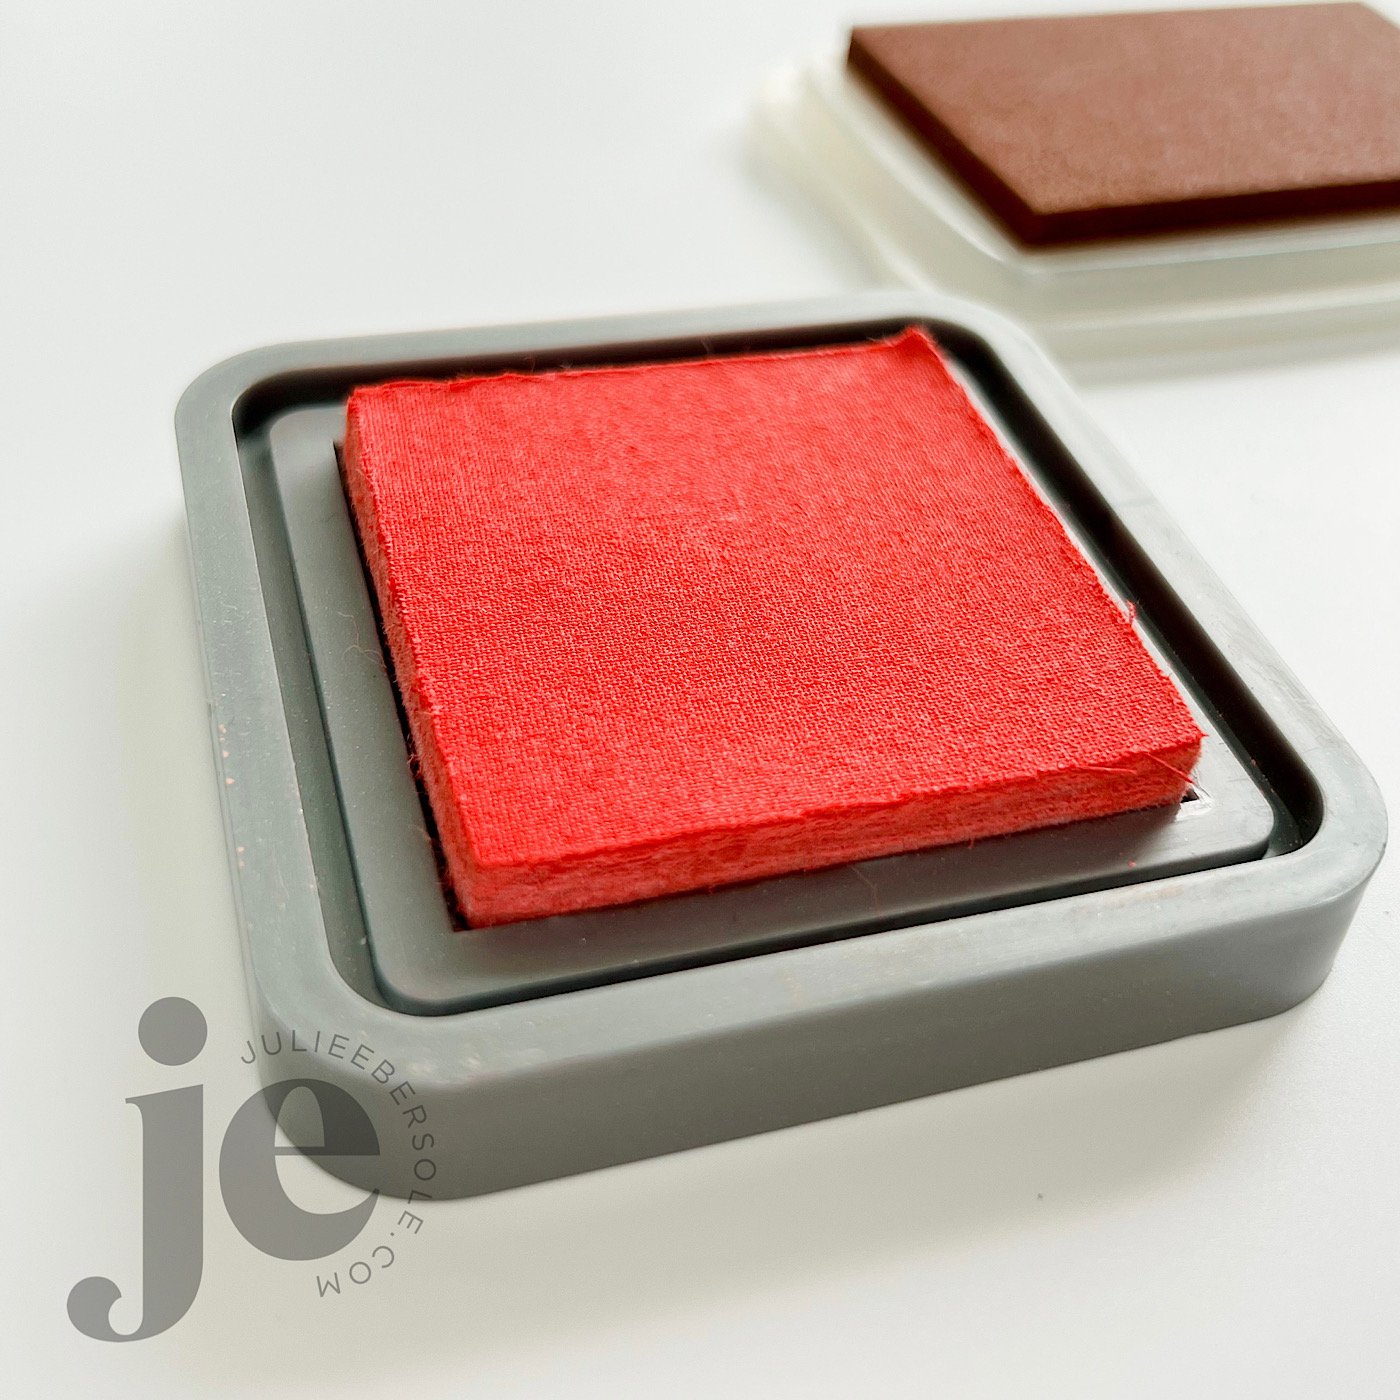
  • These ink pads usually come with a felt pad, topped with linen, but a now increasingly popular style of dye ink pad utilizes a gel foam style ink pad. These (gel foam) are my personal favorite type of dye ink pads; over time and use, linen topped felt pads can fray, with stray threads needing to be trimmed off. On the other hand, linen pads seem like they can withstand more aggressive techniques, such as direct-to-paper/ink-dragging, etc.

  • Dye inks are not typically designed for heat embossing, but under certain circumstances some can be, if you work fast or stamp onto a particular surface that allows them to remain wet for a longer period of time, such as vellum.


PIGMENT

  • Pigment inks are a thicker formula, almost resembling a thin paint, with a slower drying time and an opaque finish.

  • Tend to be fade resistant and richly saturated in color.

  • Can be stamped onto porous surfaces, but will never dry on glossy/coated card stocks and must be sealed with heat-embossing.

  • Come with a foam/sponge style pad.

  • Pigment inks are designed for heat embossing; they often contain glycerine, which gives the ink a slower drying time.


CHALK

  • Similar to pigment ink, these inks have a slower drying time, are opaque and have a distinctive chalky finish that you can see and actually feel on the paper surface.

  • Typically have a foam/spongey like pad.

  • Chalk inks often do not work well for heat embossing because the chalky ingredient in the formula doesn’t allow embossing powder to stick well.


HYBRID

  • These inks may contain the properties of several of the aforementioned inks, which may vary by brand.


SOLVENT PERMANENT

  • Can be dye OR pigment and are formulated for use on glossy coated card stocks as well as slick surfaces, such as acetate, polyshrink, glass, vellum, etc. And, yes, they will/do dry!

  • Pigment style solvent inks are slower drying but can be speed heat set with an embossing tool or sealed with embossing powder.

  • Due to their permanent nature, they will stain your stamps quite severely; this doesn’t typically affect their performance, but stain removal will require the use of a specialty or solvent type stamp cleaner. In some cases, with clear stamps, you may never “completely” remove the staining. I highly recommend Ultra Clean (affil) for deep cleaning stamps, but work in a well-ventilated area.


METALLIC

  • Pigment based and slower drying on porous surfaces; can be speed heat-set with an embossing tool.

  • Most will require sealing with embossing powder on glossy/coated surfaces, vellum, etc.

  • Exception: Some brands of metallic pigment inks are formulated specifically to dry on non-porous surfaces, such as Brilliance by Tsukineko/Imagine Crafts.


WATERMARK

  • Think of watermark ink as a completely CLEAR pigment ink.

  • On darker colored card stocks, it will deepen the shade of the paper color, hence why it is called “watermark” ink.

  • Can be heat-embossed.

  • Slower drying on porous surfaces; will require sealing with embossing powder on glossy/coated card stocks, vellum, etc.


EMBOSSING

  • Basically, a pigment style ink that may have a slight tint to it, i.e. pale blue.

  • Specifically designed/intended for heat-embossing, with some brands offer even slower drying properties.


Do I have personal favorites? Of course—every stamper does!

  • I looooooove water-based dye inks for quick and easy stamping: Concord & 9th as well as Catherine Pooler offer a wide range of colors and are my normal go-to inks.

  • If I’m coloring outline images, I tend to reach for Versafine Clair in Nocturne, as it is a little faster drying pigment ink and is a rich dark black. I also love Fallen Leaves, which is more of a black brown. VFC can also be sealed with clear embossing powder for coloring with alcohol markers (FYI, it does NOT play nice unsealed when coloring with Copics)

  • For coloring with alcohol markers, i.e. Copics, I tend to reach for Memento Dye ink in Tuxedo Black, but many folks also like the Gina K Amalgam Ink in Obsidian because it works for water-based, alcohol and dry mediums like colored pencils—a rare tri-fecta in the world of inks!

  • Favorite white ink on dark surfaces? Hero Arts Unicorn Pigment has great opacity!

  • Heat embossing in general? Versamark is my preferred and I love using it for watermark stamping on mid-darker colored paper.

  • Delicata Golden Glitz is probably the most beautiful gold metallic ink I’ve ever stumbled across; I prefer it “nekked” (un-embossed) because the shimmer is drop-dead gorgeous!


That covers the basics of ink, but if you have any questions I didn’t happen to answer, ask away in the comments and I will follow up with answers!

Have an excellent—and I hope, crafty—weekend!


Disclosure: This post includes my affiliate link(s). If you use my links to make a purchase, thank you so, so much for your support!