ink blending

HOW TO OMBRE INK DIRECTLY ON YOUR SOLID STAMPS

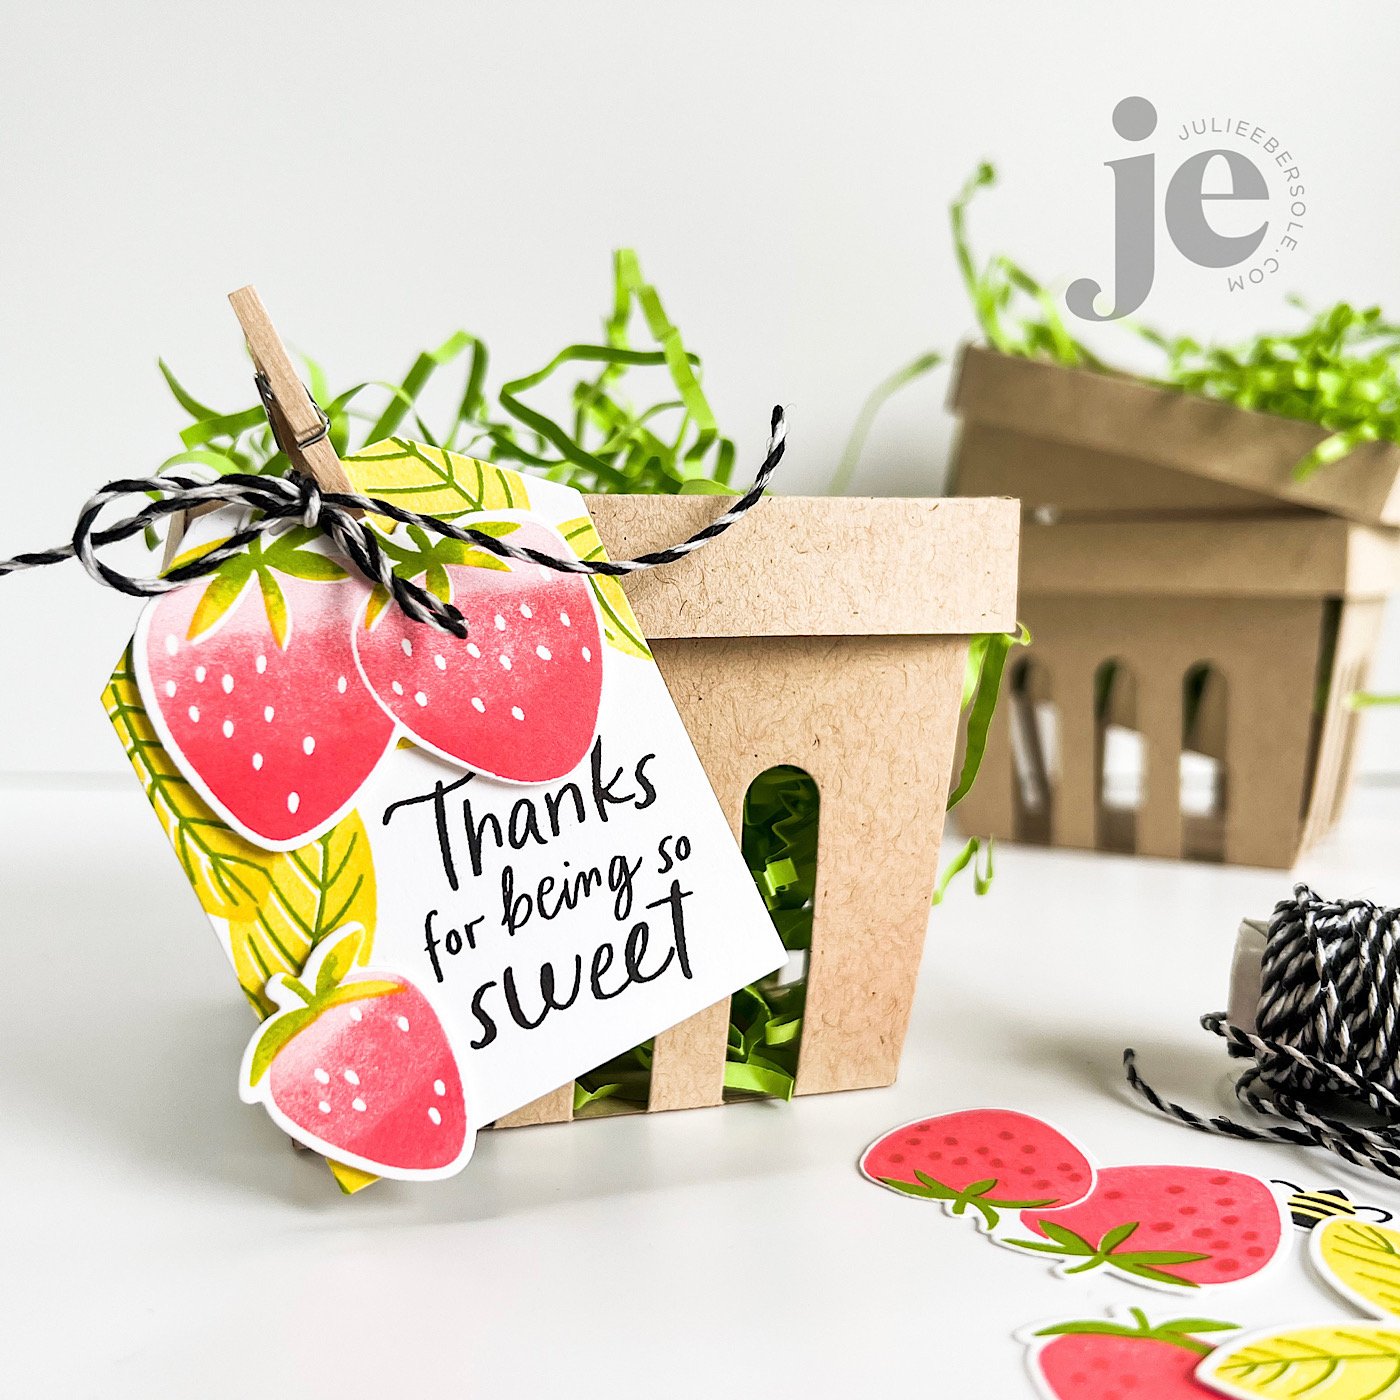
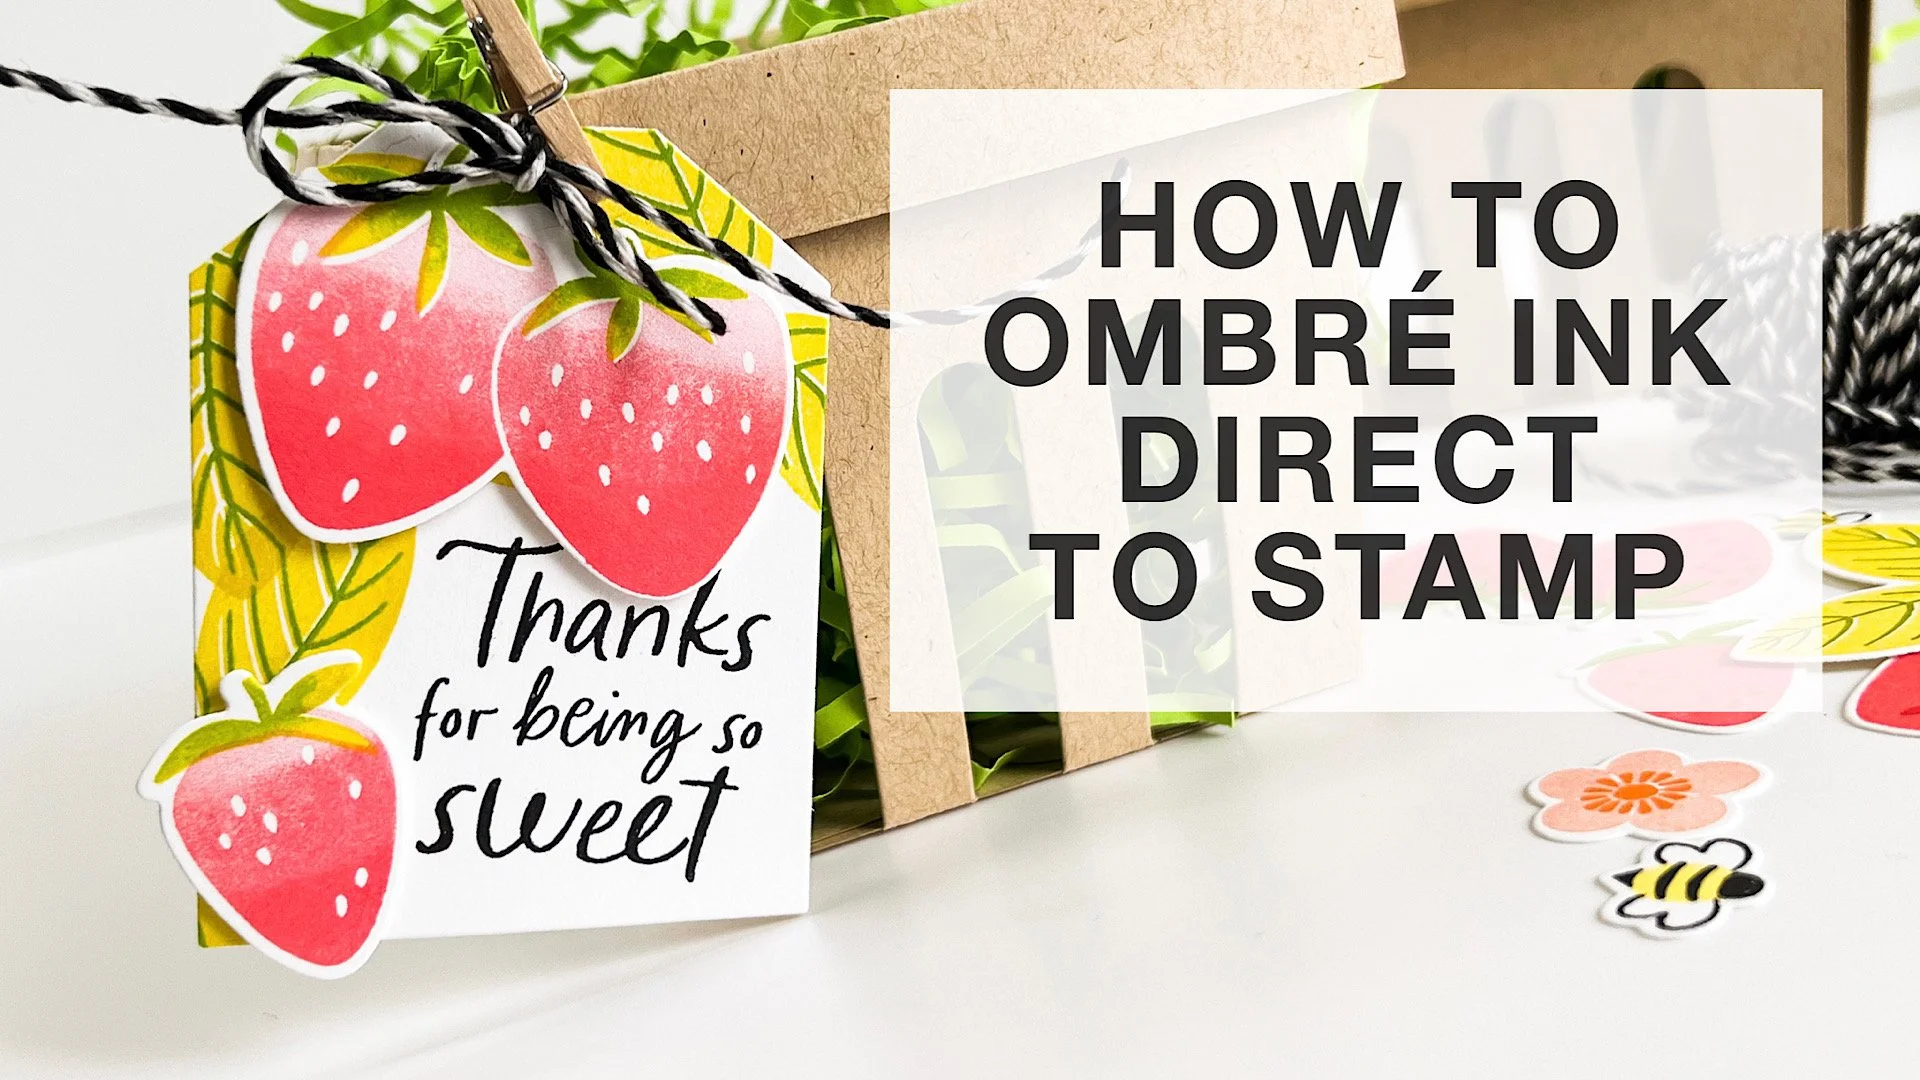
That beautiful variegated or ombré ink effect is a wonderful look when combined with solid stamps. You can achieve it by blending ink colors directly on the stamp surface! I’m working with water-based dye inks and using a MISTI positioning tool; for this method, a positioner is key to being able to stamp precisely over the original impression multiple times.

VIDEO

HOW TO:

  1. Select 2-3 shades of ink in the same hue, ranging from light/pale to dark (for really large stamps, you may want 3-5 variations of ink color, but for stamps the size used in this project, 2 is plenty).

  2. Ink stamp with lightest color first and impress to paper; if mass producing and die cutting images out, try my suggestion of trimming quarter sheets of card stock even further down into smaller pieces so you only have to rotate those pieces and not reposition the stamp in order to maximize the paper.

  3. Use the darker color to ink only a portion or a side of the stamp where you want shading or deeper color.

  4. Use a blending tool, like the Little Smoothie, to rock or pounce the rounded end of the sponge across the edge of the ink to soften. Stamp over original impression.

  5. Repeat Step 4 as often as desired.

  6. Highly contrasting colors of ink may require you to clean the stamp before switching colors to avoid cross-contamination of ink pads.


All the beautiful shades of ink pads out there make this one of the easiest methods for achieving “multi-colored” images, especially when working with solid stamps!

Thanks for stopping by!


SUPPLIES:

Disclosure: Affiliate links to the products used in my projects, that I like and use may be included; I make a small commission when you purchase via those links, at no extra cost to you. Thank you for all your support!

PEAS AND CARROTS: ELLEN AND JULIE LIVE ON YOUTUBE

all-the-feels-001.jpg

So… Ellen and I went LIVE on YouTube… We had some technical difficulties… And, we laughed. A LOT. And, I had fun re-making this card ↑ and sharing tips not only for this, but for clean and simple card-making in general. If you weren’t able to join us, you can catch the replay HERE.

Because my desktop computer is not close to my “work” desk, I left it off and therefore, I couldn’t see the comments on the chat. Ellen did her best to keep an eye on those and relay them to me, while she was running the back-end of things, because I am obviously sooooo not a good multi-tasker.

To the folks who asked what colors I used on my project, the supplies list is below!

We truly, TRULY appreciate the support all of you give us! Thank you for showing up, for listening to us dish and cackle—well, I cackle—and share the back-story of how our friendship came to be.

And, for hanging in there while I muddled my way through an entire LIVE demo! OY!

THANK YOU EVER SO MUCHLY!!!

367Ellen_Julie-500x332.jpg

I refer to Ellen and myself as peas & carrots with a whole lot of fondness and affection; we’ve been friends and crafty co-conspirators for a long, loooooong time. (grin) The photo above was taken the very day she had invited me to lunch at her house and we met FOR REALZ for the very first time!

GOOD TIMES!!!


BIRCH TREES FOR HALLOWEEN

I really love Halloween—besides being the Mister’s birthday, it’s just one of the most fun holidays to celebrate! When my kids were little, carving jack o’ lanterns was something they so looked forward to, along with hay rides at the pumpkin patch, trying to find our way through the corn mazes, sipping apple cider, and ultimately putting on their costumes (I used to make them, which was fun for me, too!) and heading out to trick or treat. GOOD TIMES!!!

How ‘bout that Birch Trees Cover Die in black for Halloween??? PERFECTION!!! Stickles on pumpkins for sparkle, and a few of those HAI Supply sequins in black (love.those.things.) Oh, and that moon behind the trees? Well, when I was die cutting a bunch of Shaker Globes, these leftover circles were put to use! •BOOM• (Hey, it’s the little things, #amirite ?) BTW, the Super Silver Shine Stars I used as props for my photo are pretty doggone sparkly and I love using them for my shakers . . . just sayin’ . . .

Modern Graphics Vol. 2 paper pack has been updated—you can see it peeking out on the left side of this card. I adore black and white patterned paper because it’s so versatile, but these papers come with an extra benefit—they can be foiled! •fist pump•

I wish you could see the shimmer on the owl—used that Tonic Clear Aqua Shimmer pen and IRL it is such a gorgeous effect.

Halloween will be different this year, with the Pandemic and all . . . but, we’ll be keepin’ the fun going


Stay safe out there!


SUPPLIES:

Disclosure: This post contains affiliate links; if you see something you like, want or need, and purchase via my links, I receive a small commission, at no extra cost to you, which I use to buy coffee, which fuels my creativity and provides energy to make more card ideas. And, pay the rent.

SPREAD JOY NOT GERMS BLOG HOP

SJNG-banner.png

We’re doin’ our part, staying home to stay safe and keep others safe and so that others on the front lines, my younger sister among them, can fight the good fight.

But, we CAN stay connected—a bunch (understatement) of us have joined together for a massive creative hop, designed to spread a lotta JOY, no germs. (wink)

aloe-other-side-bubble.JPG

Typically I reach for watercolors, colored pencils or alcohol markers to color in my images but this time I wanted to try ink blending over the top of some white embossed images. This is more of a “resist” effect/way of doing things.

In hindsight, I think I probably should have grabbed even smaller brushes, but I think it still turned out OK—smaller brushes just would have better enabled me to achieve the shading I was going for in specific areas. Note to self: Keep practicing. (wink)


SPONSORS AND PRIZES!


THIRTY ONE companies are offering more than FIFTY prizes on this hop! Comment on the blogs on the hop to be entered. No minimum number of comments required, but the more blogs you comment on, the greater the chances of winning.

Deadline to enter is April 24 and winners will be announced on Monday, April 27 on the Catherine Pooler Designs and Hedgehog Hollow blogs. Please check there on that date to see if you won!

Full details and hop list are available here:

Catherine Pooler Blog

Hedgehog Hollow Blog

If you get lost along the way, please visit the Catherine Pooler or Hedgehog Hollow links above to see the full roster.

SJNG-sponsors-graphic.png

Thank you for commenting, and may the odds be ever in your favour! (wink)

Your next stop along the hop is Vicki Ditcher’s blog, All I Do is Stamp

Stay safe and healthy, folks


3 SIMPLE AND SWEET NEW BABY CARDS - PRETTY PINK POSH

pretty-pink-posh-slider.jpg

Welcome to the Pretty Pink Posh Hop! You can see their latest release at this link: PRETTY PINK POSH SPRING 2020

I have 3 darling but simple new baby cards to inspire you with!

ppp-baby-trio-grp.JPG

For whatever reason, I was drawn to yellow and mint for this trio’s color combo.

ppp-baby-trio-001.JPG

Images were white embossed onto white card stock, and then ink blended over the top, before die cutting. Just a little bit of scoring on the base card adds a nice bit of texture and interest, don’t you think?

ppp-baby-trio-002.JPG

The little lamb was embossed with Fallen Leaves Versafine Clair ink and clear detail powder onto watercolor paper and then watercolored using Zig Clean Color Real Brush Markers.

ppp-baby-trio-003.JPG

“Baby” was die cut 3x from yellow card stock and stacked together; after gluing onto the card, I coated the top with a Clear NUVO Glitter Gloss Brush Pen—wish that had shown up on camera better, but you get the idea.

Read on for some fun giveaway info and links to all the EH Ambassadors playing along!


••• GIVEAWAY •••

One random & lucky commenter will win $25 to the EH shop! To enter for a chance to win, make sure to leave comments at each stop along the hop! Comment before Wednesday, March 25th at 11:59pm PDT. Winner will be notified by email.

HOP ROSTER: