
Finished card is A-2 size
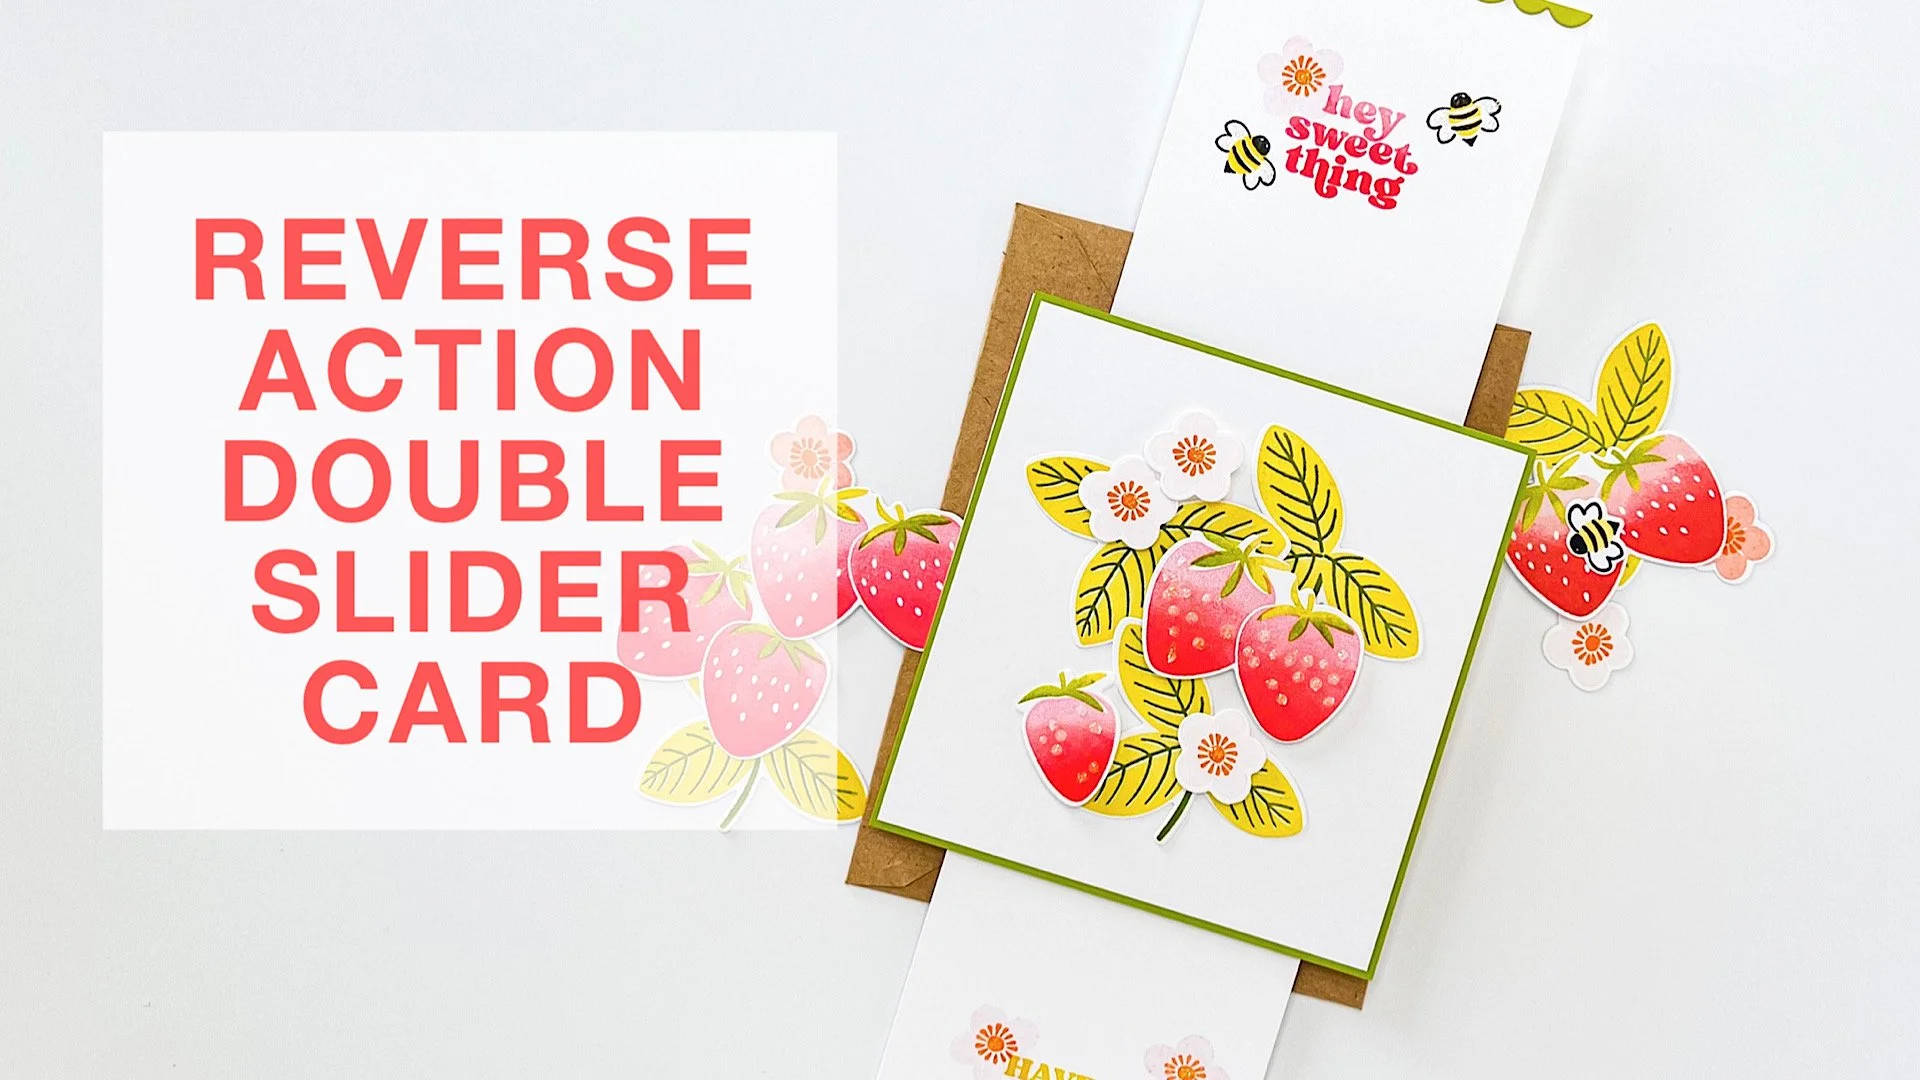
Consider this a (basic) tutorial (one of many different types that already exist, for sure!) for creating a reverse action/double slider card; it works for either portrait or landscape layouts—just make sure your images and sentiments are going the same direction.
I used the smaller slit from the Push-me Pull-you Die set. Is this set necessary for making this type of slider? Nope! You can use a straight-blade trimmer or a craft knife + a metal edge ruler, if that’s what you have. I just find the slit die works great and is the perfect size for this particular type of slider card, and I love that you can completely adjust the gap between the slits to suit your project, whereas on a duo slit die, the gap is fixed.
BASE MATERIALS:
2 pcs. White card stock - 4.25 x 4.5” (for the back cover and for the mechanism itself)
1 pc. Preferred color of card stock - 4.25 x 4.5” (for the front cover)
2 pcs. White card stock - 3 x 4.5” (for the “handles”)
Optional: 1 pc. White card stock - 4 1/8 x 4 3/8” (for layering onto the front cover and allowing for a slight mat or border effect)
1 strip of thin plastic or cellophane - 3 x at least 8” long (excess can always be trimmed off during assembly; grocery shopping, zipper style and cellophane bags work or you could even use ribbon, if you have some laying around that meets the dimensions)
VIDEO TUTORIAL
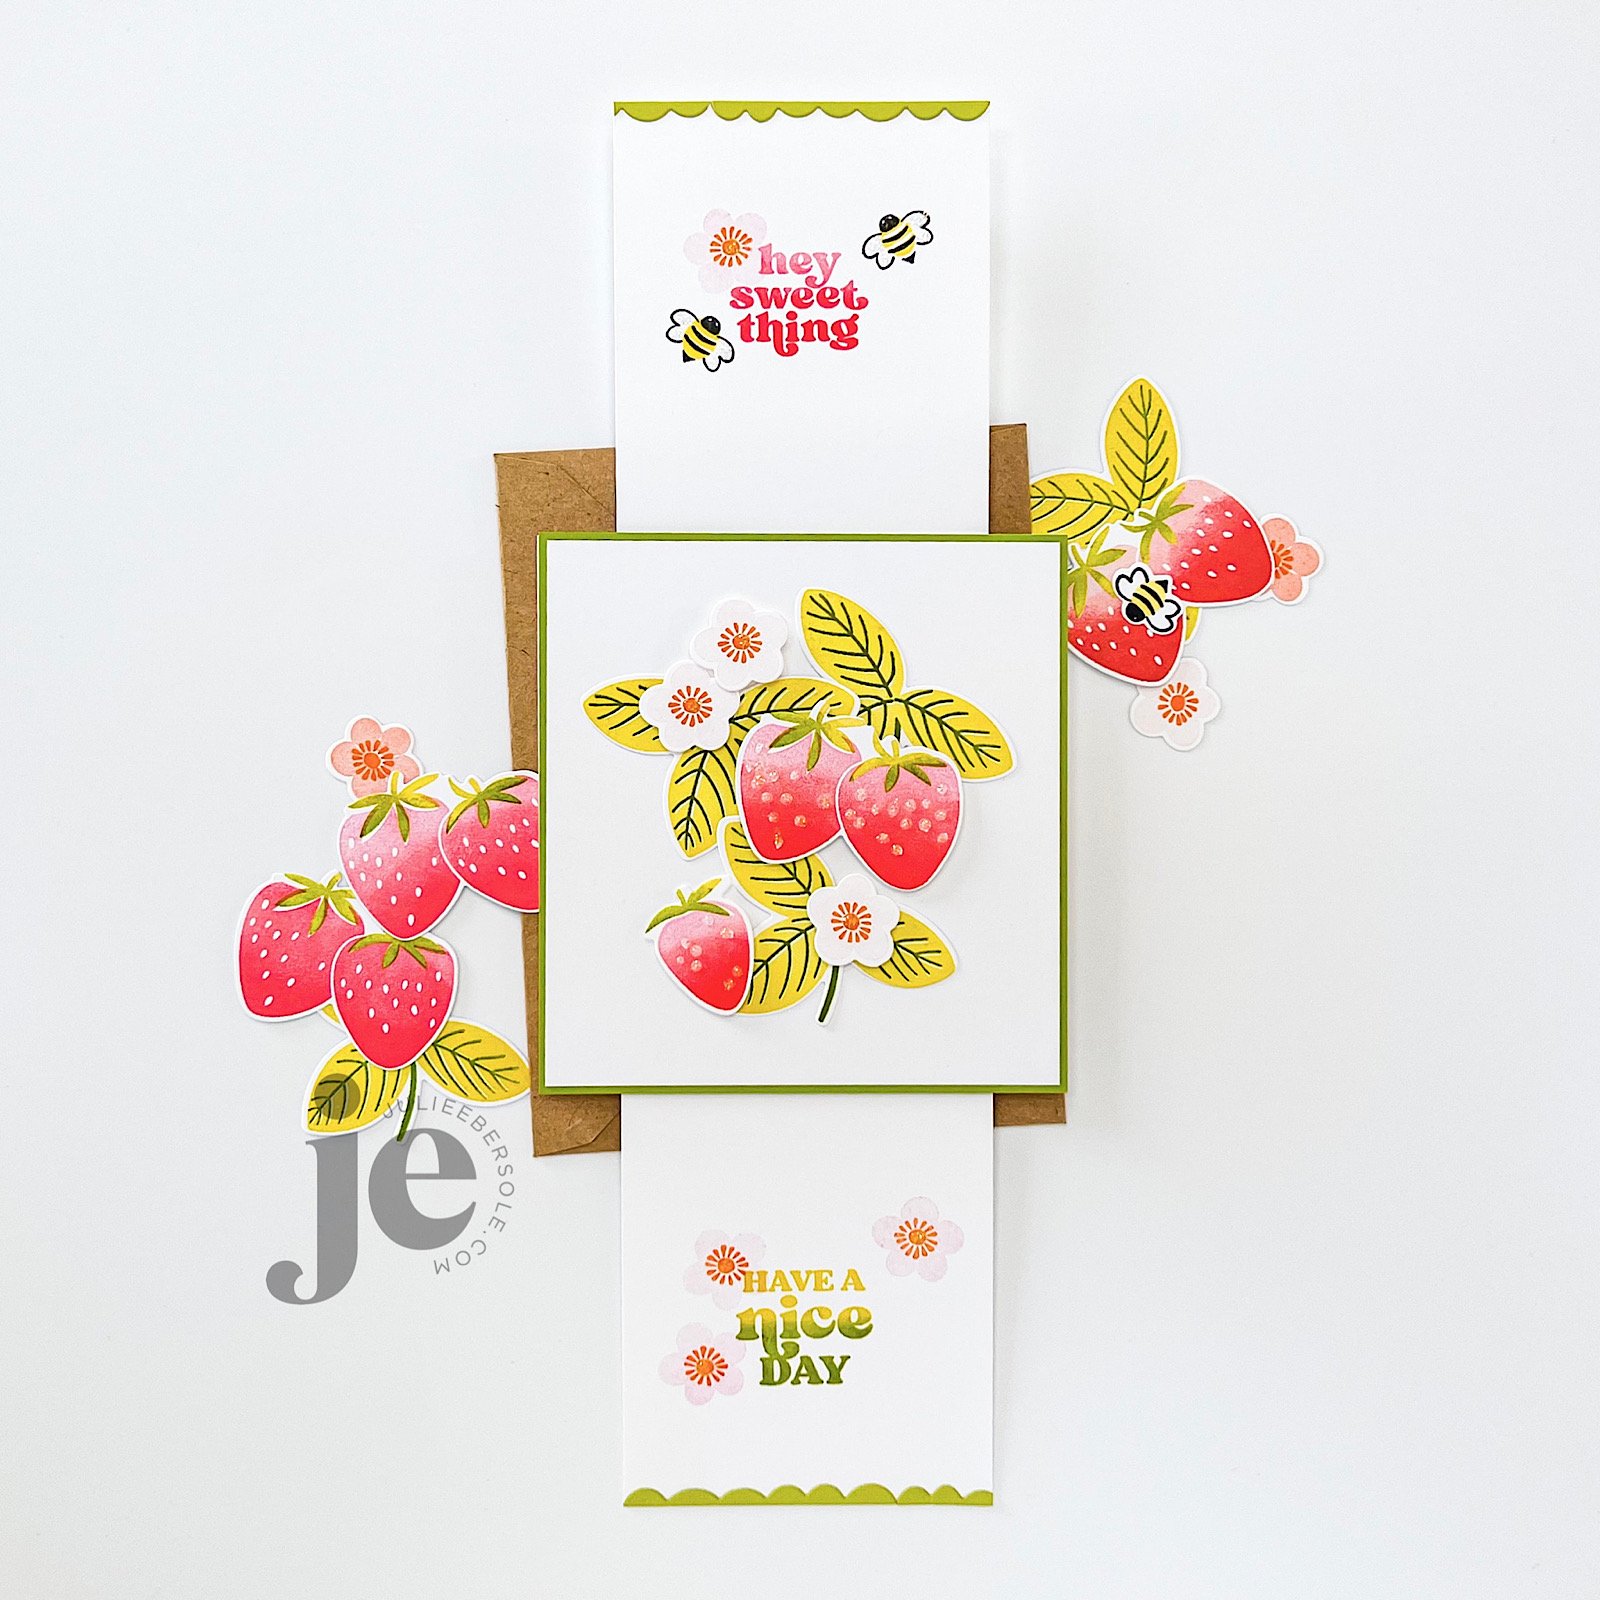
Now, if you prefer to skip the mat layer (the green “front cover” one shown in my prototype), just swap it out for white and you can skip the optional smaller layer. But, if you want to stamp directly onto that, make sure to do so while it’s flat and before you start assembling things.
And, don’t forget: Stickles LAST!!!
Have a fab day!
SUPPLIES:
Push Me Pull You by Julie Ebersole, Essentials by Ellen Designer Dies
Strawberry Fields by Julie Ebersole, Essentials by Ellen Clear Stamps
Strawberry Fields by Julie Ebersole, Essentials by Ellen Designer Dies
Casual Greetings by Julie Ebersole, Essentials by Ellen Clear Stamps
Scallops by Julie Ebersole, Essentials By Ellen Designer Dies
New & Improved MISTI Laser Etched Stamping Tool (8-1/8 X 10-1/2), My Sweet Petunia
Tonic Comfort 8.5 Inch Guillotine Paper Trimmer by Tim Holtz
Platinum 6 Die Cutting And Embossing Machine, Spellbinders Tools
Disclosure: Affiliate links to the products used in my projects, that I like and use may be included; I make a small commission when you purchase via those links, at no extra cost to you. Thank you for all your support!