HALLOWEEN STAMPING GOODNESS

Today I’m sharing three sweet and adorable Halloween Boo-quet projects here on the blog—also used this set on a Haunted House Treat Box Tutorial over on the Ellen Hutson YouTube Channel that turned out so STINKIN’ CUTE, it’s gonna kill me to wait until Halloween to gift them to the grand weebles! GAAAAH!!!

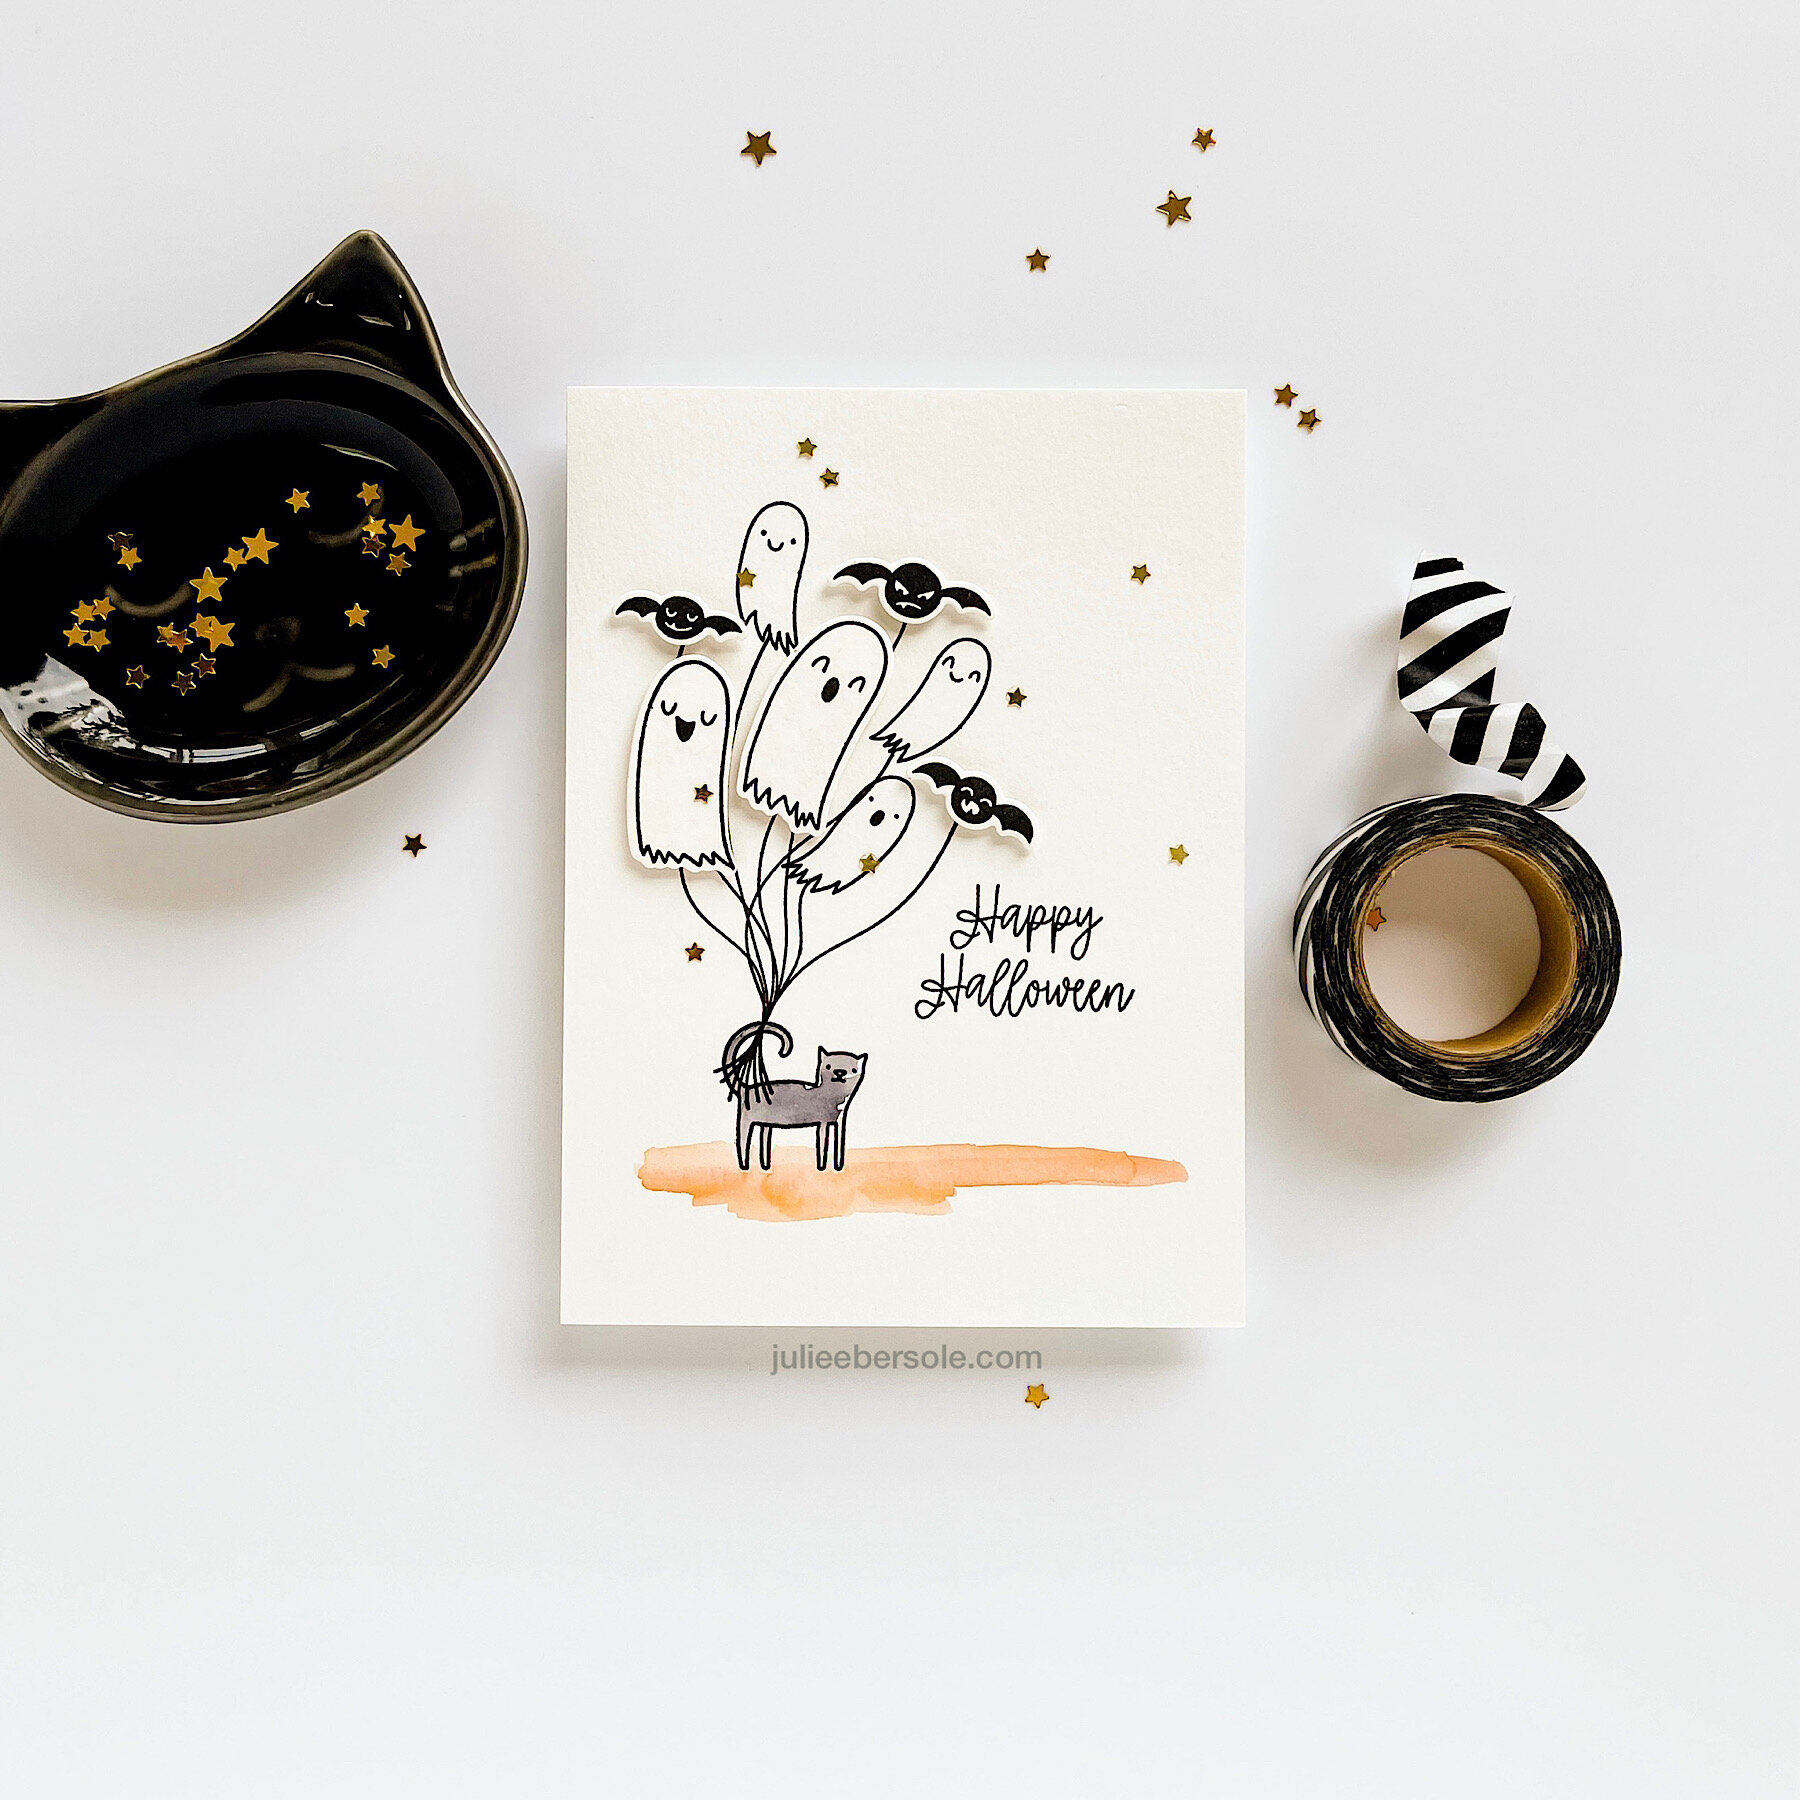
This was a super fast card, excellent for a last-minute Halloween greeting! So fun to string the balloon boo-quet to kitty’s tail! The matching die set has individual dies, in addition to one for the boo-quet as a whole, so you can pick and choose which of those to pop up, if you want! Options . . . always options, LOL! (wink!).

QUICK TIP: Stamp the balloon strings first, then position and stamp the ghost/bat balloons; so much easier to line them up accurately!

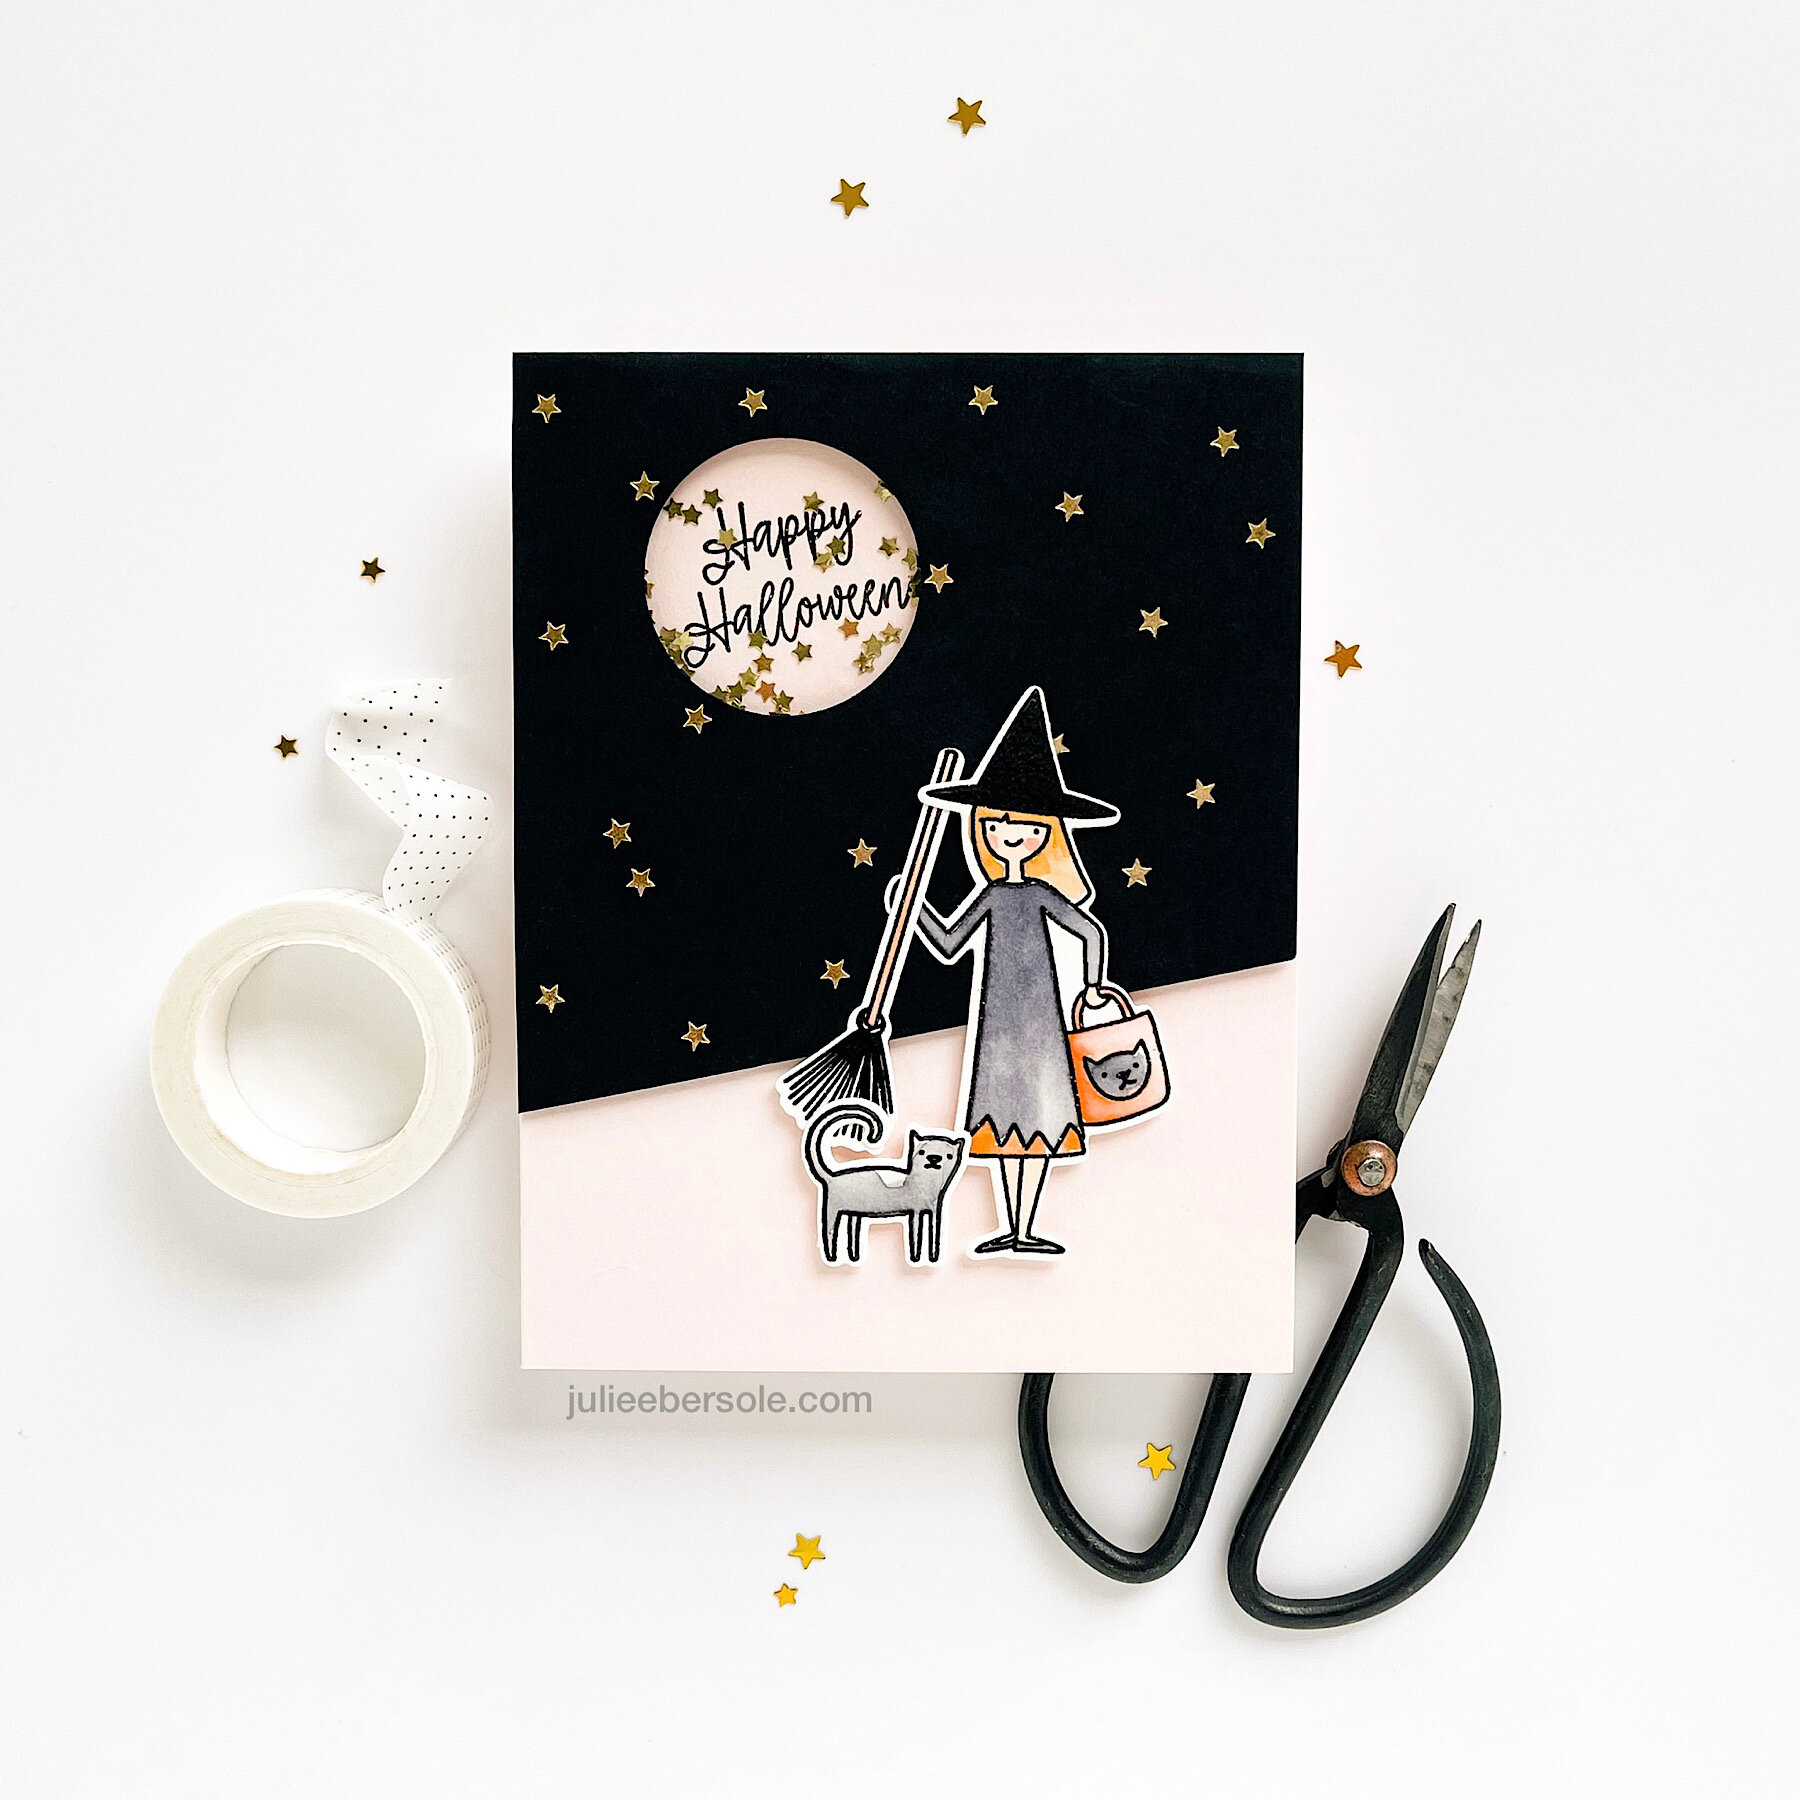
It’s hard to tell in the photo, but our sweet little witch has a pale pink watercolor wash on her dress. I foiled a quarter sheet of black card stock with the Tiny Stars Hot Foil Stamp and then die cut the clouds from that, popping them up, but upside down. Sometimes, I just like ‘em that way. My card, my prerogative. (hair flip)

After die cutting the black clouds in the previous project, I had some leftover, of course . . . So, I figured why not use it to make a background for my little witch to go trick-or-treating with her buddy and broom—and at that point I decided it would be fun to die cut a circle large enough to accommodate the sentiment and turn it into a quick little shaker element!

If you haven’t been bitten yet by the hot-foil stamping bug, I must say, it’s super satisfying—I just love the look of those shiny stars, debossed into the paper. I could just putz around and hot foil stamp the day away—which is actually a smart idea because then you could have a number of pieces ready to go when you need them. Truth.

What do you do more of? Halloween greetings or treat packaging? I’m a mixed bag because both are so much fun to make.

Hope your week is going splendid!


OH MY GOURD!

It’s pumpkin season! I love pretty much all things pumpkin (and squash), from pumpkin pie, to squash soup, pumpkin butter and toasted pumpkin seeds to pumpkin spice lattés. Here are some projects featuring these gorgeous gourds! #givemeallthepumpkin

The kitty (Halloween Boo-quet) was white embossed on black card stock, as was the “Happy Halloween” (Halloween Treat Tags). I did borrow the speech bubble die from SOS Soak It Up because it worked so well for the sentiment. The background on this design was foiled in Rose-Gold with the Tiny Stars Hot Foil Stamp onto Pale Rose card stock, and the gourds were just stamped with black pigment ink onto watercolor paper, die cut and popped up with the kitty because it just looks so fresh as is and I didn’t wanna mess with fresh. LOL!

BTW, that rose gold foiling on that pale pink paper? It is such a lovely upscale effect . . . (swoonage)

I snuck a peek on Instagram of this cutie last week— All the images were heat embossed onto watercolor paper with black pigment ink/clear embossing powder and then I watercolored the pumpkins and the li’l speech bubble (borrowed again, see previous project).

I’ve been happily, sloppily watercoloring all the line art things of late—quick and loose works for me! Heh, heh, heh! (wink!)

I’m a huge HUGE fan of solid image stamps and always want more, more, MOOOOOORE !!! (cheeky grin) This last project is actually a 6 pc. set of 4-bar note cards (4 bar measure 3.5 x 5” when folded). I snagged a bulk pack of 4-bar size kraft envelopes on a quick stop at a big box craft store over the summer—they’re perfect and while I could have made my own, kraft text weight paper is not the easiest to find . . . These CAS note cards are so much fun to make as a set and easy to give as a gift—who can’t use thank-you notes?!

I love this color palette of muted pinks and oranges by Concord & 9th (colors I used are listed below in supplies) for both Halloween and fall projects—it’s so warm, inviting and DIFFERENT from the typical colors we see this time of year. So nice!!!

What have you been gravitating towards for your autumnal creations?


SUPPLIES:

Disclosure: Yup, those are affiliate links to the products used in my projects and I make a small commission when you purchase via those links, at no extra cost to you. Thank you for buying all the things!

HALLOWEEN LOVERS UNITE!

We’ve always especially loved Halloween at my house; it also happens to be the Mister’s birthday! (cue the confetti—Halloween confetti, of course!) I’ve been sharing sneak peeks on my Instagram but I know some of y’all don’t use Instagram, so I’m sharing here, too. If you wanna throw your name in the hat for some great prizes, check out the Instagram Hop we have going on (this post has the details and you can visit the other stops from there!)

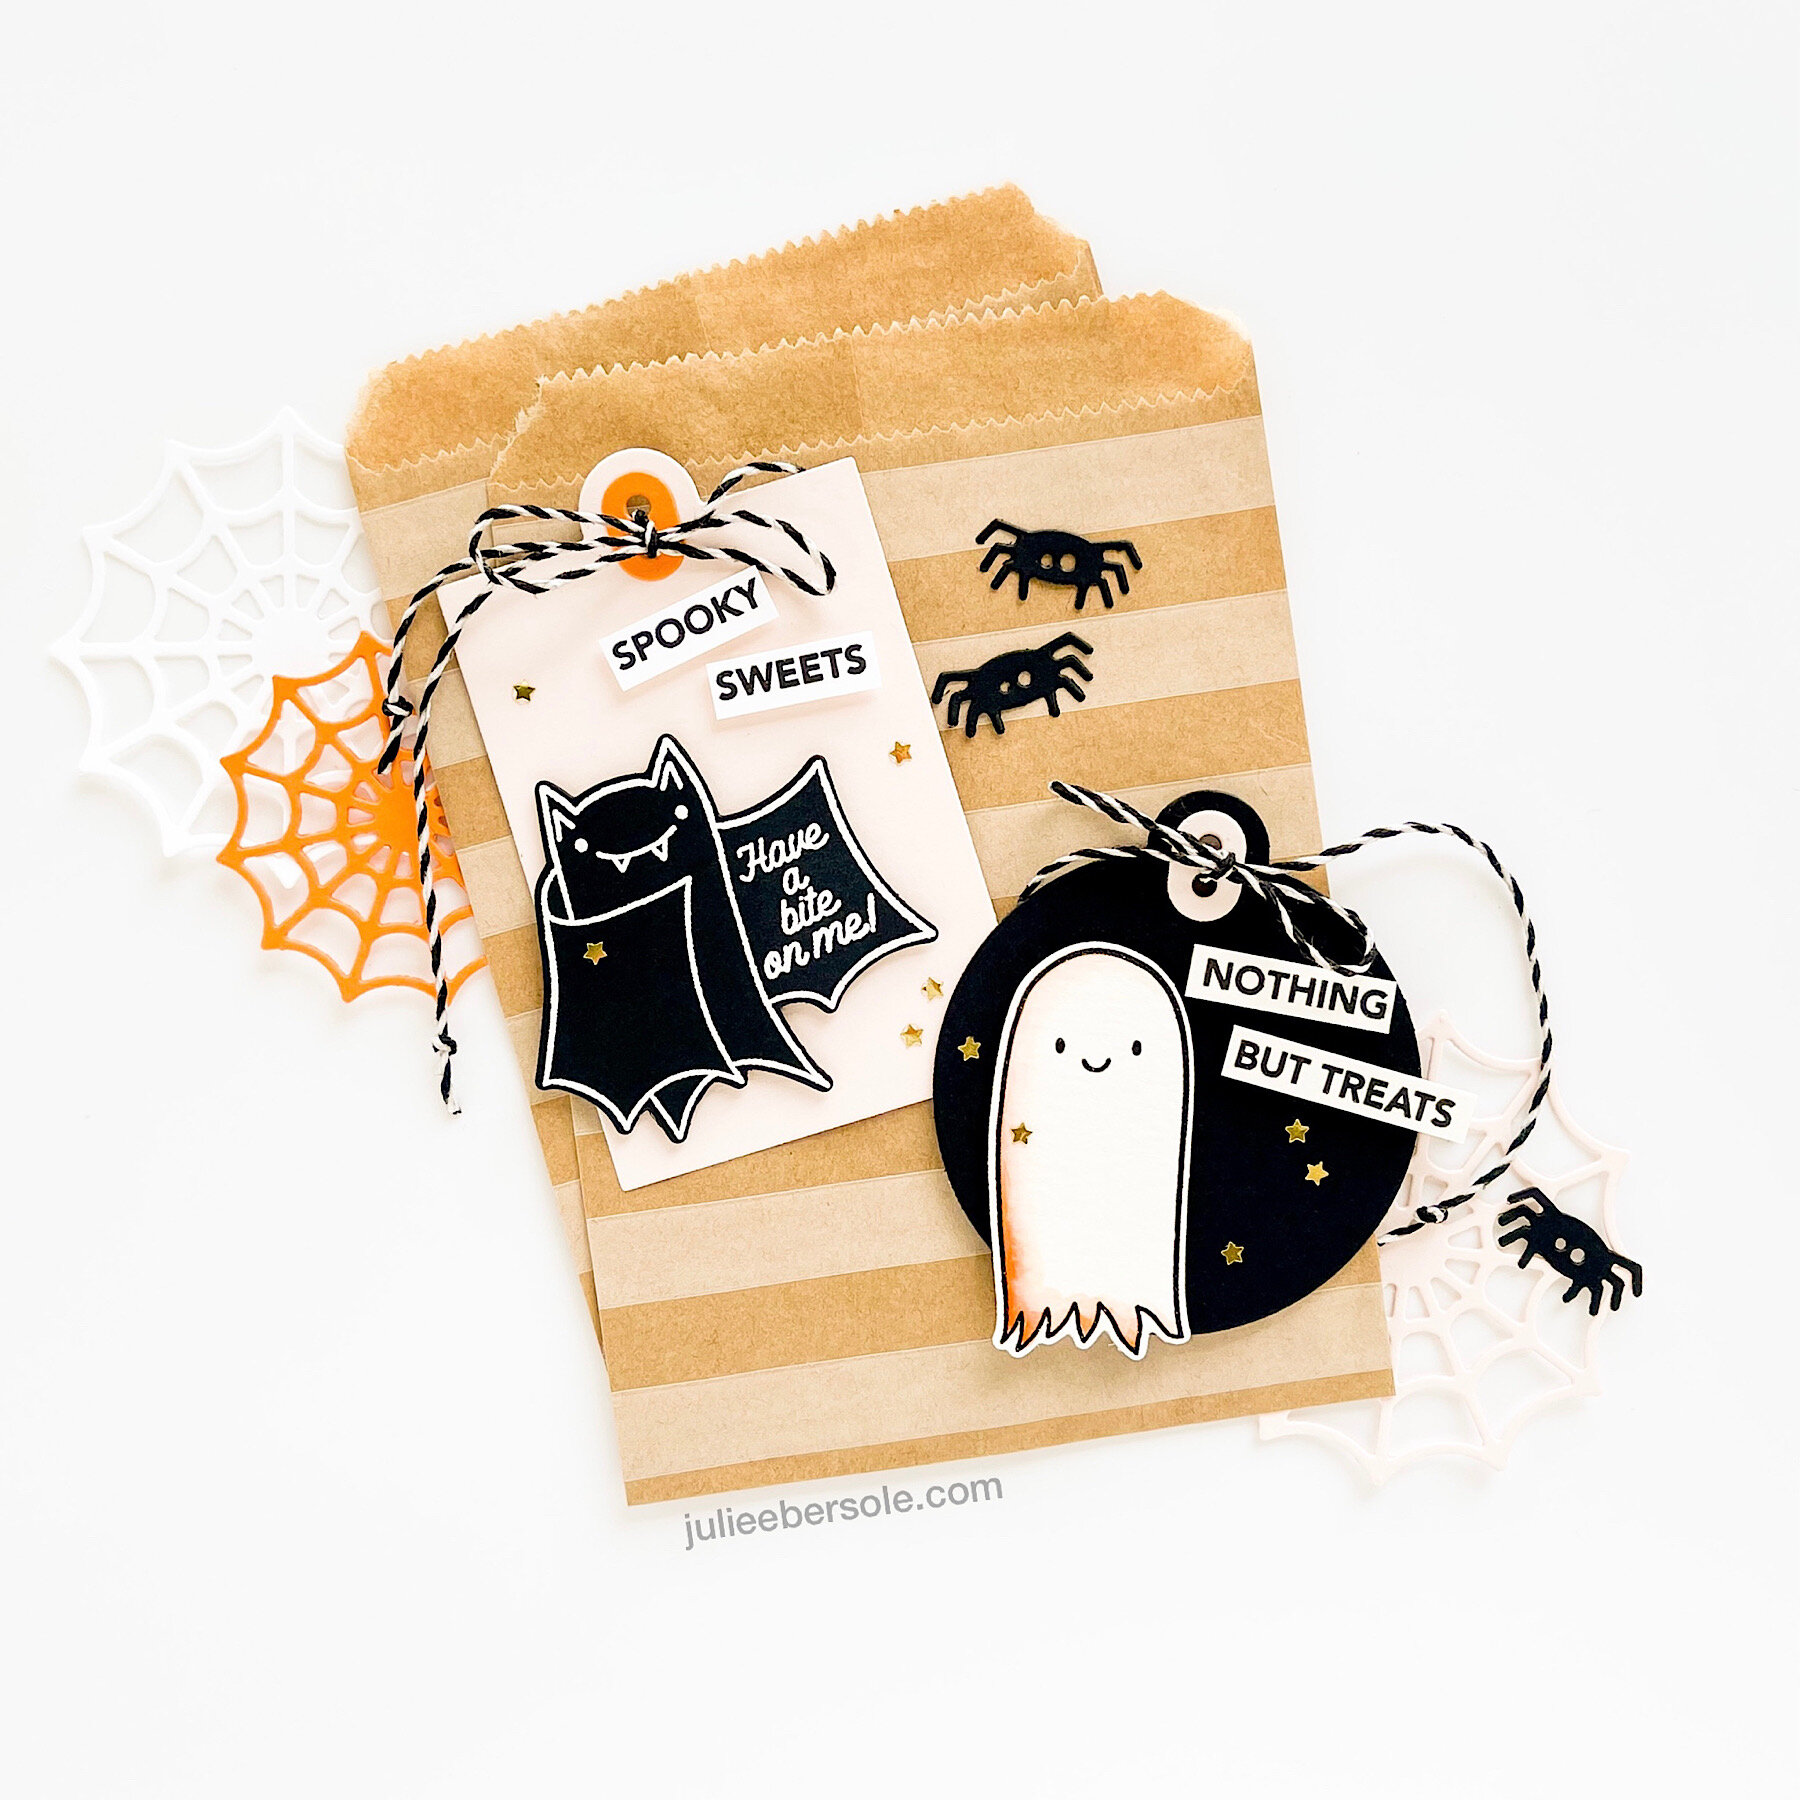
Now, I’m a gonna dish particulars about the samples above! Even tho the Halloween Treat Tags can be used as stand-alones, I really had fun combining them with the Farmhouse tags! My images were all heat embossed (the bat in white on black cardstock, ghost in black on watercolor paper, so I could do some light watercolor shading on her) There’s a double-hole punch on the Farmhouse Tags with a matching reinforcer and I love being able to use contrasting colors for the reinforcer.

Why does a project always seem more “finished” if I knot the ends of my baker’s twine??? If I don’t knot the ends, it nags at me. Baker’s Twine in particular, must.be.knotted. I think it’s an OCD thing with me . . .

2021-Sept-farmhousetags-treattags-03.jpg

Tiny gold stars make anything feel more special, am I right? I can never resist adding a light sprinkle of them whenever I can . . . I know they look like they were placed completely at random, but I kid you not, I place each one very deliberately, looking for balance overall and when I’m satisfied, I then glue them into place.

Surely I’m not the only one who futzes over such details . . . ?

P.S. If you want to see the entire 2021 EBE Fall Release, check out the release page HERE. The inspiration samples for the release page are nothing short of MIND-BLOWING GOODNESS, and were all created by my girl Heather Meeson. If you don’t already follow her on Instagram, you really should. You really, really should.


PINKFRESH STUDIO HOLIDAY RELEASE

Pinkfresh Studio has a new holiday release and I’m playing along on their Instagram Hop! There’s prizes and GOBS of eye candy, so if you’d like to check it out—which I highly recommend you do—you can hit my Instagram HERE and check out all the details.

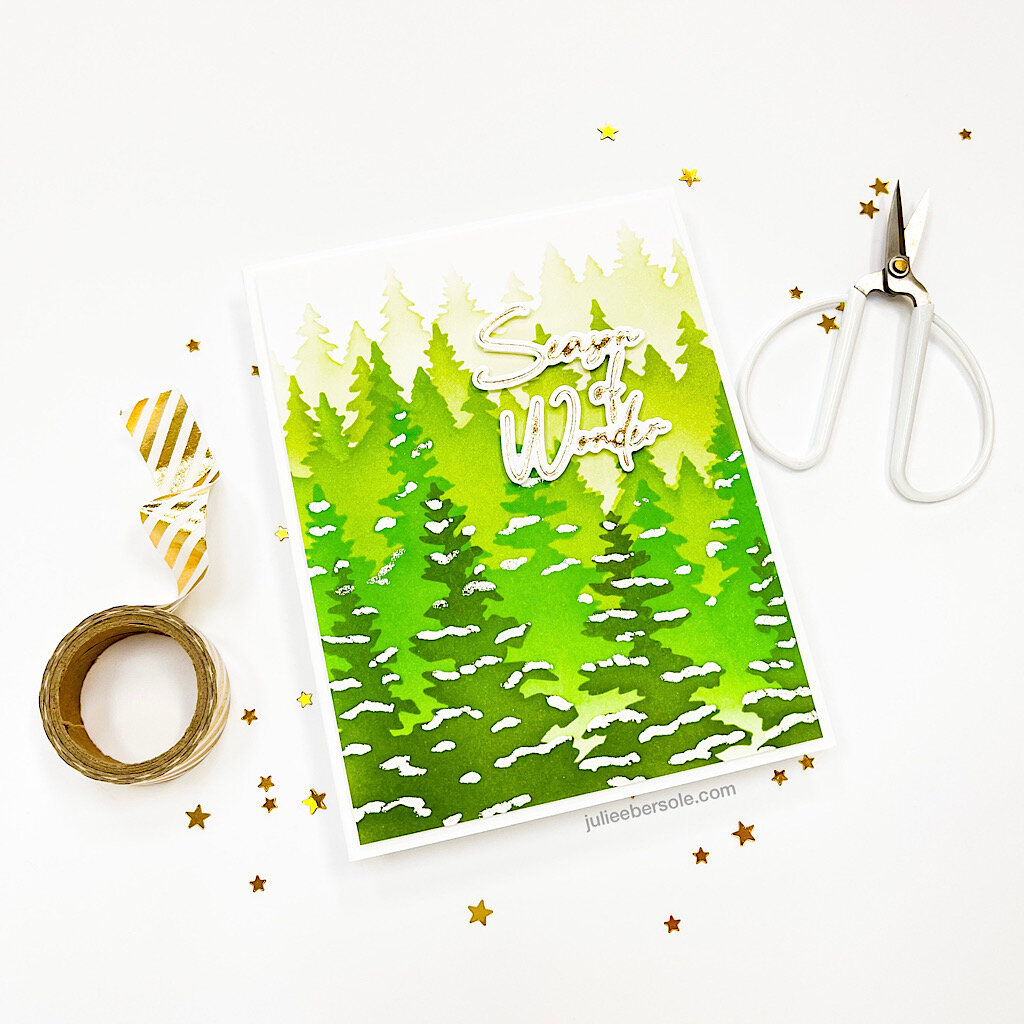
Being a girl from the Pacific Northwest, this Wintry Forest Stencil really got me—love! If you haven’t worked with Pinkfresh Studio’s stencils before, they are numbered so you know exactly in which order to proceed. BUT, do you see the white “snow” detail on my trees? That’s stencil #6 in the set; technically, it would be the last, right? But to create the illusion of snow on the branches, I actually STARTED with #6, using a Versamark PEN to hit all those spots. Then I removed the stencil and applied white detail embossing powder and heat embossed. Afterwards, I grabbed a range of green inks and went back to #1 and started with the softest hue of green ink, and used a subsequently darker color with each stencil layer. I used a dry cloth to buff off any remaining ink that was sitting on top of the embossing lines.

Trimmed down to create a nice layer on a simple white base card.

After hot foiling the sentiment, it was die cut and popped up on the card front. Super simple, but I love ow striking it is! I personally LOVE hot toil stamping and am thrilled to see more companies adding this to their product lines.

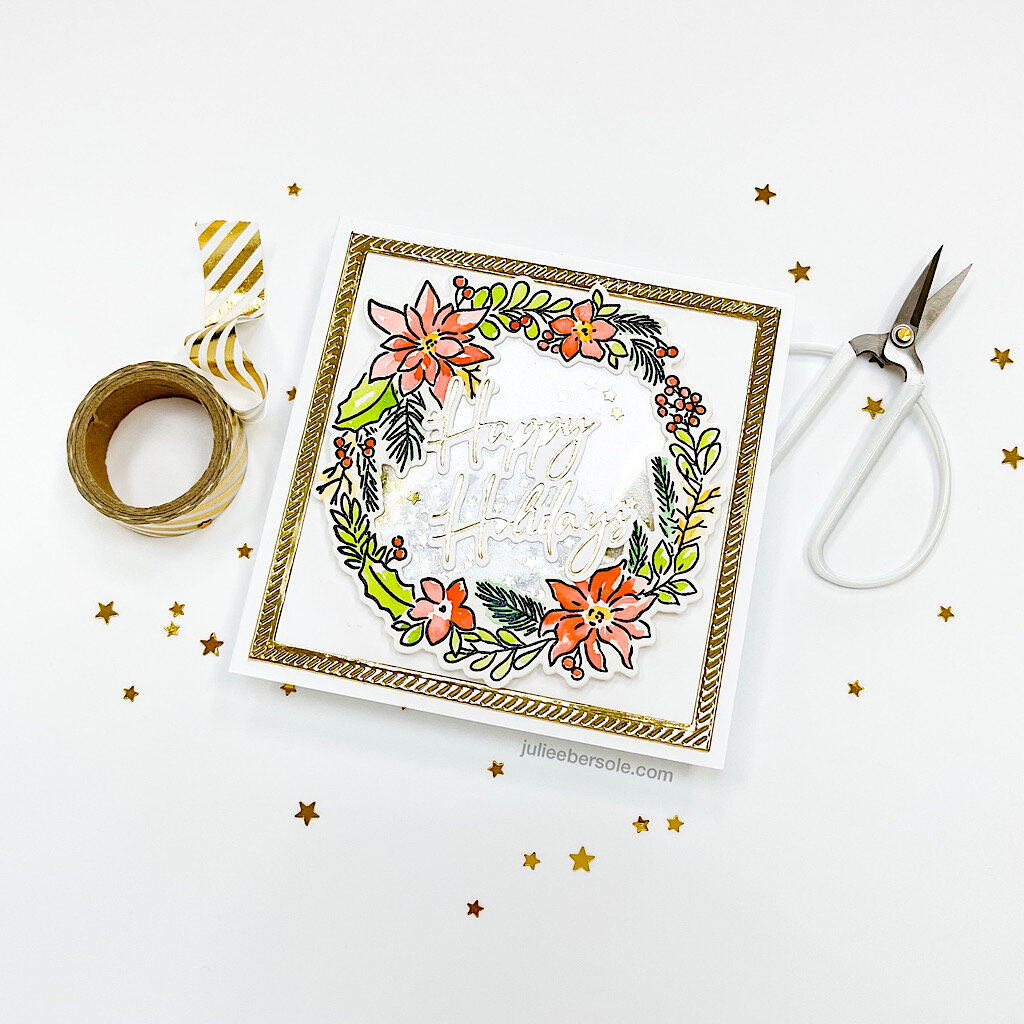
Here, I used the wreath stamp image to create a shaker on a square card; the image was stamped with black pigment ink and heat embossed with clear embossing powder, then watercolored. The gold frame compliments the hot foiled sentiment quite nicely here without being over-bearing. I had a heckuva time shooting this—foil and acetate are so reflective; this card has a lot of sparkle and glimmer in real life that I just couldn’t pick up with the camera.

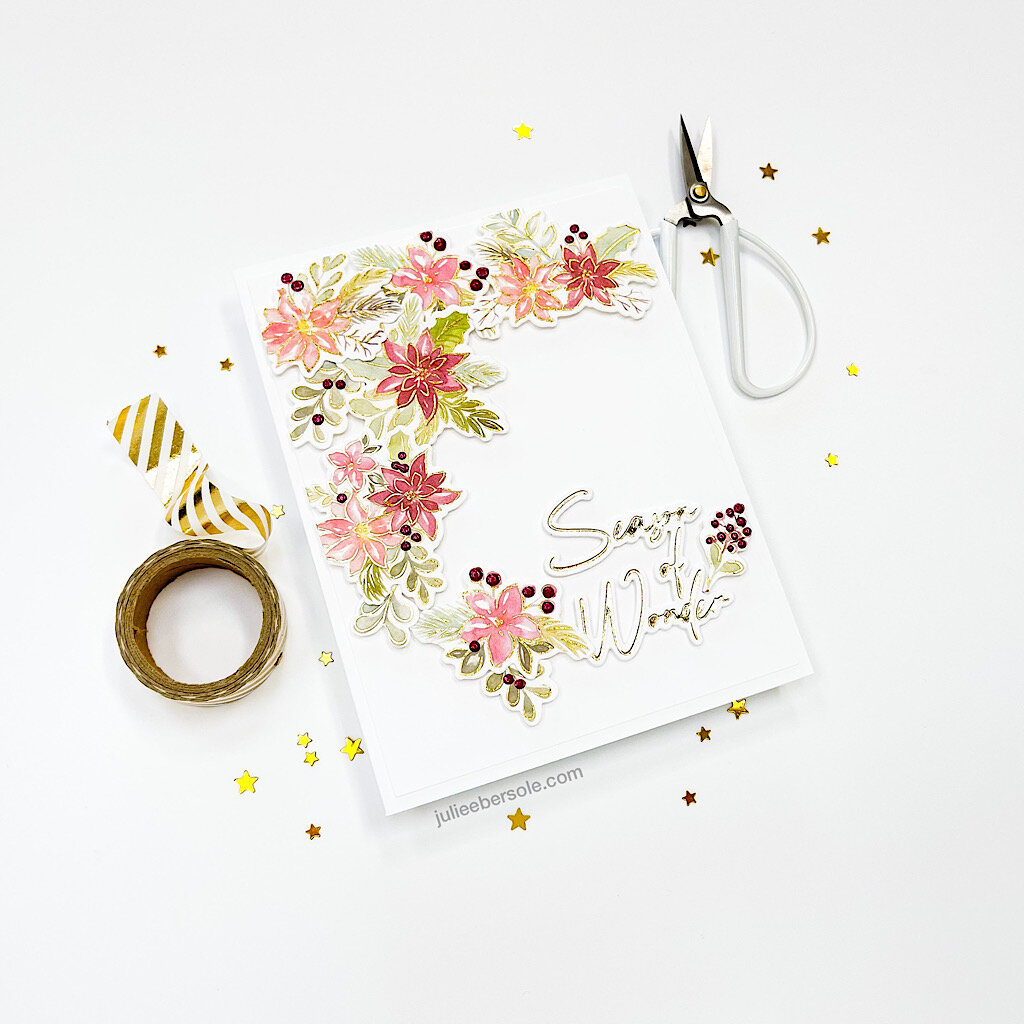
The Poinsettia Washi Tape and coordinating die make cards like this a cinch because you can skip the coloring; it’s all done for you! The tape is gorgeous and features gold foiling details. I just spread the tape smoothly along a piece of card stock measuring 4.25 x 11”, die cut everything and positioned them in a pleasing way. I used some NUVO drops to accent the berries. FYI, you CAN cut apart some of the die cuts to create your arrangements—the Crafty Po-Po will not come after you. Truth.

Here is another variation of this beautiful washi tape, using the wreath. Again, sooooooo very simple! I’m honestly not much of a colorist (if I have to color, I usually reach for watercolors because it’s the fastest) so the idea of being able to skip the process of hand coloring when mass producing holiday cards is tremendously appealing to me—the time-savings is HUGE!!!

Hope you found these ideas inspiring and thanks for stopping by!


The Pinkfresh Studio Holiday release is LIVE; please click HERE to view them all.

Disclosure: Yup, those are affiliate links to the products used in my projects and I make a small commission when you purchase via those links, at no extra cost to you. Thank you for buying all the things!

PEAS AND CARROTS: ELLEN AND JULIE LIVE ON YOUTUBE

all-the-feels-001.jpg

So… Ellen and I went LIVE on YouTube… We had some technical difficulties… And, we laughed. A LOT. And, I had fun re-making this card ↑ and sharing tips not only for this, but for clean and simple card-making in general. If you weren’t able to join us, you can catch the replay HERE.

Because my desktop computer is not close to my “work” desk, I left it off and therefore, I couldn’t see the comments on the chat. Ellen did her best to keep an eye on those and relay them to me, while she was running the back-end of things, because I am obviously sooooo not a good multi-tasker.

To the folks who asked what colors I used on my project, the supplies list is below!

We truly, TRULY appreciate the support all of you give us! Thank you for showing up, for listening to us dish and cackle—well, I cackle—and share the back-story of how our friendship came to be.

And, for hanging in there while I muddled my way through an entire LIVE demo! OY!

THANK YOU EVER SO MUCHLY!!!

367Ellen_Julie-500x332.jpg

I refer to Ellen and myself as peas & carrots with a whole lot of fondness and affection; we’ve been friends and crafty co-conspirators for a long, loooooong time. (grin) The photo above was taken the very day she had invited me to lunch at her house and we met FOR REALZ for the very first time!

GOOD TIMES!!!