word dies

TROPICAL VIBES

Disclosure: I include affiliate links to the products used in my projects and make a small commission when you purchase via those links, at no extra dimes to you. Thank you for the support!

My little flamingo was black embossed onto some watercolor paper, then watercolored. She has a few palm trees behind her in this little scene. I created a two-tone effect by using Green Tea Ink on the one stamped directly on the card front, and Matcha for the die cut popped up version. By trimming about 3/8-1/2” off the long edge of the card front, I could allow the palm tree to lean right and float over that edge, which is a fun way to give the illusion of more layers to the card than there really are. I felt the crown was apropos.

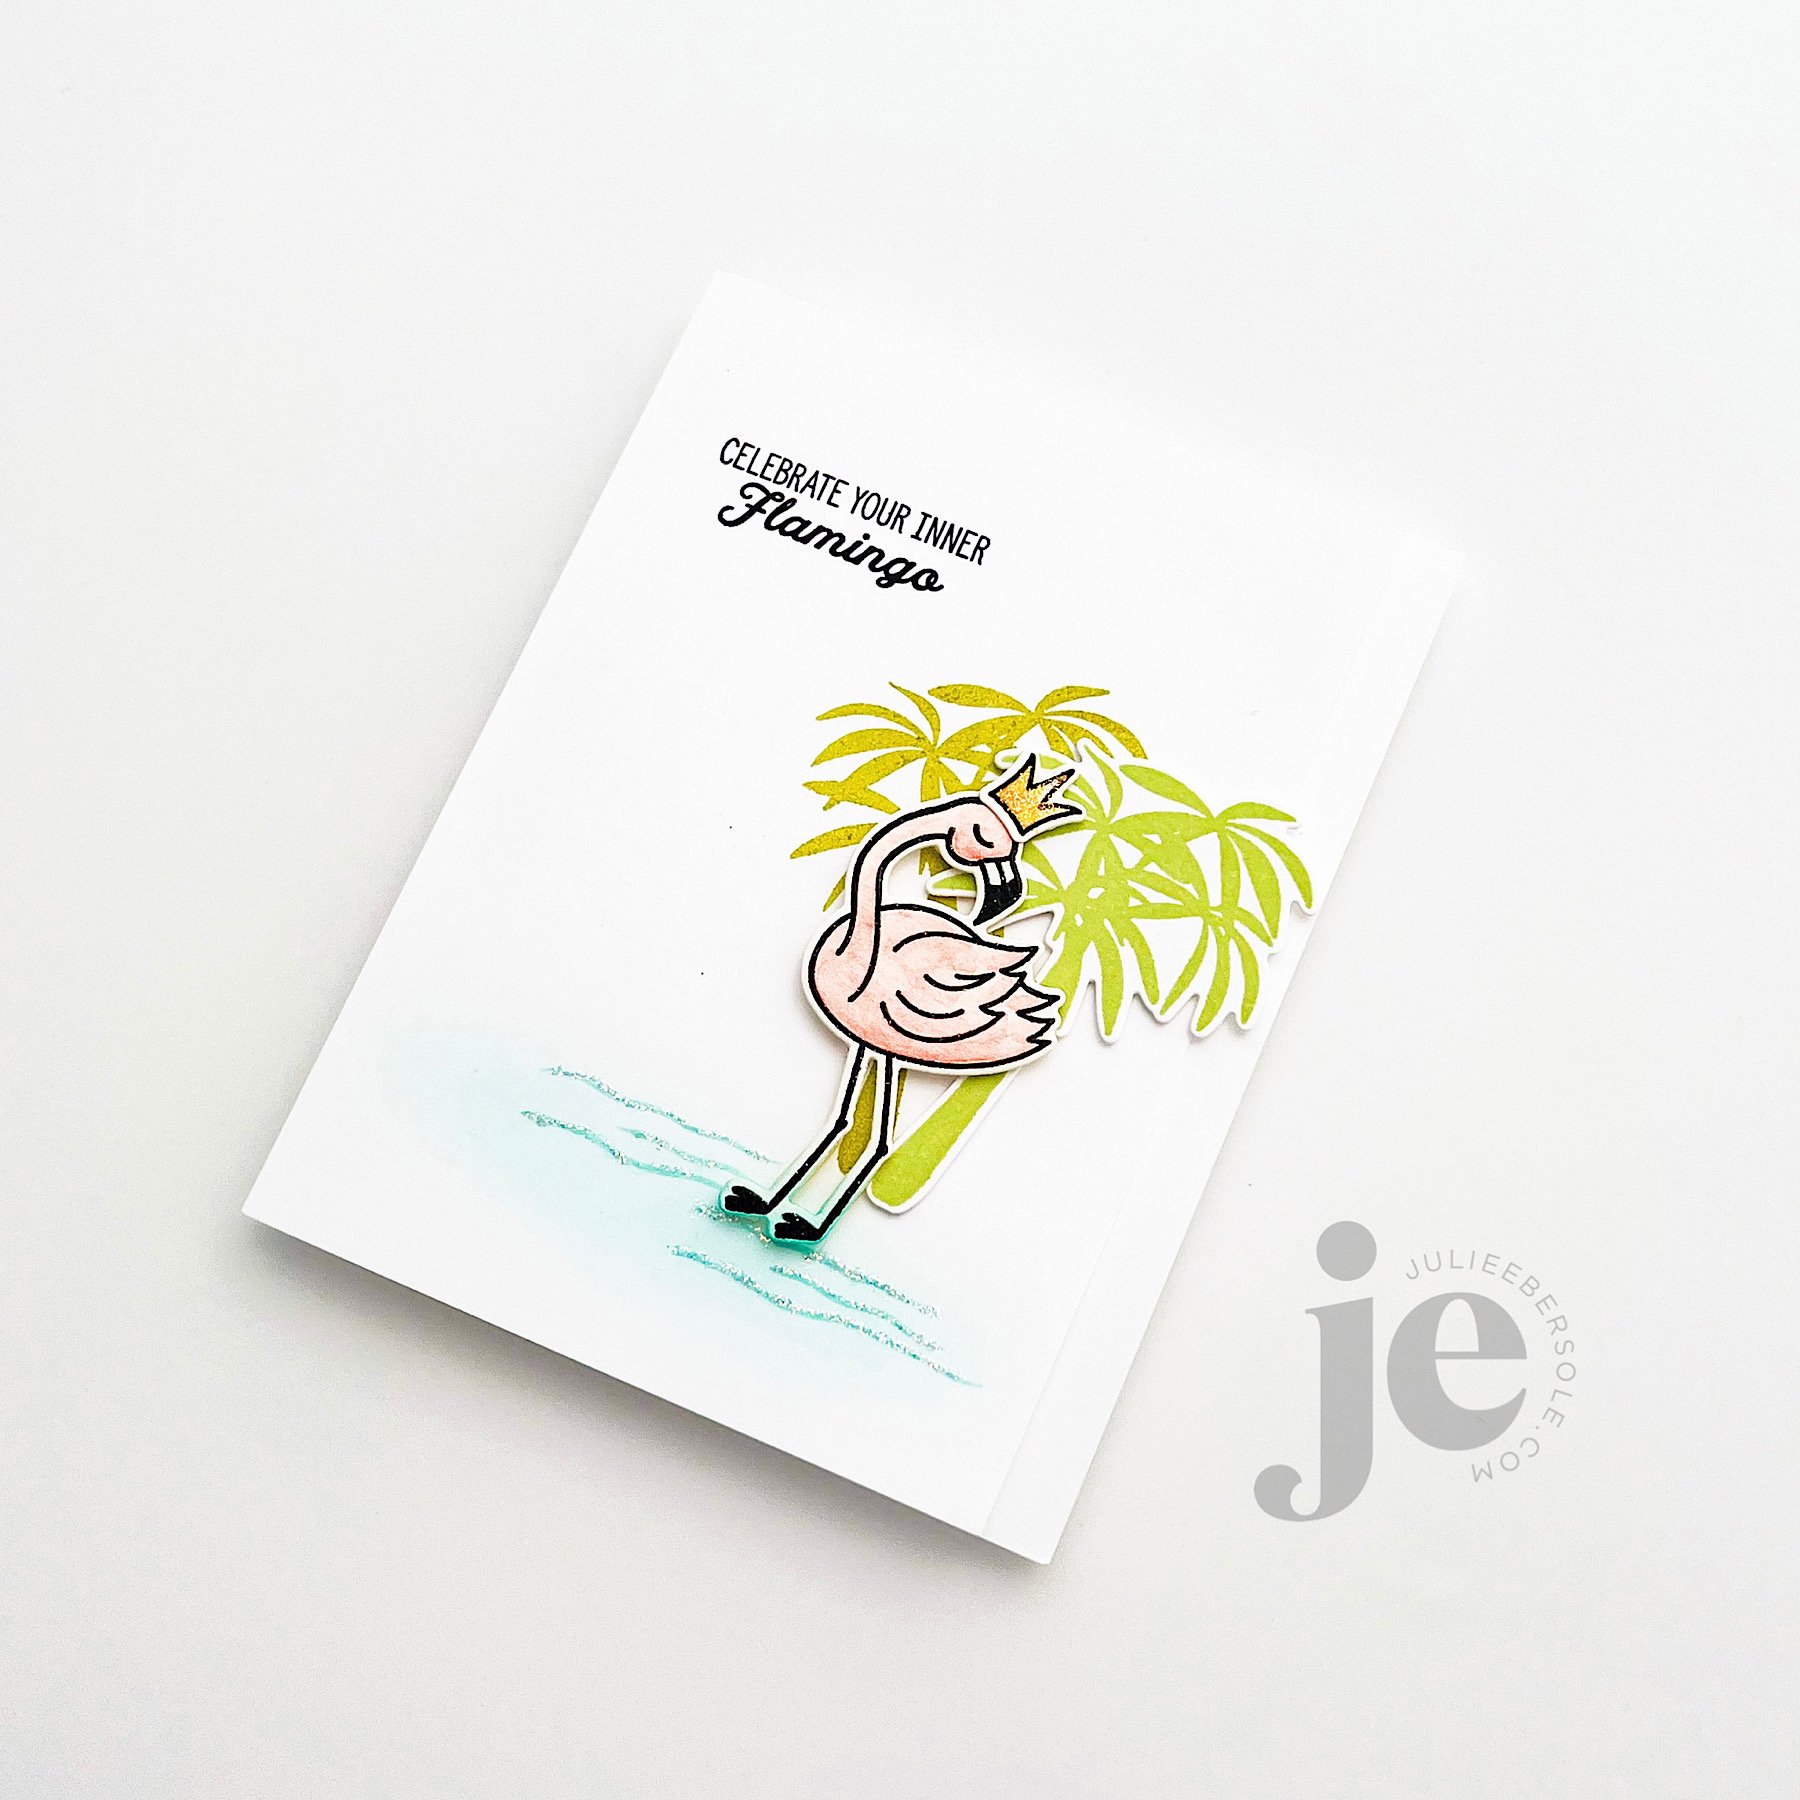
I used the same Cummerbund ink to stamp the water and then ink blend a little over top. Then, I just chose to embellish her simply, with some Stickles Diamond Glitter Glue on her crown and along the water—hard to pick up on camera, but love, LOVE that stuff! Such an easy, mess free way to add a bit of sparkle to any project. Wish it came in a jumbo size bottle!

For a pinky/peach vibe, I very lightly blended Grapefruit ink, followed by Orange Twist—with a VERY light hand. It’s very subtle and the eye picks that up more than the camera does.

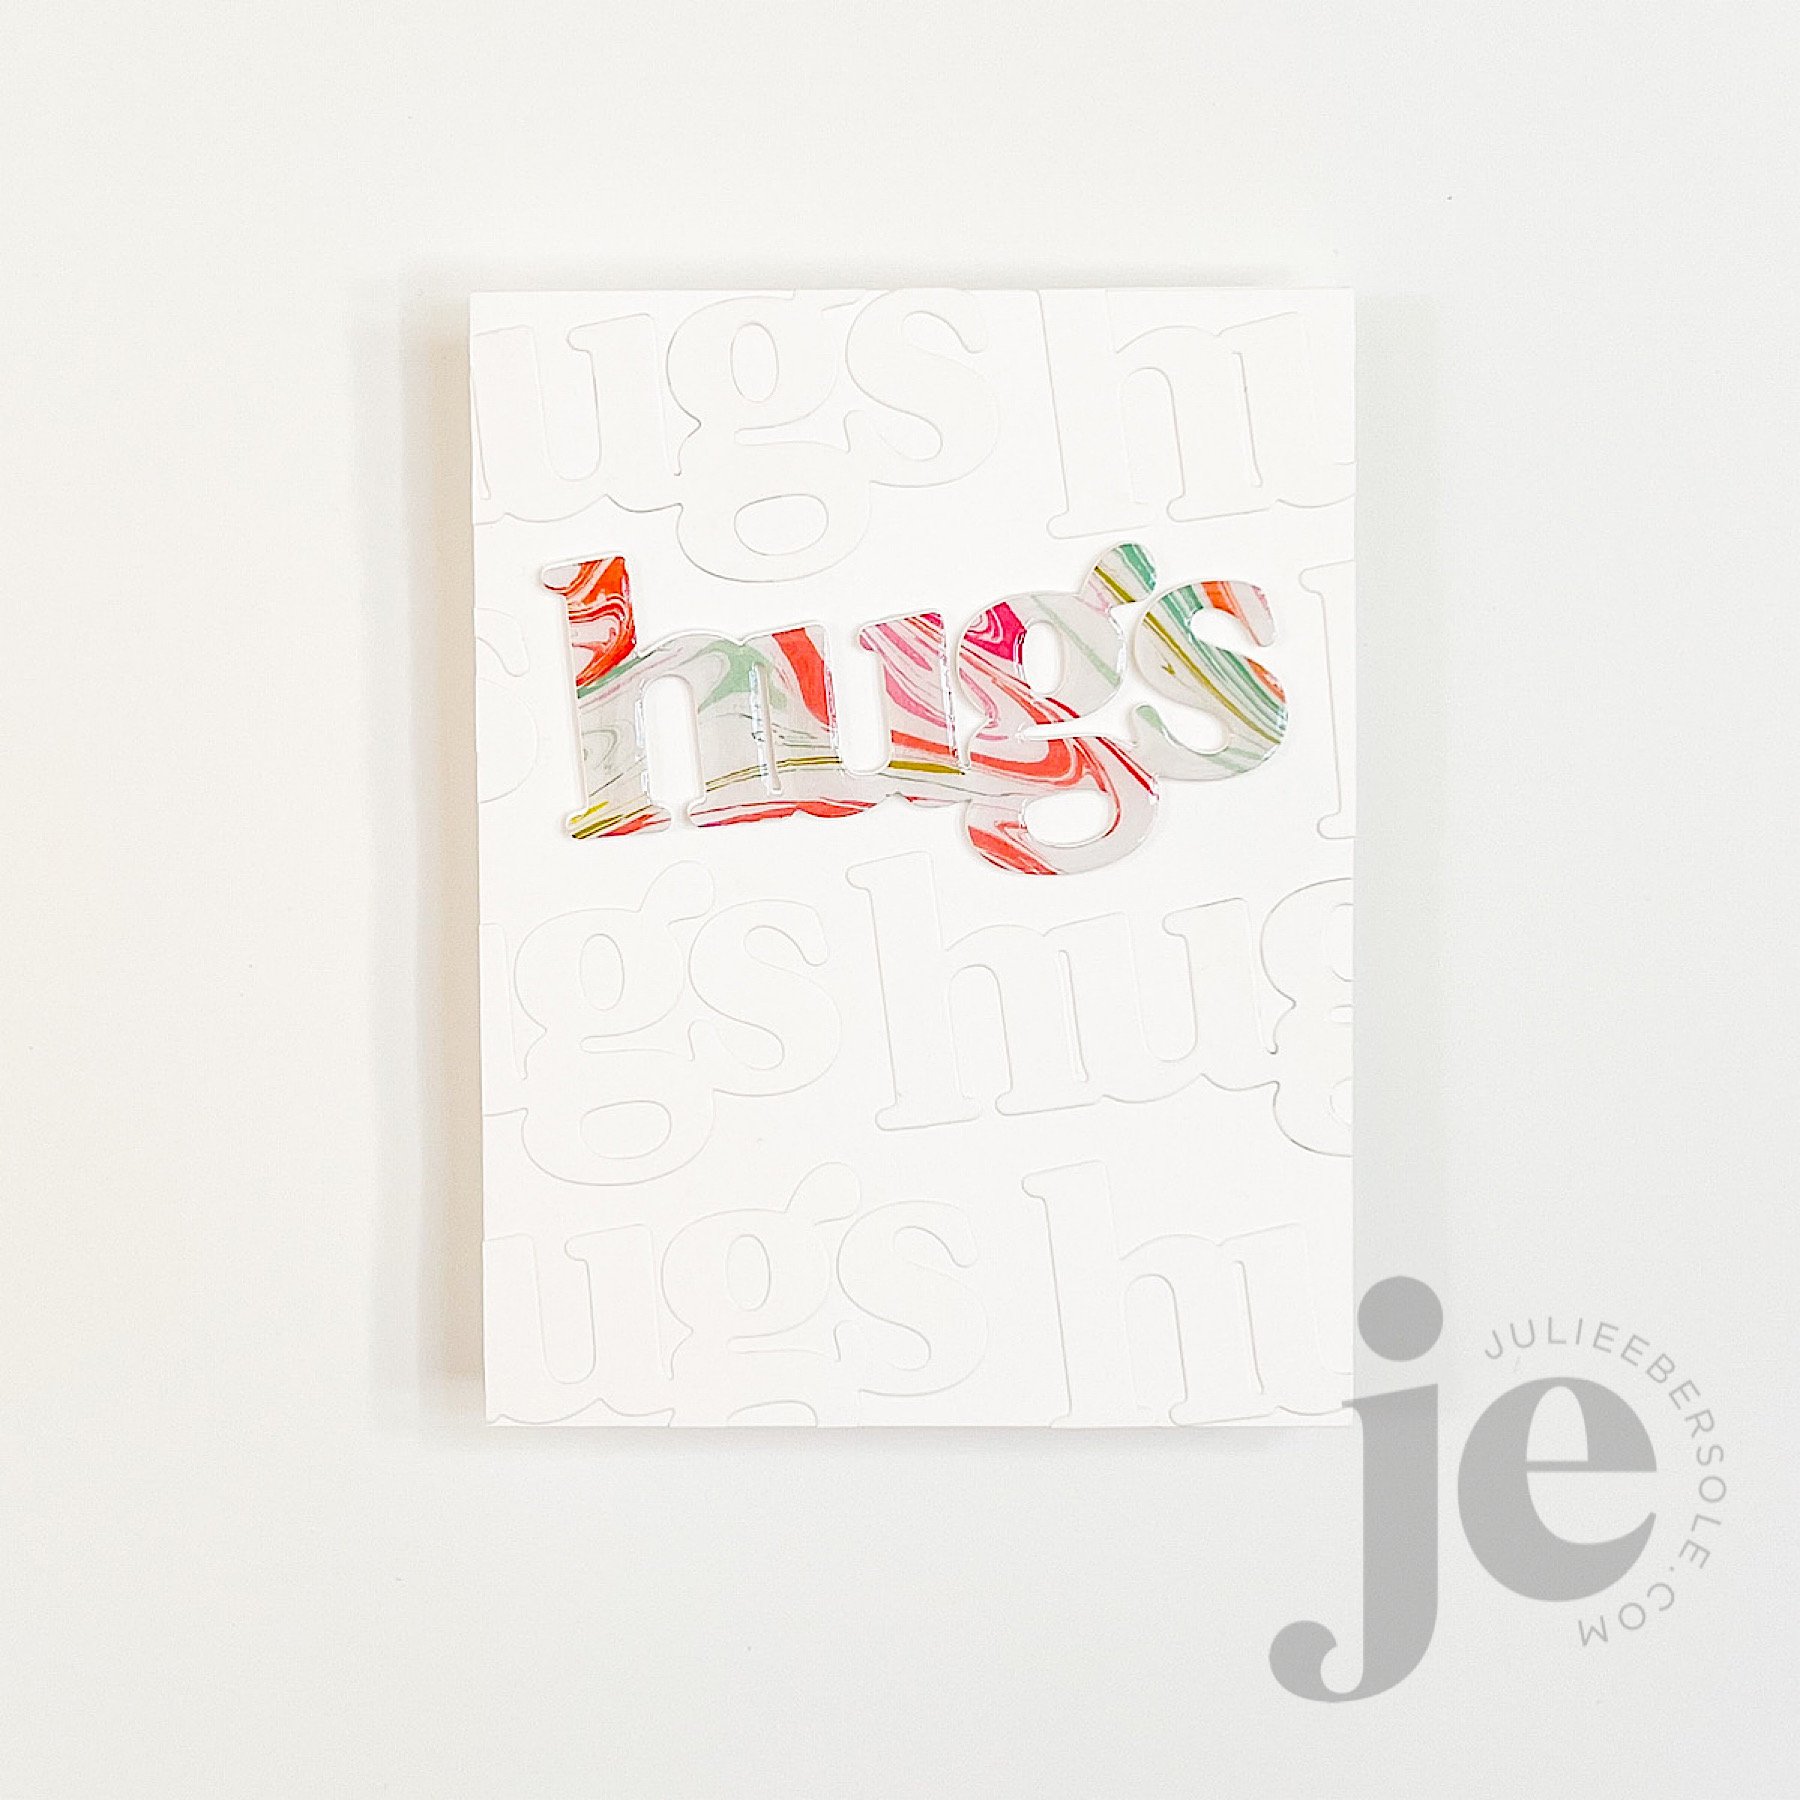
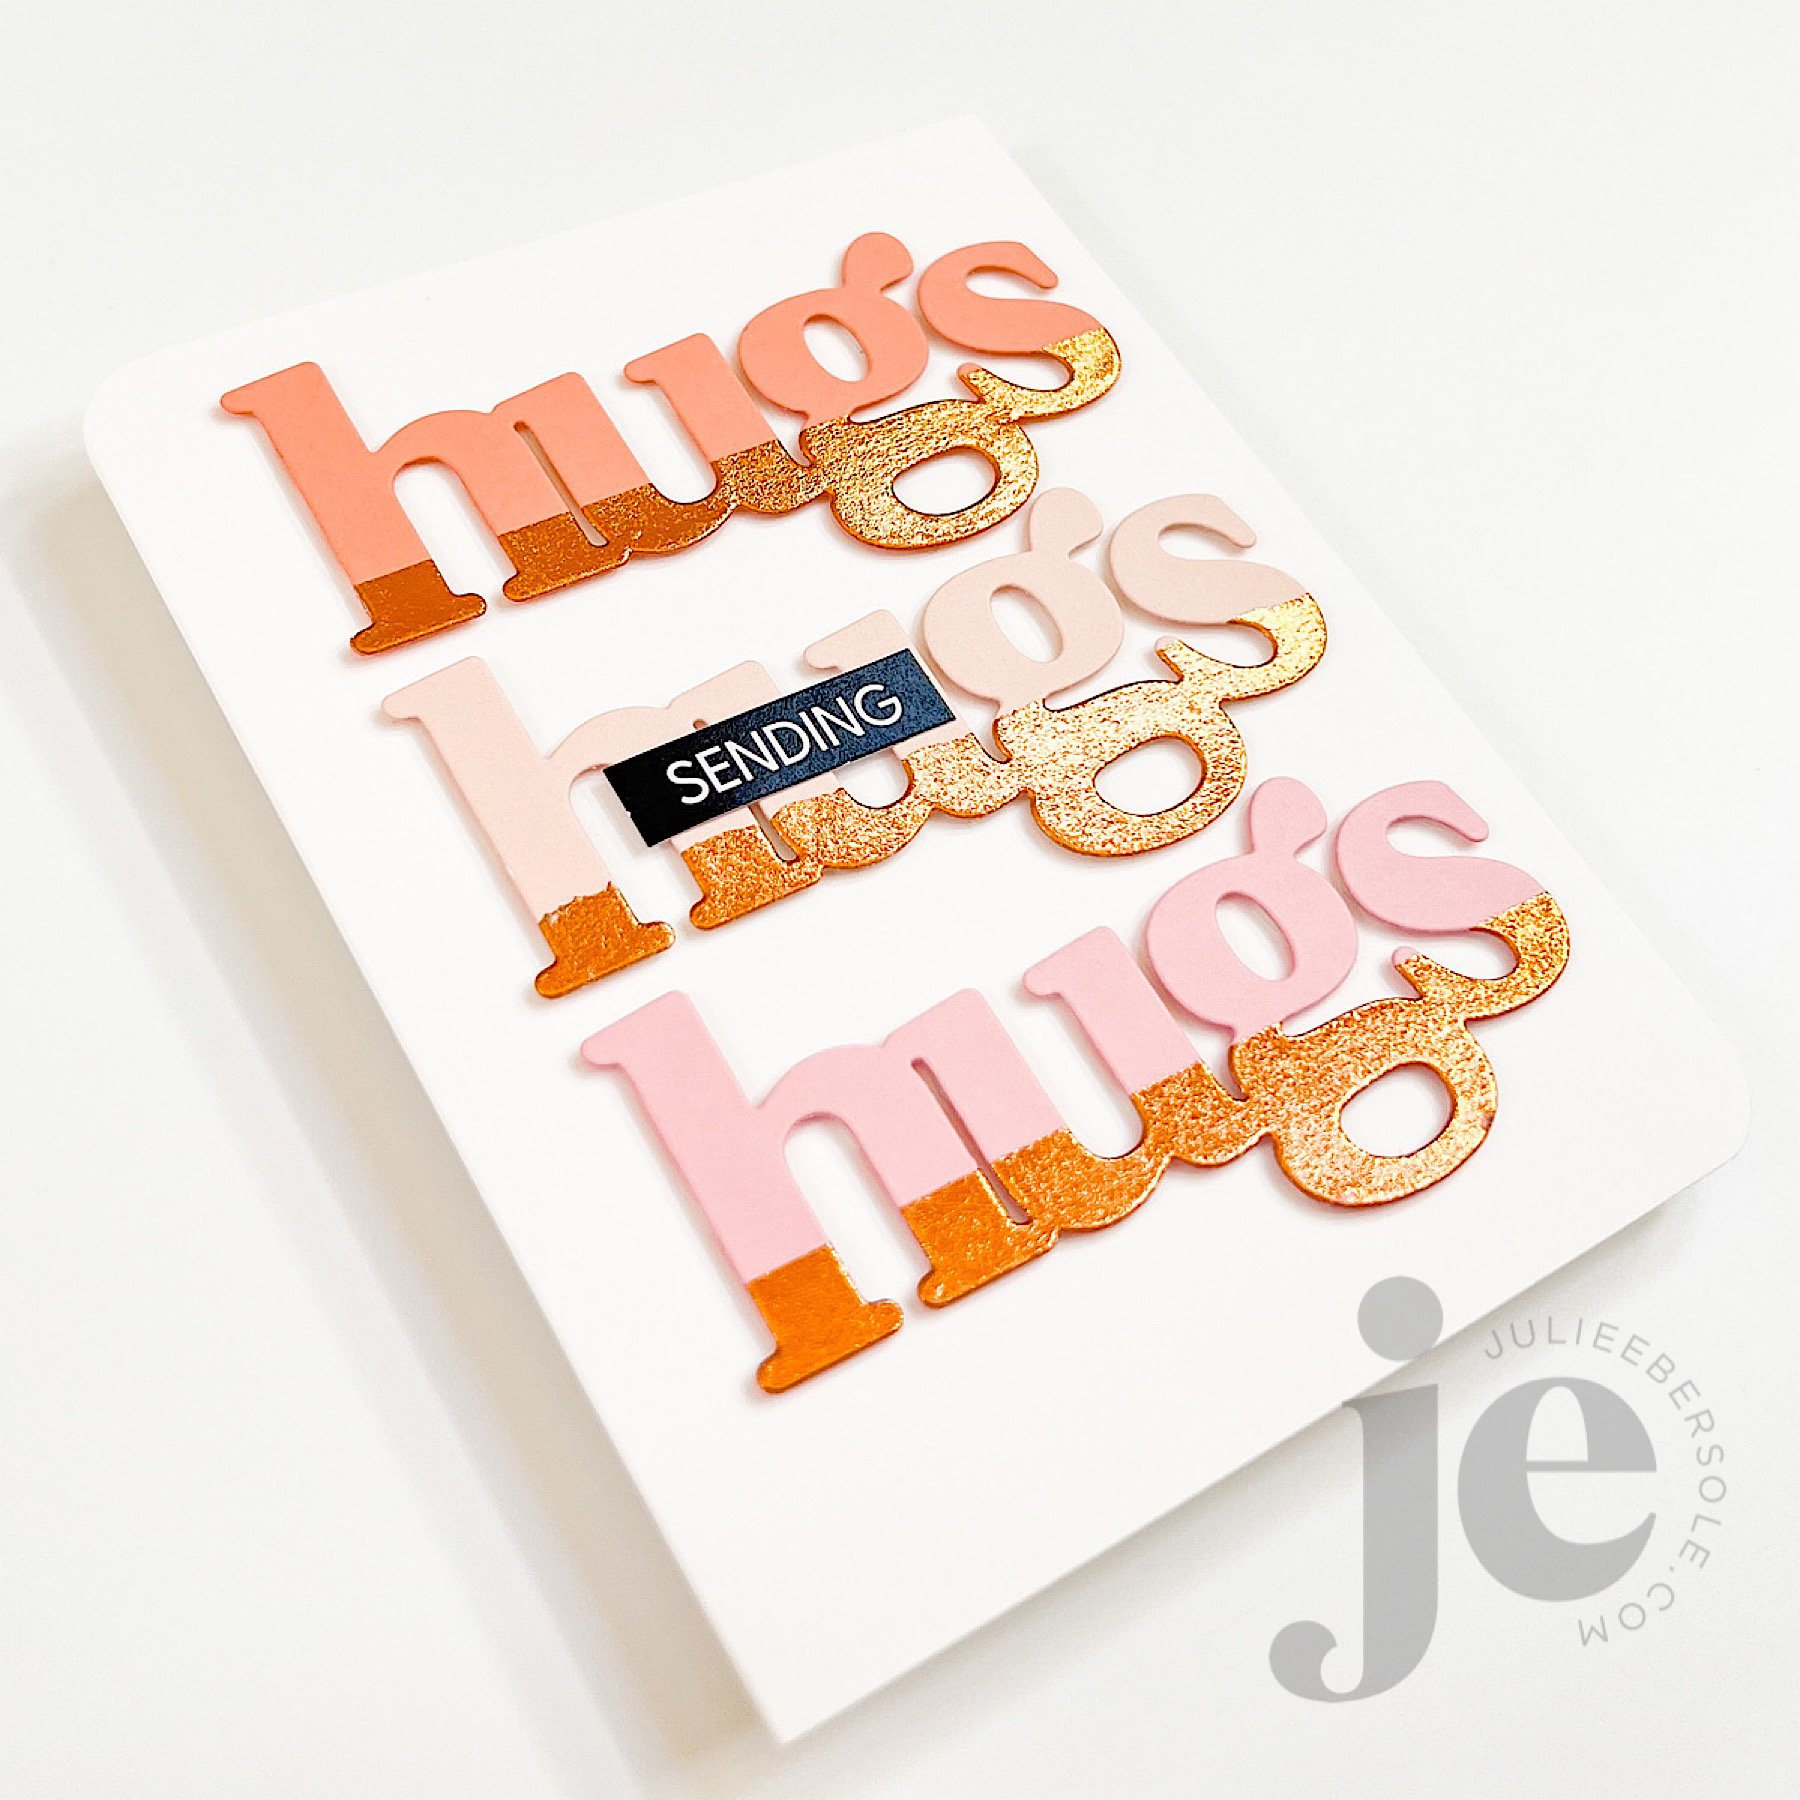
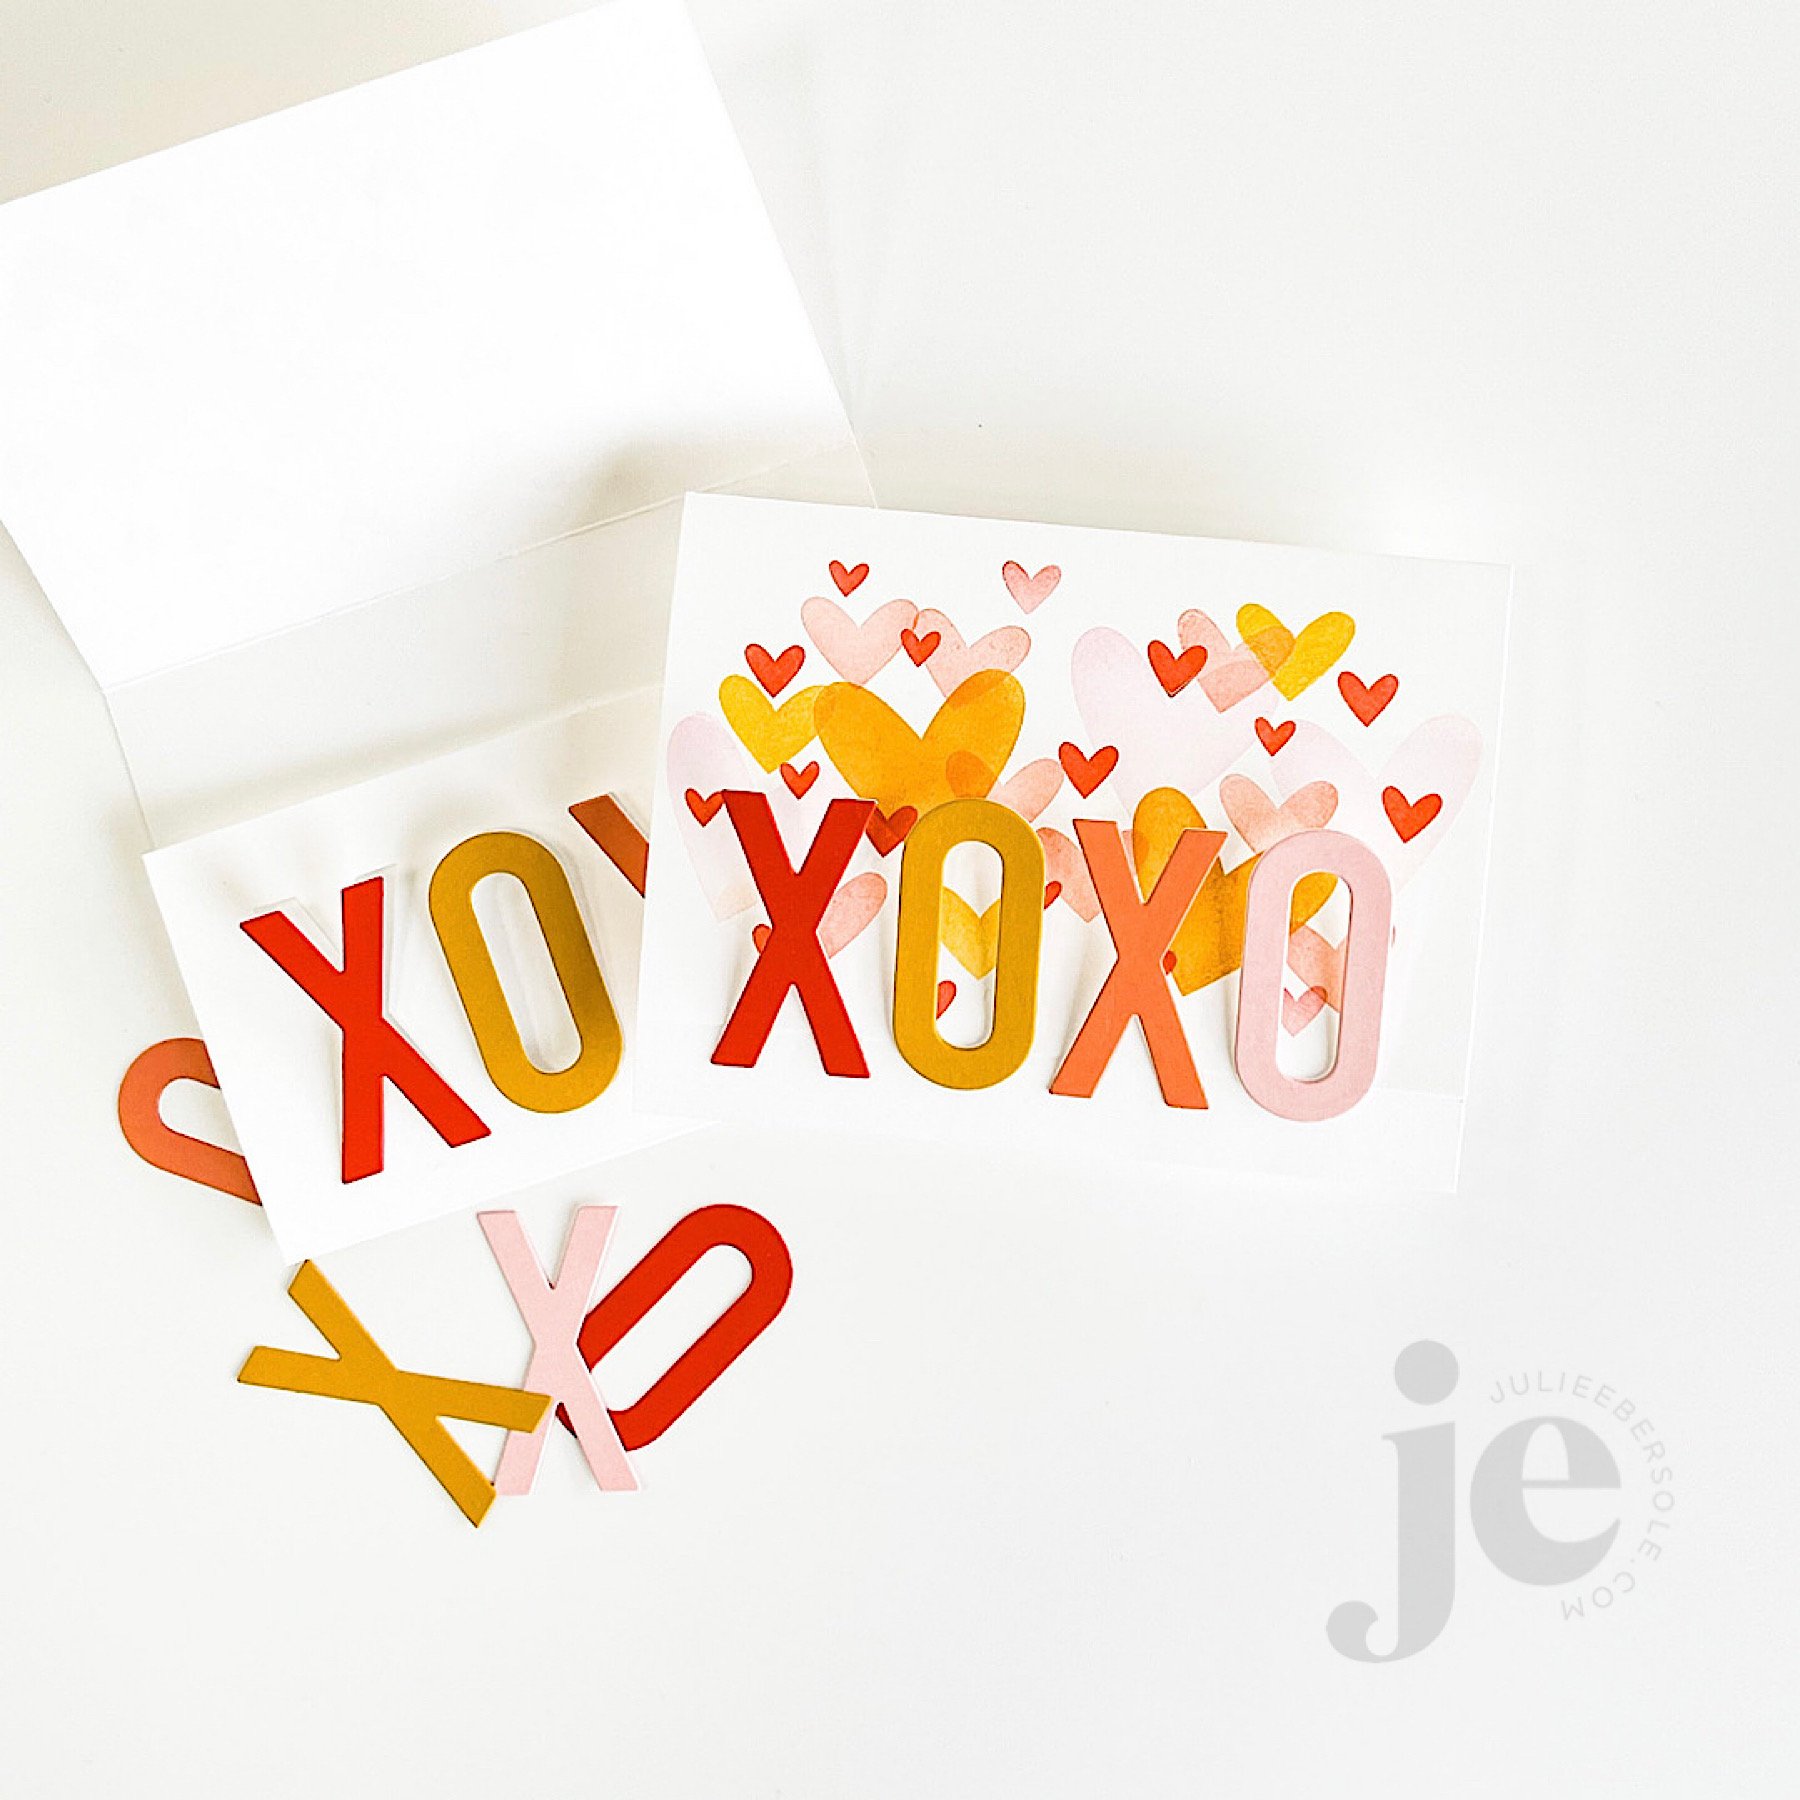
Die cutting the Aloha from different colors of card stock from the palette I was working with and just popping them up, aligning them askew from each other is casual and fun—I love how the lettering allows the pattern in the background to show through.

A natural/rustic tassel made of my favorite twine was calling out to me for this design and I couldn’t resist; I think it really sets off the island/tropical vibe I was going for!

Hope these two designs sparked some ideas for you and thanks for stopping by!

WAFFLE FLOWER SNEAK PEEK + A GIVEAWAY


There are a LOT more ways this Oversized Hugs Die can be used, but today, I’m showcasing four!

And, Waffle Flower has a giveaway going on—you could win this Kit #05, from their Sneak Peek Club by leaving a comment for me over on this video on my YouTube Channel!

  • Open to folks with US addresses only at this time.

  • Be sure to comment there by 05/31/2023.

  • The folks at Waffle Flower will draw a winner and contact them.

FYI: Waffle Flower’s Sneak Peek Club is a monthly subscription, with each kit featuring part of an upcoming release. All the products included in Kit #05 will be available individually on 06/05/2023 when their release goes live. New subscribers to the Sneak Peek Club as of today’s date (05/25/2023) will receive the next upcoming kit.

Below is a slide show you can scroll through to see still shots of the 4 different cards I created:

So fun, right?! Scamper on over to my YouTube video so you can enter for a chance to win!

And, may the odds be ever in your favour! (wink!)


SUPPLIES: Affiliate links included wherever possible. I may earn a small commission from qualifying purchases made via my links.

  • Oversized Hugs Die by Waffle Flower (***Kit #05 products will be available individually on 06/05/2023***)

  • Catherine Pooler Cotton Candy Dye Ink - EH

  • Catherine Pooler Do-si-do Dye Ink - EH

  • Catherine Pooler Coral Cabana Dye Ink - EH

  • Blending Brushes - EH

  • Waffle Flower Mini Media Mat - EH

  • Double Sided Sheet Adhesive - EH

  • Scraps of Transfer Foil - *from my stash

  • Spellbinders Platinum 6 Die Cutting Machine - EH

  • Tonic Comfort Trimmer - EH

  • Tonic NUVO Drops in Ebony - SB

  • Flower Sequins - *from my stash

  • Ranger Glossy Accents - EH / SB

  • Bearly Art Glue - EH

  • Neenah Solar White 80# Card Stock - EH

  • Bazzill Pale Rose Card Stock - SB

  • Concord & 9th Ballet Slipper Card Stock - EH

  • Concord & 9th Sorbet Card Stock - EH

  • Patterned Papers - *from my stash

2 PUNNY VALENTINES PLUS A TUCK AND FOLD CARD

This card started as a sketch, but as I temporarily laid everything out, I felt like it needed something “more”—something small, but a little different from what I do out of habit. Originally, I had planned to white emboss the sentiment onto a strip of black card stock and work it into the layout. That’s a great stand-by that works quite well for many of my designs.

But, the idea of deviating from my stand-by, just slightly, kept nagging at me. So, I mounted the solid pink heart to the base card and then moved that to my MISTI, and curved the sentiment slightly, along the edge of the heart, got it mounted to the lid, and then inked and stamped. The golden colored frame was then mounted a little cattywampus (intentionally) with a little bit of glue in just 3 spots—I like the dimension it gives when it curves slightly up from the card front.

Everything else was clear embossed with my favorite black ink (affil) onto watercolor paper (affil), watercolored and die cut before 3D mounting into place.

Immense satisfaction achieved! (fist pump!)

This little bubblegum machine shaker card turned out so cute! Initially, I couldn’t decide on a background/backdrop for the machine and it occurred to me to grab my 1” circle punch and just punched a bunch of “dots” from card stock in coordinating colors—I love it!

I used Staz-On Cotton White (affil) to stamp the sentiment on the Crystal Clear Plastic (affil); I probably should have heat embossed it (this acetate is heat resistant) for better visibility as it’s hard to capture it that well in a photo, but IRL, it shows more prominently. Those teeny, tiny rainbow confetti hearts (affil) were just beggin’ to be filler, so I had to do it!

Here’s a TIP:

If you don’t have any sheet size foam tape (affil) to die cut for the shaker walls, try cutting the shaker front piece 5x from 110# Neenah Solar White (EH / AMZ affil) and just layer/stack them all together with Bearly Art Glue (affil)

feat. BIG LOVE STAMPS (the hearts background) | XOXO DIE

This way fun “fun-fold” design is actually a tri-fold that tucks and folds! I haven’t done one of these in so long and it’s one of my favorites so I need to poke myself as a reminder to do this more often because it’s so easy and always feels “clever”.

Video Tutorial below:

If you give this fun fold a try, you’ll have to let me know what you think! I love that it’s soooooo simple but the explosion of colors just makes it so visually impressive!

I cannot believe we are mid-way through January already; CRAZY!!!

Stay crafty!


Disclosure: I include affiliate links to the products used in my projects and make a small commission when you purchase via those links, at no extra dimes to you. 🙂 Your support is appreciated more than I can say!

OTHER SUPPLIES

The color palette I used for these samples:

Tools:

Embellishments:

Miscellaneous: