dies

"HEY, NOW YOU'RE A FLOCK STAR"

Disclosure: I include affiliate links to the products used in my projects and make a small commission when you purchase via those links, at no extra dimes to you. Thank you.

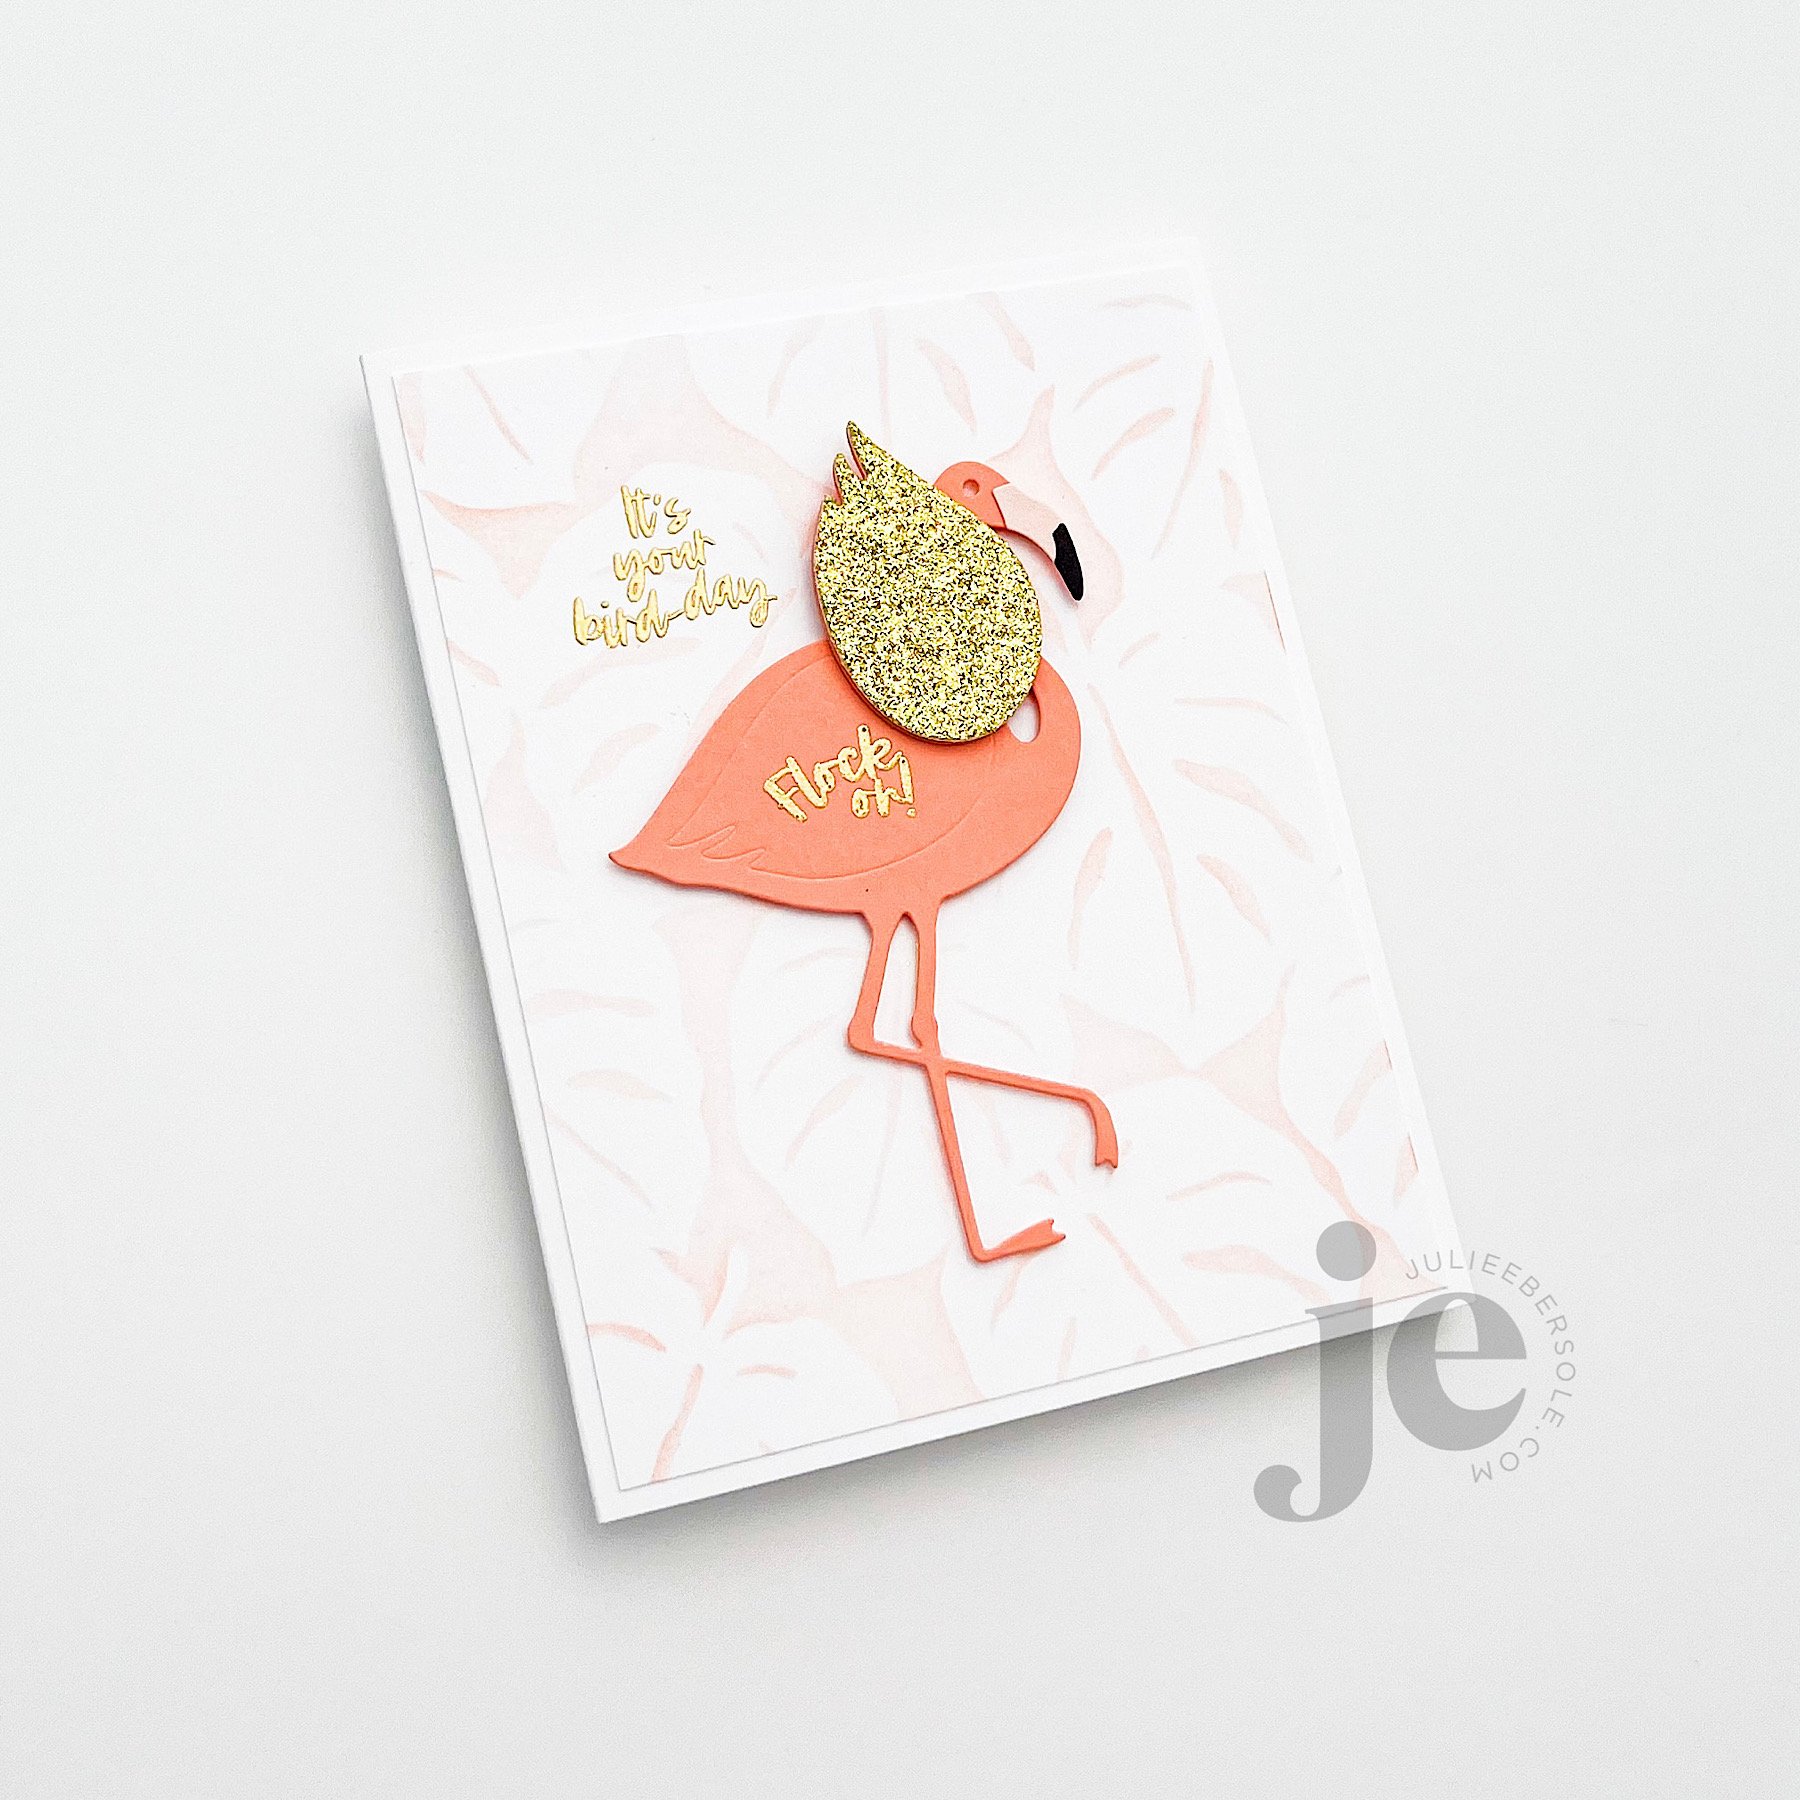
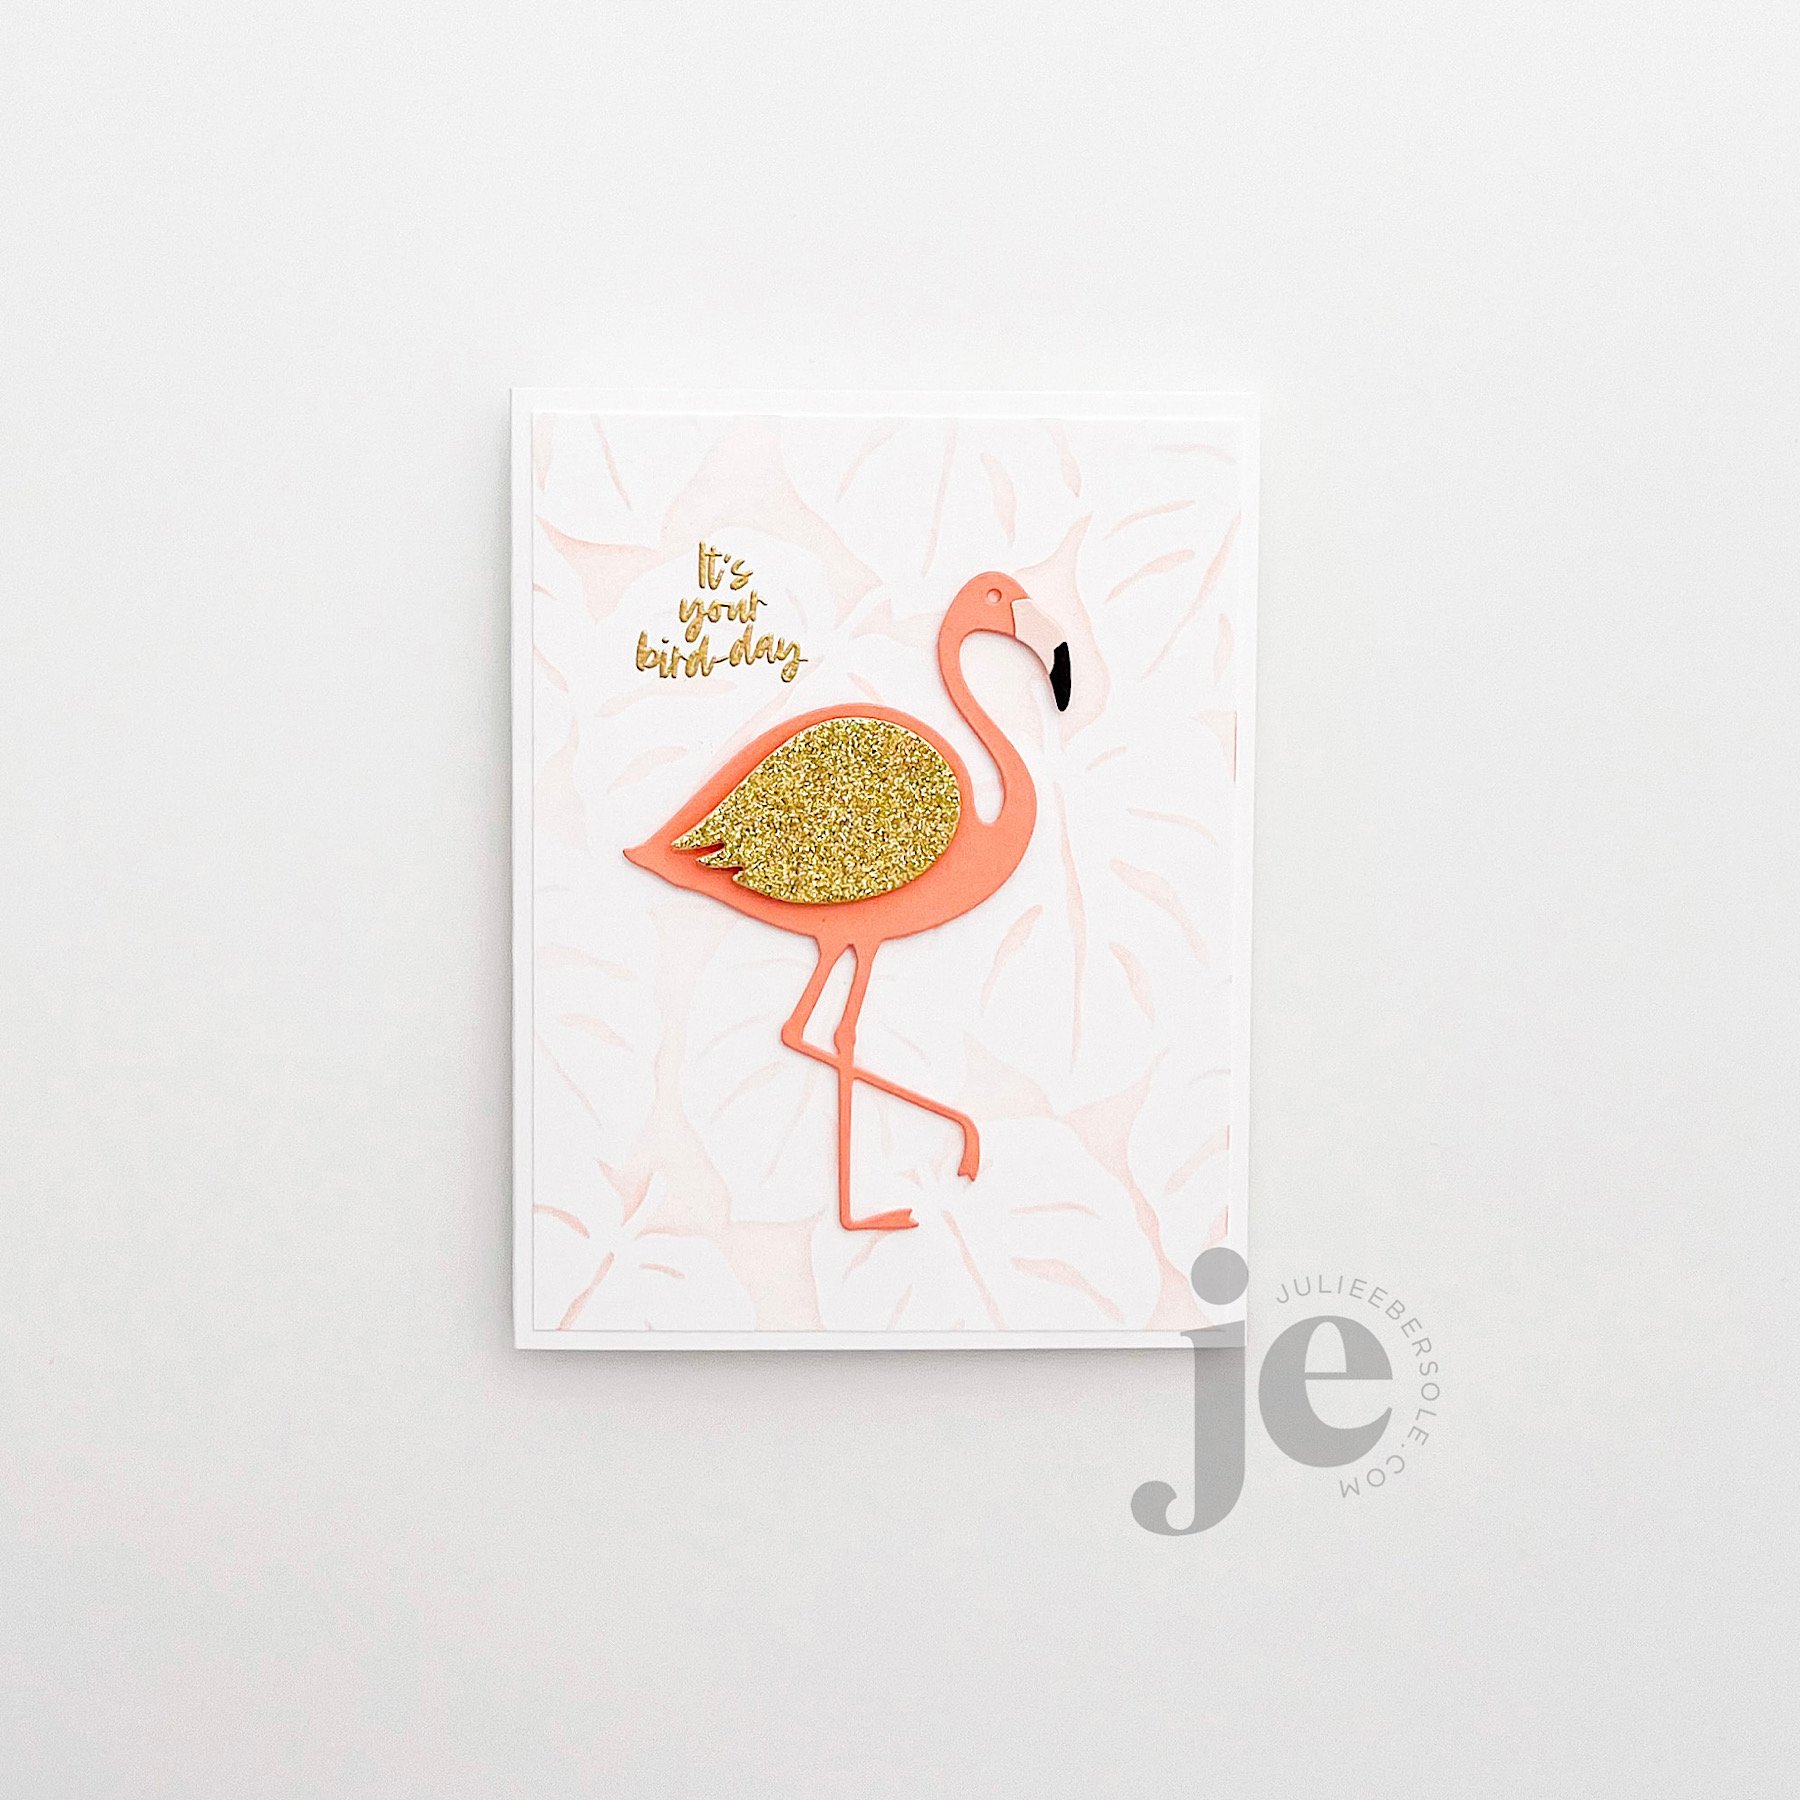
Flock Star , from the the July 2023 Essentials by Ellen Release , makes it super fun and easy to make an interactive card. Fans of the movie “Shrek” may recognize the opening song “All Star” by Smash Mouth, which actually inspired this particular combo. I’d never heard of the band until I saw the movie. Hence, the pun “Flock Star”. (snort)

The dies feature a debossed wing design on the body of the flamingo, making it easier to determine where to stamp whatever sentiment you want to use from the stamp set, so it will be revealed when the hinged wing is pivoted up or down. There’s also an additional wing, without a hole for the brad, if you want to layer another wing over top to conceal it. Options are nice, right?!

I gold embossed the sentiments (detail gold embossing powder), but it would also look great just with black ink. I just felt the gold was a nice touch because of the glittery gold card stock I used to cut the concealing wing. It’s popped up with a little foam tape over the pivoting wing.

I think I’ll be swooning over the Monstera Stencil for all eternity—when I was designing it, I really wanted it to have a uniquely hand-drawn or hand-cut look. You don’t want to know how many renditions I went through before I was finally satisfied, LOL! I have a tendency to obsess over things like that. OCD much? In any event, I love it SOOOOO much, so I’m going to cut myself some slack over the time it took to get it “just right”.

I’ve been practicing my ink-blending; I’m always so heavy handed but I really really want to achieve that lovely, delicate effect I’ve always admired by the talented Laurie Willison and I think I’m finally getting there.

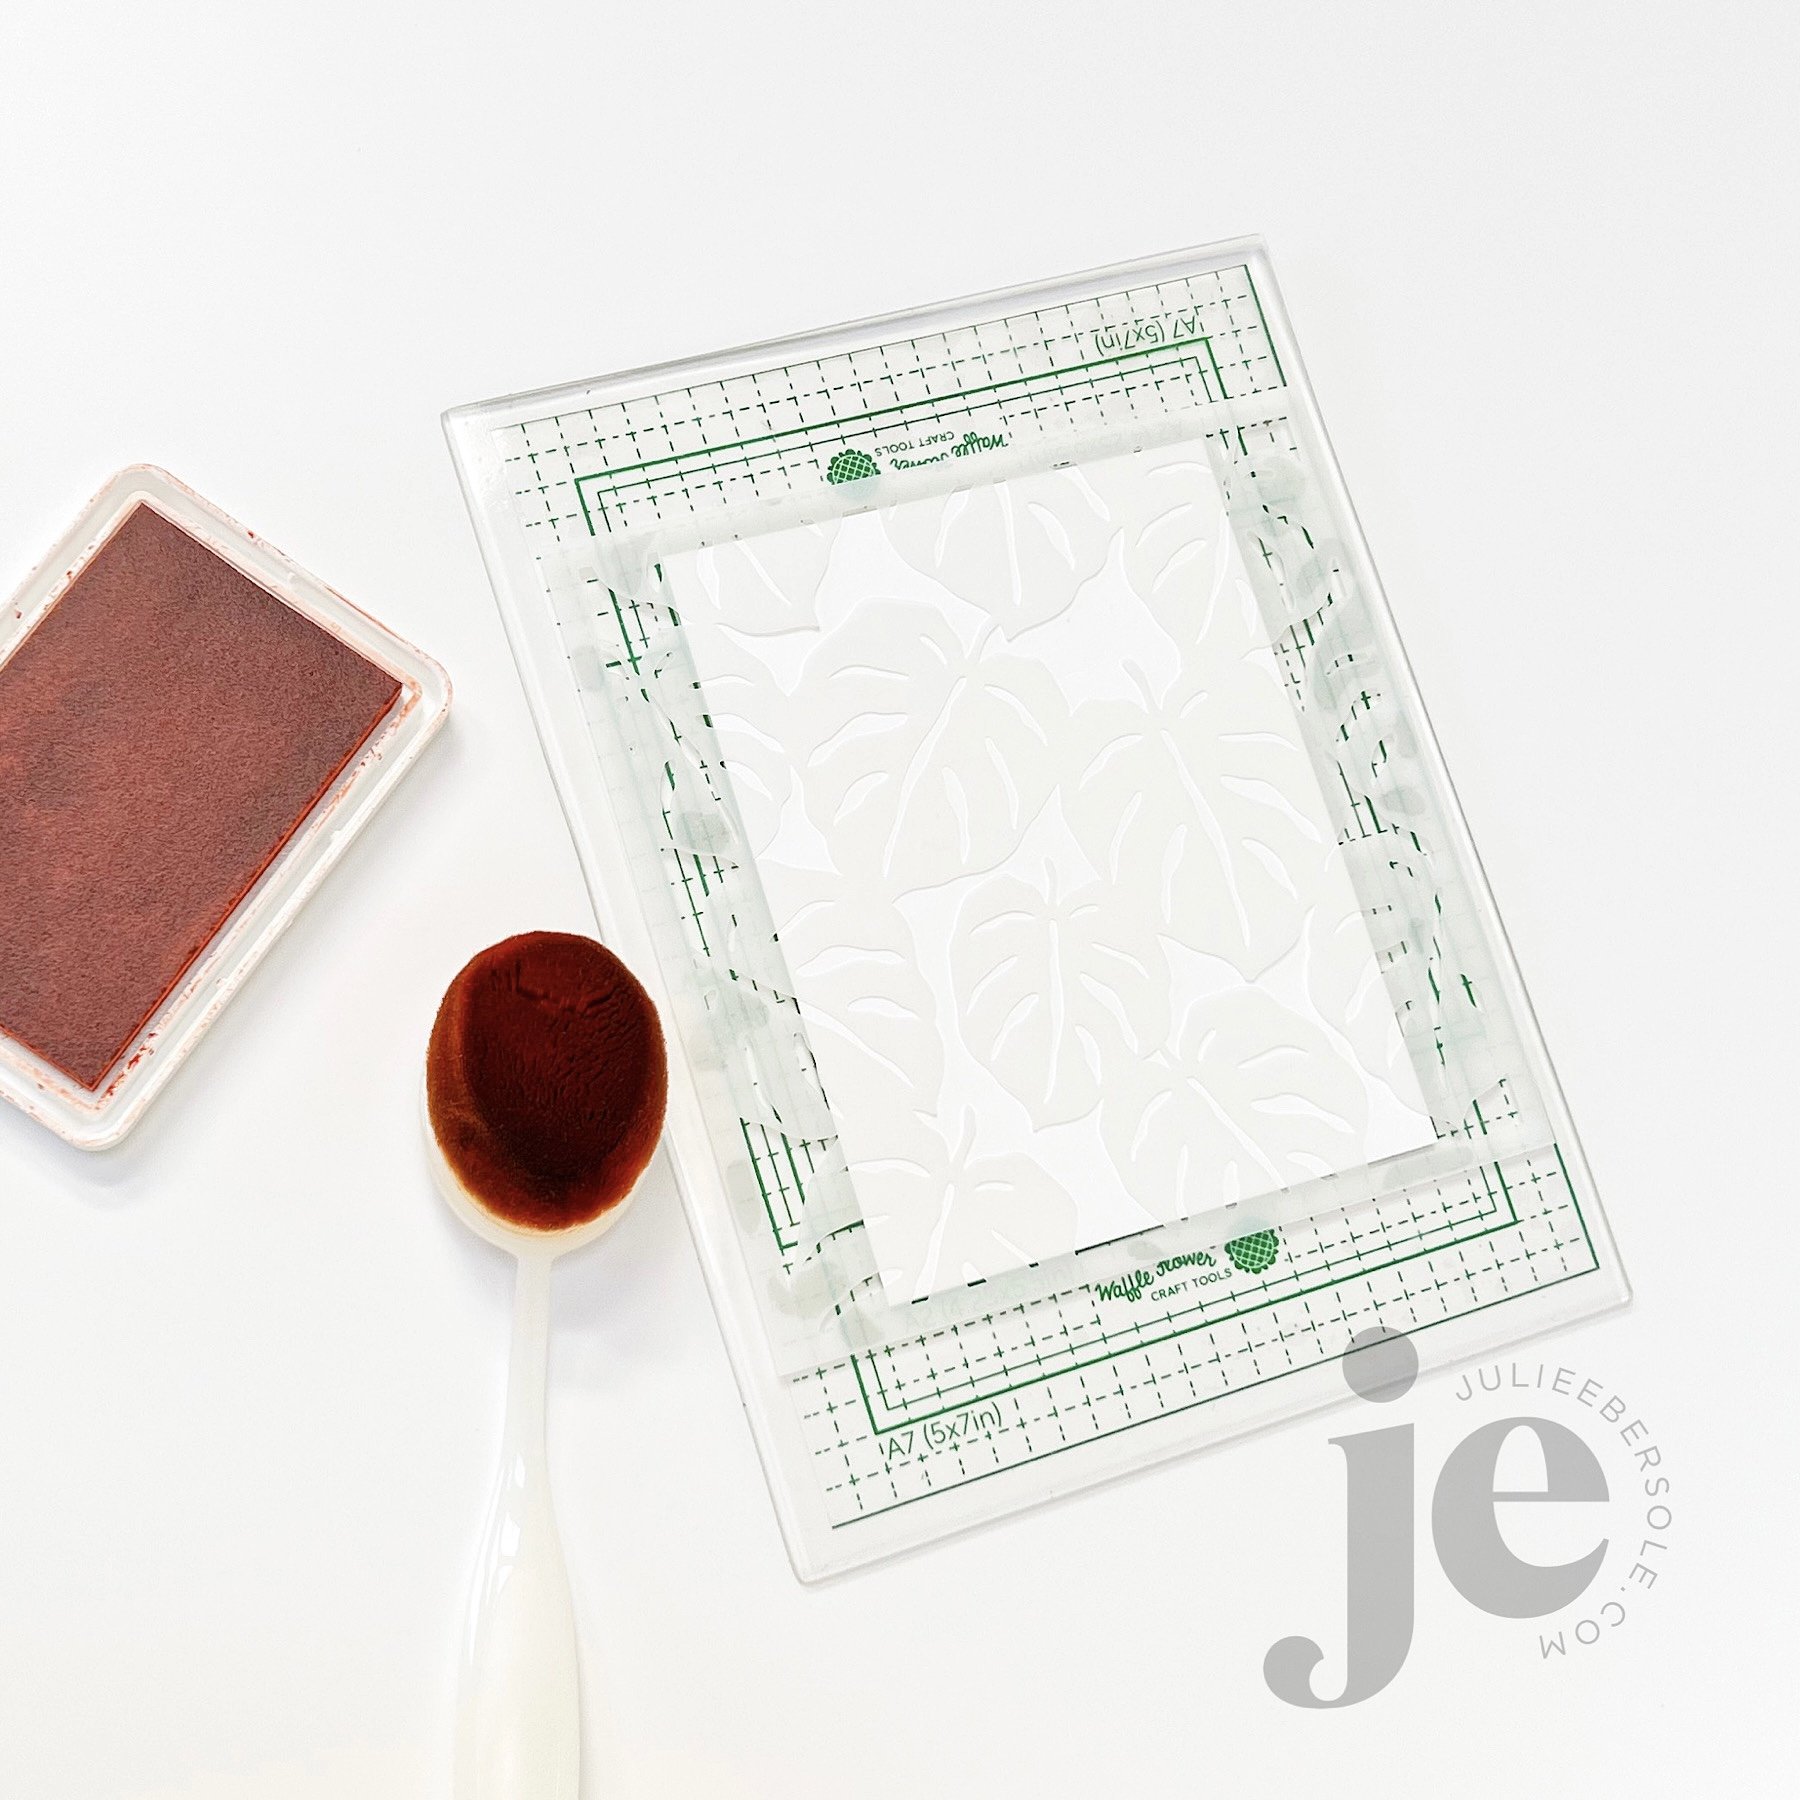
One thing I also wanted to mention is this seriously cool, new Grip Mat by Waffleflower! I’ve been using it to anchor my paper down for stenciling and stamping!!! You can read about it on their site; they’re taking pre-orders for it now, if you’re interested. You can get a smaller one that will fit your Mini MISTI, too. I swapped out the foam layer in my MISTI platform and dropped this in, with the acetate grid they’ve designed to go with; I won’t have to deal with magnets/tape again. It truly is brilliant!!!

I have more samples to share with the products I designed for the release over the coming days. For now, you can hop over to Ellen’s site and check out the whole release HERE—it is such a lovely collection!

Thanks for stopping by and don’t forget to slather yourself in sunscreen when you’re enjoying the fabulous summer weather—it’s been gorgeous here!

PINKFRESH STUDIOS DECEMBER ESSENTIALS 3

How about some Pinkfresh Studio eye candy? I’m hopping along with the Pinkfresh gang today and have some samples I created with a few dies from their Essentials 3 release!

At the bottom of my post you’ll find details about Pinkfresh Studio’s giveaway and promo so be sure to read the details after checking out these creations:

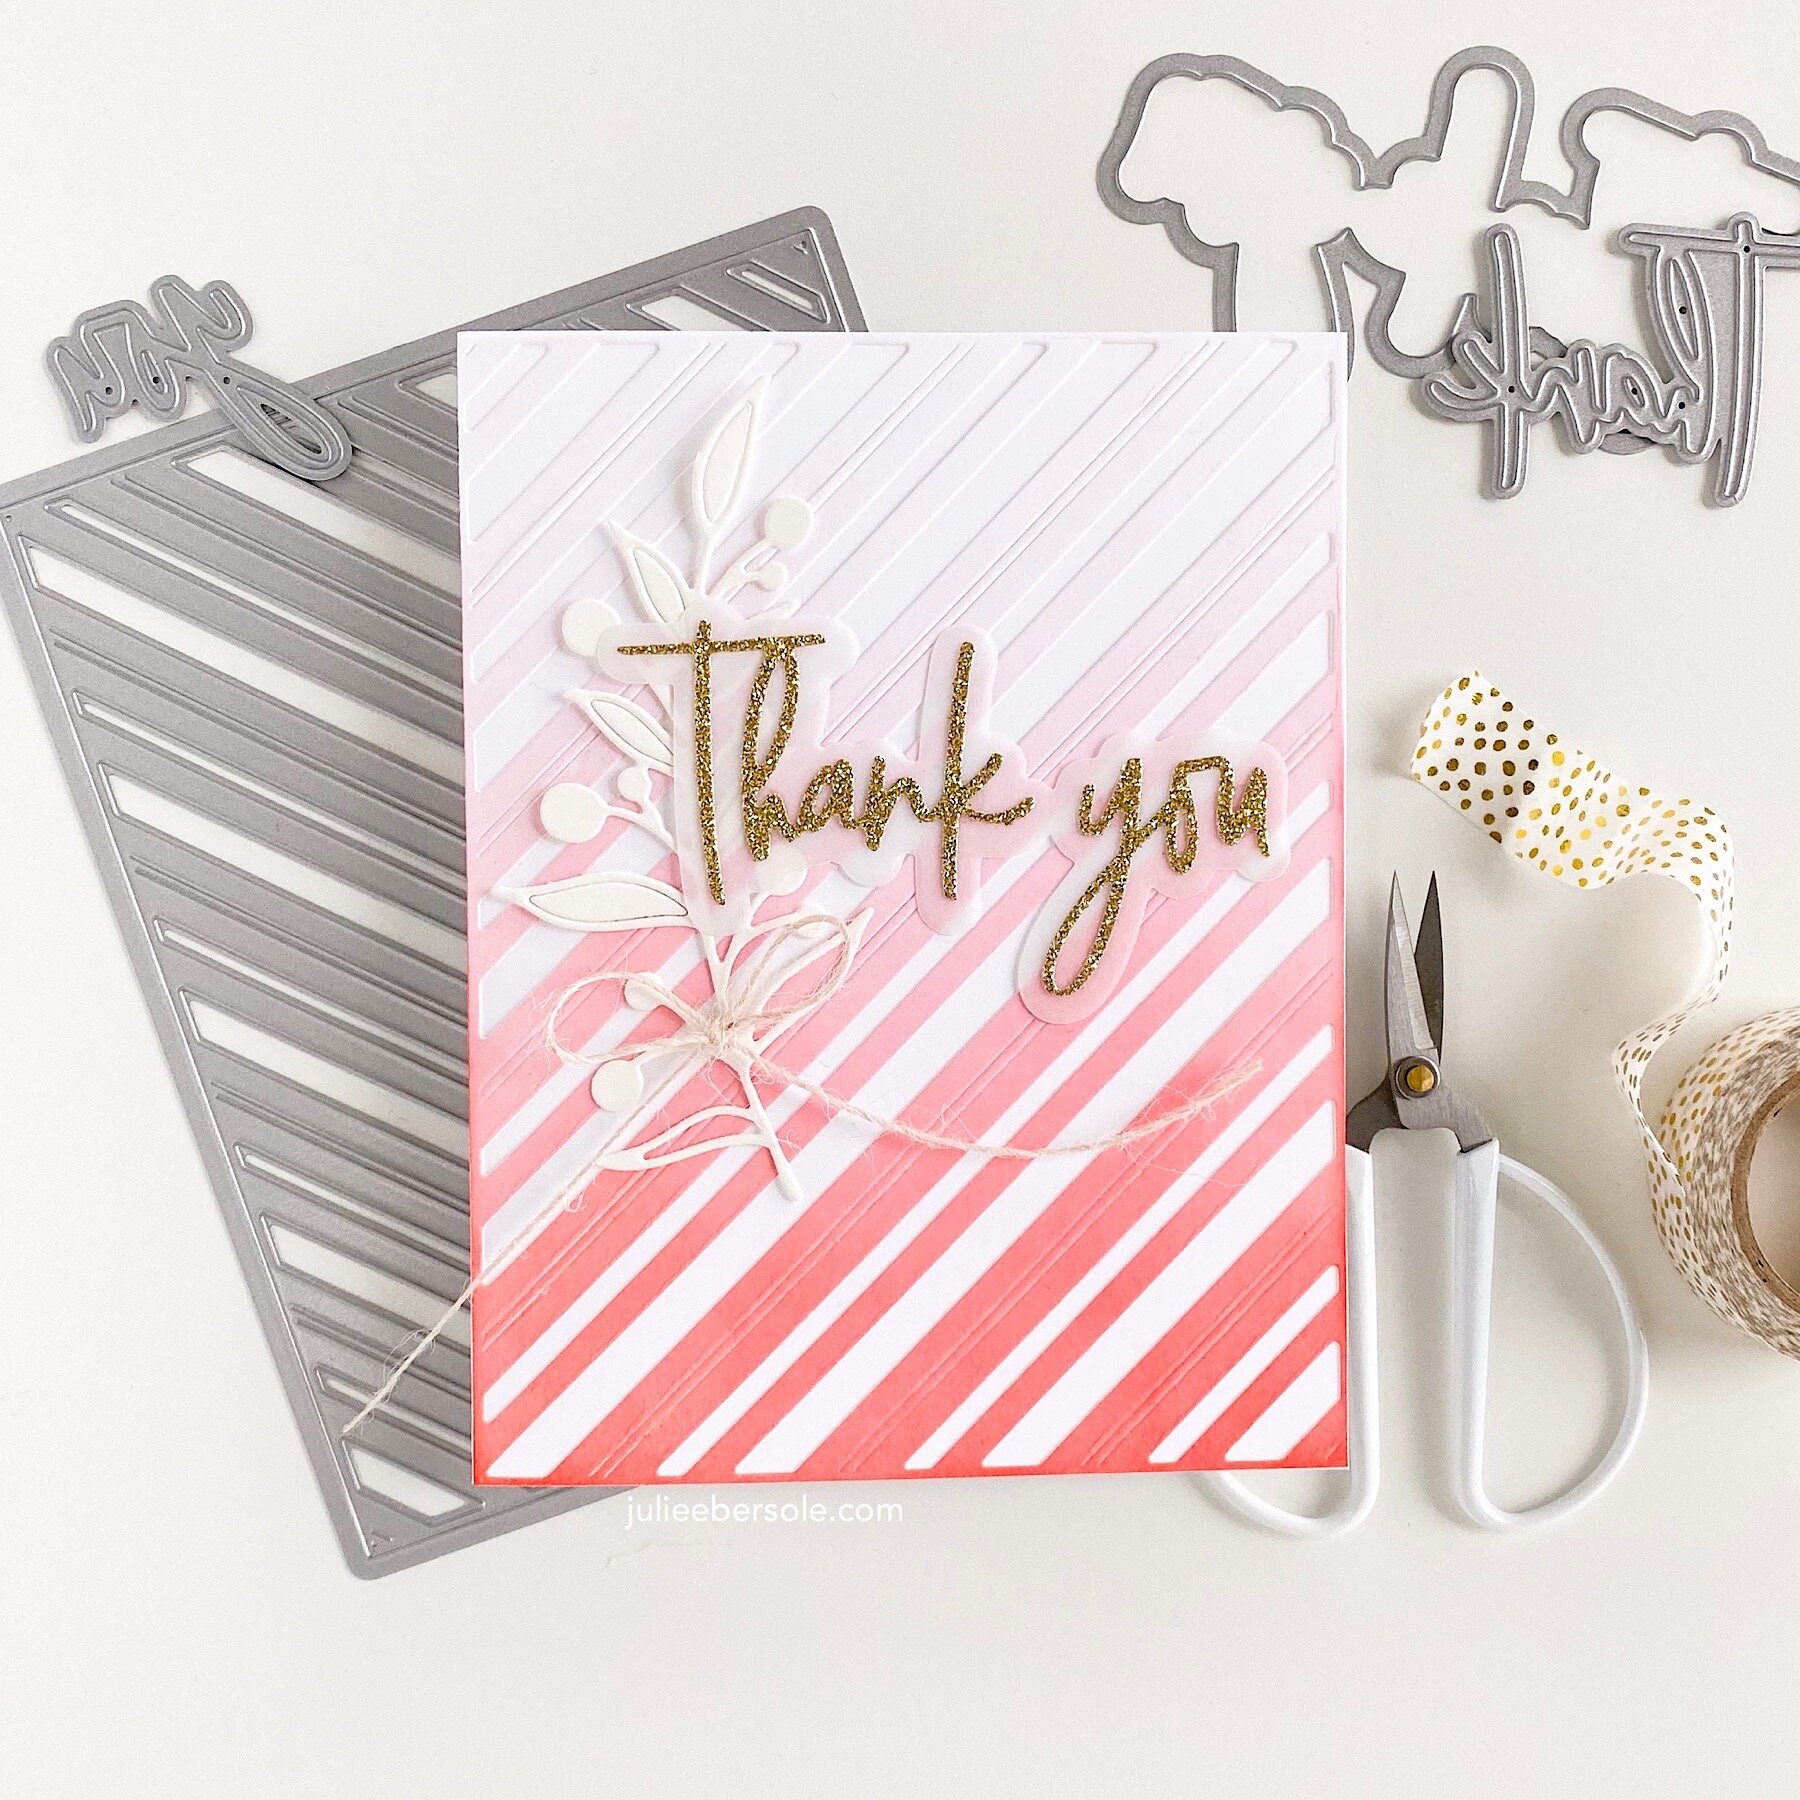
Feat. Fancy diagonal stripes (PFS) | Other: Essentials: Classic Words Set, Pinkfresh Studio Dies (PFS / EHLLC*)

Feat. Fancy diagonal stripes (PFS) | Other: Essentials: Classic Words Set, Pinkfresh Studio Dies (PFS / EHLLC*)

Need a sweet thank-you for those lovely holiday gifts you received? You can ink blend any color you like onto card stock prior to die cutting, but a lovely shade of red reminds me of candy canes, LOL!

The branch die I used as an accent is retired, but a similar one here would also work well!

Feat. Radiating background 1 (PFS) | Other: Essentials: Classic Words Set, Pinkfresh Studio Dies (PFS / EHLLC*)

This radiating background die is SO fun—with a circle in the center, you can use the opening to create a shaker! Filled mine with teeny star confettis—Gold (similar HERE), Clear Iridescent*, Rainbow Iridescent*

Feat. Teardrop tag with fillable elements (PFS) | Other: Aviary, PinkFresh Studio Clear Stamps (Retiring) (PFS / EHLLC*) ; Aviary, Pinkfresh Studio Dies (Retiring) (PFS / EHLLC*)

This tag die has a sweet teardrop shape and different semi-circle designs you can inset—for this card, I just used one of the semi-circle designs to knock out a window style backdrop behind the birdies. (Finished card is a 4-bar and measures 3.5 x 5”)

Feat. Diagonal Stitched squares (PFS) ; Fillable tag with pocket (PFS) | Other: Fruitastic, PinkFresh Studio Clear Stamps (Retiring) (PFS / EHLLC*) / Fruitastic, PinkFresh Studio Dies (Retiring) (PFS)

With little eyelet/lace pattern options, a pocket and peek-a-boo opening, you can make all kinds of darling tags! I think the diagonal stitched square layer compliments it well and gives this card such a fresh look!

••• PRIZE INFO •••

Pinkfresh is giving away the full Essentials 3 Release on the Pinkfresh blog and on their IG feed

And, they’re giving me a $25 gift card to give away to one of you lucky devils! The winner will be chosen from the comments on this post, so please leave some love! (grin)—and don’t forget to visit the hoppers on the roster below for more opportunities to win.

Winners will be posted on Monday, Dec 16th on the Pinkfresh Studio GIVEAWAY PAGE. Please check that page and claim your prize within 2 weeks.

TODAY’S HOP ROSTER:

You are invited to the Inlinkz link party!

Click here to enter

Thanks for stopping by and may the odds be ever in your favour! (wink!)


*Affiliate links within this post are marked with an asterisk; when you shop via my links, I receive a small commission.

BIG SCRIPTY THANK YOU IN GOLD

TWO THINGS: A share. And a sale.

THE SHARE:

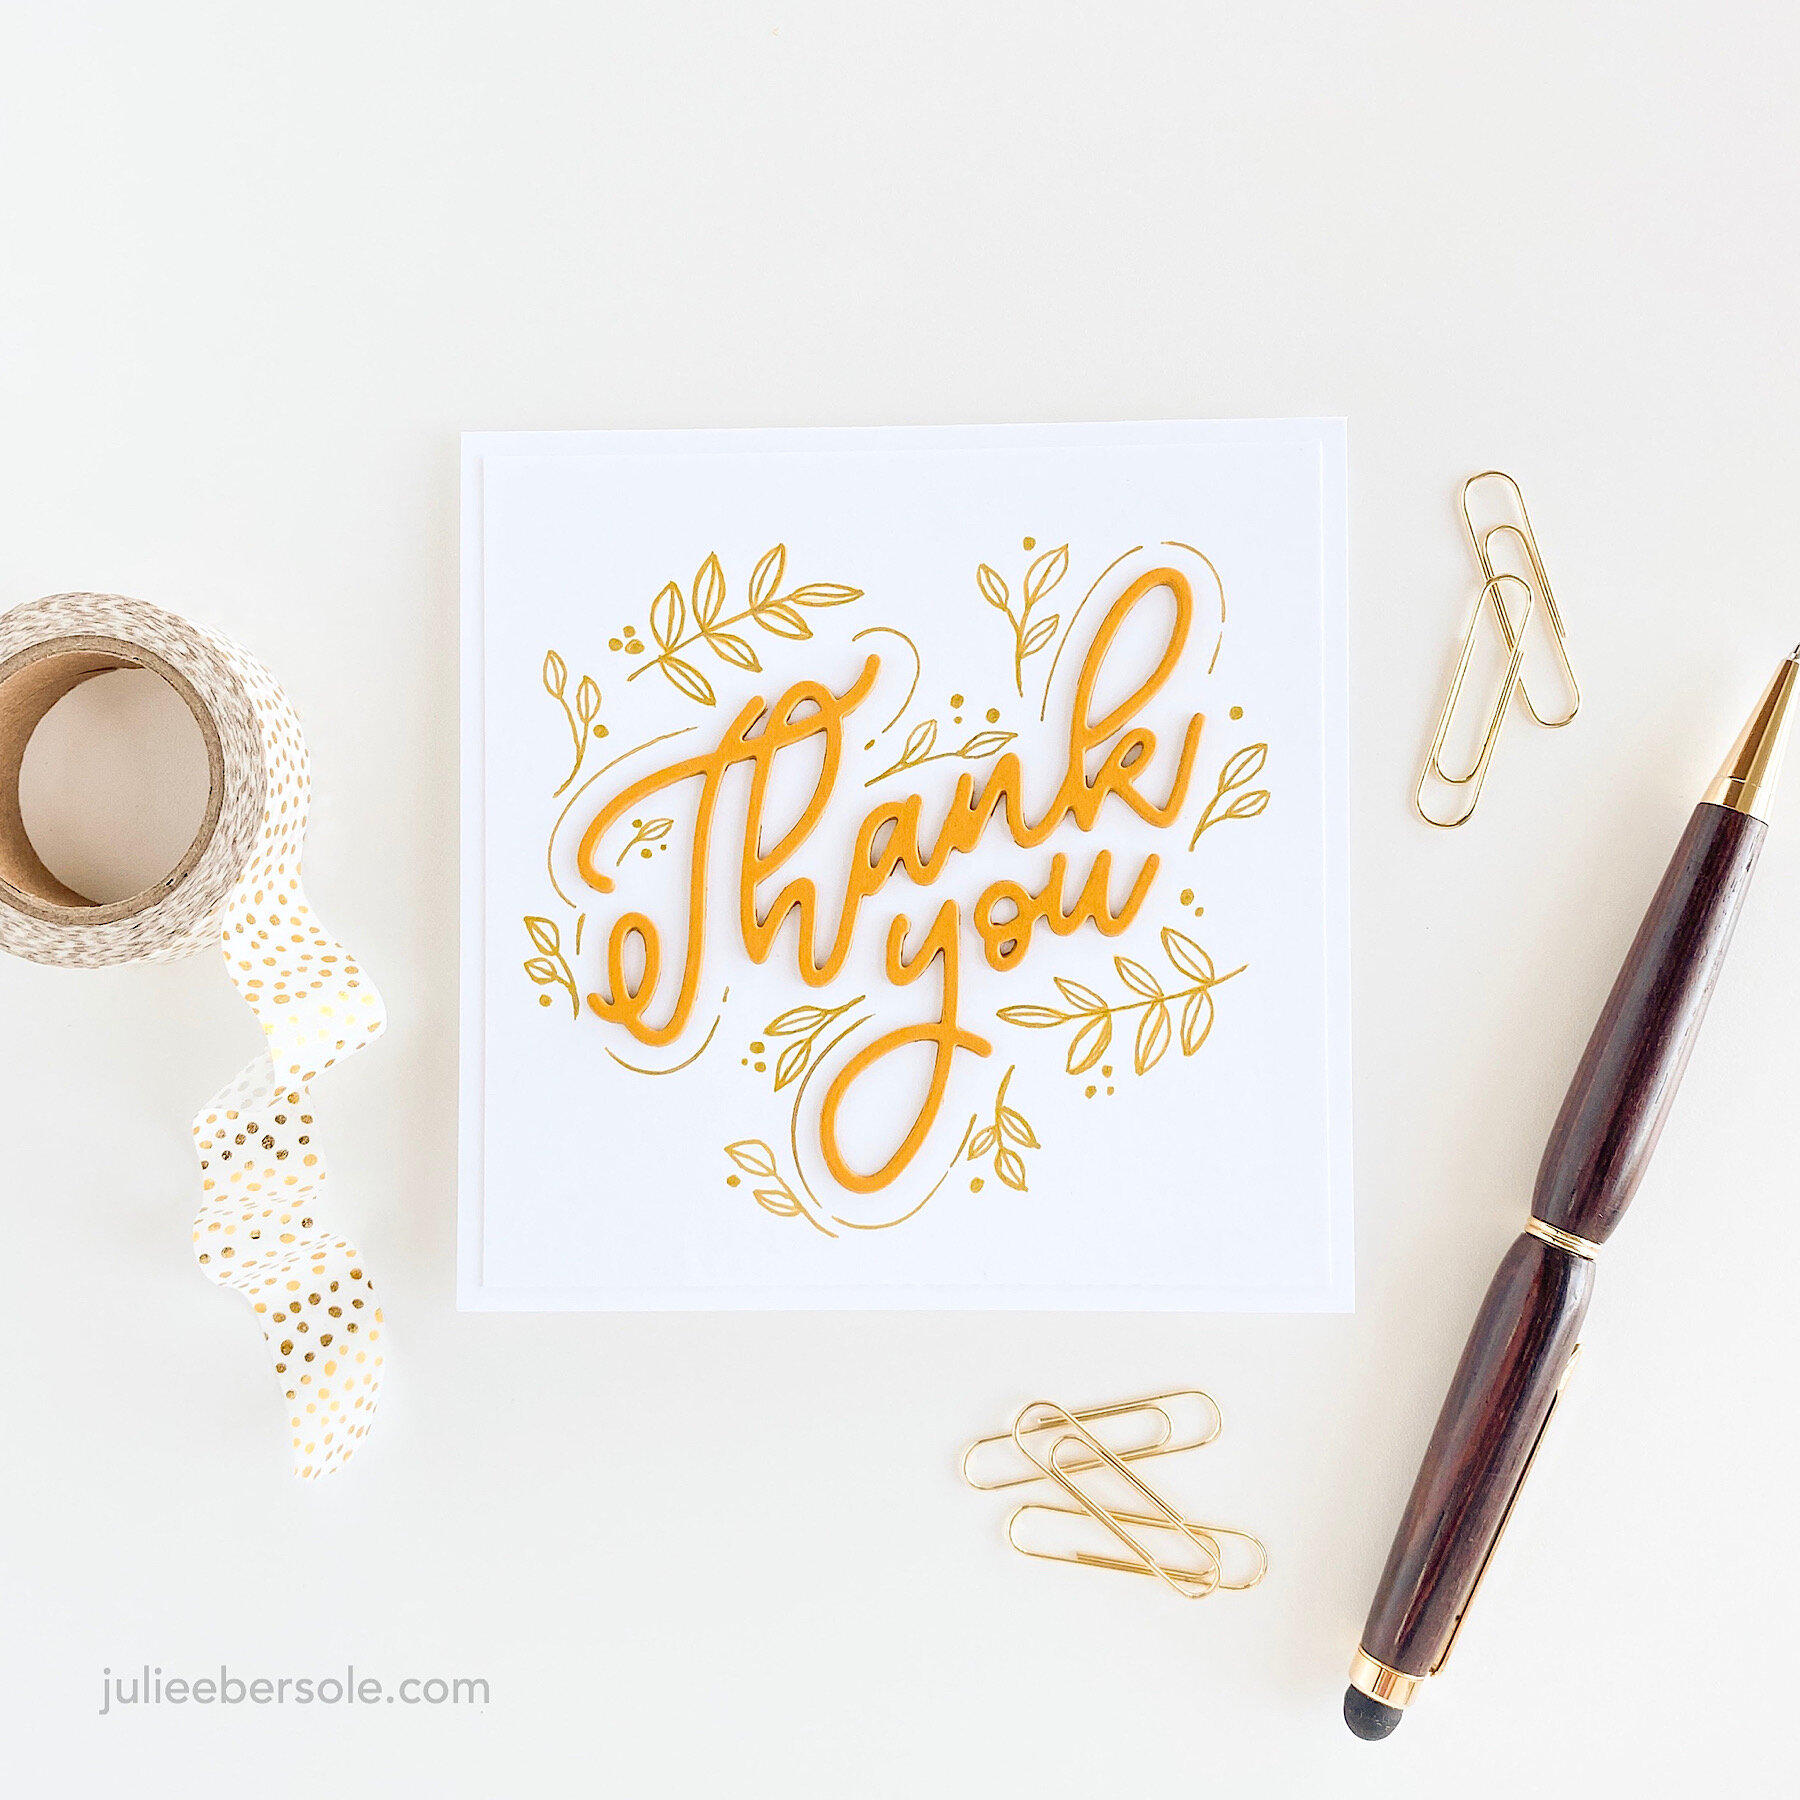
Saw something similar on Pinterest, went agog, had to emulate. I. LOVE. IT.

big-scripty-thankyou-gold-001-2.JPG

Full disclosure—I used a small leafy branchy stamp from a favorite Flora & Fauna set to stamp some accent images using a soft yellow ink. I traced over them with a gold gel pen and then doodled the remaining leaves. The monoline strokes were actually drawn using the shadow die from that set as a guide. When you don’t have a gel pen AND ink pad in a matching shade of metallic gold, you have to wing it. YAASSSS, QUEEN!!! (monkey clapping and bouncing up and down rather vigorously)

Seriously, I love this card so much I could marry it. Gives my minimalist heart the vapors!!!

THE SALE: ↓

CLICK THE GRATITUDE GRAPHIC ABOVE TO GO STRAIGHT TO THE GRATITUDE19 CATEGORY—DON’T FORGET TO ENTER THE CODE AT CHECK OUT!

CLICK THE GRATITUDE GRAPHIC ABOVE TO GO STRAIGHT TO THE GRATITUDE19 CATEGORY—DON’T FORGET TO ENTER THE CODE AT CHECK OUT!

There are bargains galore in that section—and keep your eye on items marked “retiring”; once they’re gone from the shop, they’re gone foh-evvaaaah! Hope you find some treasures!


EBE + MFT HOLIDAY INSPIRATION HOP

ebe-mft-holiday-hop-2019-001.JPG

The Ellen Hutson Ambassadors and the MFT Design Crew are jointly sharing some holiday inspiration—gosh I really do love mixing and matching things up! So FUN!!!

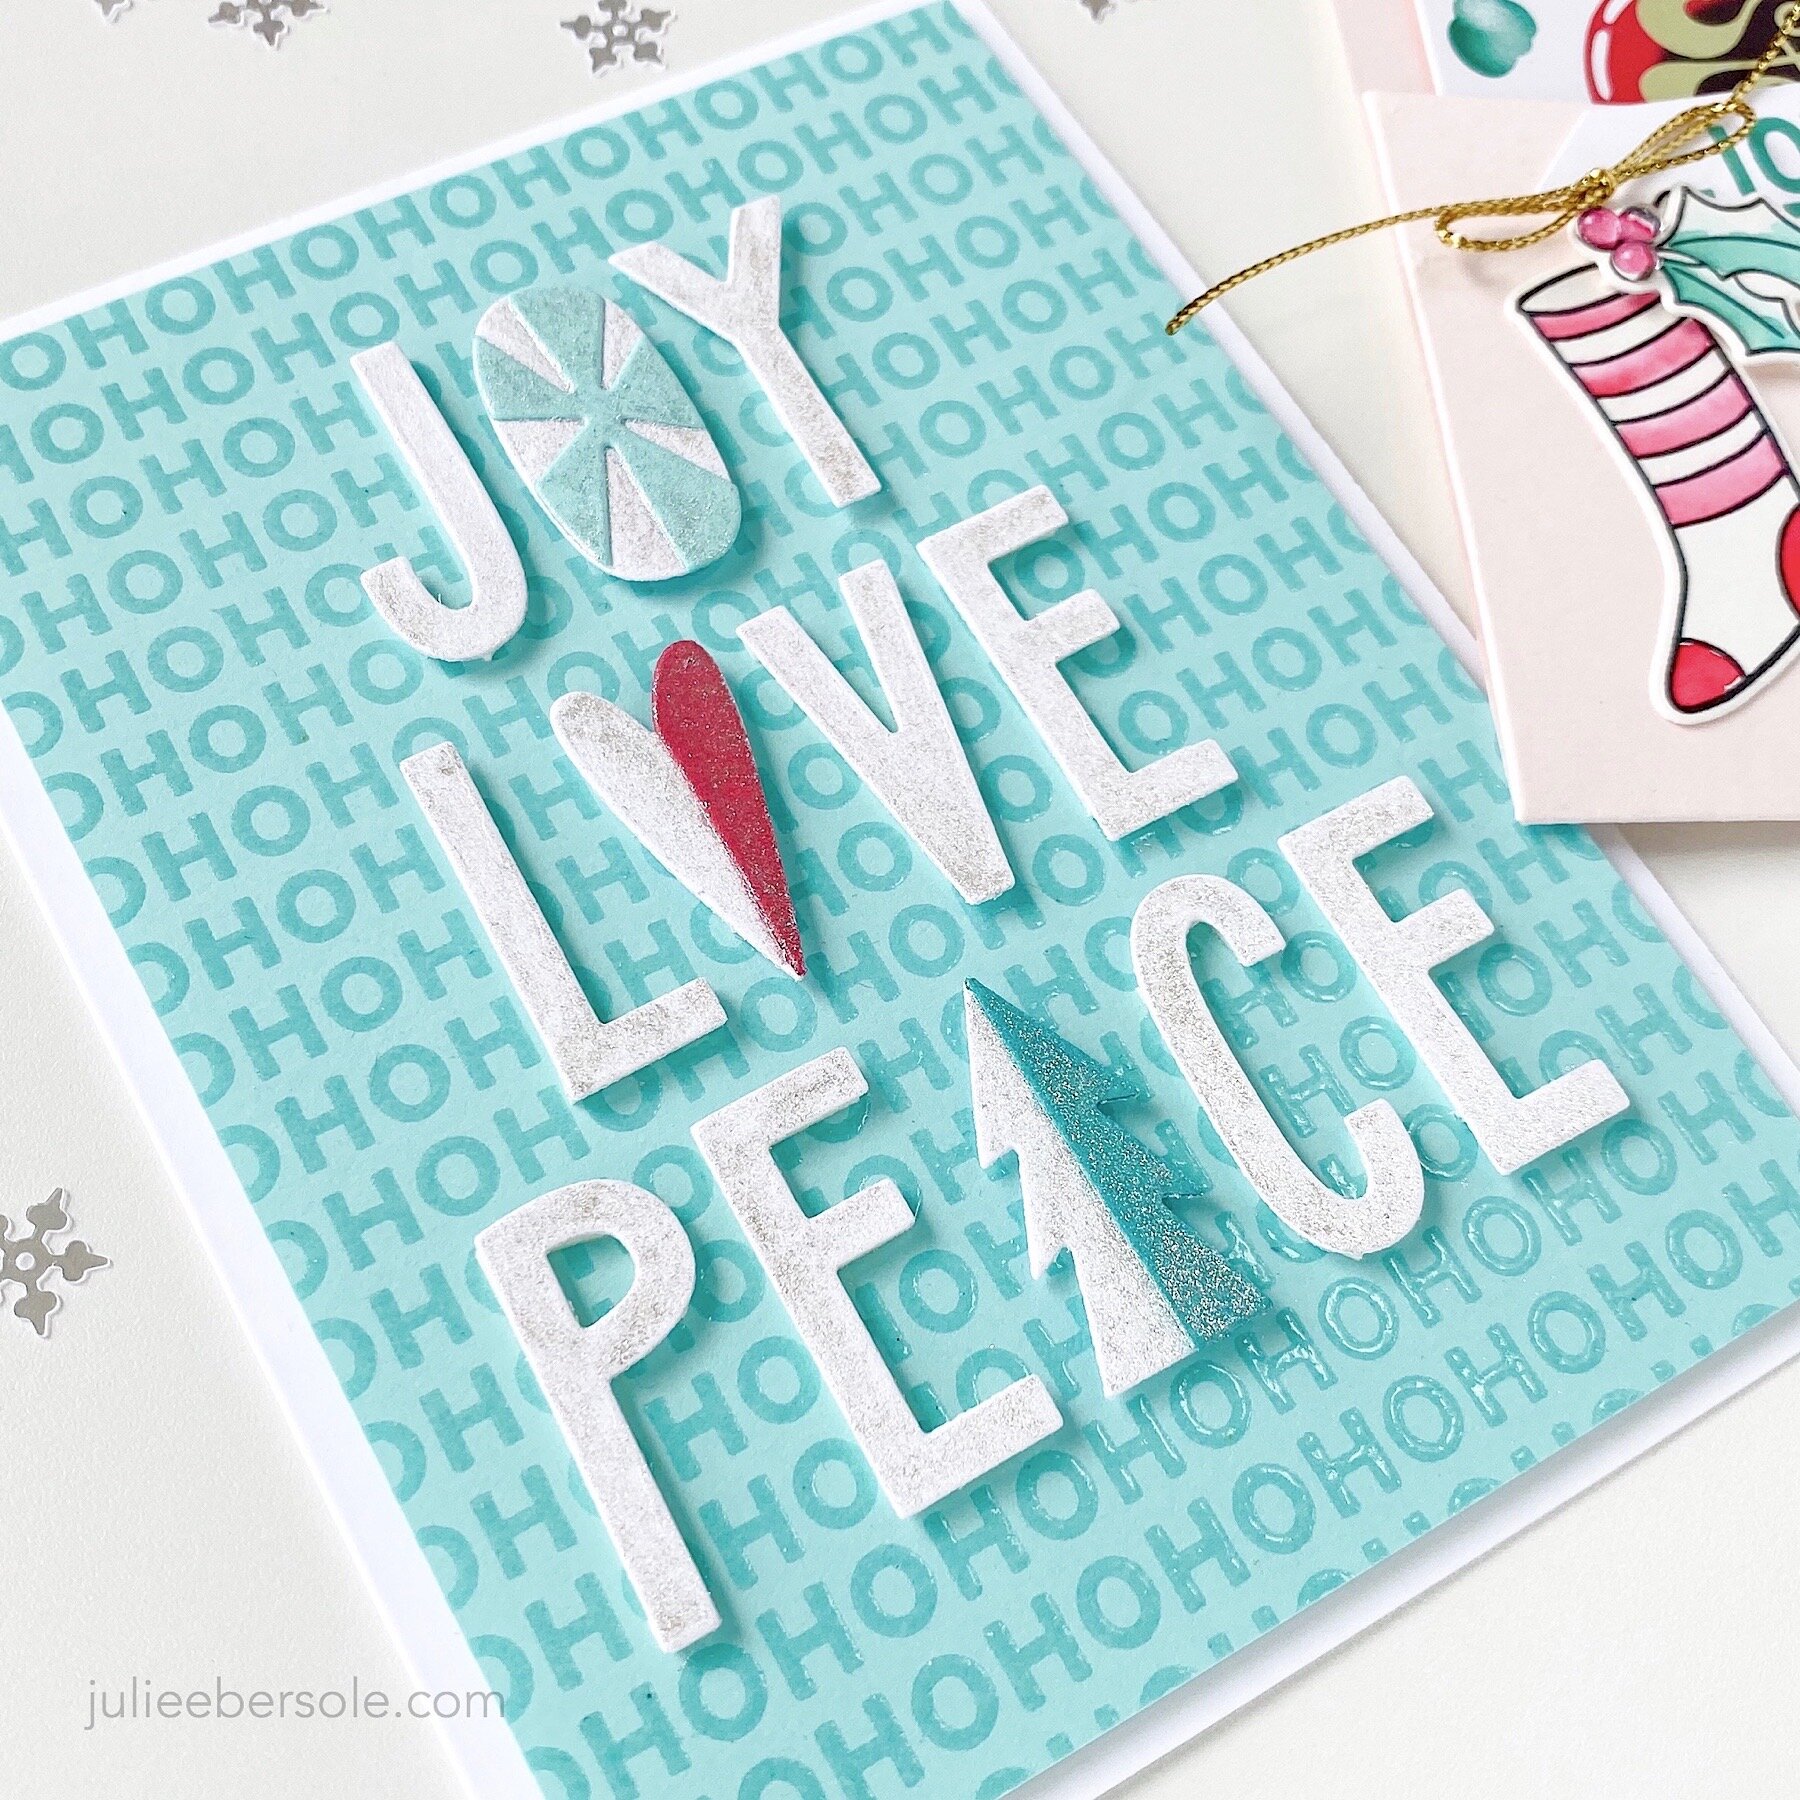
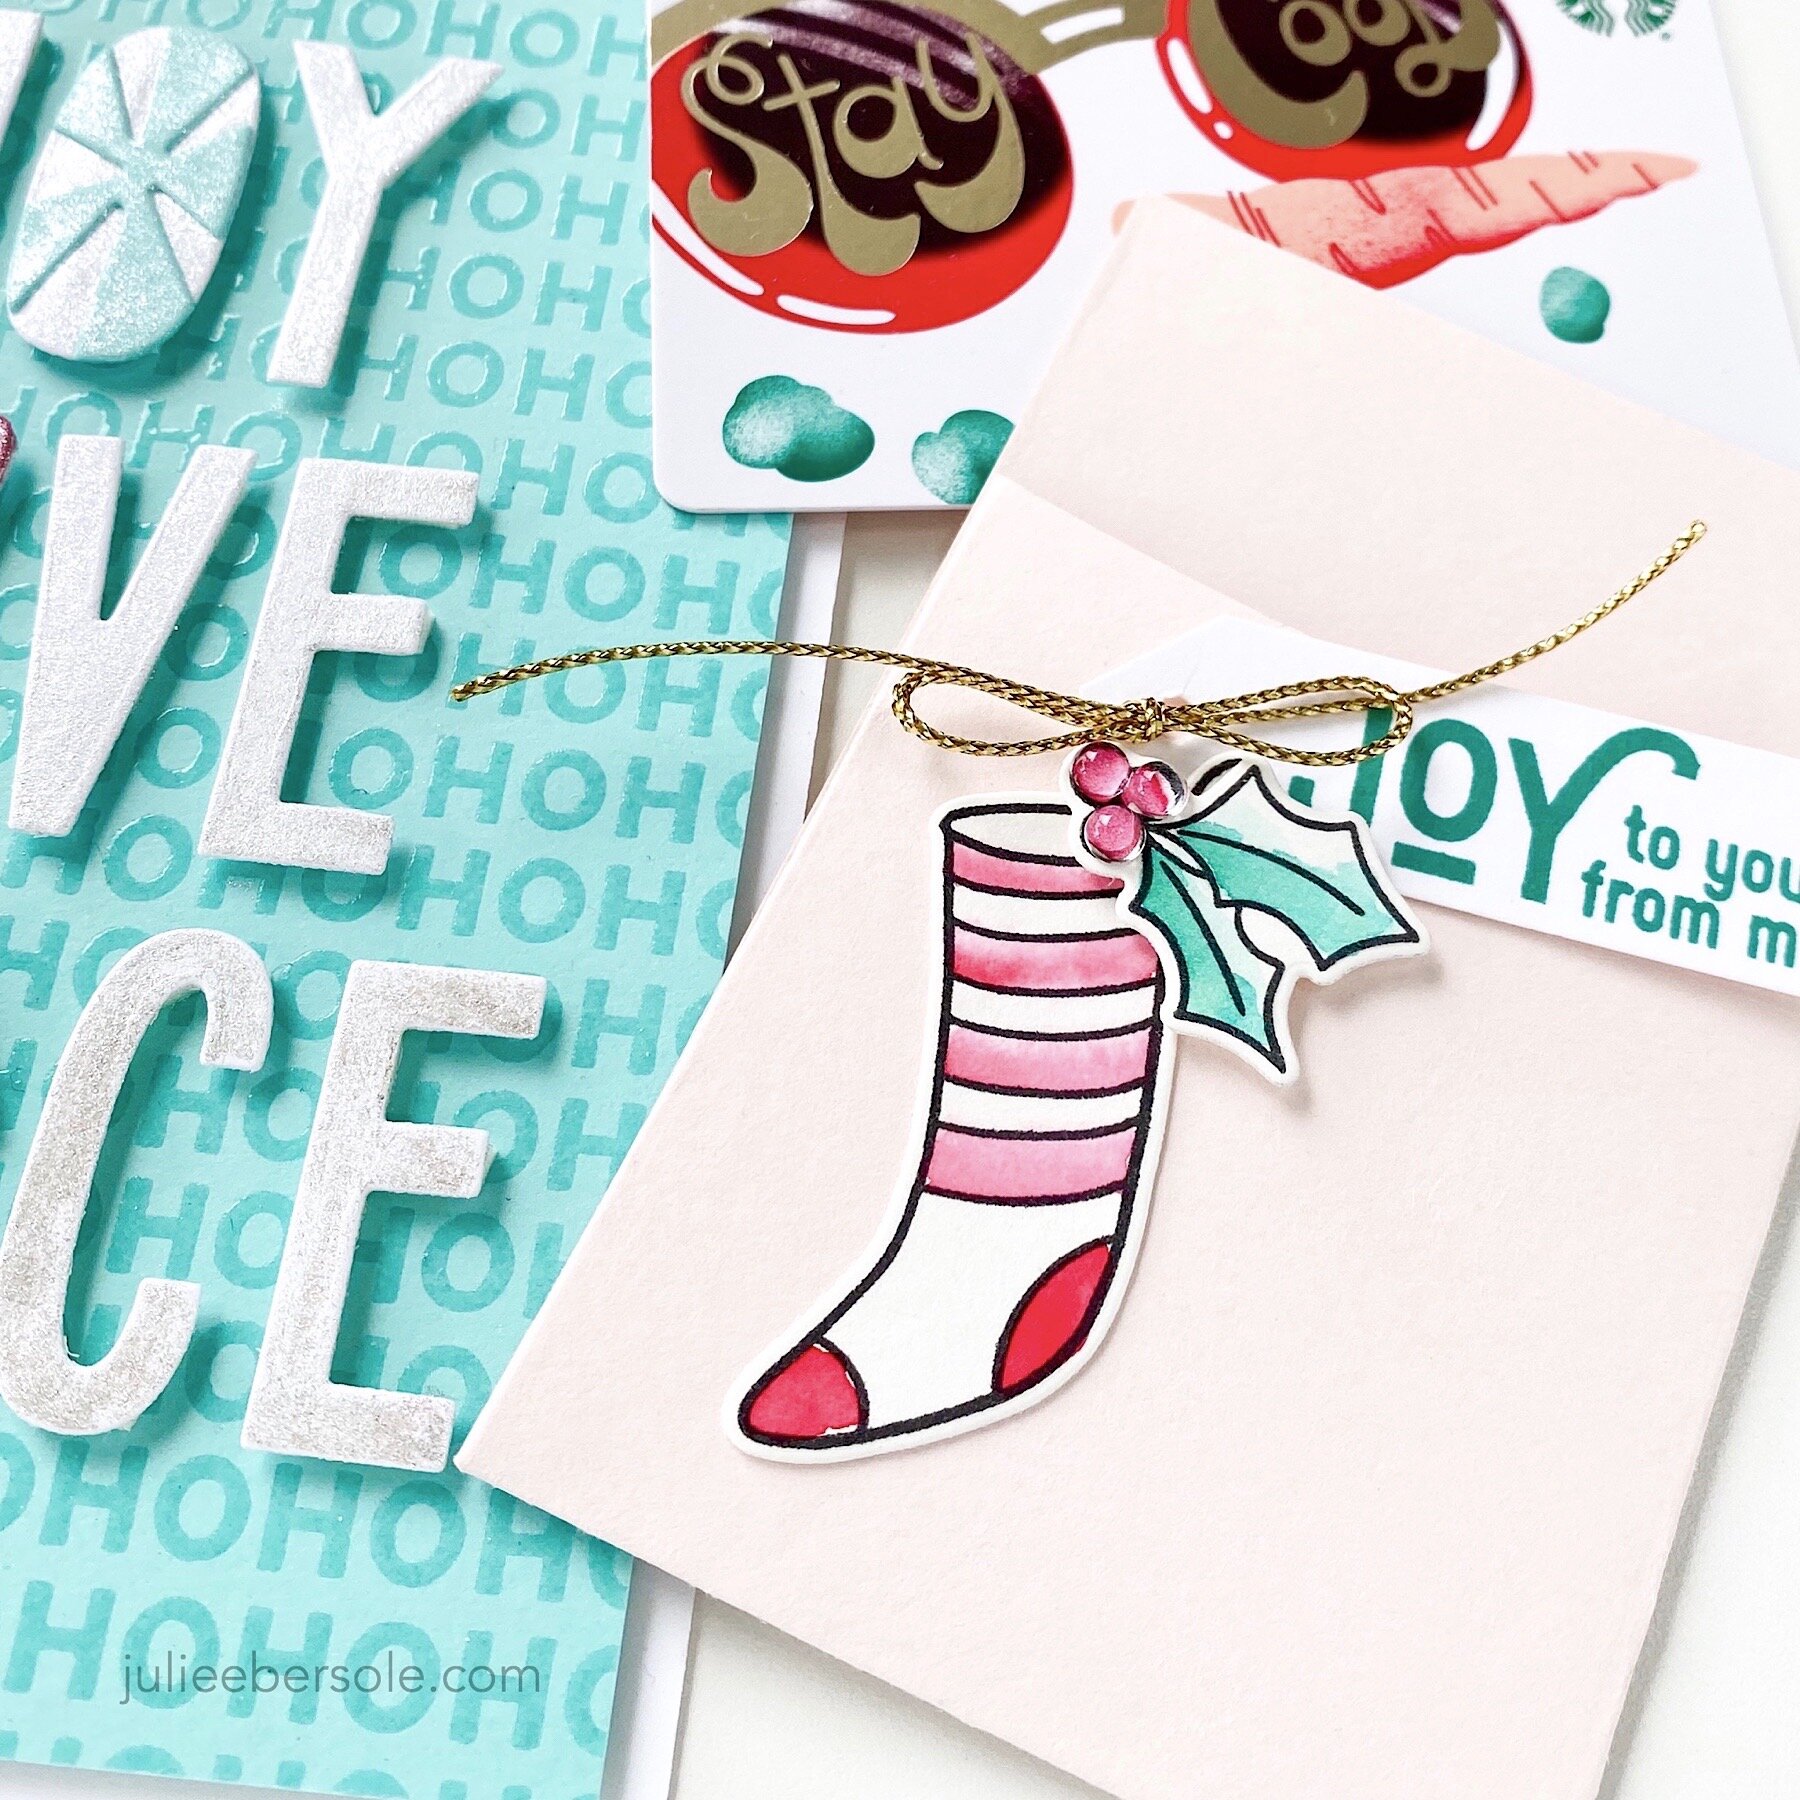
I love the look of clear embossing this background onto colored card stock and the Joy, Love and Peace die will give you two different cards if you save the negative. •fist pump• I’ll be honest, the letters in white looked kind of (unexpectedly) drab against my background so I grabbed a NUVO Aqua Shimmer Pen (clear) and coated them all and BAM!!! Perfect finishing touch!

These gift card pockets are great to make for adorning packages, hang-tagging onto gift bags, gracing a card front or even using to make an advent calendar—seriously, how fun would that be????—outta’ my way! I need to get started on one of these for my granddaughters who are moving back from Japan to the states and spending Christmas with us!

Ready for more holiday inspo? See what everybody else made by clicking on their photos below!

And, thanks for stopping by my place today.

You are invited to the Inlinkz link party!

Click here to enter

NEON WATERCOLOR

I have a quick video tutorial for achieve neon watercolor effects for ya’ today—I shared a sneak peek of the Mondo Gerbera Daisy on Instagram and was asked how I did it.

I tried to shoot and film this multiple ways, but suffice it to say, it is very difficult to capture the beautiful, eye-popping color you get by mixing in fluorescent/neon hues—I hope you’ll take my word for it that is much more stunning in real life than can be photographed…

See Carly’s video for her fabulous shaped floral cards HERE.

Fluorescent Clean Color Real Brush Markers are absolutely fantastic for this look—you can use all neon colors (I’ve listed them all in the supplies so it’s easier for you to find them), but on a large scale floral like this one, I personally prefer to have a hint of neon mixed in with regular colors. Colors specific to this project are marked with an “ * “ in the supplies.

TIPS:

  • Heat embossed images give these markers a place for color to “sit” until you’re ready to blend it out with a water brush.

  • When working with mid-darker Clean Color Markers, keep in mind that a little color goes a long way; don’t fill in your image, but apply color close to/hugging the embossing lines—you can always add more after your first layer is dry.

  • Pale/pastel colors may need multiple applications of color in the same area if you plan to blend out with water.

  • Before applying fluorescent colors, I recommend allowing your base colors to dry; adding to wet paint may diffuse the color right away and diminish the intensity.

Happy neon watercoloring and thanks for stopping by today!