video

SPREAD JOY NOT GERMS BLOG HOP

SJNG-banner.png

We’re doin’ our part, staying home to stay safe and keep others safe and so that others on the front lines, my younger sister among them, can fight the good fight.

But, we CAN stay connected—a bunch (understatement) of us have joined together for a massive creative hop, designed to spread a lotta JOY, no germs. (wink)

aloe-other-side-bubble.JPG

Typically I reach for watercolors, colored pencils or alcohol markers to color in my images but this time I wanted to try ink blending over the top of some white embossed images. This is more of a “resist” effect/way of doing things.

In hindsight, I think I probably should have grabbed even smaller brushes, but I think it still turned out OK—smaller brushes just would have better enabled me to achieve the shading I was going for in specific areas. Note to self: Keep practicing. (wink)


SPONSORS AND PRIZES!


THIRTY ONE companies are offering more than FIFTY prizes on this hop! Comment on the blogs on the hop to be entered. No minimum number of comments required, but the more blogs you comment on, the greater the chances of winning.

Deadline to enter is April 24 and winners will be announced on Monday, April 27 on the Catherine Pooler Designs and Hedgehog Hollow blogs. Please check there on that date to see if you won!

Full details and hop list are available here:

Catherine Pooler Blog

Hedgehog Hollow Blog

If you get lost along the way, please visit the Catherine Pooler or Hedgehog Hollow links above to see the full roster.

SJNG-sponsors-graphic.png

Thank you for commenting, and may the odds be ever in your favour! (wink)

Your next stop along the hop is Vicki Ditcher’s blog, All I Do is Stamp

Stay safe and healthy, folks


CREATE FOR YOURSELF

Crafting, just for me—for the fun of it—is a rare and elusive event. Nowadays, working as a creative within the industry involves a hellalot more than just “making a card”. Truth.

But, when you get the chance to make, just for the sake of making, for yourself—without restriction or parameters, without a million other things and deadlines looming over you or interruptions . . . oh my, how refreshing that is for the creative soul and your inner well-being. Ask me how I know . . .

I filmed myself making the above card and gave myself permission to NOT spend an hour in the master bedroom closet and possibly 25 gazillion takes on a voice over (pollen + allergies have been driving me nuts)—just me making a card from start-to-finish, with some relaxing music. Uploaded to my IGTV channel so you can see it there or here. ↓


Thanks for stopping by and hangin’ with me for a few minutes out of your day.

Stay safe, stay healthy!


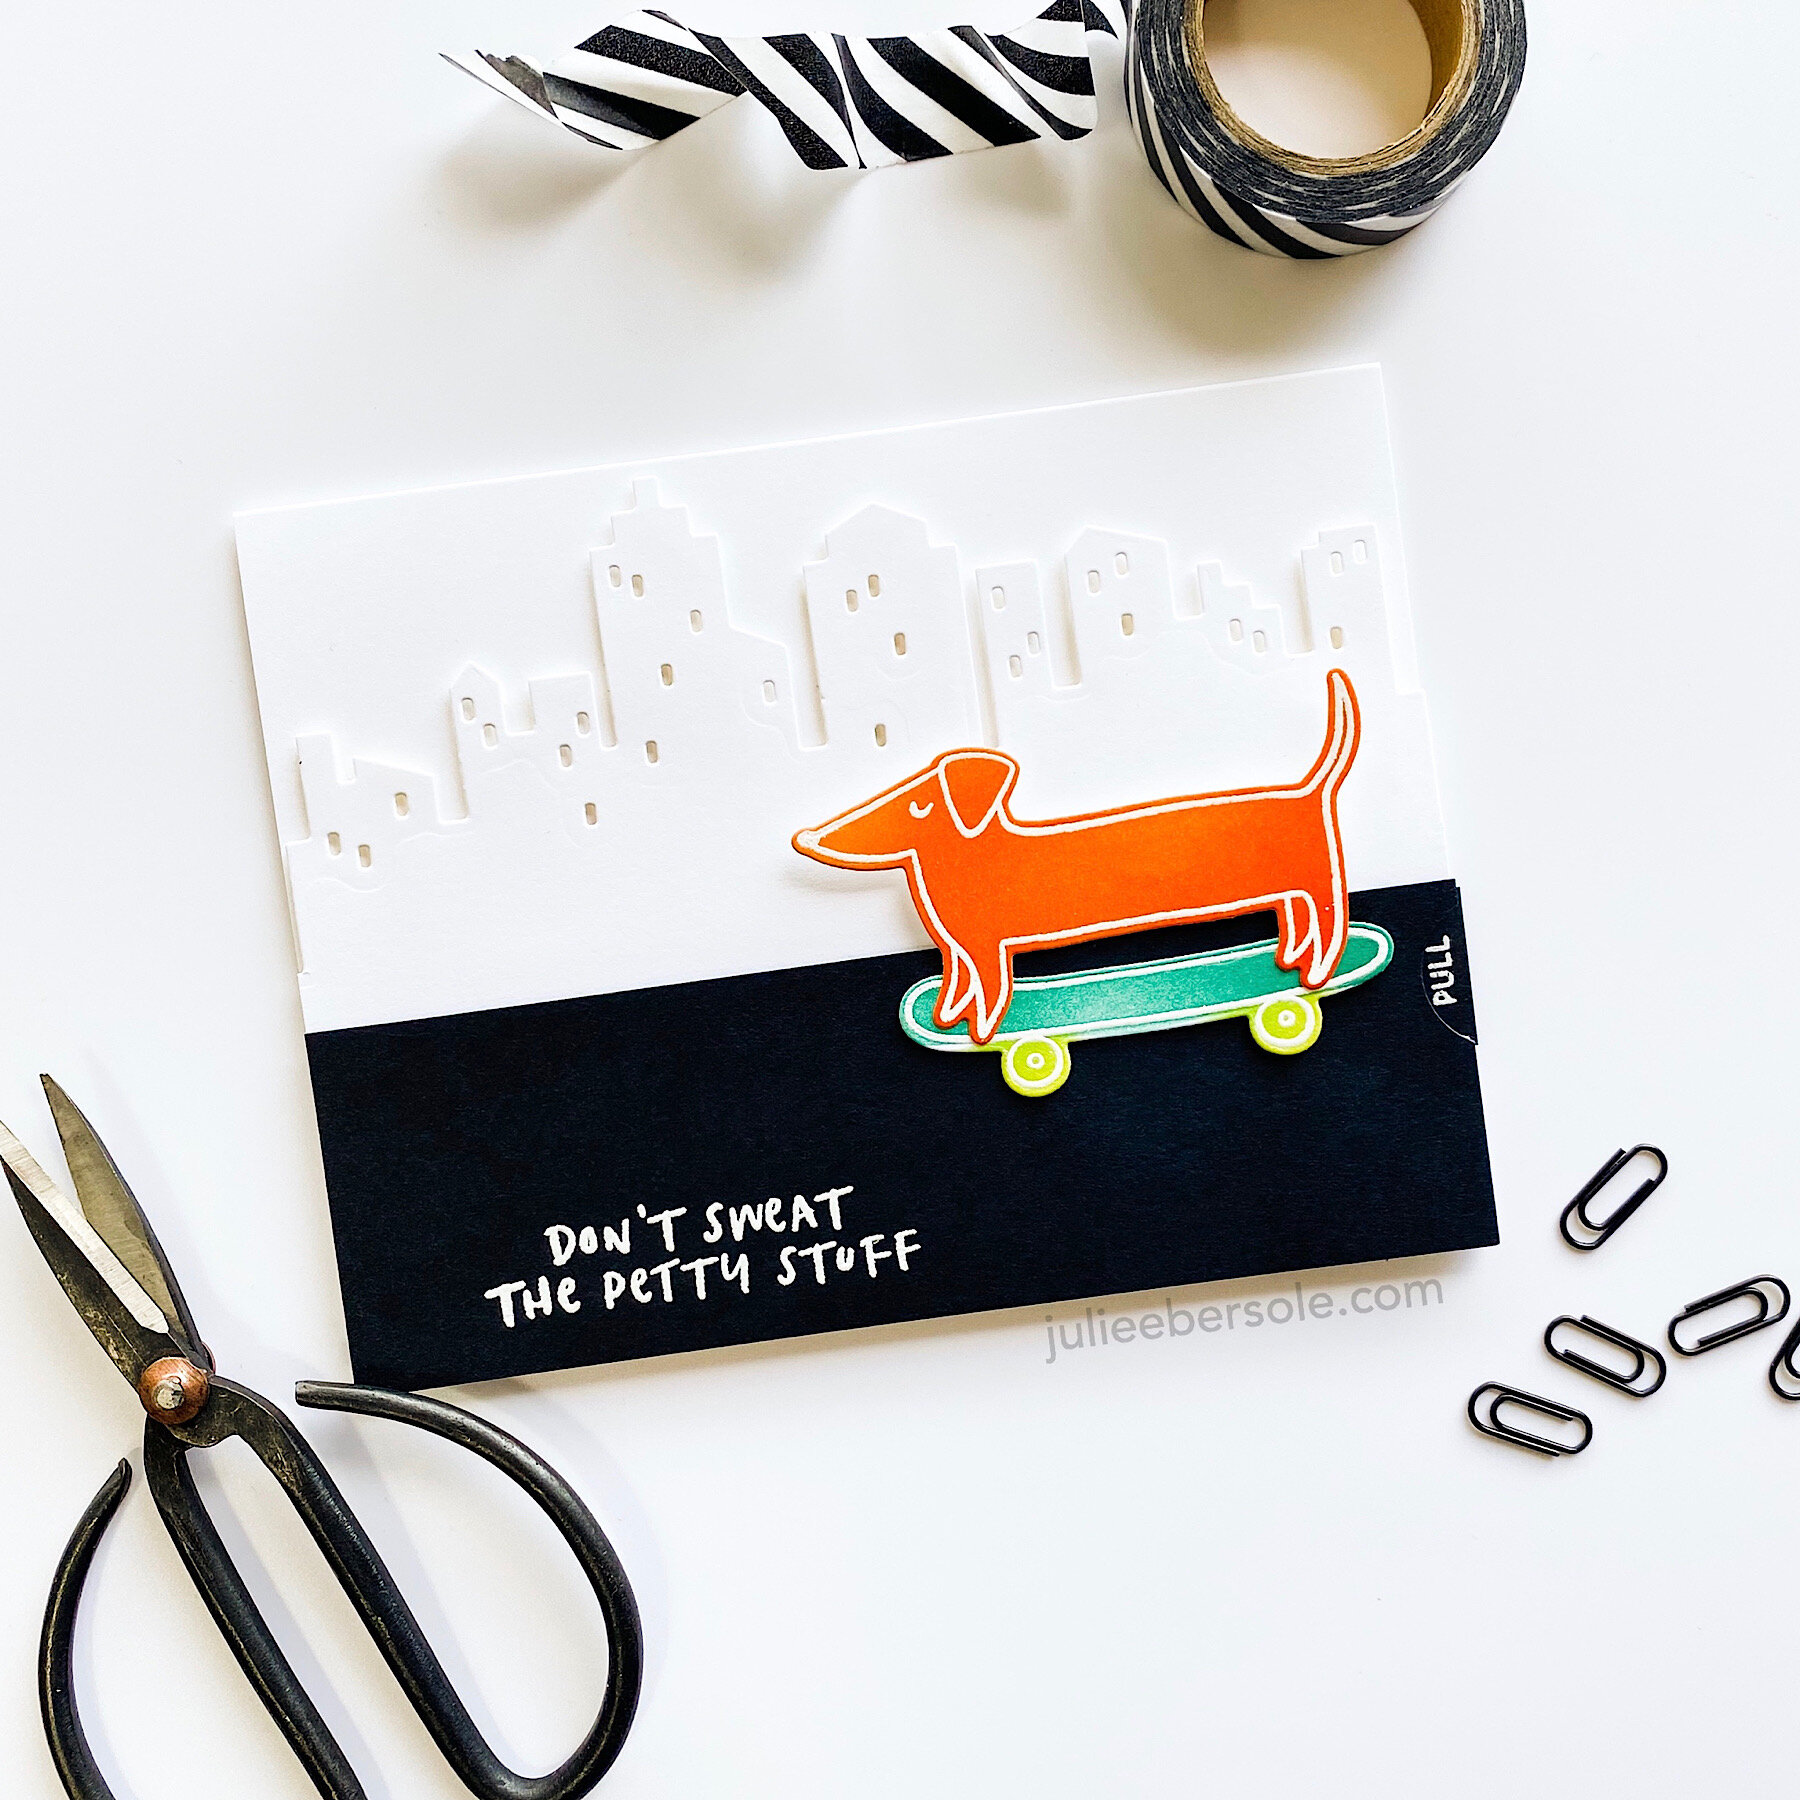
MAKE AN INTERACTIVE PUSH ME PULL YOU CARD

push-pull-interactive-001-A.JPG

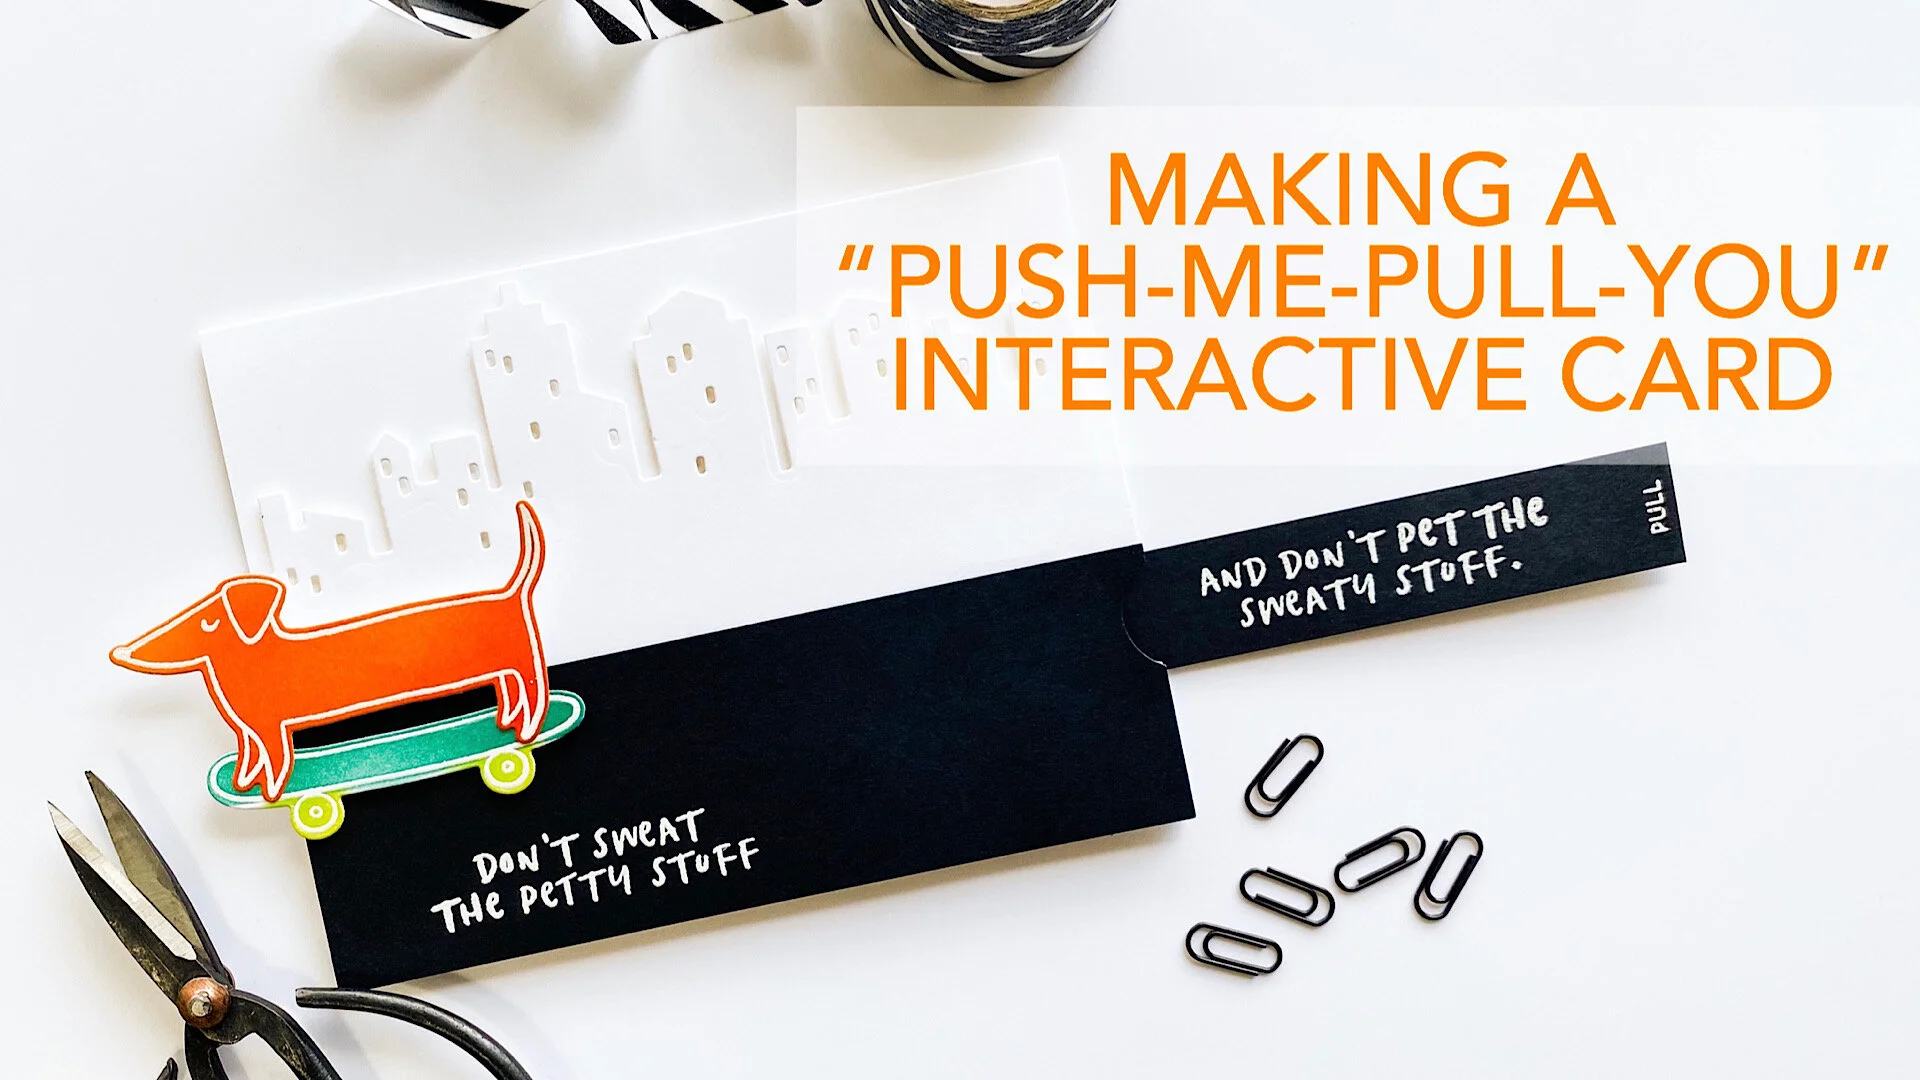
Years and years ago, when I first saw this type of card, it instantly made me think of the Pushmi-pullyu of the movie, Dr. Dolittle. So, I’ve always referred to it as a “Push-me-pull-you”, because of the way the mechanism works, but in Stampland, it’s typically called a “double slider” card. There are other cards called “double sliders” that may have two elements moving in the same direction as the tab when you pull it, or even penny sliders featuring two elements that spin/slide in one direction, depending on how you tilt the card, but mine today uses a reverse action motion.

It’s also a modified and somewhat simplified version of the concept; I don’t own any specialty dies that are specific to this type of card, so I took what I did have and found a way to make it work.

WATCH THE VIDEO BELOW OR ON YOUTUBE

Measurements, based on a standard A-2 Card (4 1/4 x 5 1/2”)

  • Slider Tab: 3/4” W x 5 1/2” L (adjust the length as needed to accommodate your project)

  • Cover piece that conceals the mechanism: 1 3/4” W x 5 1/2” L

  • Plastic strip: 5/16” W x 11” L (I cut mine from plastic page protectors, using a straight blade trimmer. Trim off excess length as needed). NOTE: The width of the strip is dependent on the size of the slots it will be threaded through. In this case, I borrowed the slot die from the Parcel Die Box to create my slots.

    5/16”??? Hey, it’s really not rocket science—it’s that notch between 1/4” and 3/8” on the ruler. (wink)

push-pull-interactive-001-B.JPG

If you don’t have a 3/4” circle punch like I used to make a semi-circle/thumb notch for your slider tab, a small circle die will work. If you don’t have plastic page protectors to make the strip, you might try cutting one from a plastic baggie.

Wishing you and yours continued good health!


SUPPLIES:

When you purchase via my affiliate links, I receive a small commission, at no extra cost to you. Thank you for supporting small businesses like myself and Ellen Hutson LLC ! It means the world!

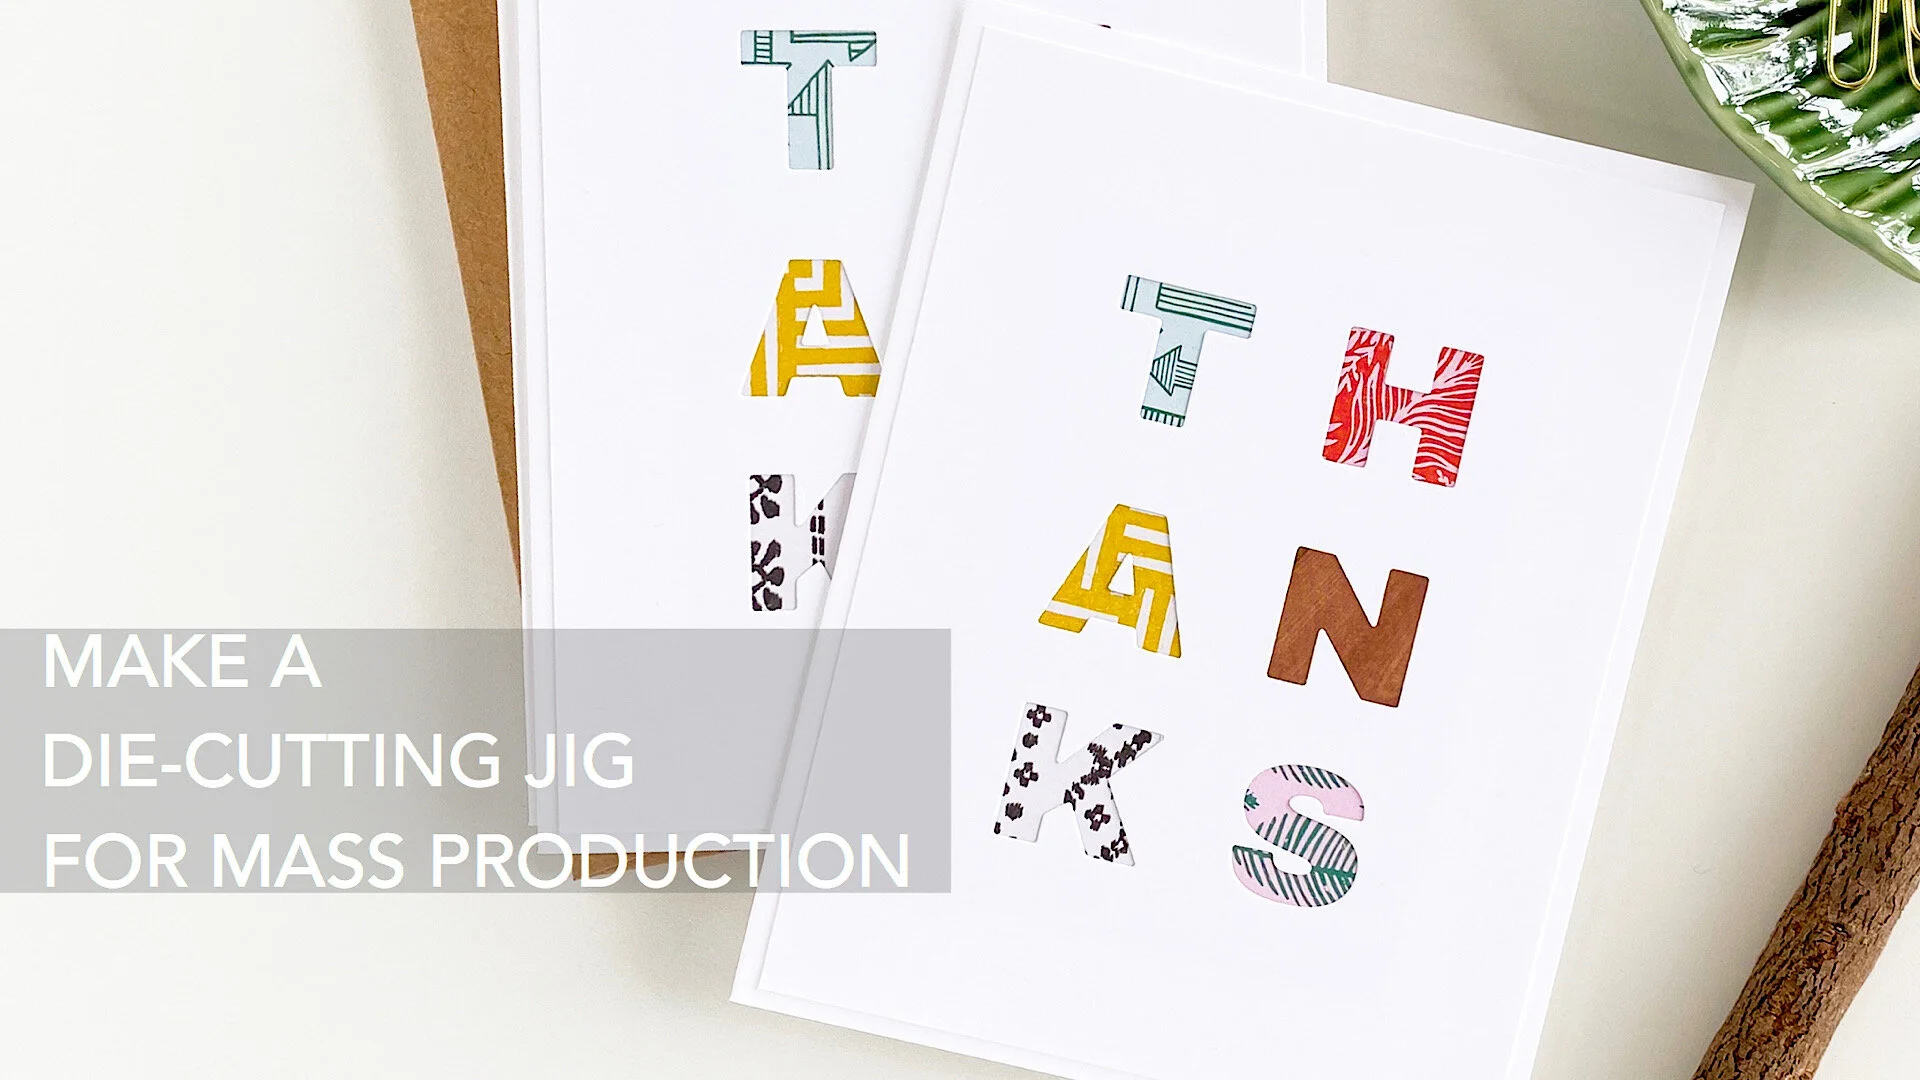
DIE CUTTING JIG FOR MASS PRODUCTION

faux-letterpress-thanks-001-01.JPG

Saw a boxed set of letterpress cards that made me swoon; voices in my head started jabbering. Had to come home and make it real.

Please note: if I weren’t a crafty gal, I’d have bought these in the blink of an eye. Seriously.

First method used was utterly, painfully slow . . .

Had a flash of brilliance. Filmed it. ↓

Felt smugly genius.

faux-letterpress-thanks-001-02.JPG

And, if you figured something similar out already, do me a favor:

Keep it to yourself and allow me my delusions.

•hair flip•

Have a nice day!


SUPPLIES:

Affiliate links are included in this post; if you purchase via my links, it will not cost anything extra and I receive a small commission. Thank you ever so muchly for your kind support!

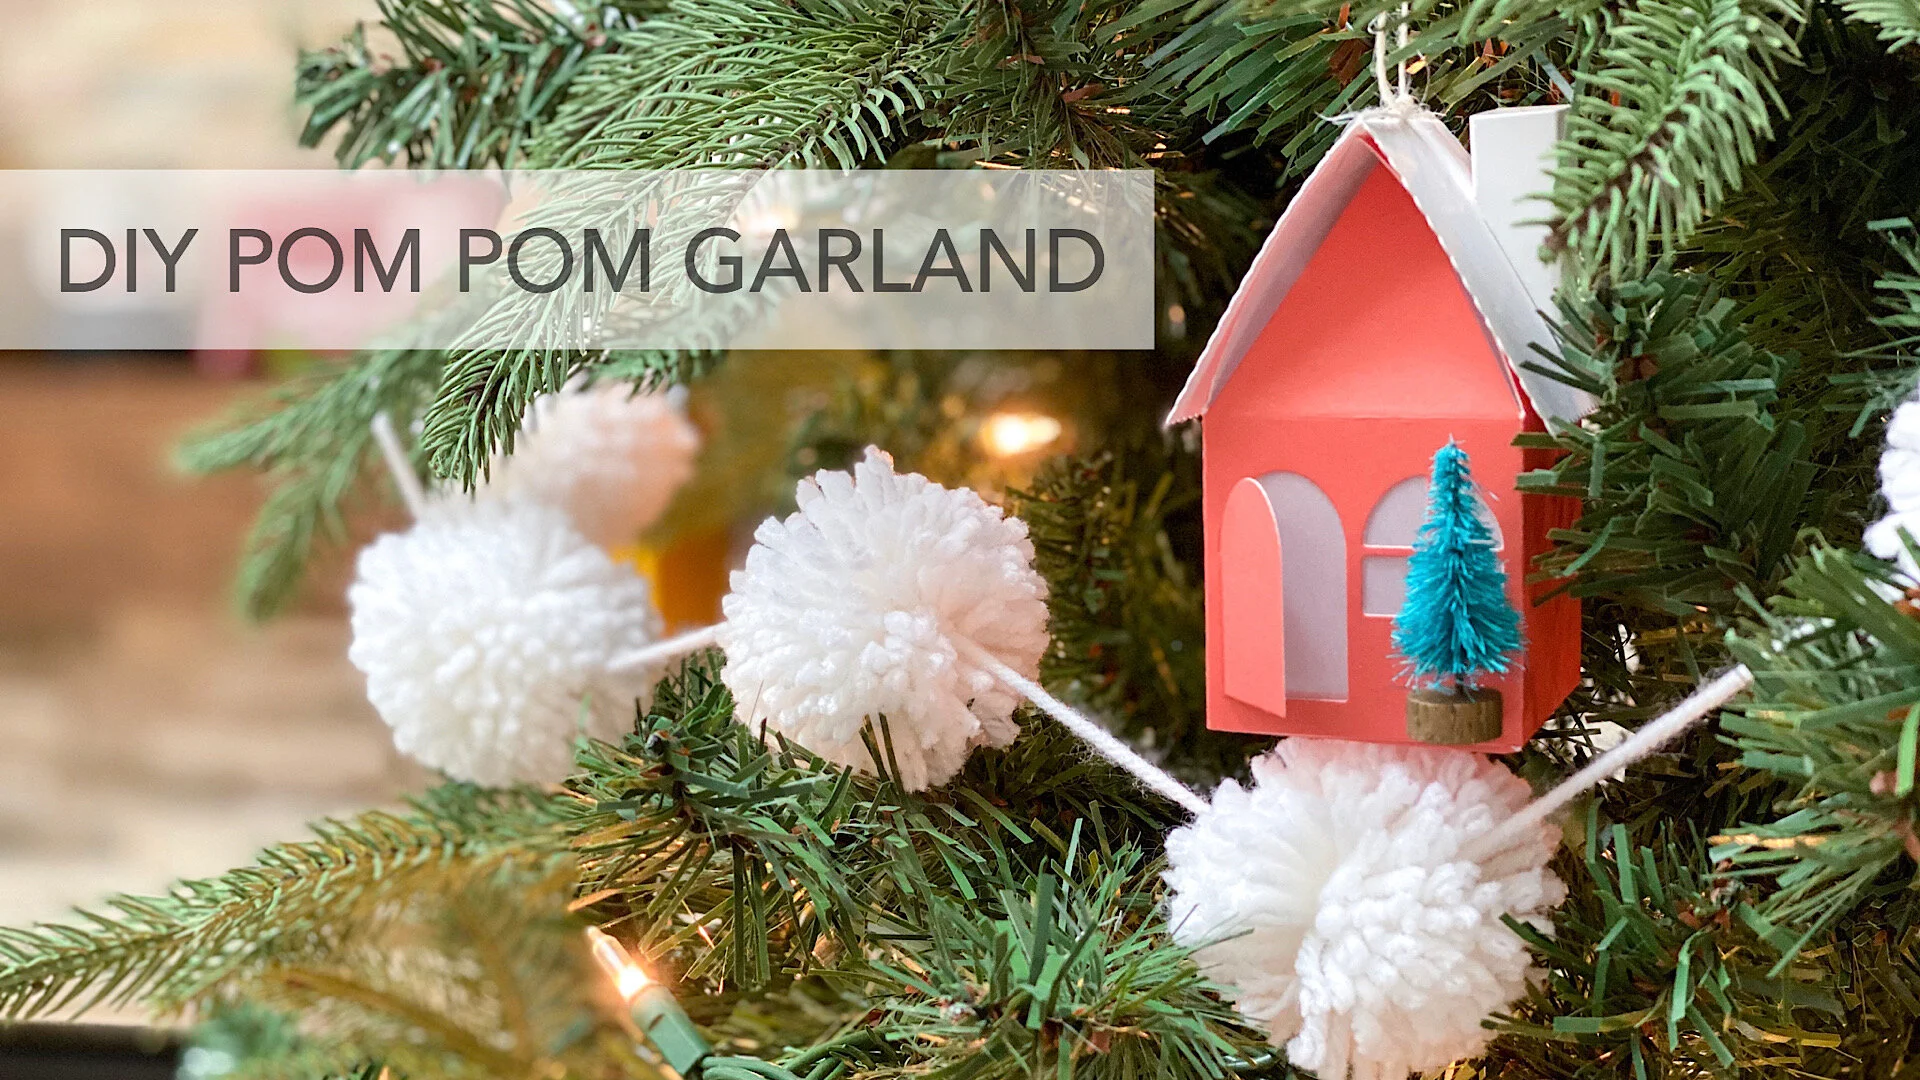
DIY POM POM GARLAND

diy-pompomgarland-001-01.JPG

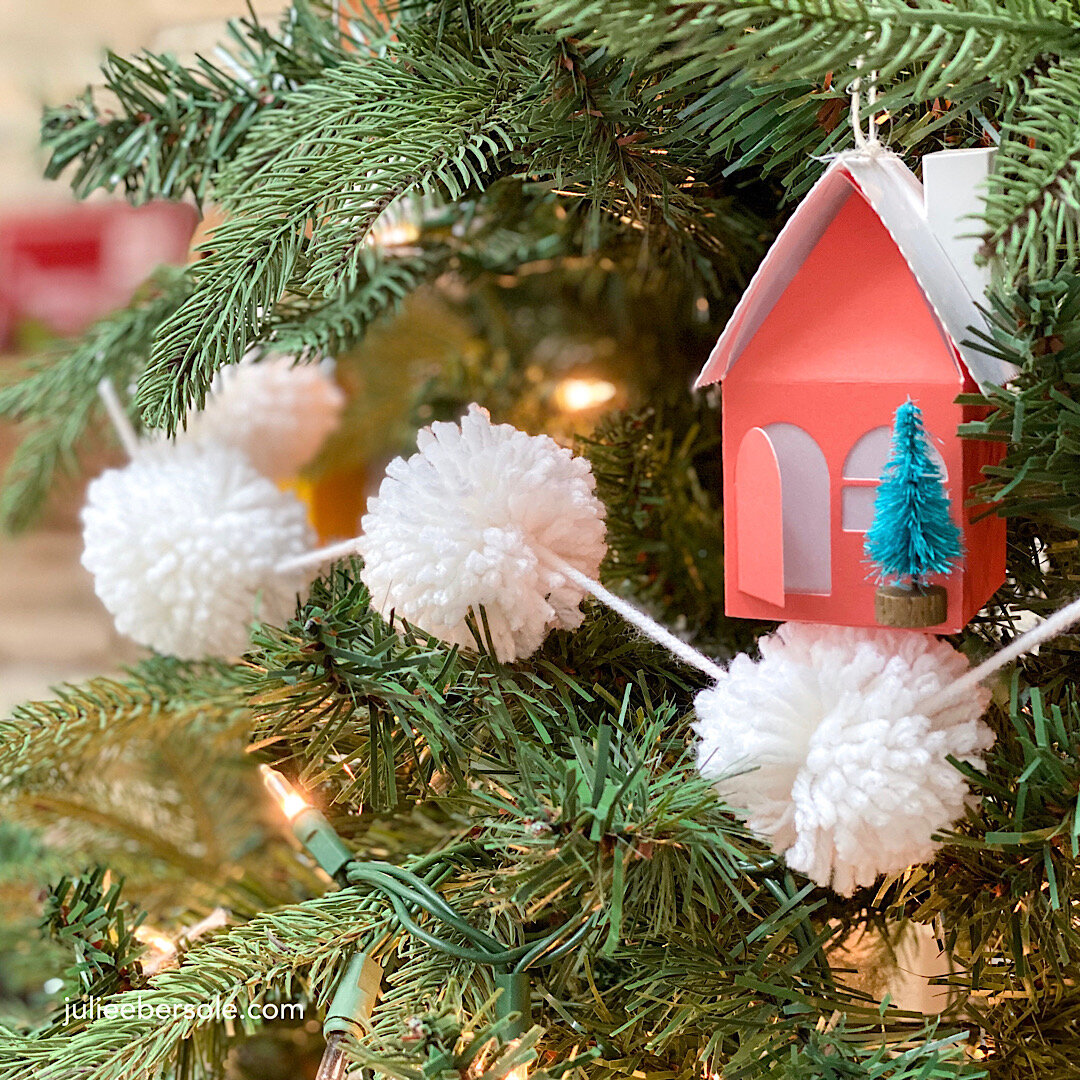
I love pom poms. And I’ve wanted a pom pom garland for my Christmas tree for the longest time, but the cost of those beautiful handmade garlands always stopped me in my tracks; a single 6’ garland can run $35 +/- and upwards. My tree is 7.5’ . . . based on the size, I would need somewhere between 30 and 36’ of garland to wrap around it . . . You do the math . . . Seriously, I just couldn’t bring myself to spend that much on a garland, alone, for my tree.

Part of my plan, of course, involves some weebles (a.k.a. grandbabies); I really REALLY wanted my tree to be entirely child friendly—no wild shrieking “DON’T TOUCH!!!” out of the adults. And no worries about broken glass from fragile collectible ornaments and possible boo-boos.

diy-pompomgarland-001-02.JPG

I hit the craft store and purchased a 1 pound skein of yarn (Caron brand, white). Pulled out my pom pom makers, and got BUSY! If you’ve never made your own pom poms, I gotta say, they’re easy, fun, and a great way to decompress/alleviate stress! AND, you can watch your favorite TV shows while you’re pumpin’ out the poms! I wasn’t able to edit and share this before the holiday, BUT, I now have a quick video tutorial for those of you who have not yet been introduced to the ways of pom pom makers—you’ll be ahead of the game for next year’s tree, OR, there are lots of other things you can make with pom poms . . . (I’m collecting ideas HERE on Pinterest).

I used very nearly the entire pound of yarn to make two 12’ and two 6’ garlands for my tree.

LINK: How-to video for the little paper house ornaments featuring dies I designed is HERE.

LINK: How-to video for the little paper house ornaments featuring dies I designed is HERE.

I’m so happy with how it turned out!

Hope you had a Merry Christmas and I wish you an amazing 2020!

My joy. ❤️

My joy. ❤️


SUPPLIES: