glitter

SUPER SPARKLY HEAT EMBOSSING

2020-10-05 18.34.08.jpg

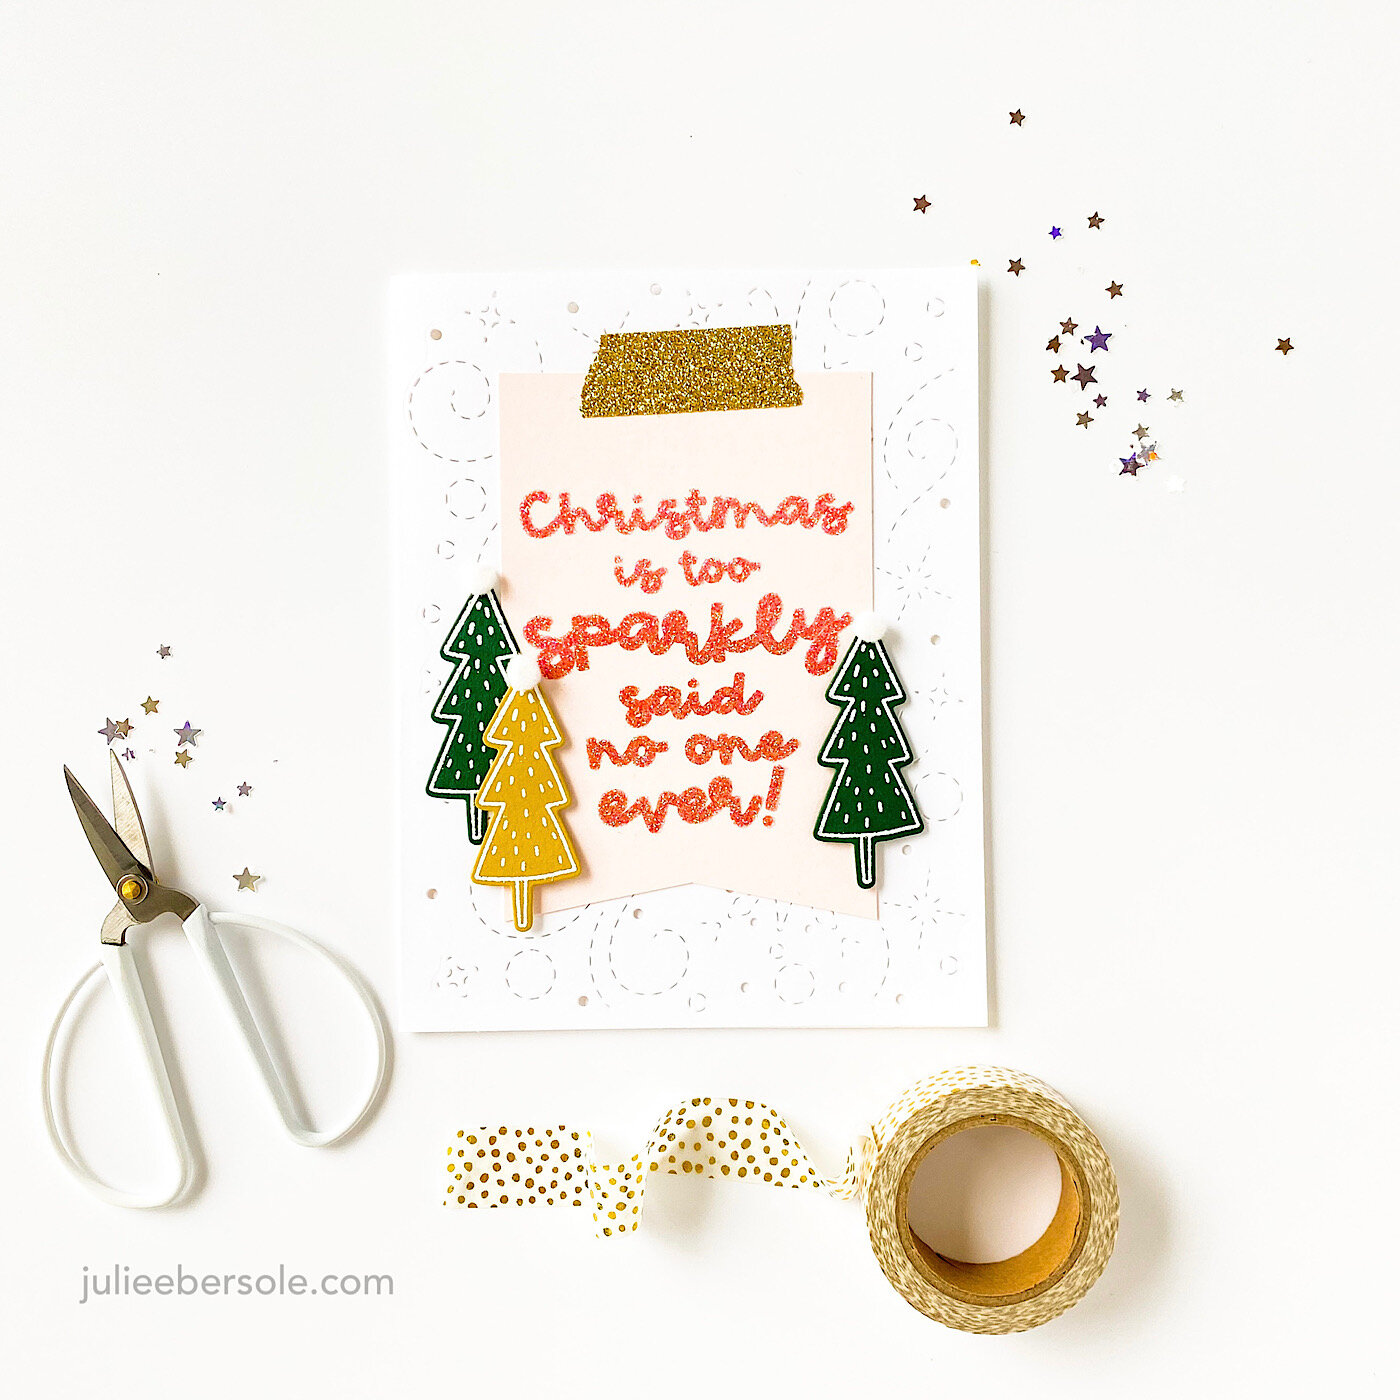
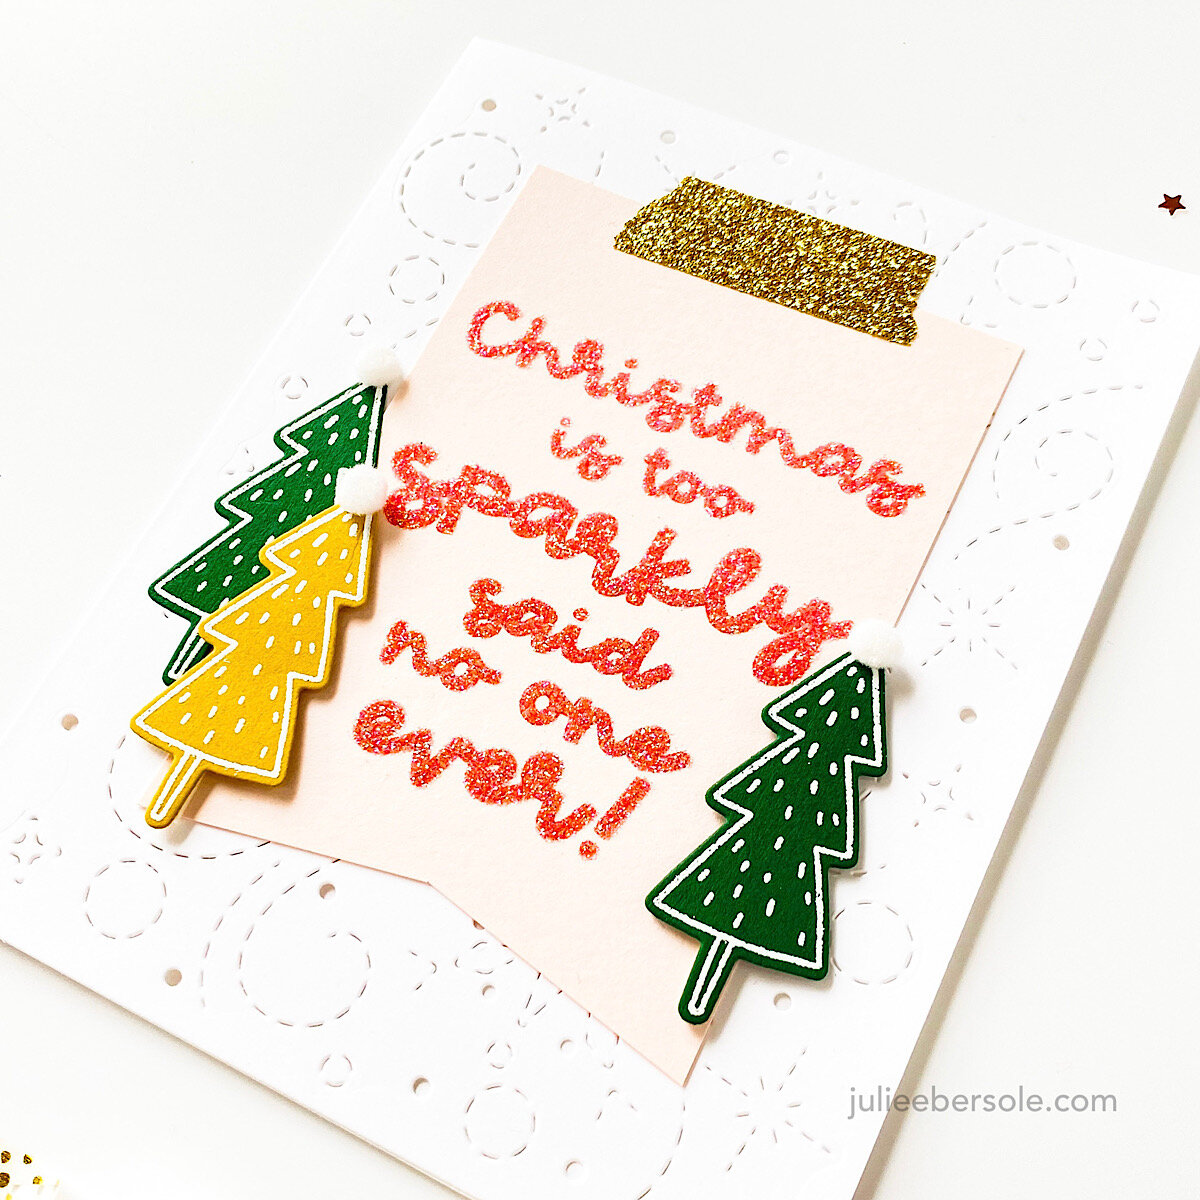
Can you use just “glitter embossing powder”—you know, the kind with the glitter built right in? Sure! It works! But, what if you want a “luxe” glitter effect? Oh, man, nothing beats Sticky Stuff + glitter and in my opinion? Totally worth that extra step!

2020-10-05 18.34.51.jpg

I’ve used Sticky Stuff for well over a decade; I like the grind and how it’s always beens super reliable for me. Yes, there are other similar sticky embossing powders out there, but I always come back to this one for the best sticky experience. LOL!

Hope you are doing well and getting some holiday crafty time in! Stay safe and healthy!

TIPS:

  • Use a well-inked embossing pad so this specialty embossing powder really sticks.

  • Pre-heat your embossing tool for at least 30 seconds.

  • Watch carefully as you apply the heat; once the powder turns “wet” looking, move on to the next area; do not overheat or it will cause the embossing powder to cure/harden. When properly heated, you can let it cool and touch it with your finger tip to feel that it is tacky. If it’s “hard”, you overheated and nothing will stick to it.

  • After applying the glitter, “lock” it in (cure the embossing powder) by reheating with powder from the back side and around the front; this will cause the powder to harden and trap the glitter to it.

  • Glitter not your thing? Try ground coffee, sand, flock powder, transfer foils . . .


RESCUE A CLEAN AND SIMPLE CARD

feat. MERRY LITTLE CHRISTMAS / ALPINE SNOWFALL DIE

feat. MERRY LITTLE CHRISTMAS / ALPINE SNOWFALL DIE

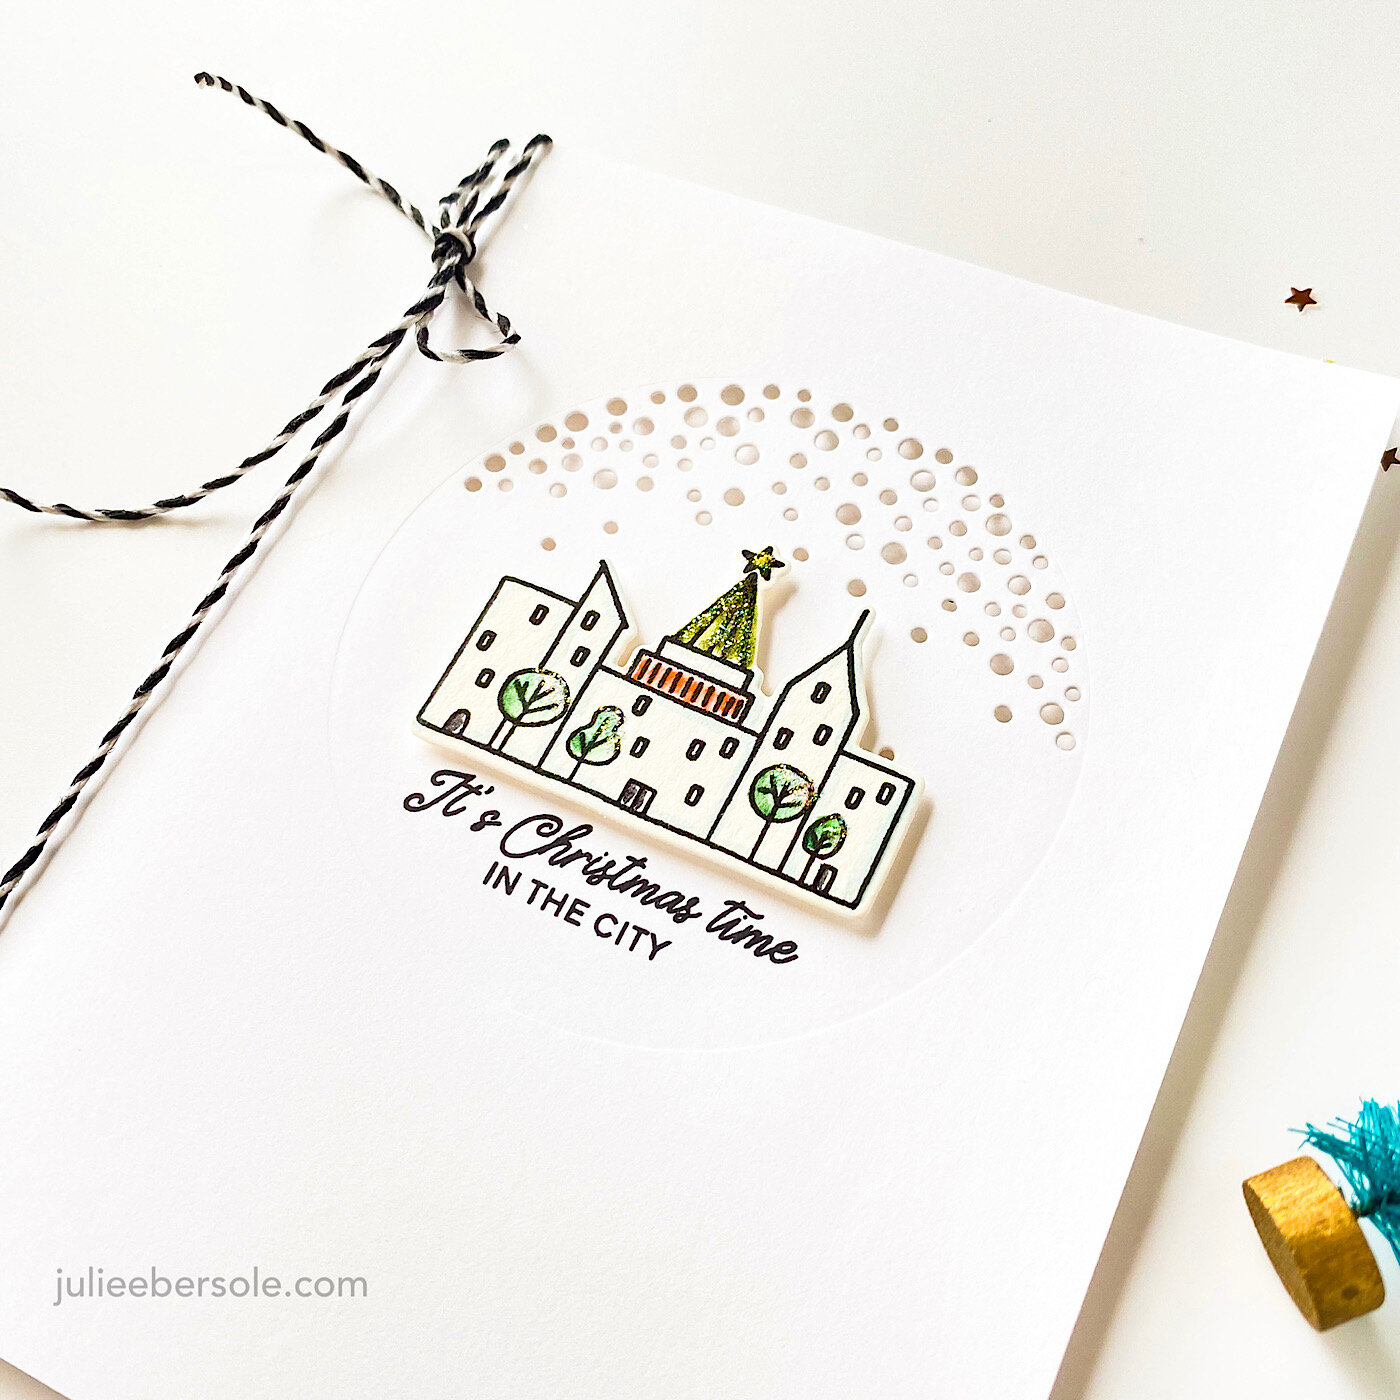
There’s nothing more annoying than a random ink smudge on a card—even more so when the design features a lot of beautiful, clean, white space . . . GAAAAH!!! Sometimes, it’s bad . . . so bad . . . and other times, you can salvage it. Just before frisbee-ing (is that a word?) into the circular file, I figured a Hail Mary might save it . . .

One of the best.expenditures.ever.

2020-10-05 18.36.08.jpg

What are your favorite “little” things for dressing up your cards?

BTW, I voted today and am super thankful for WA state’s long-established mail-in ballot system.

Hope you are staying safe, healthy and hopefully, crafty when time permits!


TIPS FOR THE DAY:

  • A sand eraser can work pretty well with dyed card stock, rather than printed or “white core” card stock, which is why dyed is my preferred.

  • Seriously etched cutting plates/pads will transfer those marks to the inside of your card; not a good look. You can reduce or even eliminate this by laying down some typing paper between the card and the plate before running the project through your die cutting machine.

  • Need to kick your project up a notch? Stickles and Twine (or cord) are two staples in my craft supplies that I can always rely on for that little extra sumpin’-sumpin’.


HOW TO MAKE A FULL GLITTER PANEL

If you could see how much this sparkles IRL, you would ooh and aaaaahh. Seriously.

Oh, and I do have a few extra tips that I’ve included (towards the end of my post) that I didn’t actually think to mention in the video at the time of recording, so you may want to check those out, too.

Deer-antlers-2.jpg

This is really a simple card, but it looks a LOT more complex. And, the “full-on glitter” always seems to dazzle peeps! I’m sure it also shocked anyone that knows me that I would actually let my hands get glitter all over them. Now, in all honesty, I really do hate getting stuff on my hands like this, BUT, this is one of the few end results that I will actually tolerate getting a little messy over.

And, if I can do this, you can do this. Well, I should say, “most of you”; I do have one stamping friend who cannot abide loose glitter and she would refuse.

FULL-ON GLITTER PANEL TIPS:

  • Stamp images with a fast-drying dye ink; pigment ink takes a long time to dry completely and sheet adhesive (double-sided sticky tapes, tape runners, etc.) will not stick to any surface that has wet ink.

  • Bold images tend to show through the glitter better than fine/detail images.

  • If you have a Xyron machine, use that instead of sheet adhesive.

  • A plastic bin large enough to place a card front face down makes this technique much easier and more convenient.

  • Turn OFF your ceiling fan during the “glitter bath” (if you have one); ask me how I know . . .


Merry Days Glitter Stickers

This glittery thing was made using the very same method as I show in this video tutorial on the Ellen Hutson LLC blog HERE. It’s a fun video—’cuz you get to see something I’m rarely willing to do: get stuff on my hands. •insert shocked eyeballs• AAAAAAaaaand, my involuntary shudder is off camera so you don’t have to watch the look on my face while I’m squee-gee-ing (sp?) all that glitter off with my BARE.NEKKED.FINGERS. GAAAAAH!

A viewer very kindly suggested I wear surgical gloves next time. So smart!!! I have tons of those laying around and I dunno why I didn’t think to don them prior to the glitter bath. •smacks forehead•

Incidentally, the card over on the Ellen Hutson blog was the first one I made with that set when I first got it into my hands and the rest were follow-ups/variations.

Don’t they look like puffy glitter stickers?! Don’t get me wrong, I love my foam mounting tape and I use GOBS of it. BUT, just double-layering the die cut shapes + the glitter really does give them great dimension without needing to use the foam tape in this case. •BOOYAH!•

Xyron Sticker Maker + glitter = DAZZLING!

Cheers!