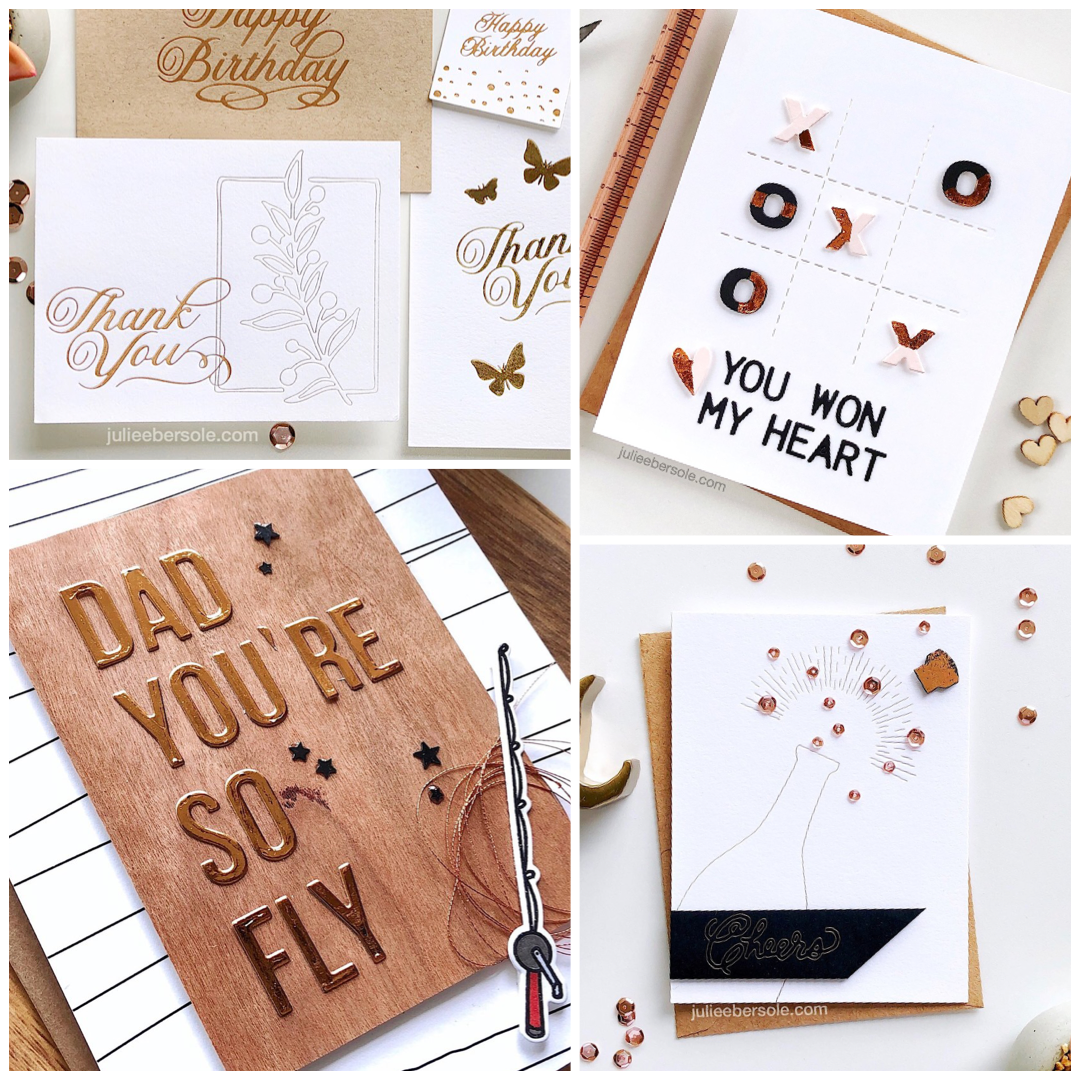
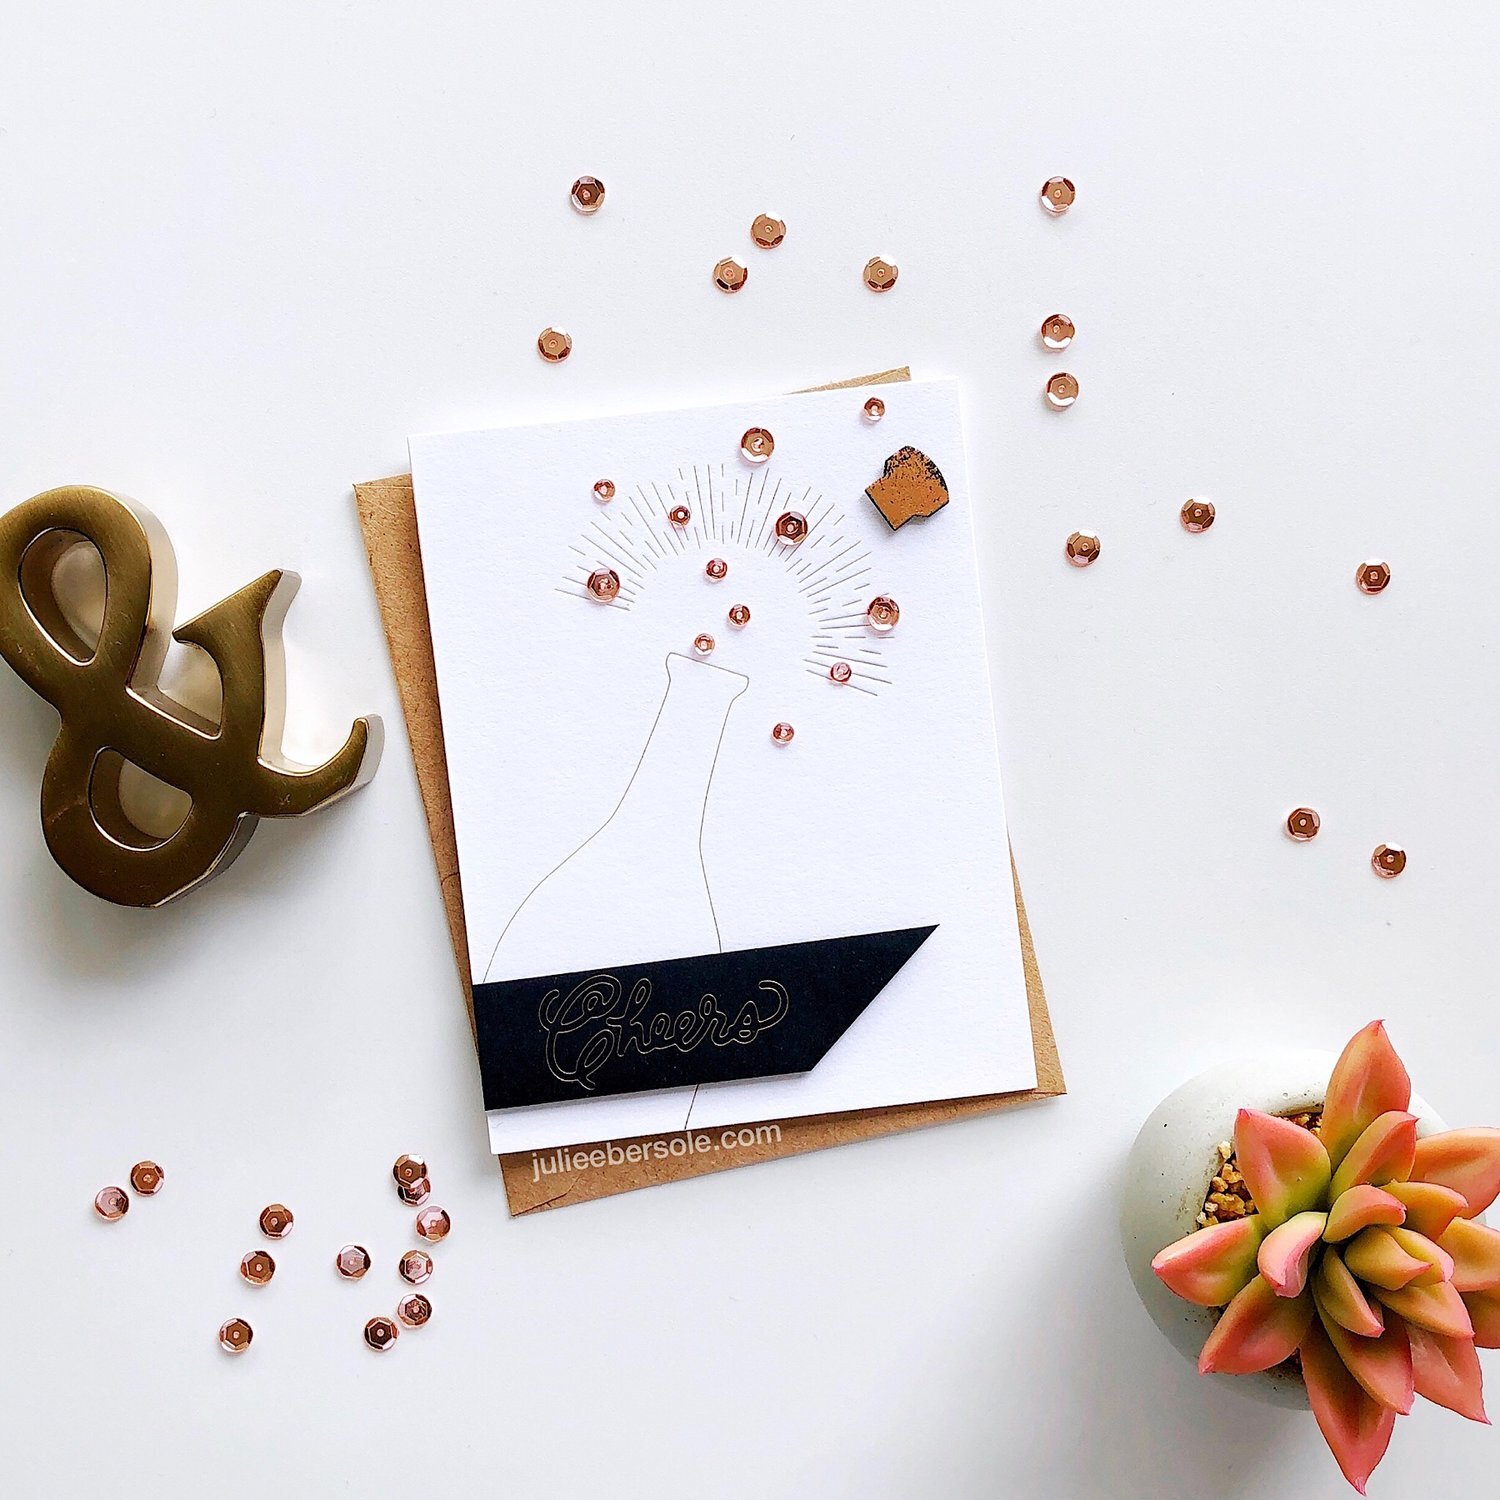
LINK: Gemini Foil Press Cheers
I did a foiling project for the Ellen Hutson blog on Monday (photo and video tutorial link at the bottom of this post), and it reminded me of how much I love the look. Today I’m sharing a round-up of various foiling projects I’ve done over the past year.
Before you scroll down my "foiling memory lane” •chortle•, I did want to mention a few things.
There are many different ways to foil, and a lot depends on the end result you’re looking to achieve and the tools you’d like to use (:
Foil card stock and Foil tapes
Great for quick die cutting, simple borders or layering panels, etc.
Dry adhesives + transfer foils
Sheet adhesives, dimensional adhesives, double-sided sticky tapes, glue dots, two way glues (wait until dry and tacky to the touch), sticky embossing powder are perfect for what is sometimes referred to as “spot foiling”; often used when wanting to foil specific areas but not the whole surface.
Toner images (laser printed) or special toner paper + reactive foils + MINC or heat laminator
Reactive foil brands include Minc (Heidi Swapp), ThermoWeb I-craft Deco Foil, and WOW!, to name a few.
Toner, combined with heat + pressure, causes a chemical reaction that serves as an “adhesive” for reactive foils; reactive foils will not fuse to inkjet printed imagery.
Works best on smooth/non-textured and thinner card stocks/papers.
Fine lines/details may not foil well; reactive foils tend to perform best with bolder images/text.
Hot foil (metal) stamps OR low profile dies + hot foils + Gemini Foil Press / Spellbinders Glimmer Hot Foil System
Hot (stamping) foils are designed to fuse to surfaces by way of heat + pressure (not toner).
Hot foil brands include Crafter’s Companion and Spellbinders Glimmer Foil, to name a few. FYI: Crafter’s Companion produces a “paper craft” foil, and a “multi-surface” foil (i.e. fabric, ribbon, leather, etc.); each is specifically formulated to perform best on their prescribed surfaces.
Hot foils work best with metal “stamps” (also known as foil press dies, hot foil plates, foil impression dies, etc.) as well as low profile dies (Yup! Those thin metal dies you normally cut paper with work spiffy!). Watch any videos I’ve linked for more information and details.
Hot foiling with this method also yields a beautiful de-bossed, Letterpress effect.
Works well with textured card stocks/papers and will knock your fine stationery-loving socks off when done on Letterpress paper.
I own two foiling “systems”, the MINC and the Gemini Foil Press, compatible only with the Gemini Jr / Gemini die cutting machine) and I alternate between them and the other methods I’ve described, depending on the end result I want, and the tools/supplies available to achieve it.
Ogle on . . .
Link: DIY Foiled Letterpress, includes video tutorial and overview of the Gemini Foil Press System.
Link: Spot Foiling
Link: Foiled Die Cuts
Sidebar: I’m gonna straight up confess to you that I’m most partial to the hot foiling method because I am an absolute sucker for Letterpress; gives me the vapors! •heart palps•
Hope these projects inspire and if you find the foiling bug has bitten you, be aware that you can snag 20% savings on in-stock supplies at Ellen Hutson now through January 17th, with code supplies 20 at check out!
Happy foilin’!
Affiliate links are included in this post; if you purchase via my links, it doesn’t cost anything extra and I receive a small commission. Thank you so SO much!


