NEW HOLIDAY 2022 SVGS IN THE SHOP

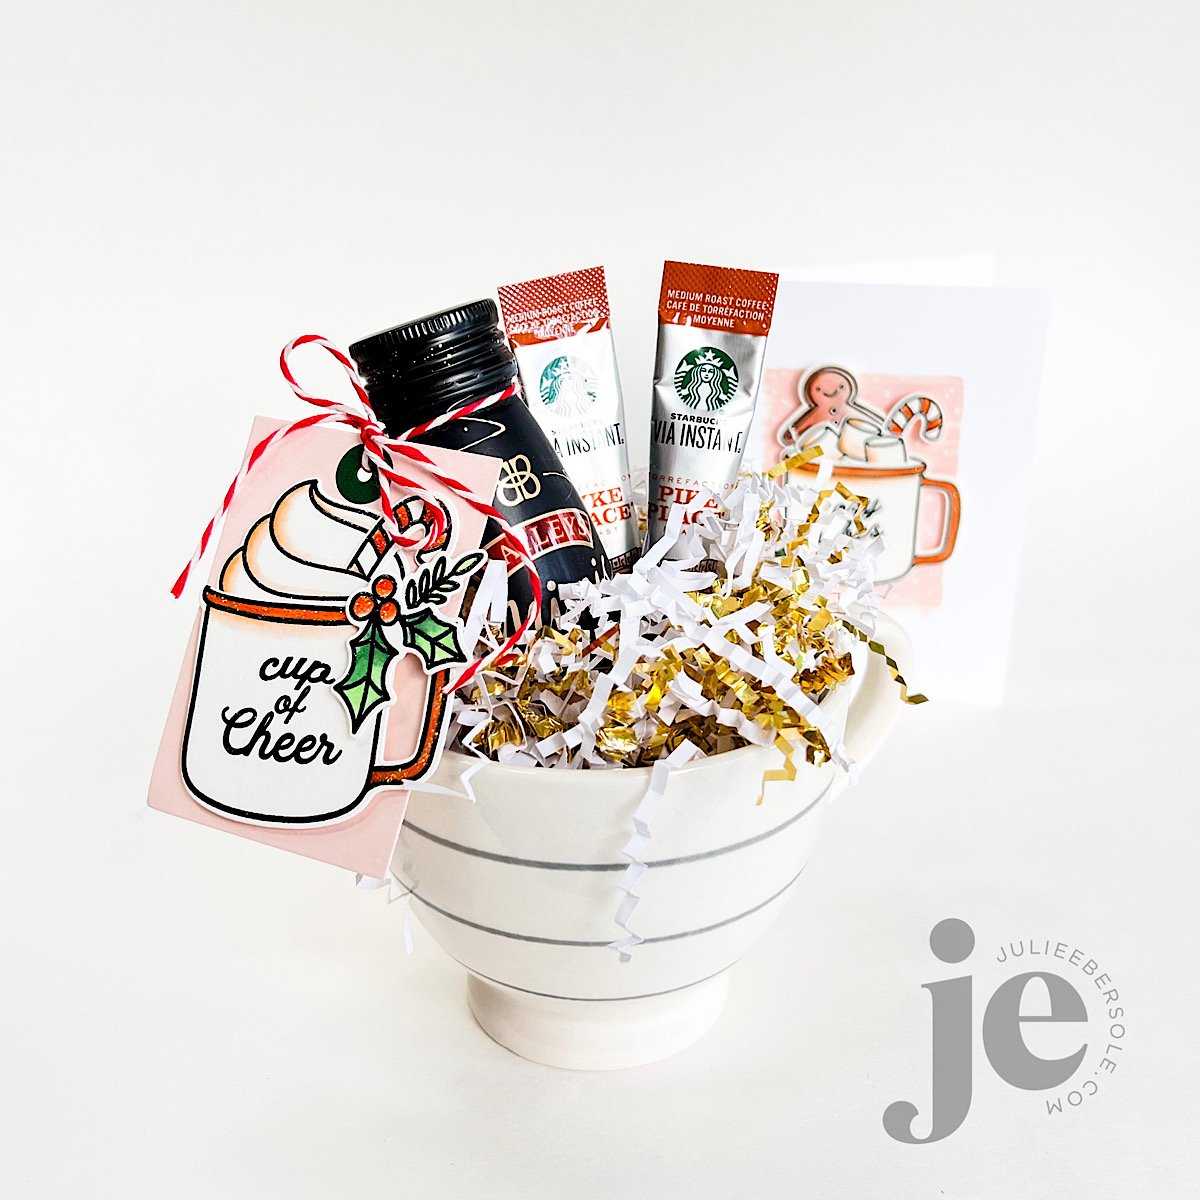
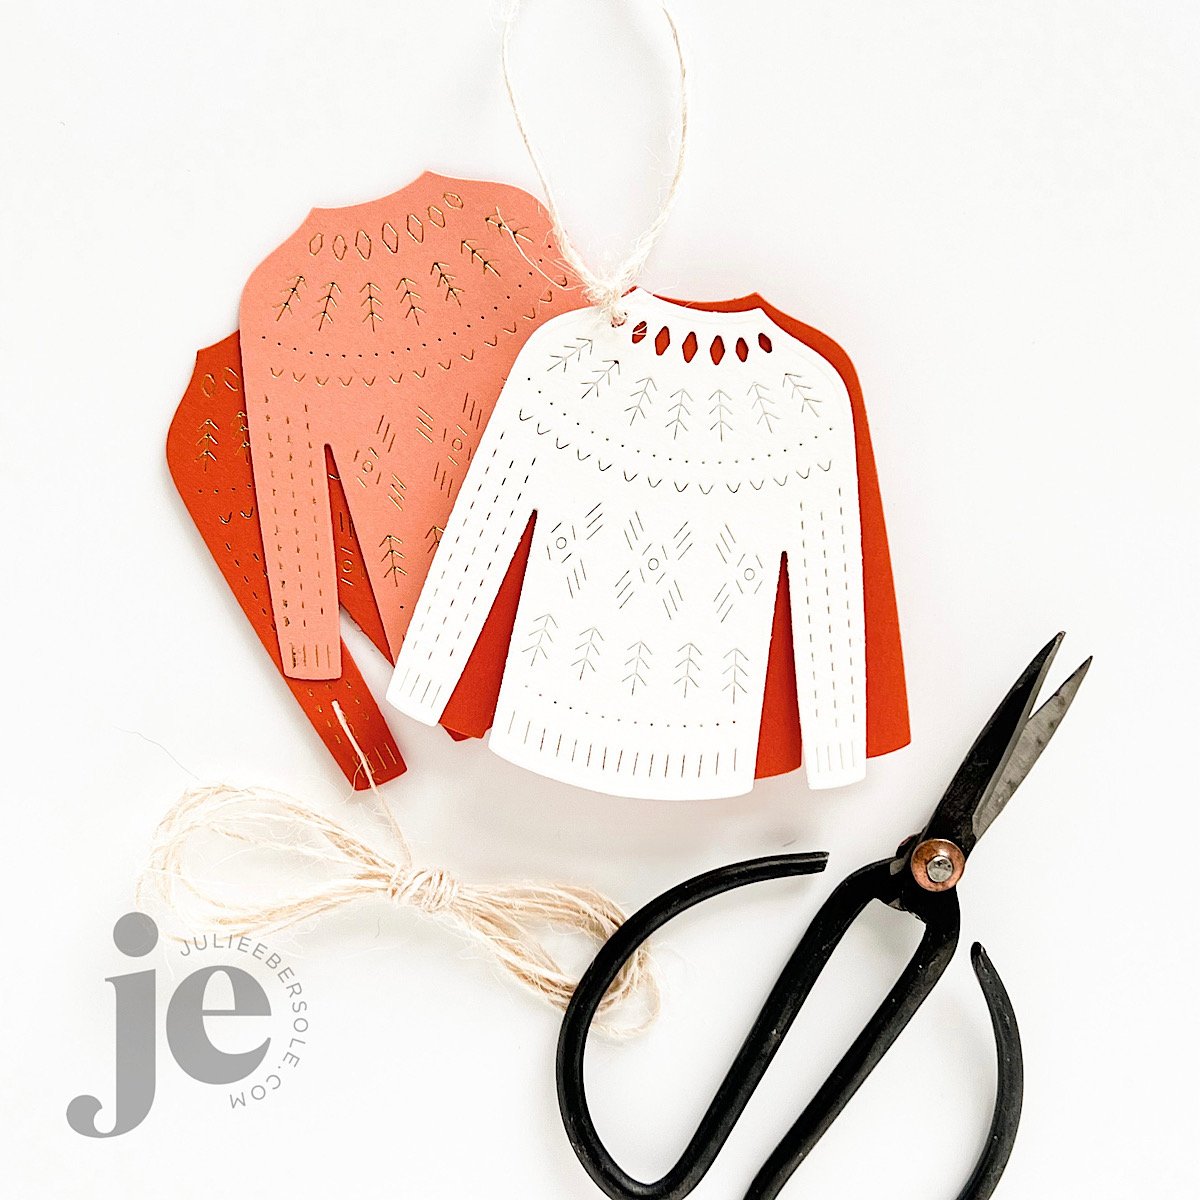
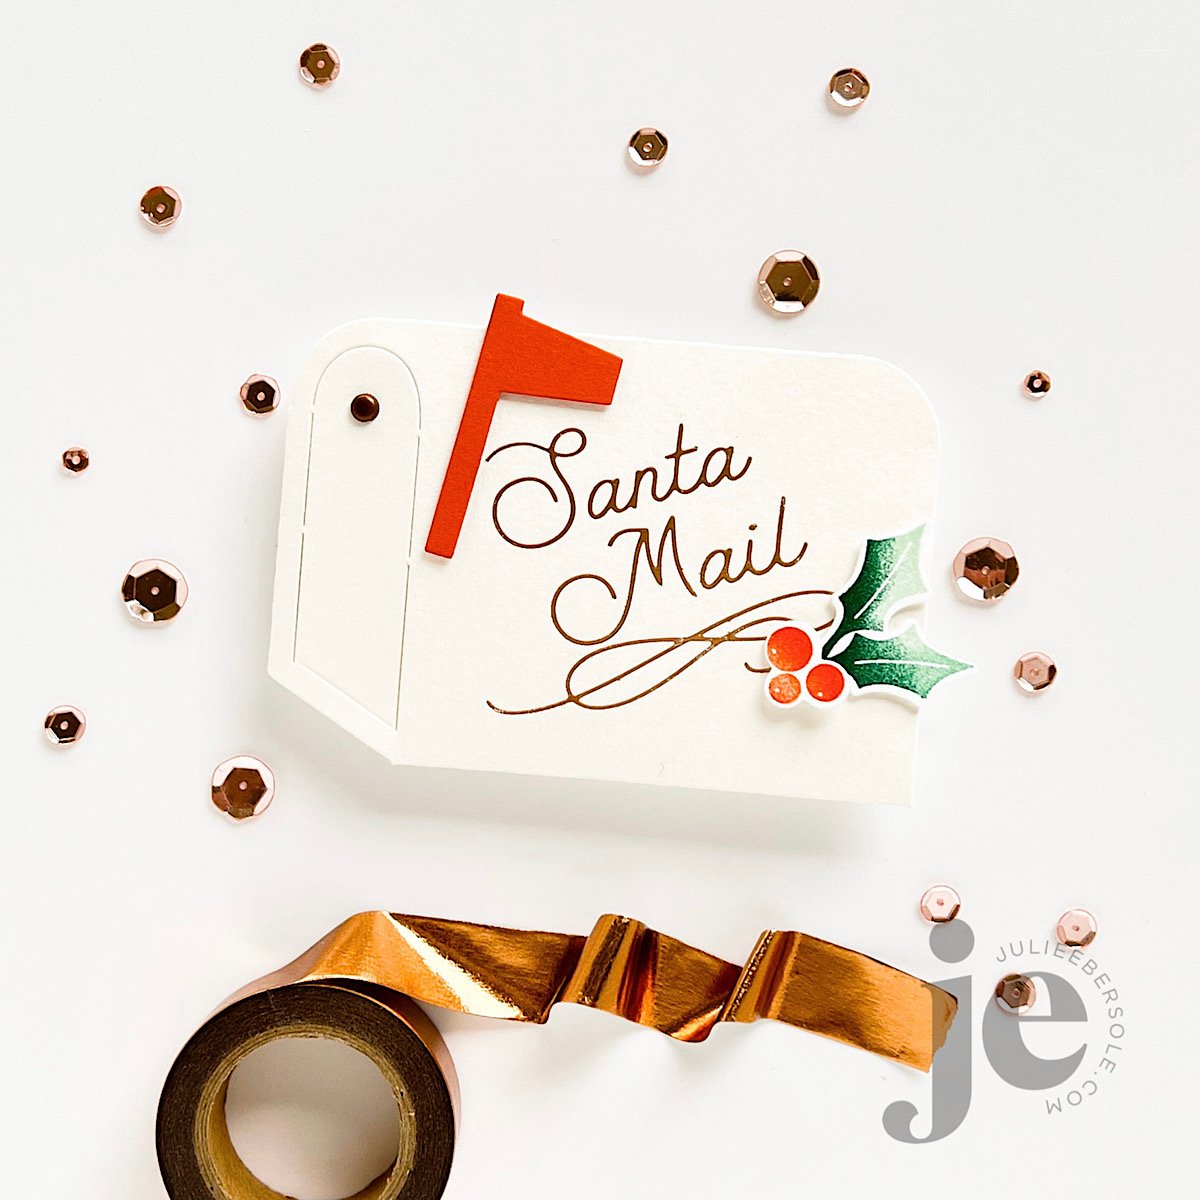
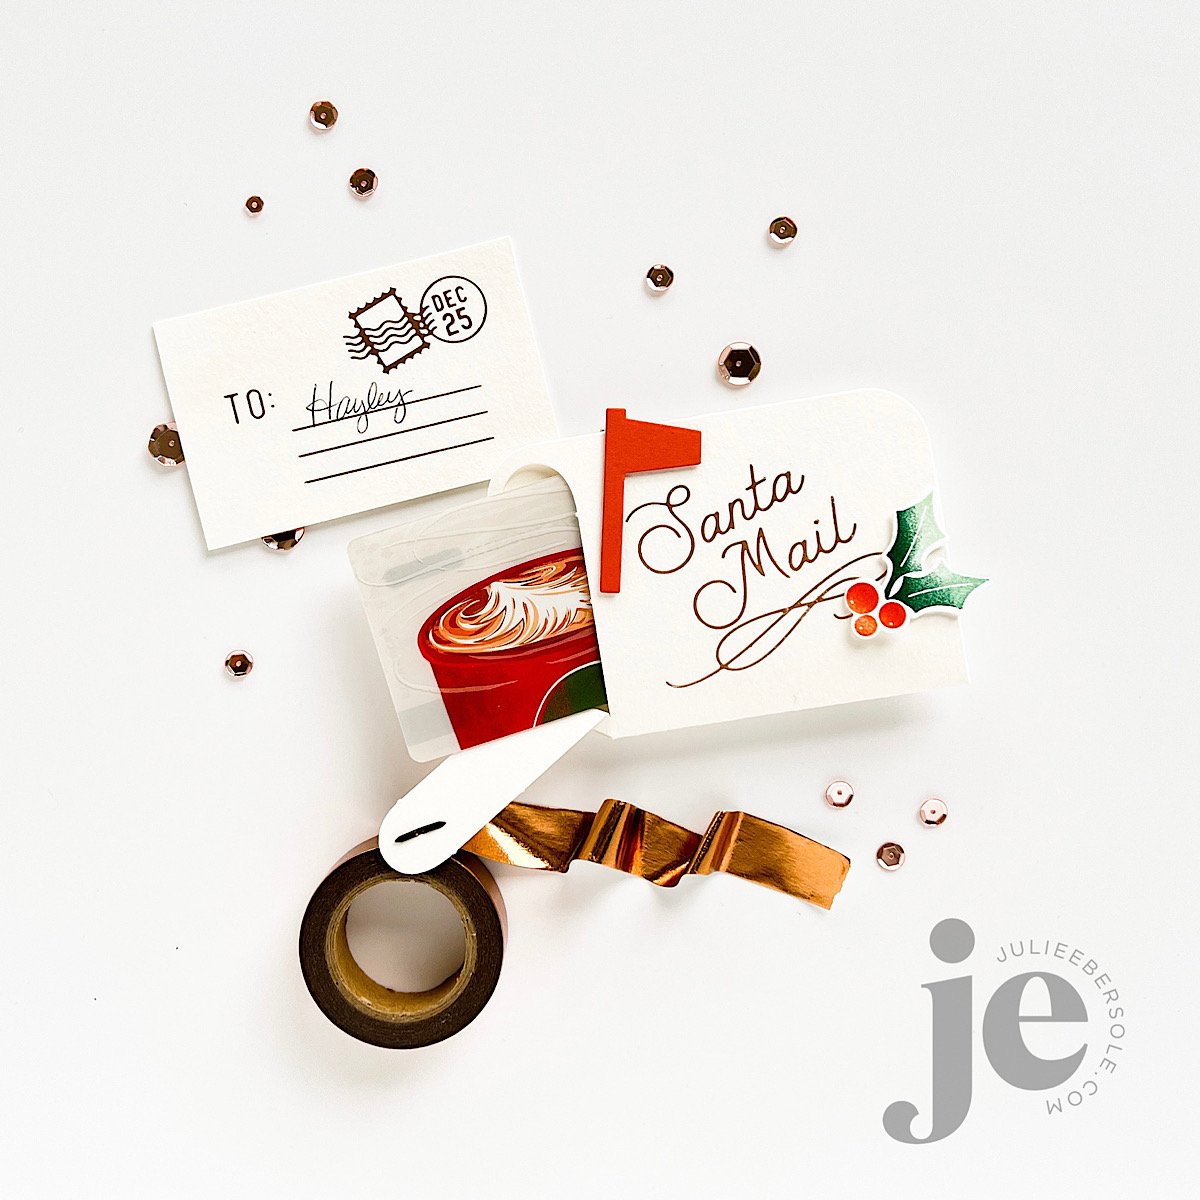
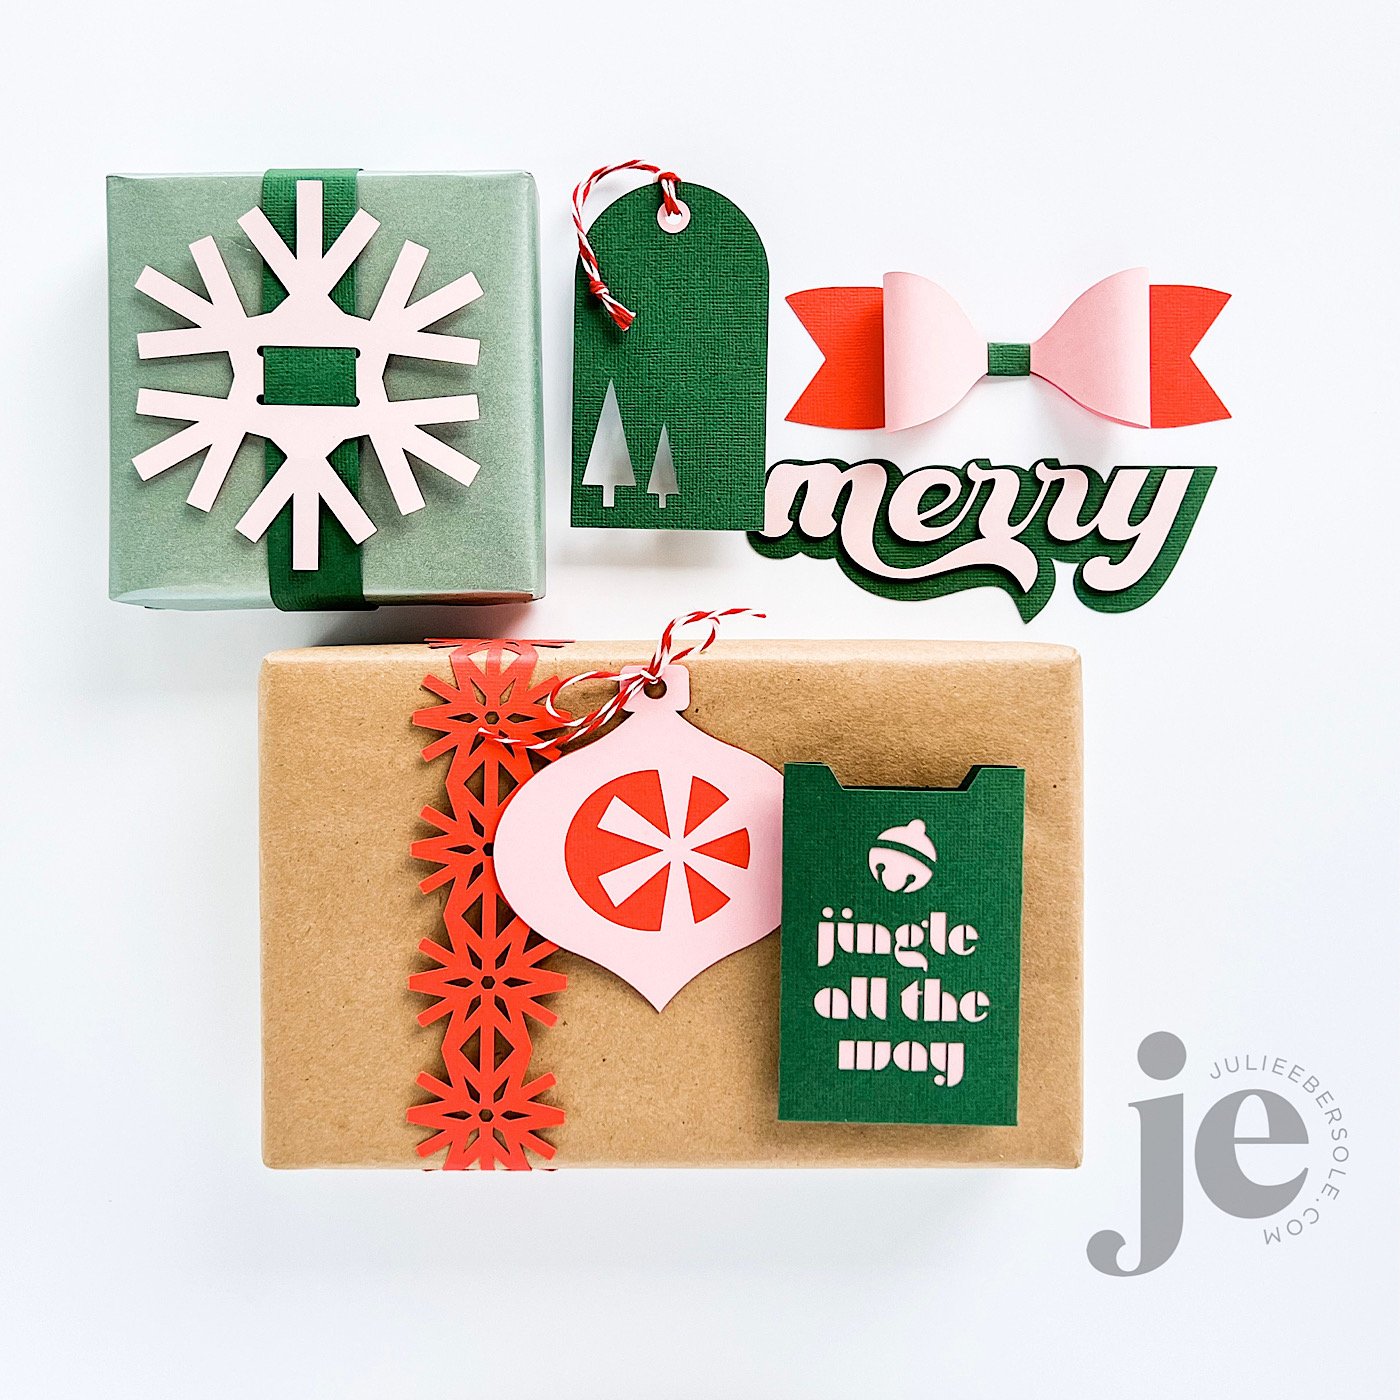
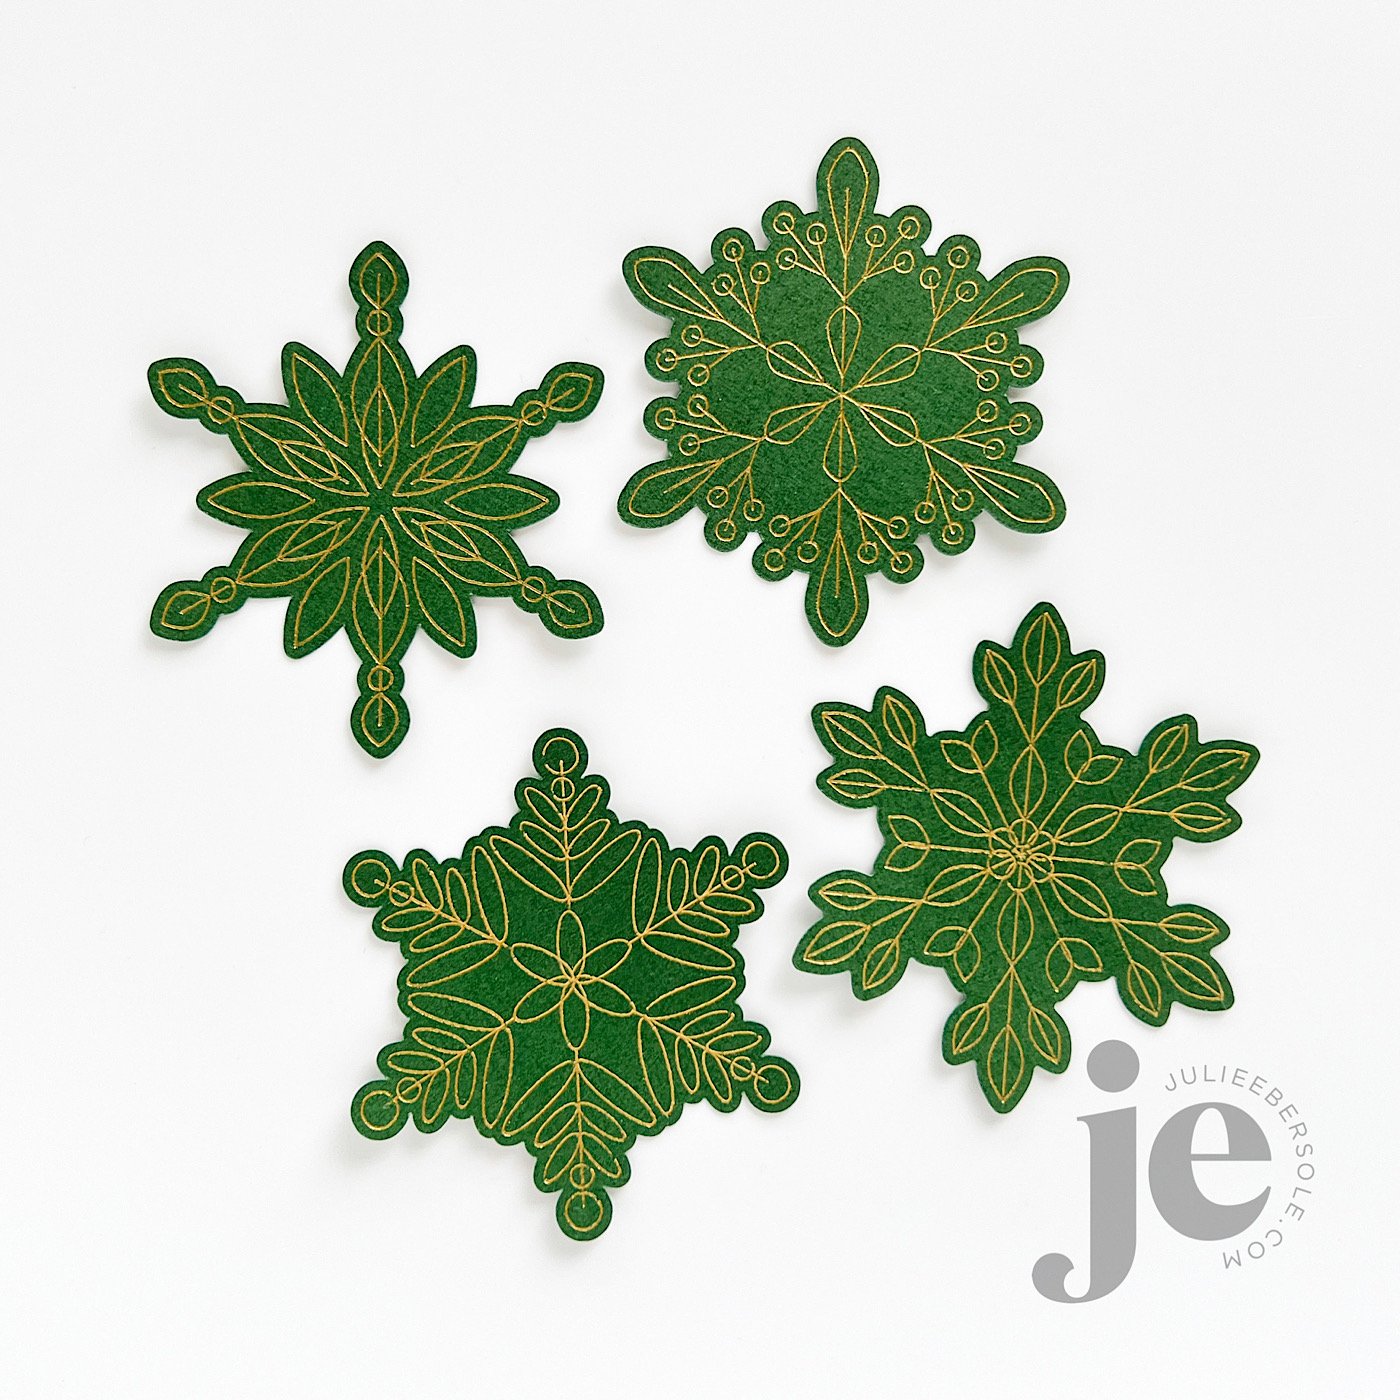
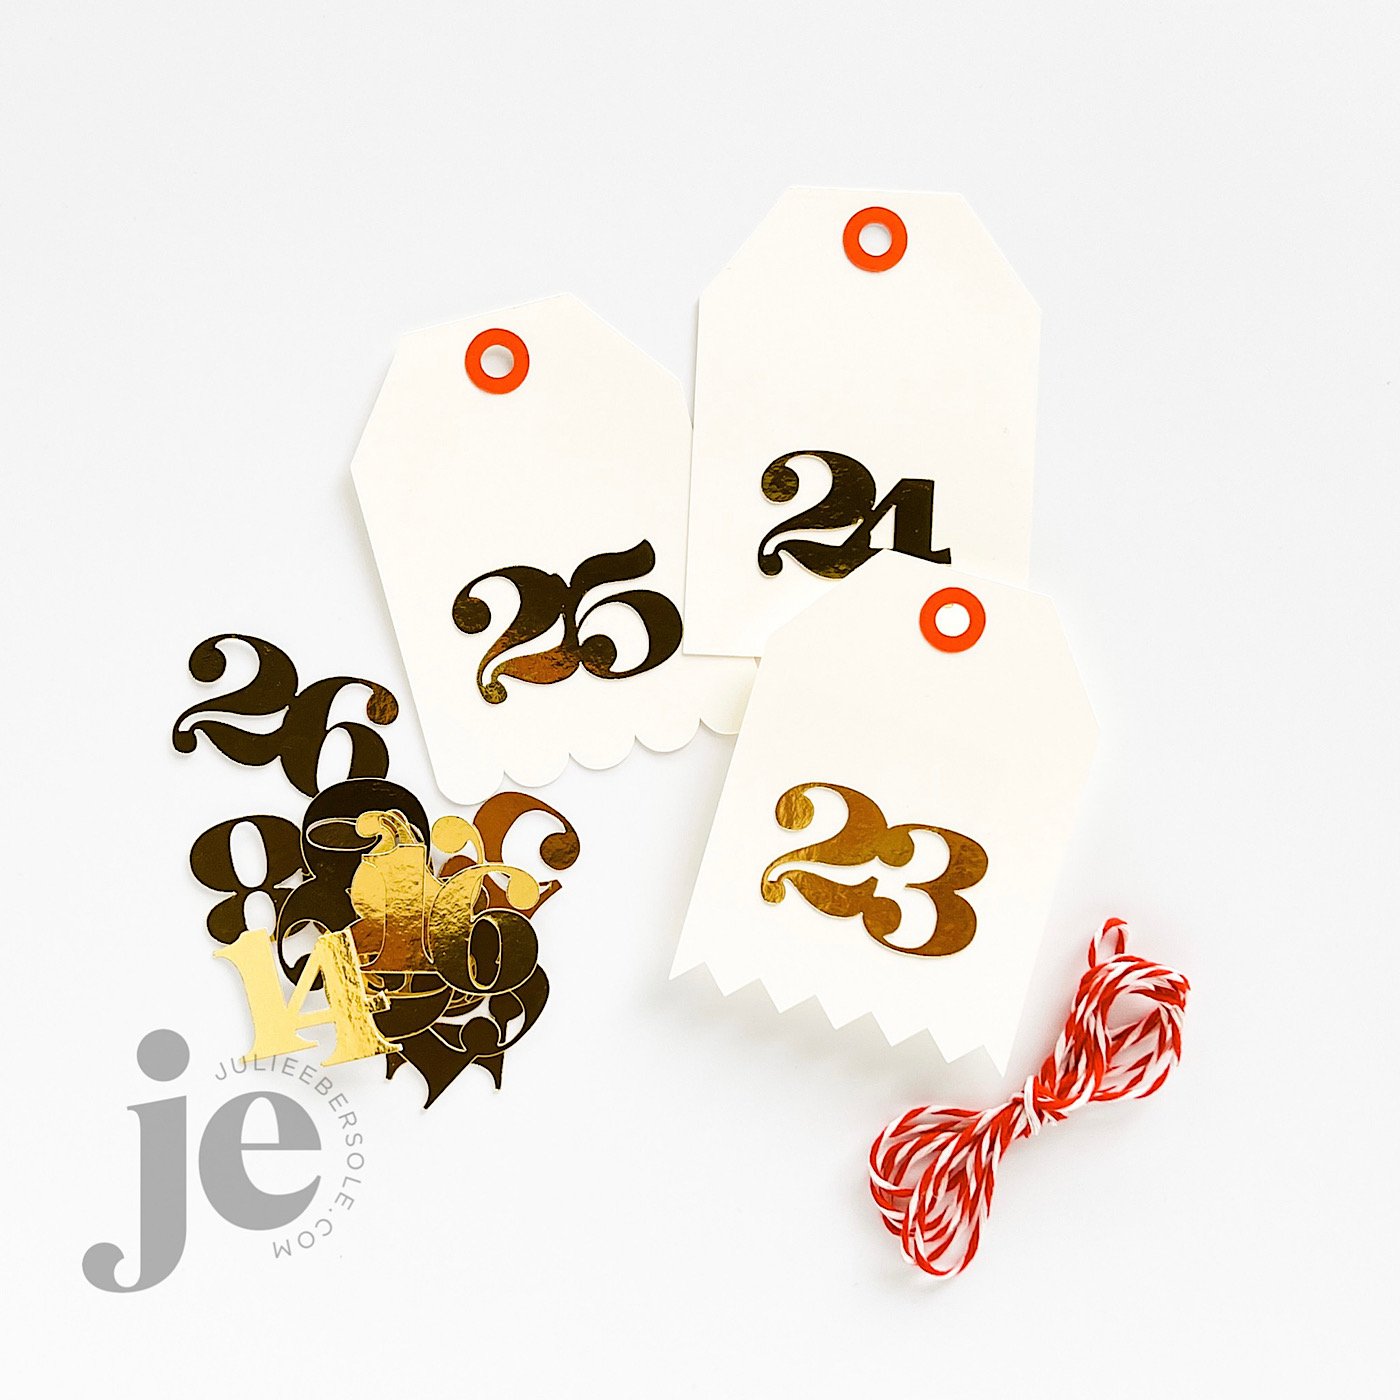
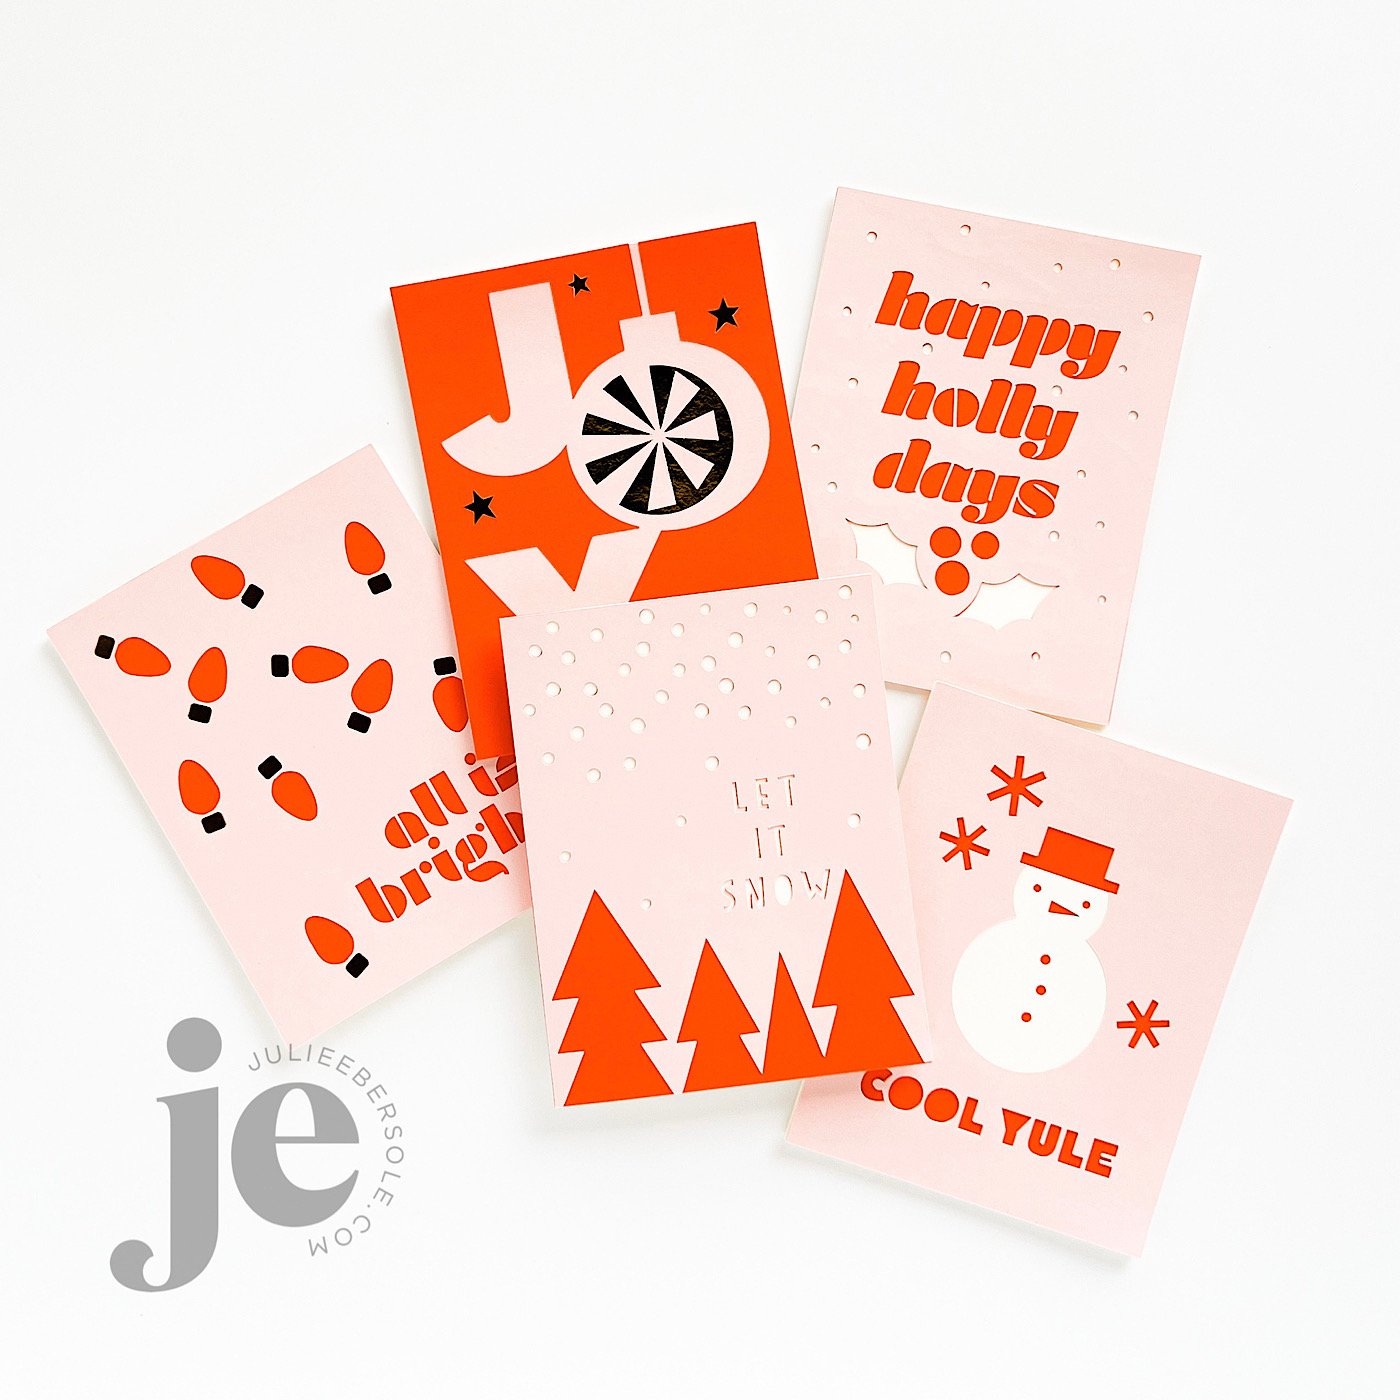
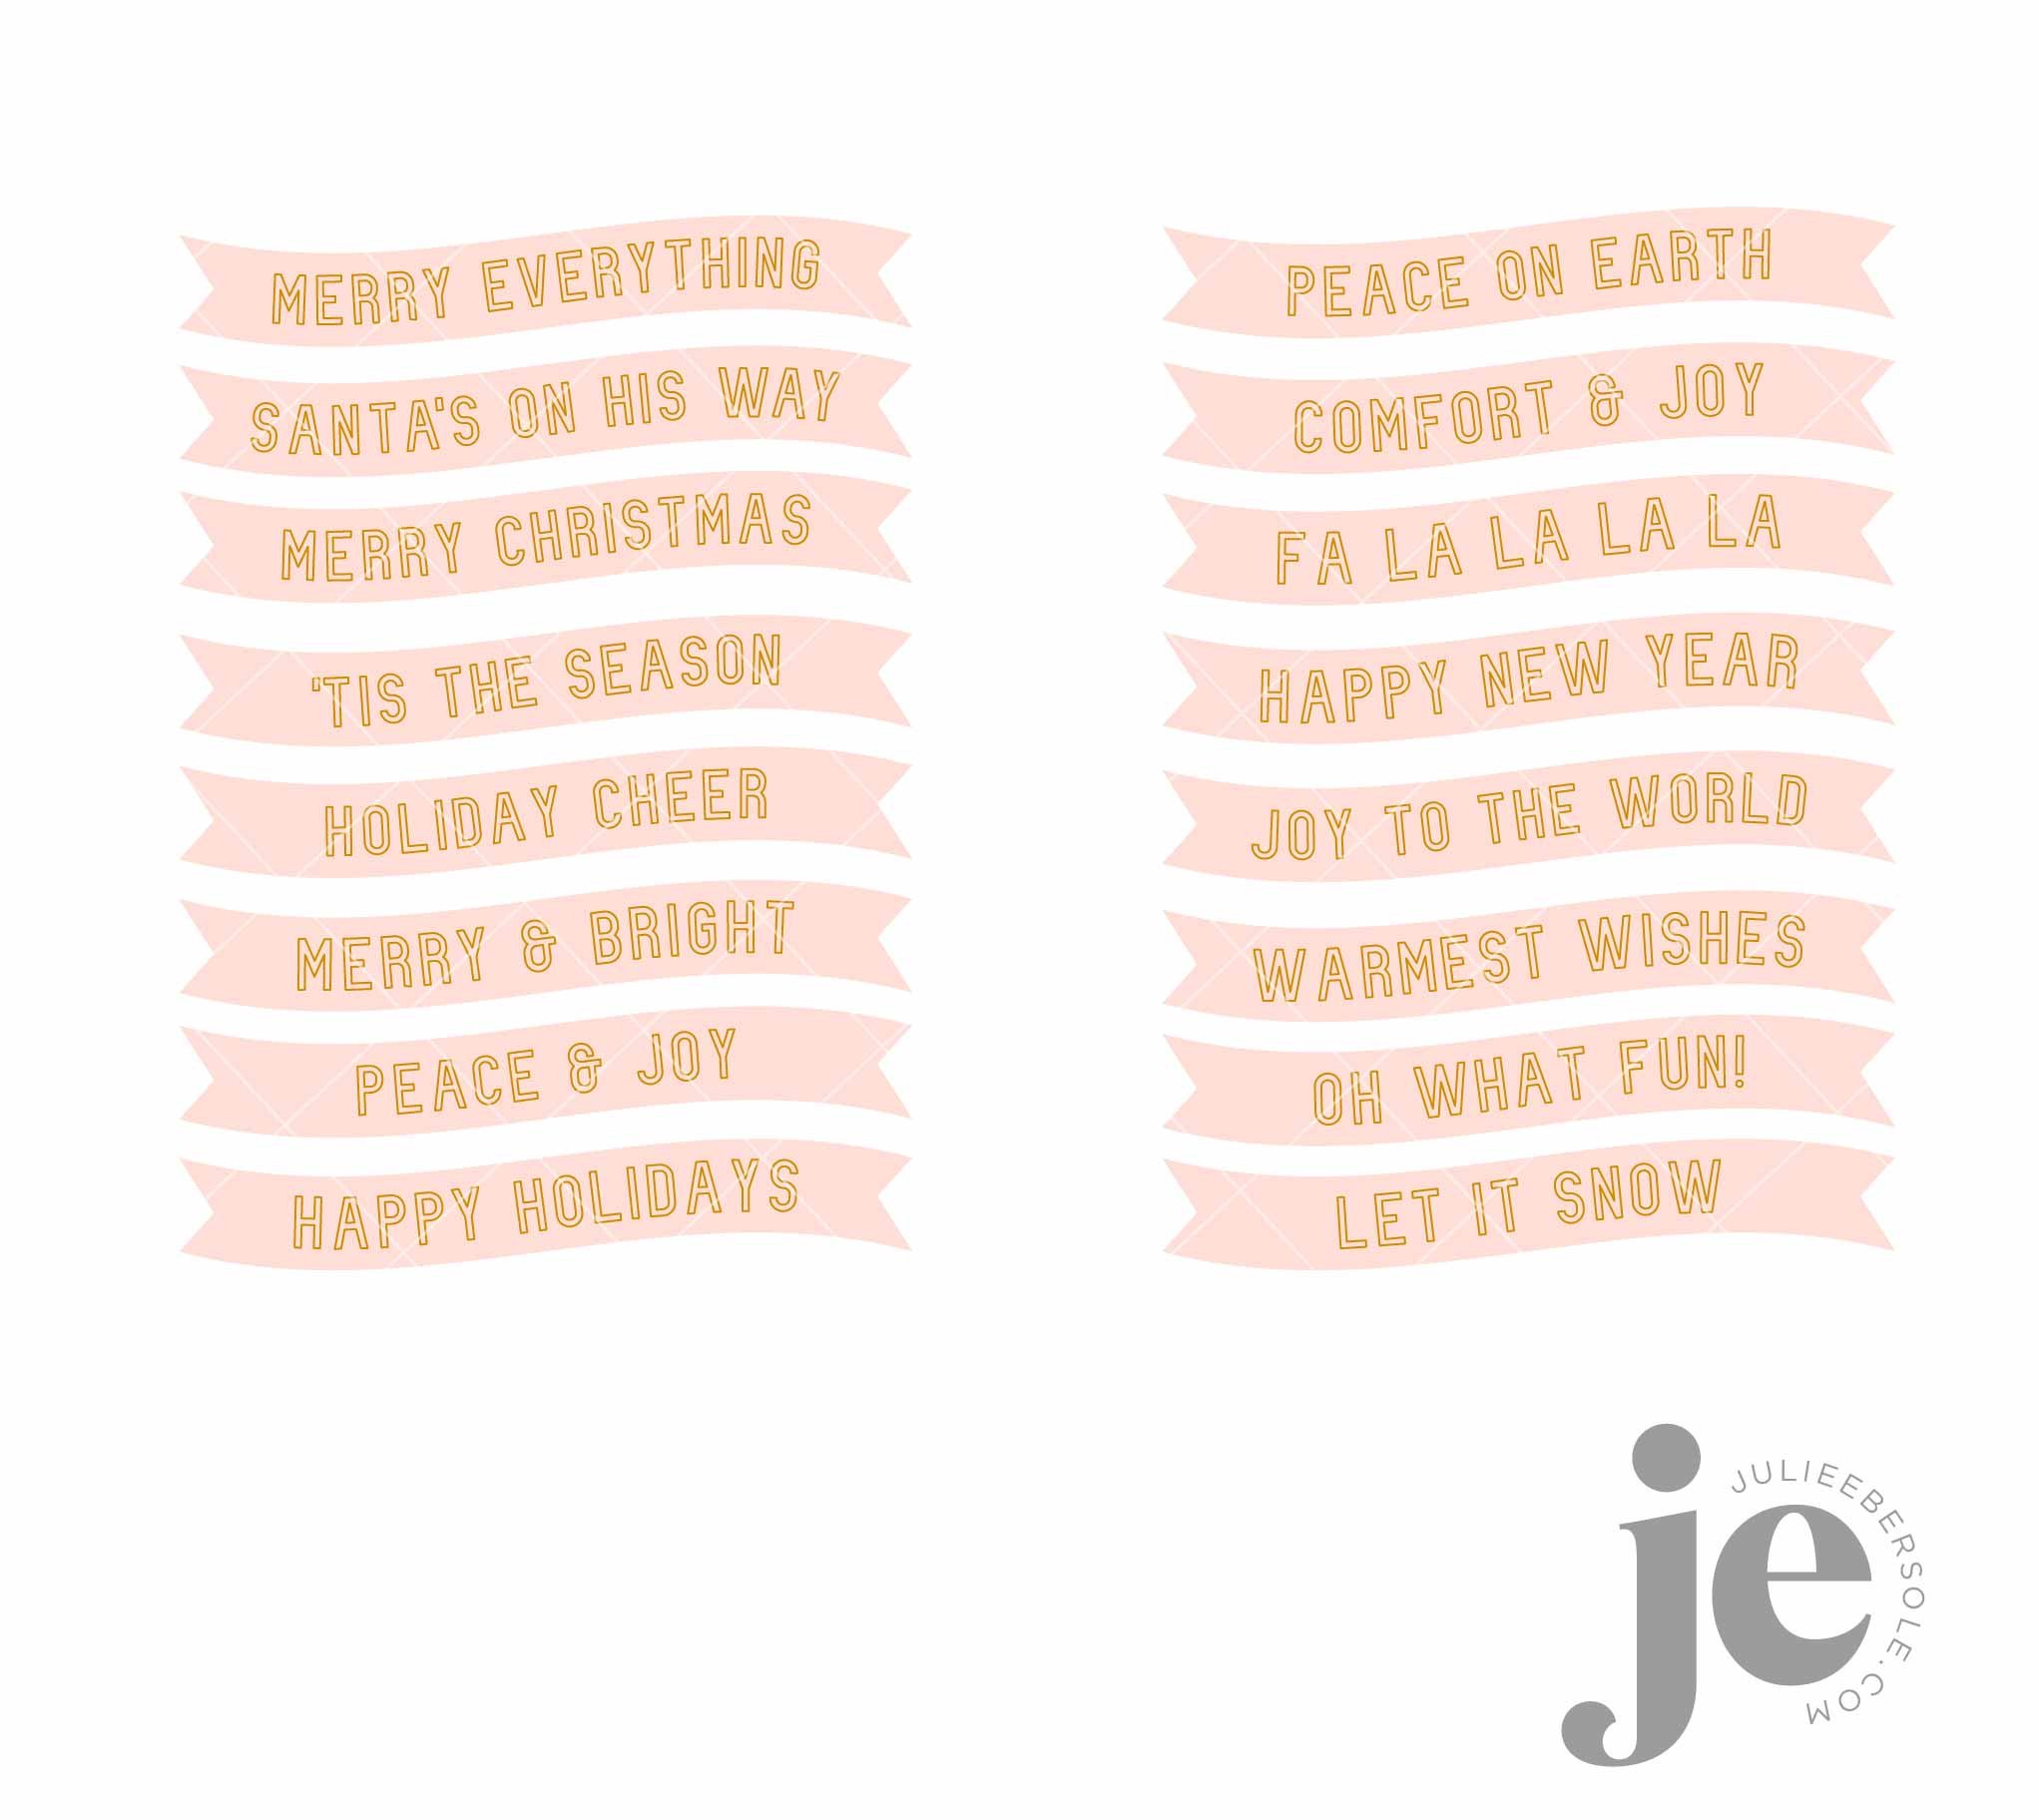
I’ve had my head down working on a new release of SVGs for my shop—I know I’m late, but, if you have a digital cutter, these files can really save you time—especially if you find yourself scrambling at the 11th hour to pull something pretty together (Hello, me every year, LOL!). I love this first of my collections so much! #allthehearteyes

Anyway, the beauty of owning a plotter, means if you need to make make gift card sleeves, goody boxes or package toppers, and more, at the last minute, quick and easy SVGs such as these can be a true lifesaver!

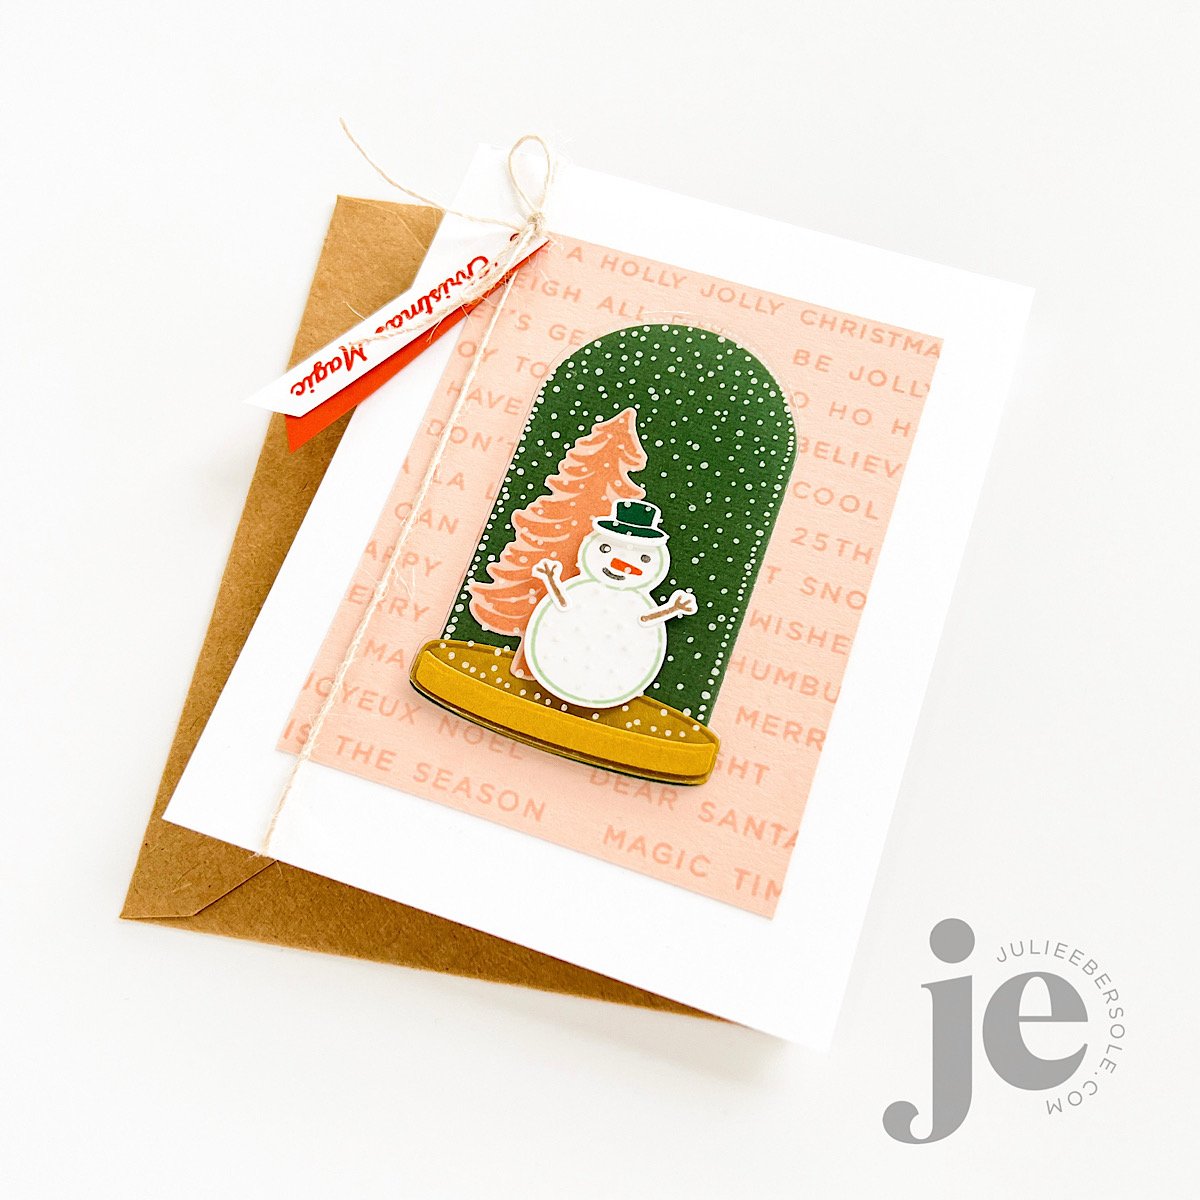
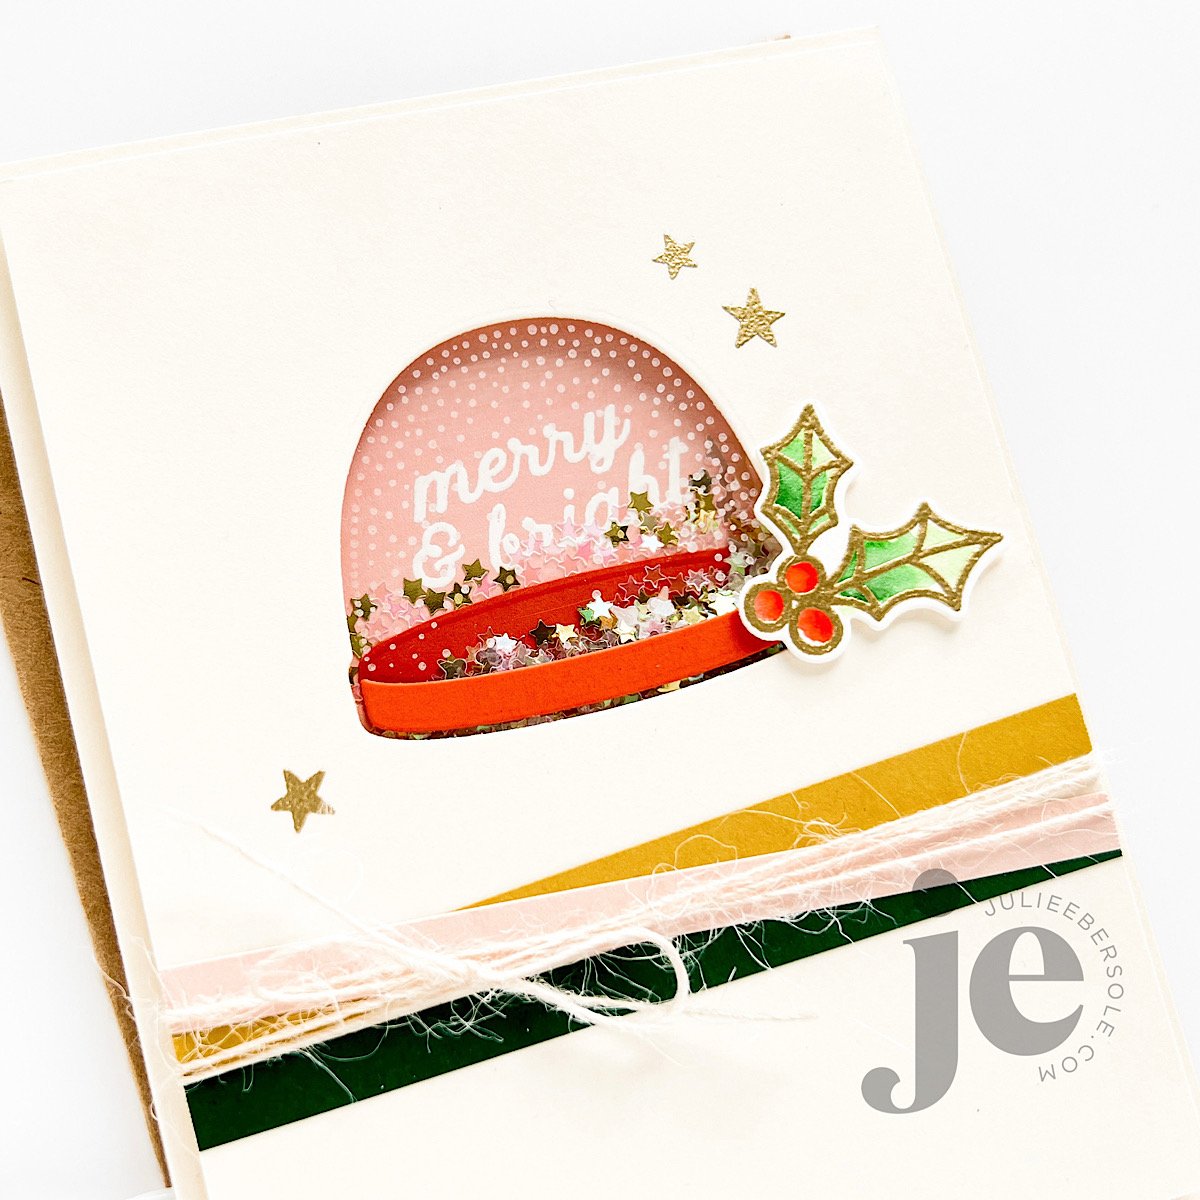
Clicking on the photos will take you to those specific files in the shop.

HEADS’ UP! You can save 10% off all SVG files in the Seasonal Category today through December 31st with this coupon code: NICKOFTIME
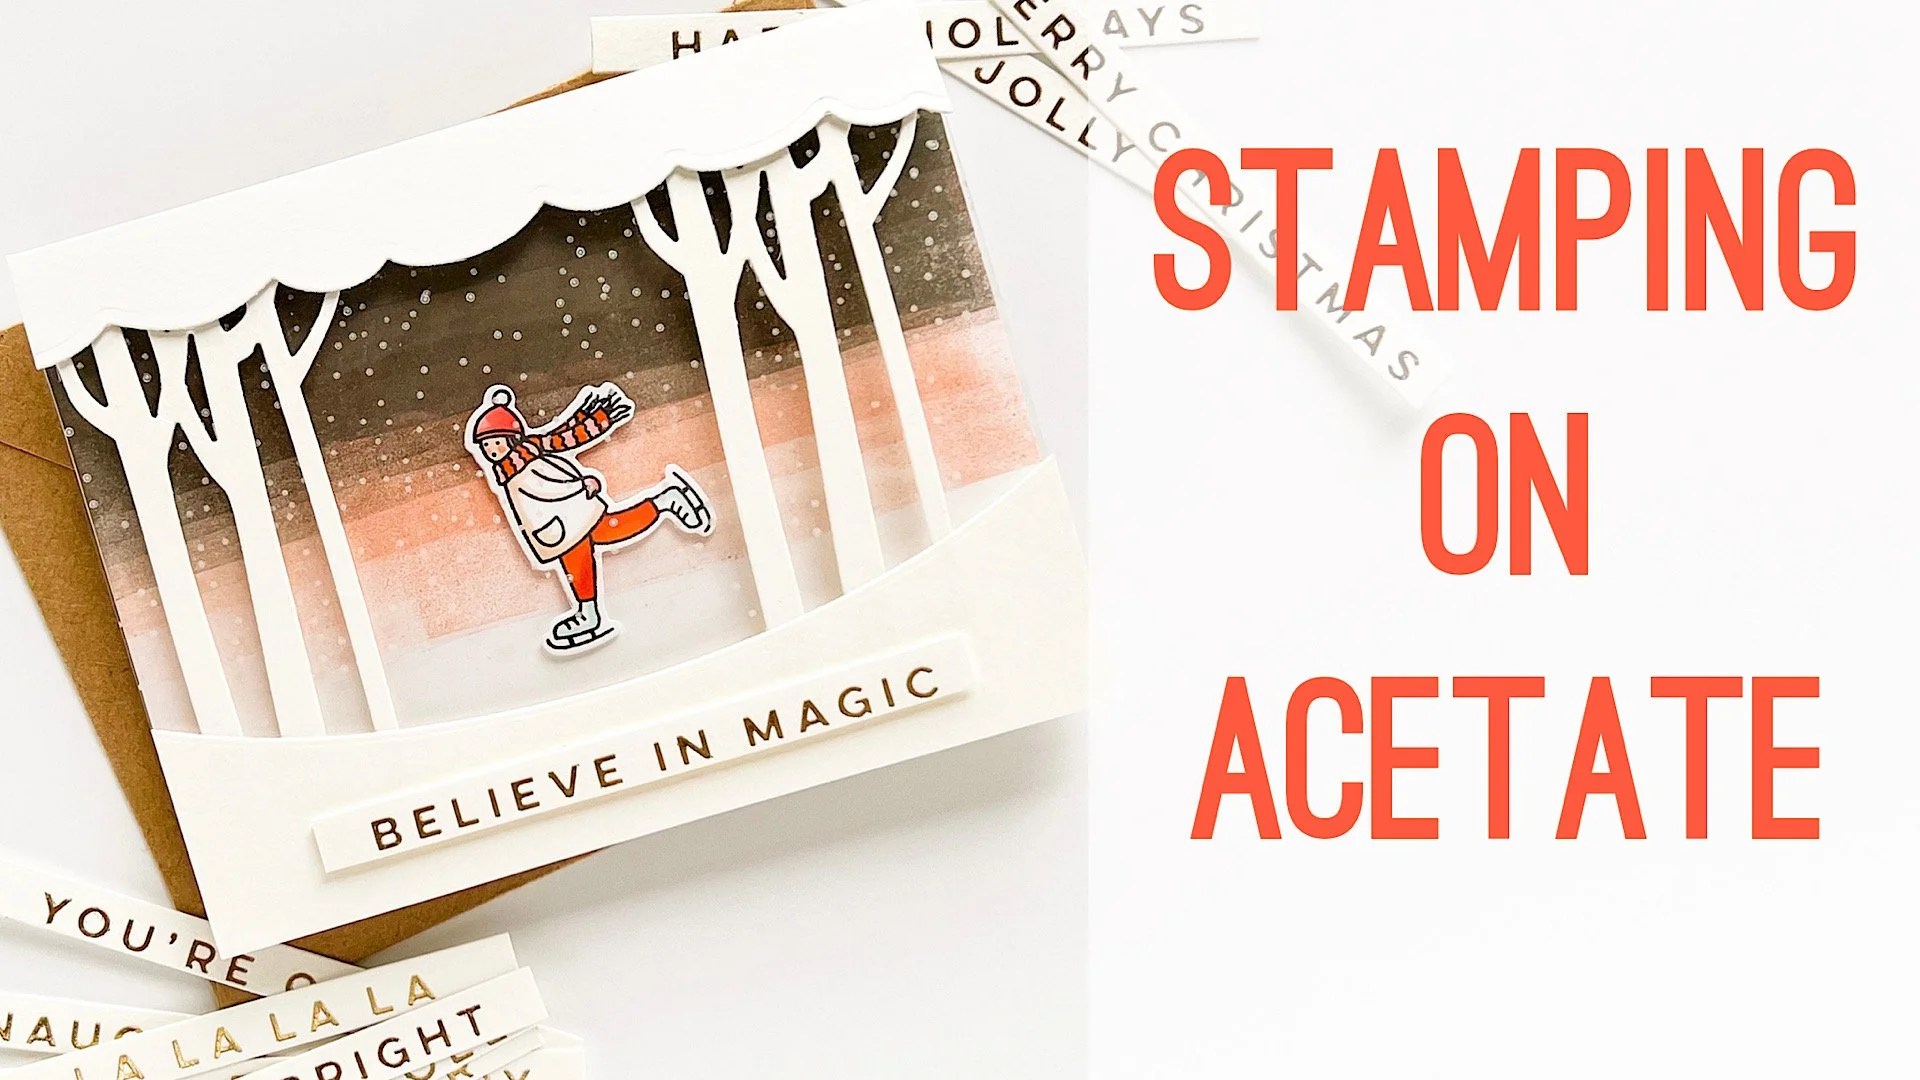
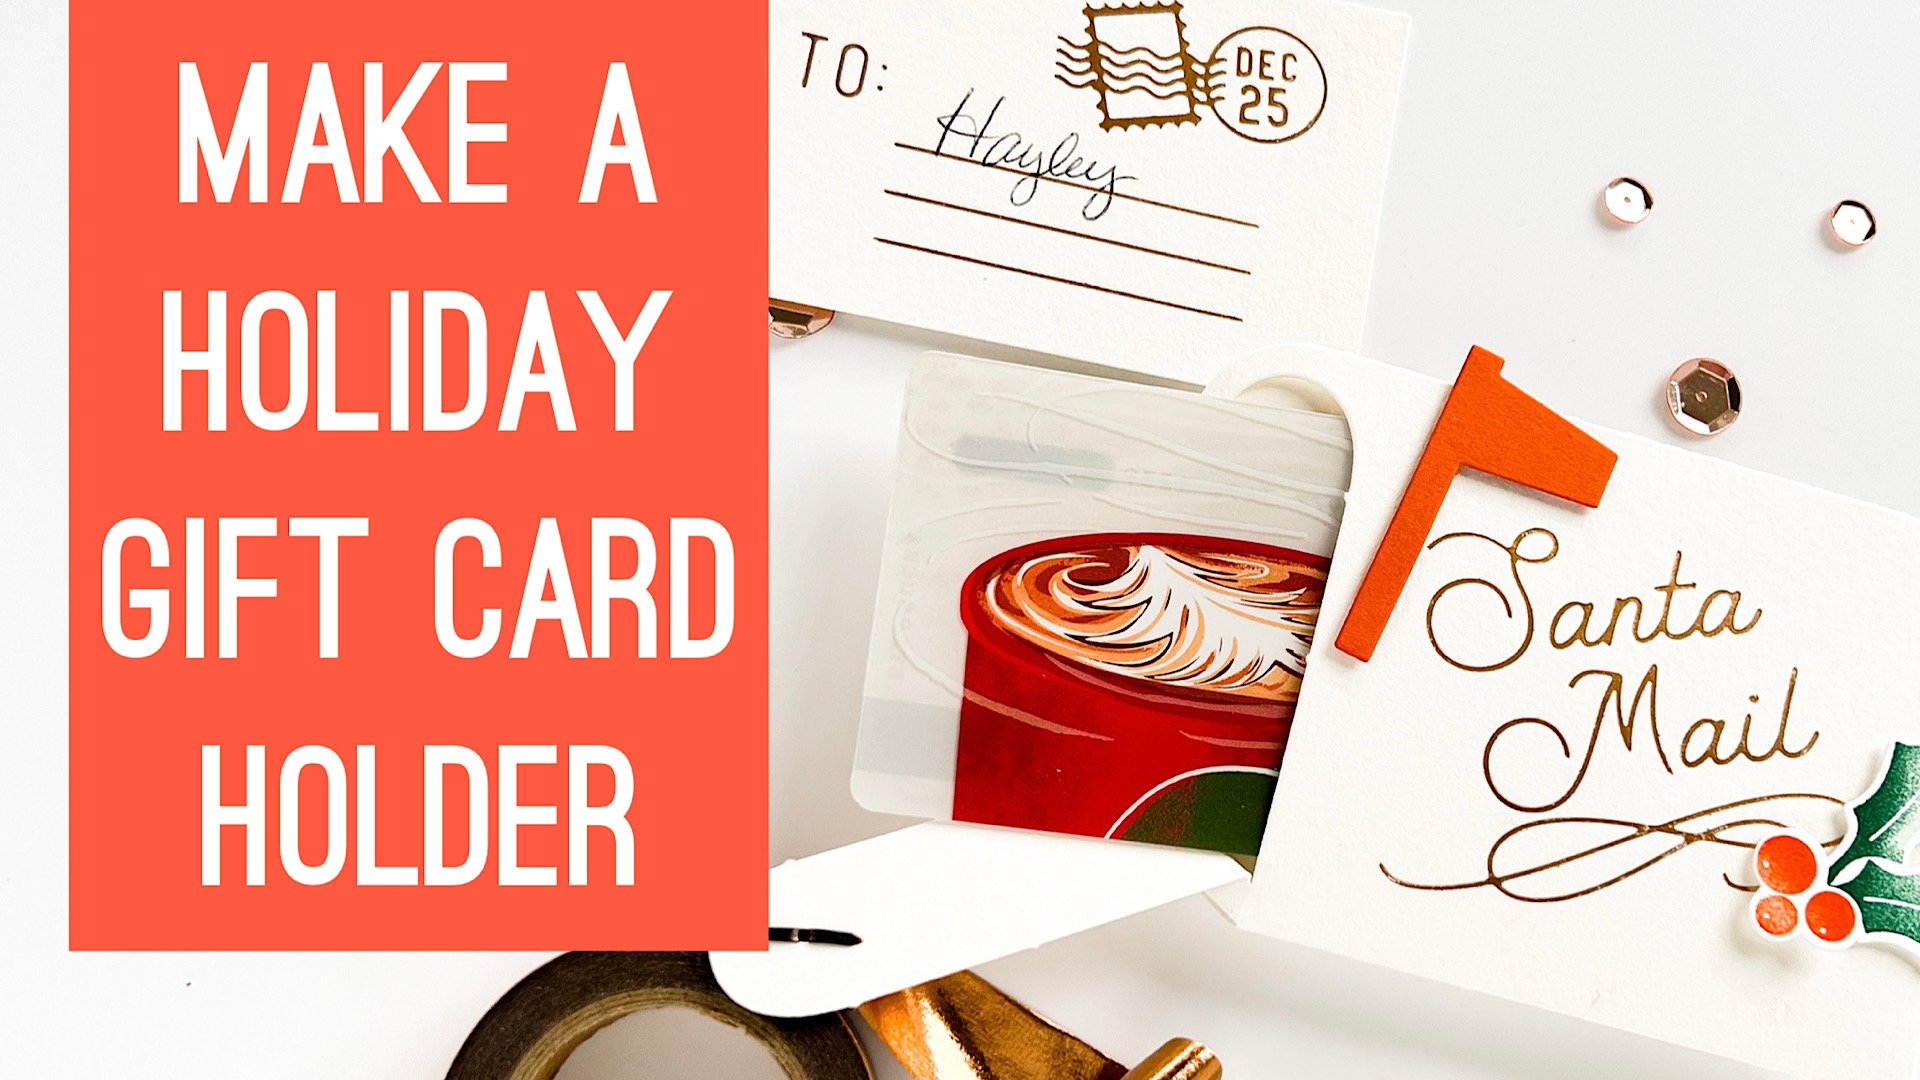
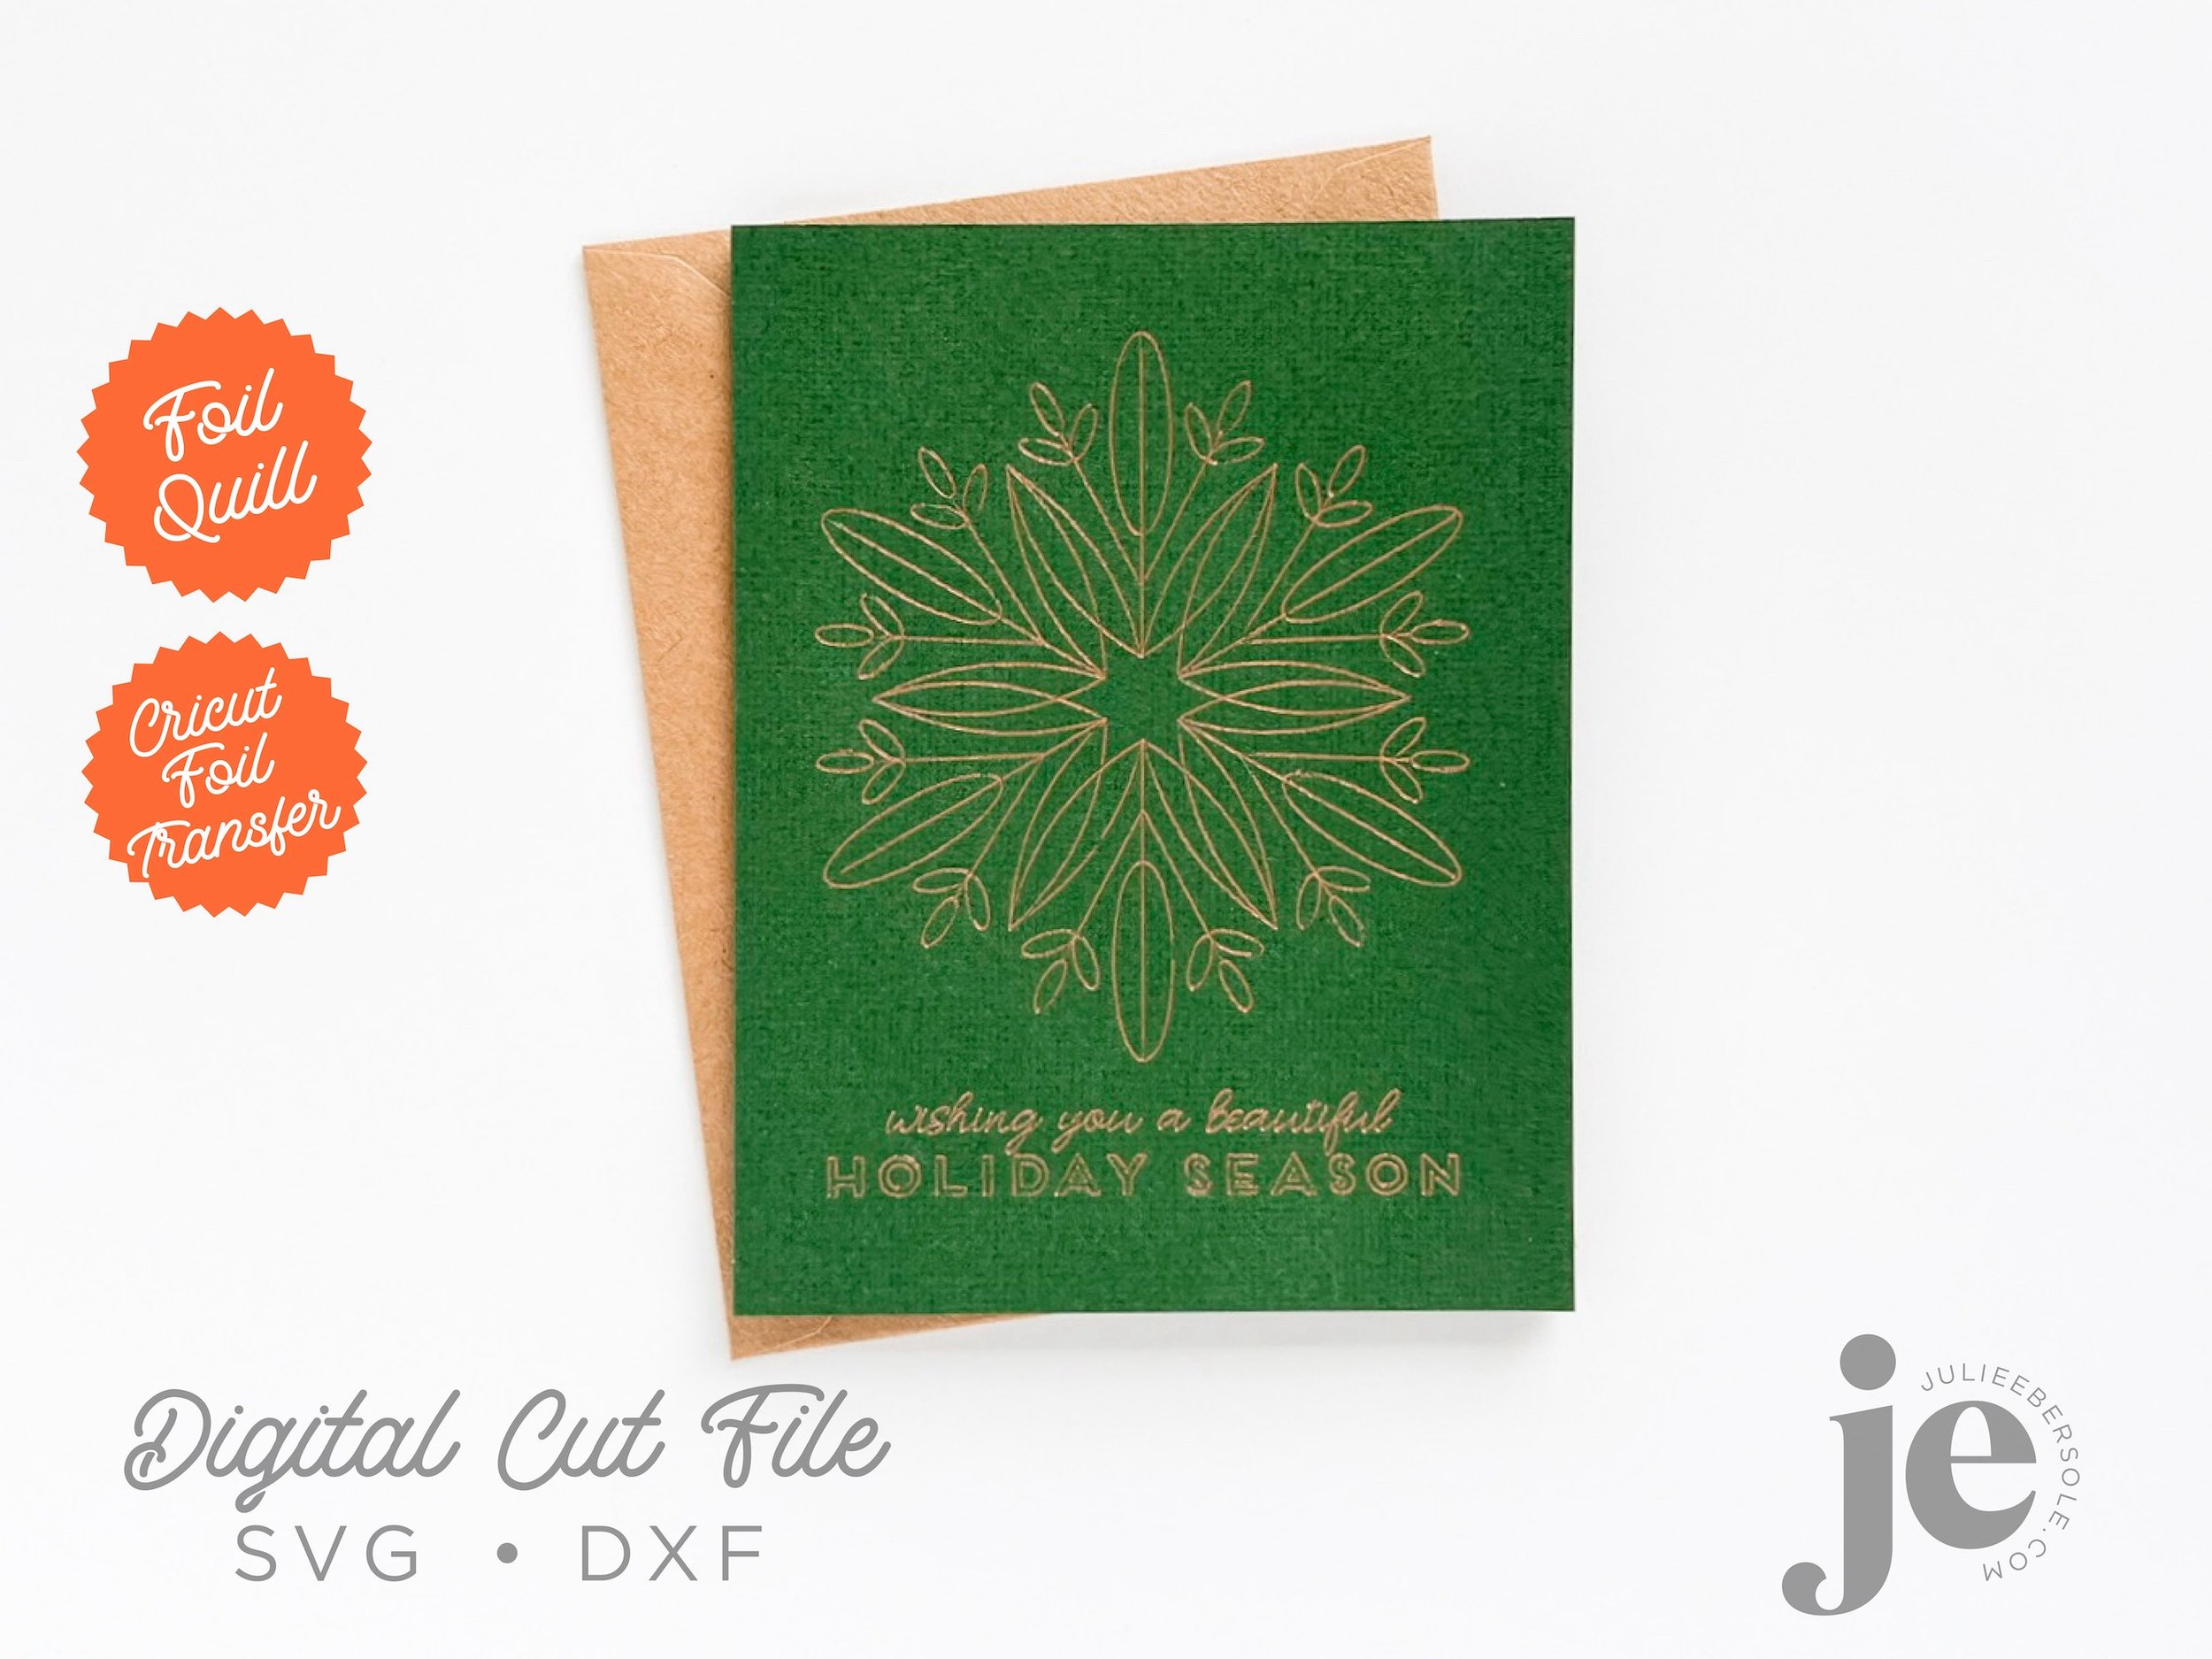
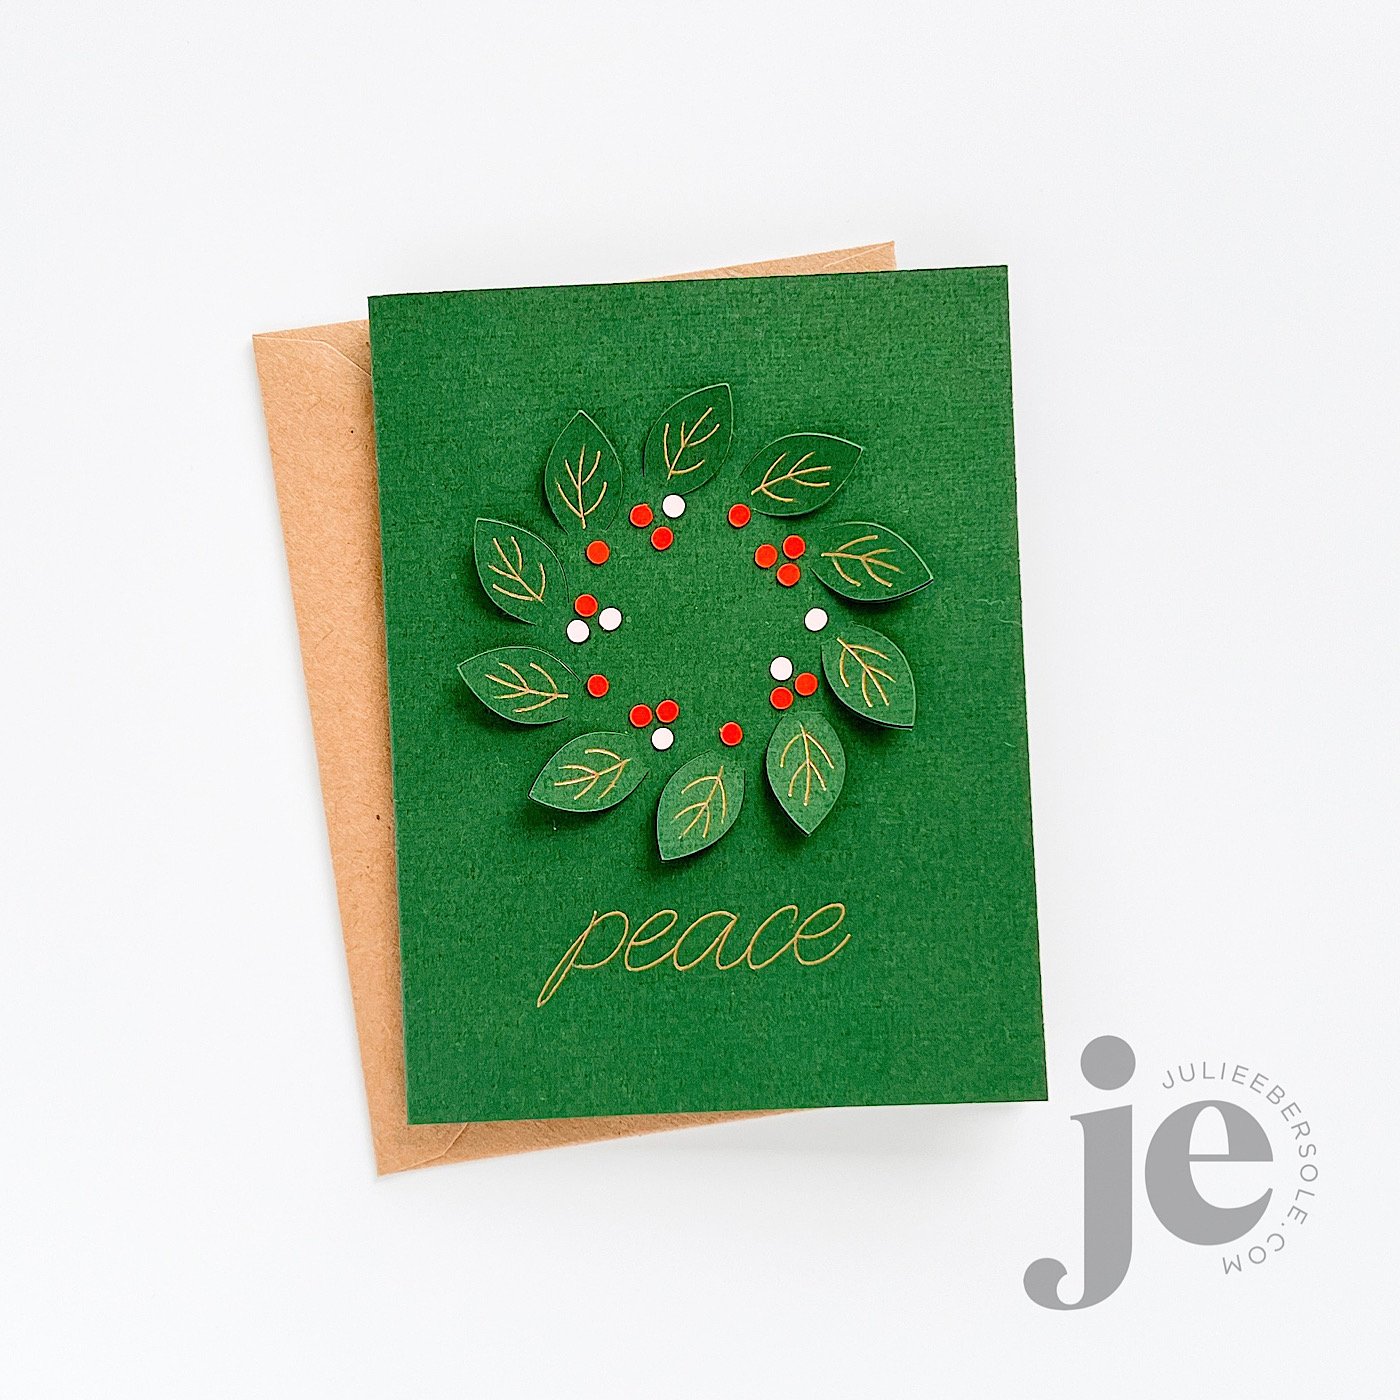
SVG FREEBIE: FOIL SNOWFLAKE CARD

I also have a FREE file for you to download in the shop! Click on the photo above for a short cut to the file. It’s my very first foil/draw design and I thought it turned out so pretty! I used the Cricut Foil Tool and Foil (affil. link) on the smoother side of textured Park Lane 80# textured card stock (affil. link). You can also use the We R Memory Keepers Foil Quill (affil. link) and that brand foil sheets.

While I was testing my foiling designs and working with different papers, I discovered something! I’m hoping to do a video soon so you can see what I was surprised to find! I was SO SO happy: Crafter’s Companion Gemini FoilPress MULTI-SURFACE Foils (EH affil link / Amz affil link) worked with the Cricut Foil Tips on heavier papers like my favorite Bristol Paper (EH affil link / Amz affil link) and Canson XL Watercolor Paper (EH affil link / Amz affil link). And it performed very consistently/beautifully!

Whaaaat???!!! GET OUT!!! You seriously coulda’ knocked me over with a feather. Totally was not anticipating such great results. But I was going through a lot of testing on different papers I had and burning through a LOTTA foil.

All that to say, if you are on the hunt for foil sheets that will offer more consistent results with the Cricut Foil Tool on other papers, I’d definitely give the Gemini Multi-Surface Foils a try!

Thanks for stopping by and I hope you are enjoying fun times with family and friends this Holiday Season—I just made hot cocoa bombs with my granddaughters! I now fully understand why just one well-made, handmade hot cocoa bomb can be quite spendy! But, the experience with the littles was PRICELESS!!!

Peace!


Disclosure: I include affiliate links to the products used in my projects and make a small commission when you purchase via those links, at no extra dimes to you. 🙂 Your support is appreciated more than I can say!

OTHER SUPPLIES MENTIONED:

HOW TO STAMP ON ACETATE

Stamping on acetate (I use Ellen Hutson's Crystal Clear Plastic) used to one of those things that caused me some anxiety and stress, even tho I loved the end result—you had to make sure you didn’t slide around on the slippery surface and ruin the impression. I would hover, double check that my pinkie fingers were anchored to steady my hands, hold my breath and hope that the impression would land specifically where I wanted it. Sometimes it did, sometimes no worky . . .

The MISTI changed all that. If you still do not have one of these, I highly recommend getting the original/standard platform. I think it’s the most versatile size but still compact enough to not overwhelm your work surface. I also own the Mini MISTI, which is so awesome for stamping a quick sentiment on a card front, but when I need to reposition the paper or the stamp, the size of the original makes it a whole lot easier.

TIP: The snow dome above, from CHRISTMAS MAGIC, was die cut out after the stamping had dried. I like to use washi tape to anchor the die down to the Crystal Clear Plastic, but I’m careful to avoid placing the tape anywhere where it might in advertently “lift” any of the ink off. I suppose I should test that theory to see whether or not it this ink does hold up to sticky stuff, but I figure why take the chance when you can avoid it anyway? (insert shoulder shrug)

In hindsight, after filming the video below, I realized you might have seen the stamping better if I had removed the protective tissue that is sandwiched between each sheet of Crystal Clear Plastic (It comes that way in the packaging and I always leave it on the sheet when I’m trimming it down to size to avoid scratches), but as I progress through this particular project, you’ll get some good looks at how the snow actually looks and the difference between the original card, and the duplicate I made to show the technique.

Skater image from SNOW MUCH FUN . Sentiments from HOLIDAY CHEER HOT FOIL STAMPS

Here, I used the smaller dome in the set to make a snowy acetate window for a traditional style shaker card. It’s a really fun way to dress up your shaker windows with very minimal effort!

MORE TIPS:

  • Use a MISTI; seriously, the magnet holds your acetate in place and really helps you get crisp, clean impressions, without sliding all over the place. Makes a HUGE difference in ease. Ask me how I know . . . !

  • Use an ink that is permanent on slick surfaces; I love Staz-On inks, and their Opaque Cotton White EH / AMZ has been a favorite of mine for years and years! Keep in mind that this ink is specifically formulated for things like acetate/non-porous surfaces and does not show up well on paper.

  • Staz-On Opaque Cotton White ink EH / AMZ comes with it’s own reinker bottle; you load the ink pad yourself. Shake the bottle well before loading the pad; I often use a plastic butter knife to spread the ink evenly across the surface and “work it” down into the pad foam. If you “over-ink” the pad, things can get really thick/gunky on the stamp, become super slippery and take a while to dry. I get best results when pad is inked enough to be slightly “tacky”, but not slippery.

  • You made a mistake or got an ugly impression; it’s gonna be OK — don’t mess yer dress!!! Use a rubbing alcohol prep pad (First Aid aisle at the grocery store/pharmacy, etc.) to clean the ink off and try again. Yup! You can totally do that! HUZZAH!!! (virtual high 5)

  • Use a heat-resistant acetate, like Ellen Hutson’s Crystal Clear Plastic ; you can heat emboss and hot foil stamp on it! BONUS!!!

  • Staz-On has a tendency to “stain” your stamps. If you find it bothersome, try using a cleaner like Ultra-Clean to remove.


Disclosure: I include affiliate links to the products used in my projects and make a small commission when you purchase via those links, at no extra dimes to you. 🙂 Thank you for buying all the things!

SUPPLIES MENTIONED:

HOW TO MAKE A MAILBOX GIFT CARD HOLDER

I received some questions on Instagram regarding how to assemble this gift card holder so I did a video—I also included how to get the gorgeous foiled effect on watercolor paper! I have had such great results foiling on Canson XL, 140#. Note in the video I did use a 110# Neenah solar white shim. Because watercolor paper has a rough texture, I found I needed additional pressure. Depending on how your particular machine is calibrated, you may or may not need a shim; experiment on scrap with foil scraps!

How to make a gift card holder with the Happy Mail Die

Please note: I own the Gemini Foil Press and a Gemini Jr. motorized die cutting machine; they’re designed to work together. I also used Gemini Paper Craft Foil. I recently heard the Foil Press is being discontinued (or reconfigured? replaced with something even better??? I have no clue, but I’m really bummed!) That’s what I used in my video because I don’t own the Spellbinders Glimmer System. I can’t tell you what it’s like to work with first-hand. I do know I’ll use my Gemini Foil Press into the ground before replacing it because it has performed beautifully for me for as long as I’ve had it.


I hope this helps y’all see the method to my madness, LOL! I am ALWAYS on the hunt for a unique gift card presentation and I’m going to be making a big stack of these because they are so easy and so dang CUTE!!!

Have a splendid day!


Disclosure: *I include affiliate links to the products used in my projects and make a small commission when you purchase via those links, at no extra dimes to you. 🙂 Thank you for buying all the things!

SUPPLIES:


COZY HOLIDAY GIFTING AND TAG IDEAS

You know the saying, “Good things come in small packages!”? TRUTH!!!

feat. WIDE HOUSE BOX & HOLIDAY-ADD ON COMBO*

The Wide House Box Die and Holiday Add-On assemble very similarly to the Tall House Box Die (video tutorial link) and Halloween Add-On (video tutorial link).

Hostess gifts, teacher gifts, co-worker gifts, party favors . . . small, thoughtful tokens can have a HUGE impact when presented in charming packaging! Here are some fab ideas to tuck inside this adorable house box:

  • A gift card to the local coffee shop

  • Cookies or chocolates (Heath Miniatures are my personal fave, LOL!)

  • Lip balm and/or nail polish would be so cute

  • Sweet smelling hand-made soap

  • Purse or travel sized lotion/hand-sanitizer

  • Individually packaged tea bags & honey packets

  • Jewelry, like a fun pair of earrings or a necklace

  • Pretty hair ties or scrunchies

  • Cute stickers, washi tape, magnets and fun shaped paper clips for stationery lovers

  • Vials/bottles of essential oils or a mini refillable perfume atomizer

  • Battery operated tea lights or strings of mini LED fairy lights (the house box can be safely lit up as a decor item)

  • A personalized key ring or fob

These are actually useful and fun gifts for any occasion, not just the holidays. Heck, it’s just as much fun to present cash inside one of these as I’m sure it is to receive! I have no doubt you will come up with even MORE ideas for great tiny gifts. Just sayin’ . . . ! 😉

feat. WIDE HOUSE BOX & HOLIDAY-ADD ON COMBO (also available separately)

Santa and his sleigh are designed to attach and fit between the flaps of the roof peaks; I like to die cut two or three and layer them together before before attaching, especially if I’m working with 80# or lighter weights of card stock.

You can mix and match the windows/doors between the Wide House Box and the Holiday Add-On sets for a lot of versatility. The little gables look so cute on the snow capped roof and there’s even a wreath for the door and a tree in the Holiday Add-On set.

If you read my post the other day, I mentioned watching from the window as the family played in the snow, while sipping a coffee and Baileys . . .

feat. COZY CUPPA STAMP & DIE COMBO (also available separately) / MODERN TAGS DIE SET

A holiday, or even a simple, plain white mug serves as a “gift box”, and nestled among the paper shreds are a mini bottle of Baileys (a fun grocery store find—yes, I found 3 mini bottle packs of these at the grocery store! SCORE!!!) and some instant coffee packets!

My design elements from Cozy Cuppa were all watercolored, 3D mounted to a simple tag and tied to the bottle. Whip up a stack of tags and you’ve got an easy peasy, enchanting gift ensemble!

feat. COZY CUPPA STAMP & DIE COMBO (also available separately)

This adorable design just makes me think of my granddaughters—they love hot cocoa. AND marshmallows. So fun to tuck a gingerbread cookie and a candy cane inside to boot! Like the tag, I watercolored all the elements and that background was made by dragging my Tattered Rose Distress OXIDE Ink Pad across the front of the card and then dotting it with a white gel pen before assembling the rest of the card.

And, don’t forget the Stickles.

Speaking of which . . . what’s the golden rule about Stickles? Anybody? Anybody?

Need a super simple, highly impressive gift tag you can mass produce quickly?

This one is perfect for those of you who are short on time, long on love, LOL! I’m a sucker for a pretty sweater and this one has such a lovely pattern! I REALLY love to “deboss” it into watercolor paper because it’s thicker/heavier and the combination of textures between the pattern and the paper itself just looks and feels so luxe! I also think it looks pretty chic layered with a solid sweater shape underneath in a hue that coordinates with your wrapping paper.

The added bonus is being able to foil the pattern if I want an extra touch of glam!

Yes, you can foil low-profile dies and it doesn’t cut through the paper! Here’s a video I did on the Ellen Hutson YouTube Channel showing how to do that: Hot Foil Stamping with Low Profile Dies (Gemini Foil Press System used at the time; you can, however, also use the Glimmer Foil System by Spellbinders)

Speaking of foiling, you can obtain gorgeous results on that Canson XL Watercolor Paper, as shown on this interactive mailbox die:

  1. After die-cutting the shape, I hot foil stamped the designs I wanted onto the front side of the mail box.

  2. After creasing all the main fold lines well (a bone folder really helps because the paper is thicker than average) I inserted a mini brad from my stash, added strong, double-sided sticky tape (1/8” Scor-Tape —great for skinnier/tighter areas— and 1/4” Scor-Tape) to the flaps.

  3. Then I positioned a gift card inside and attached all the flaps to assemble, sealing the gift card.

  4. I added the mailbox flag, and a stamped/die cut holly sprig to further embellish.

I also foiled a piece of watercolor paper cut to the same dimensions as the gift card—it could be used as a gift tag, without the mailbox, but I think it’s just soooo stinkin’ cute to have a little mini letter to go with! (insert lots of monkey clapping here)

When the recipient pulls on the “handle/latch”, the mailbox door bursts open along the perforations and he/she can then slide the gift card out. SO FUN!!!

Hope you enjoyed these ideas for gifting at the holidays and thanks for stopping by!


Disclosure: I include affiliate links to the products used in my projects and make a small commission when you purchase via those links, at no extra dimes to you. 🙂 Thank you for buying all the things!

IT'S THE HOLIDAY SEASON!

The Essentials by Ellen Holiday 2022 Release is now live and available at ellenhutson.com (affil. link)

You can follow the Instagram hop at 9am Pacific and leave some comment love all along the way to enter the giveaways—who doesn’t love a prize, #amiright?

Snow Much Fun is based on the memory of getting my Christmas wish last year; snow. AND LOTS OF IT! My driveway had the grand littles whooping and swooping down into the front yard, building snowmen and warming their hands by a fire the Mister started when darkness fell and the twinkling tree lights came on. I watched them from the window, with my hands wrapped around a mug of coffee and Baileys. The scene outside wasn’t perfect picturesque nor Instagram worthy, but hearing the shouts and squeals of pure happy and seeing those grinning faces with rosy cheeks? Priceless!!!

feat. SNOW MUCH FUN STAMP/DIE (affil. link)

Hooray for snow days! Sure hope we get one or two this year!

Bundled Up makes me think of all things cozy and warm. And, I love a good solid/2 step stamp set sooooooo much!

NEW: BUNDLED UP STAMP SET & DIE / OH WHAT FUN! (last year’s gift with purchase set) (affil. links)

That knit pattern, those warm wintery colors . . . I just love this combo! It’s like . . . warm fuzzies all around!

OK, this next one is interactive—soooo much fun to play with and so stinkin’ CAYUUUTE!!! Even if I do say so m’self! (chinkle)

feat. SNOW ANGELS STAMP & DIE COMBO (affil. link)

But . . . WHAT DOES IT DO, Julie? Well, ladies & gentlemen, you can watch a little preview below on my Instagram. 😁

You can also see a full-fledged assembly video right on the release page → Essentials by Ellen Holiday 2022 Release (affil. link)—just scroll down the page towards the bottom, and you’ll see the video player. You can also watch it on the Ellen Hutson YouTube Channel HERE.

So, the color scheme I used on my samples? None other than my go-to inks by Catherine Pooler (EH affil. links):

I have more to share, but I’m tuckered at the moment—please stay tuned for more inspo to come!

Thanks for stopping by!


Disclosure: I include affiliate links to the products used in my projects and make a small commission when you purchase via those links, at no extra cost to you.

Thank you for buying all the things!