Stamping on acetate (I use Ellen Hutson's Crystal Clear Plastic) used to one of those things that caused me some anxiety and stress, even tho I loved the end result—you had to make sure you didn’t slide around on the slippery surface and ruin the impression. I would hover, double check that my pinkie fingers were anchored to steady my hands, hold my breath and hope that the impression would land specifically where I wanted it. Sometimes it did, sometimes no worky . . .
The MISTI changed all that. If you still do not have one of these, I highly recommend getting the original/standard platform. I think it’s the most versatile size but still compact enough to not overwhelm your work surface. I also own the Mini MISTI, which is so awesome for stamping a quick sentiment on a card front, but when I need to reposition the paper or the stamp, the size of the original makes it a whole lot easier.
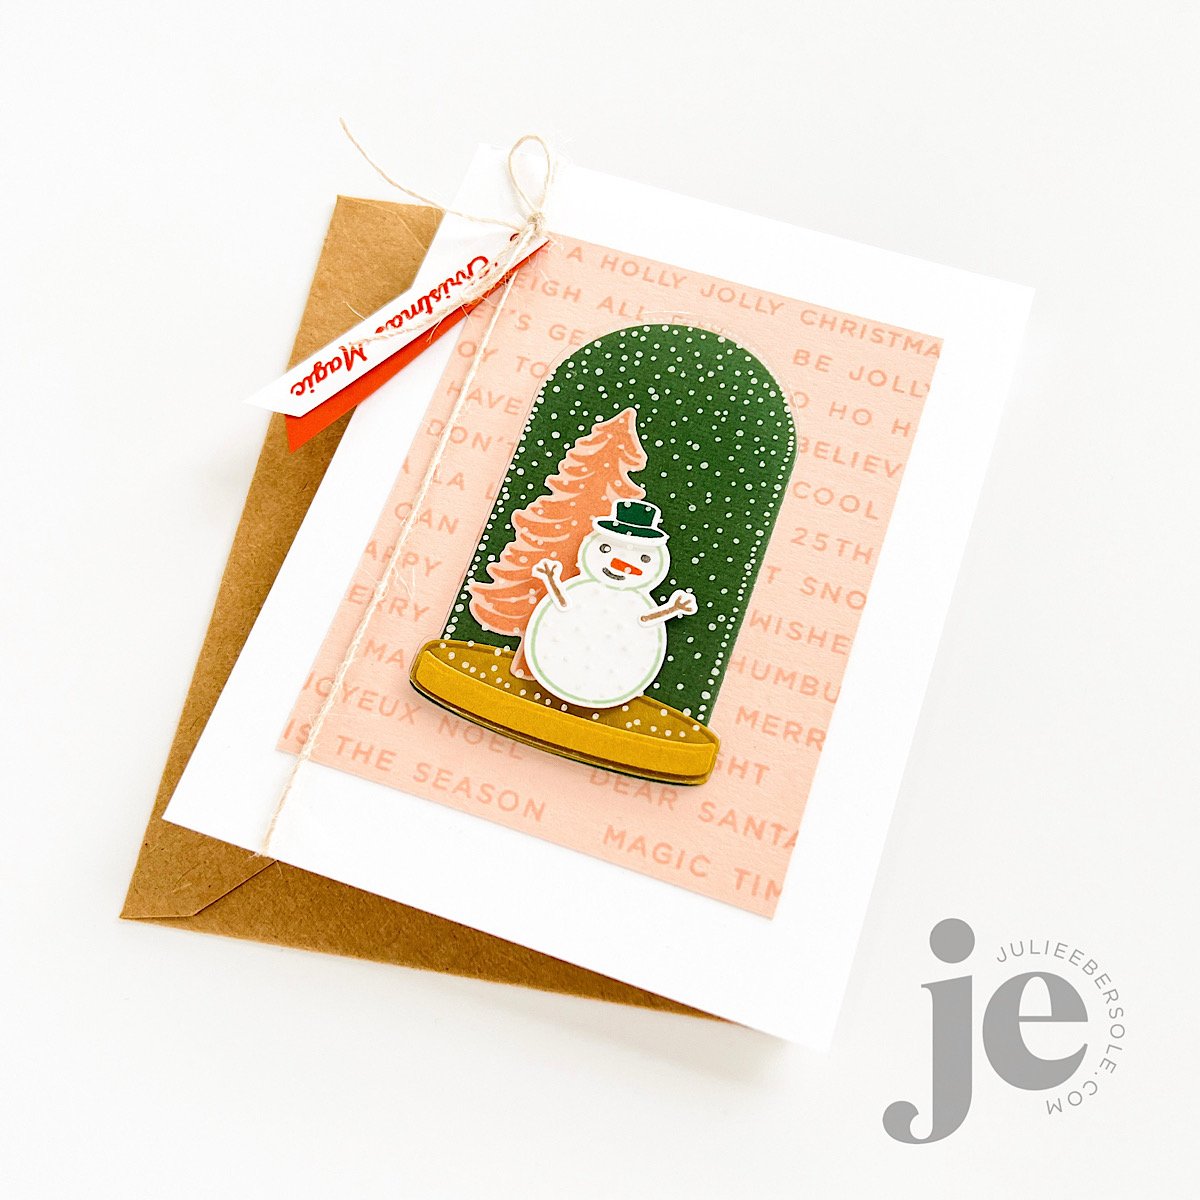
TIP: The snow dome above, from CHRISTMAS MAGIC, was die cut out after the stamping had dried. I like to use washi tape to anchor the die down to the Crystal Clear Plastic, but I’m careful to avoid placing the tape anywhere where it might in advertently “lift” any of the ink off. I suppose I should test that theory to see whether or not it this ink does hold up to sticky stuff, but I figure why take the chance when you can avoid it anyway? (insert shoulder shrug)
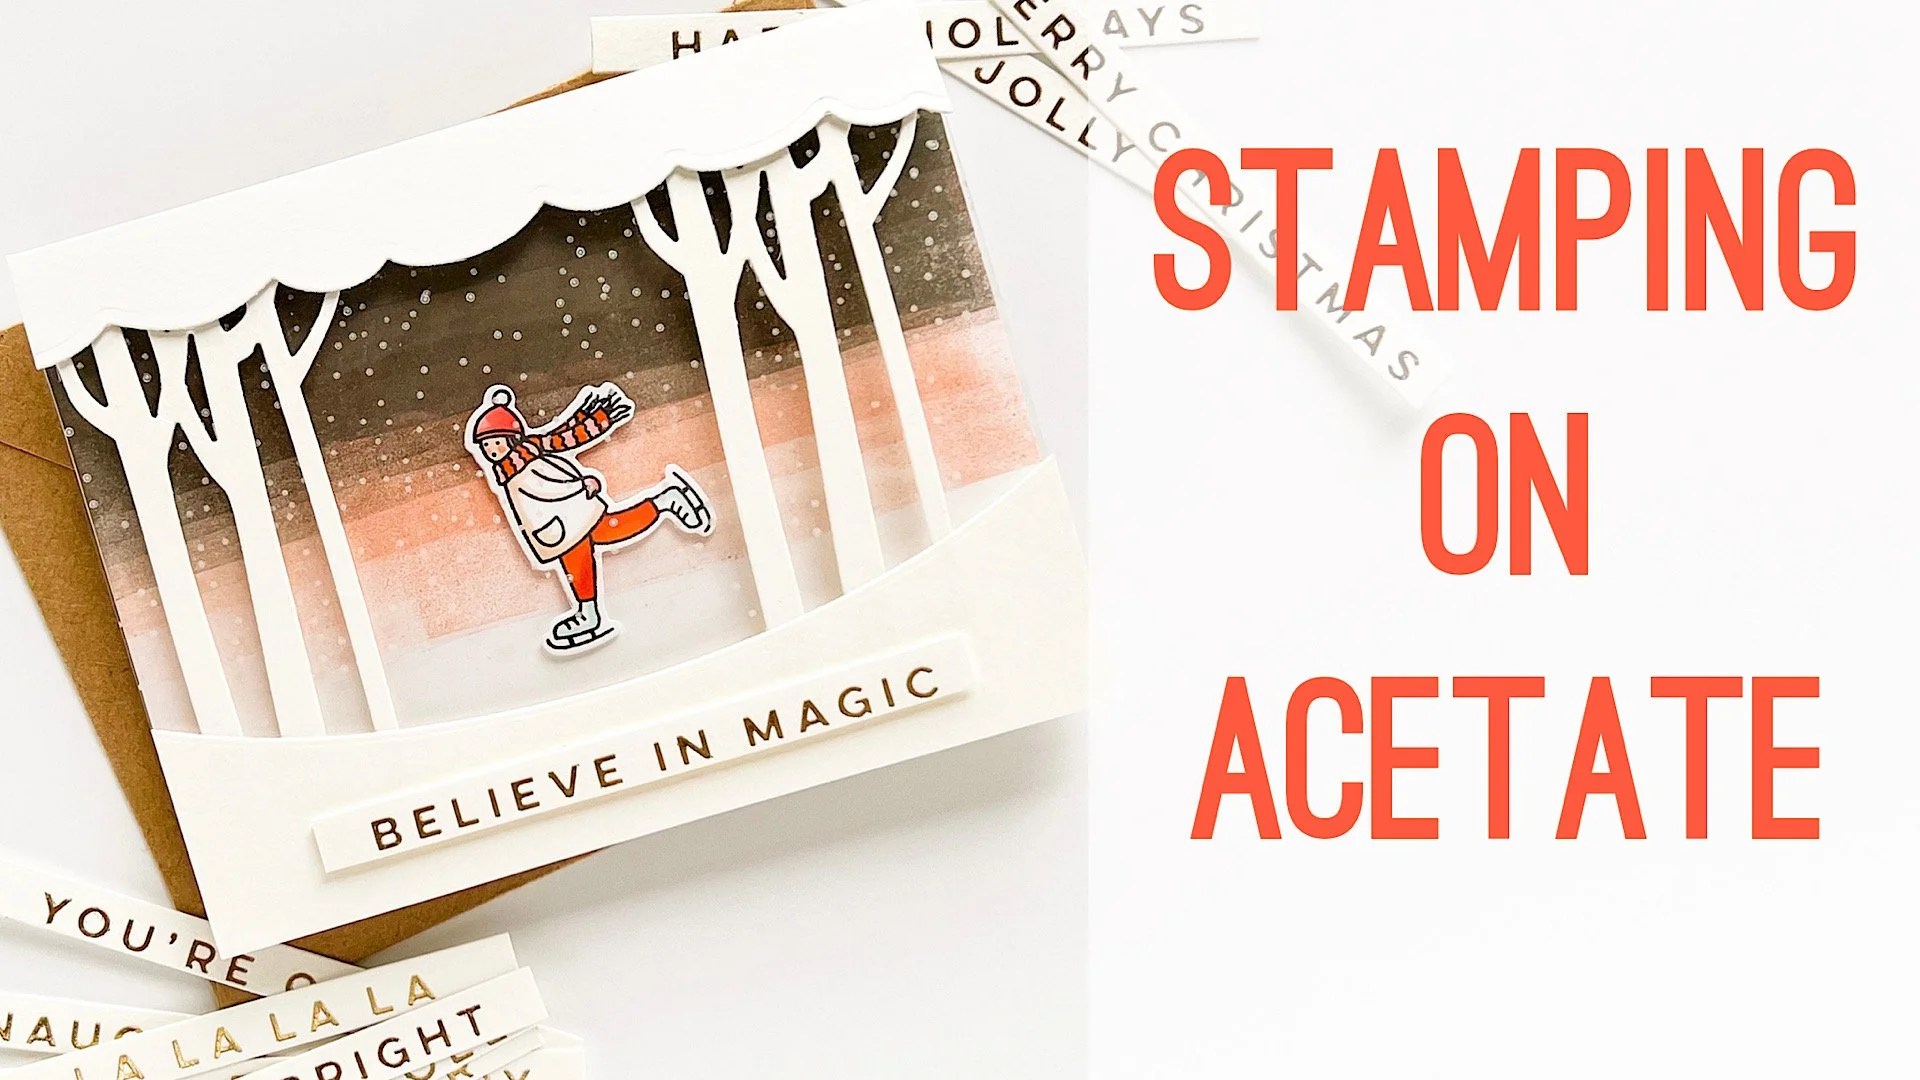
In hindsight, after filming the video below, I realized you might have seen the stamping better if I had removed the protective tissue that is sandwiched between each sheet of Crystal Clear Plastic (It comes that way in the packaging and I always leave it on the sheet when I’m trimming it down to size to avoid scratches), but as I progress through this particular project, you’ll get some good looks at how the snow actually looks and the difference between the original card, and the duplicate I made to show the technique.
Skater image from SNOW MUCH FUN . Sentiments from HOLIDAY CHEER HOT FOIL STAMPS
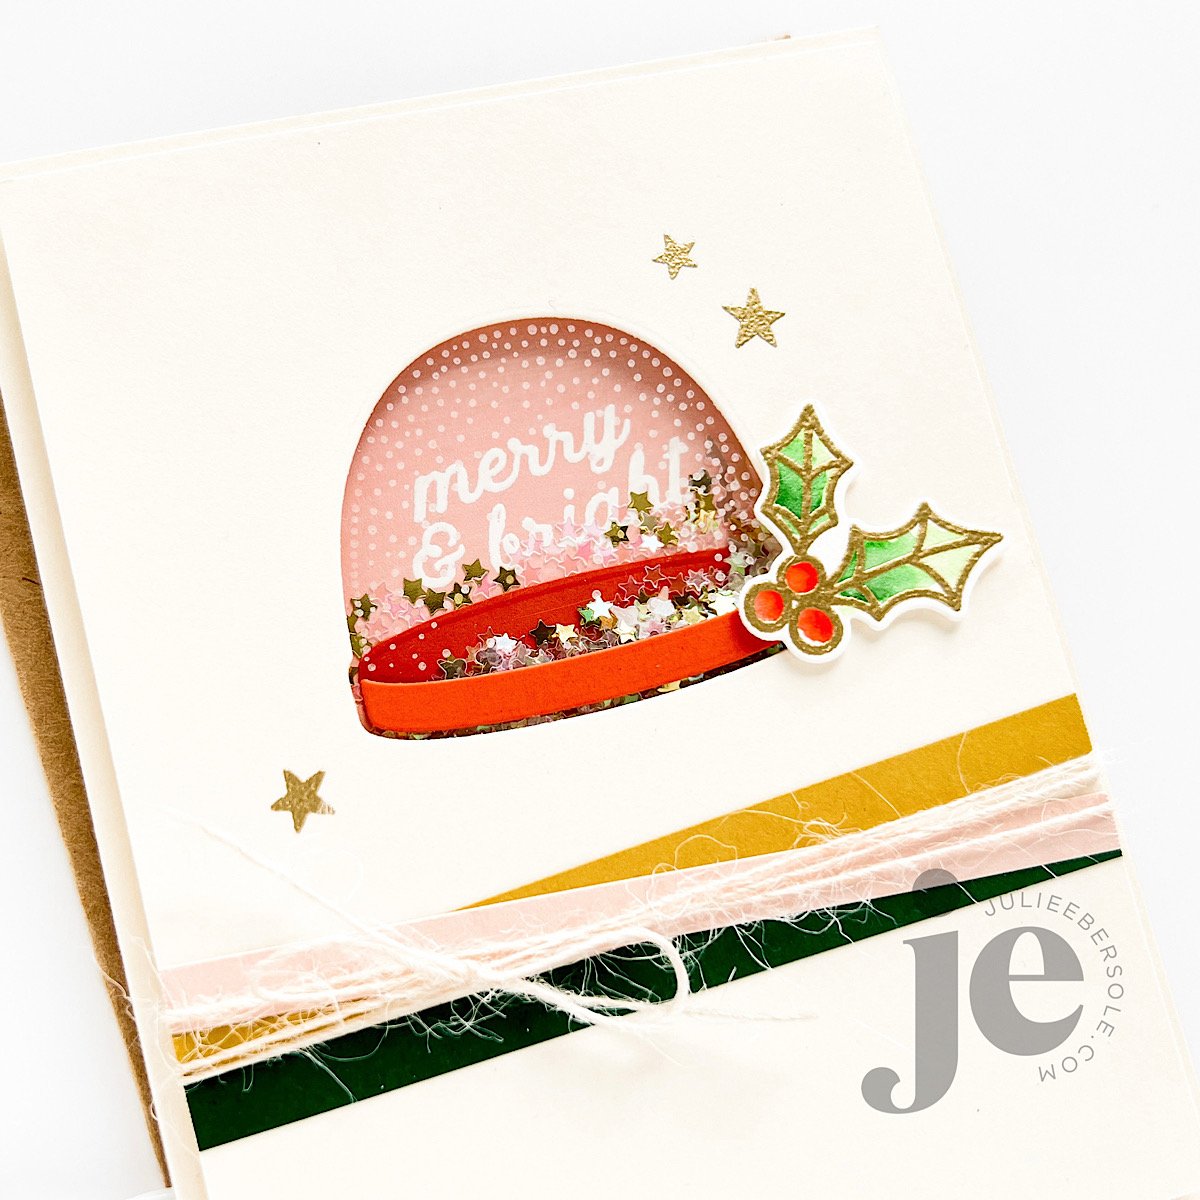
Here, I used the smaller dome in the set to make a snowy acetate window for a traditional style shaker card. It’s a really fun way to dress up your shaker windows with very minimal effort!
MORE TIPS:
Use a MISTI; seriously, the magnet holds your acetate in place and really helps you get crisp, clean impressions, without sliding all over the place. Makes a HUGE difference in ease. Ask me how I know . . . !
Use an ink that is permanent on slick surfaces; I love Staz-On inks, and their Opaque Cotton White EH / AMZ has been a favorite of mine for years and years! Keep in mind that this ink is specifically formulated for things like acetate/non-porous surfaces and does not show up well on paper.
Staz-On Opaque Cotton White ink EH / AMZ comes with it’s own reinker bottle; you load the ink pad yourself. Shake the bottle well before loading the pad; I often use a plastic butter knife to spread the ink evenly across the surface and “work it” down into the pad foam. If you “over-ink” the pad, things can get really thick/gunky on the stamp, become super slippery and take a while to dry. I get best results when pad is inked enough to be slightly “tacky”, but not slippery.
You made a mistake or got an ugly impression; it’s gonna be OK — don’t mess yer dress!!! Use a rubbing alcohol prep pad (First Aid aisle at the grocery store/pharmacy, etc.) to clean the ink off and try again. Yup! You can totally do that! HUZZAH!!! (virtual high 5)
Use a heat-resistant acetate, like Ellen Hutson’s Crystal Clear Plastic ; you can heat emboss and hot foil stamp on it! BONUS!!!
Staz-On has a tendency to “stain” your stamps. If you find it bothersome, try using a cleaner like Ultra-Clean to remove.
Disclosure: I include affiliate links to the products used in my projects and make a small commission when you purchase via those links, at no extra dimes to you. 🙂 Thank you for buying all the things!
SUPPLIES MENTIONED:
Holiday Cheer Hot Foil Stamps (sentiment on the finished design in the video)


