THREE EASY TECHNIQUES, 3 CARDS, ONE STAMP SET: MONDO TULIP

2021-04-release-13.jpg

The first in this group features an imperfect watercolor technique—if you have any water-based dye ink pads, all you need is a non-porous surface for a palette, a paintbrush and water to begin painting! After allowing the image to dry completely, you can die cut it, and set it off with additional die cut elements like this Essential 4 Bar Rectangle. The great thing about the Essentials series of shape dies, is that each size has a separate skinny frame!

Instead of cementing everything down, just anchor certain portions of the flowers and the frame(s); this will create the illusion of additional depth even tho the design is relatively “flat”.

2021-04-release-14.jpg

This second design lets you off the hook for coloring—make a colorful, striped background using a brayer. Use it like you would patterned paper by cutting what you need; the rest can be used on future projects. Instead of die cutting the tulips, use a straight blade trimmer to trim off a portion of the panel then fussy cut around the part that will over-hang.

color-block-mondo-tulip-001.jpg

For super crisp and modern color-blocking, grab card stock. This is great for using up scraps! Make sure the edges are cut very straight so you can butt the edges tightly together when mounting to typing paper. I used 3 colors and didn’t really measure because odd numbers are more visually appealing; if you use even numbers, you may want a greater variety in the depth/height of each of your pieces for better visual balance.

If your color-blocked panel ends up being narrower than expected, go ahead and trim your base card accordingly. This card’s final measurements were 4 x 5 1/2”, just a little narrower than the standard A-2 card. Trust me, the card police are not gonna bust you for not adhering to the A-2 standard. •wink•

Heads’ up: There’s a lovely sale going on at Ellen Hutson’s shop this weekend—click on the image below to go directly to this sale page!


Thanks for stopping by today and I wish all you mama’s out there a wonderful Mother’s Day!


SUPPLIES:

Disclosure: Yup, those are affiliate links to the products used in my projects and I make a small commission when you purchase via those links, at no extra cost to you. Thank you for buying all the things!

EBE APRIL 2021 RELEASE IS LIVE AND WE ARE HOPPING ON INSTAGRAM

CLICK ON THE PHOTO ABOVE TO GO STRAIGHT TO THE APRIL 2021 RELEASE PAGE AT ELLEN HUTSON

CLICK ON THE PHOTO ABOVE TO GO STRAIGHT TO THE APRIL 2021 RELEASE PAGE AT ELLEN HUTSON

The latest EBE release is chock full of good things! Click on the pic above to go straight to the release page—I’ve been busy making TONS of samples! We’re also hopping on Instagram—with giveaways! Read on for more deets!

I love cake and ice cream—cupcakes, too! I decided I had to make another card featuring the new Cake stamp set for the Instagram hop—be sure to leave some comment love on all the stops for a chance to win one of THREE $25 gift certifications to Ellen Hutson LLC.

THE HOP STARTS HERE ➔ ➔ INSTAGRAM


So, what the heck is a “faux” shaker card? Well, it LOOKS like a shaker, but it’s not. You create a popped up window panel for the front of your card (MINUS acetate/a shaker box for the stars)—in this case, I added a skinny frame die cut from gold foil card stock for some added bling. After assembling all the layers together, I just glued the teensy stars all into place—goes super quick with that Jewel Picker Tool. It’s a fab look that’s sooooo quick and easy to pull together!

Lookin’ for more easy ideas for the new Cake Set? If you haven’t seen it yet, I did a video tutorial & sneak preview over on the Ellen Hutson YouTube Channel earlier this week:  Click HERE to watch!

Lookin’ for more easy ideas for the new Cake Set? If you haven’t seen it yet, I did a video tutorial & sneak preview over on the Ellen Hutson YouTube Channel earlier this week: Click HERE to watch!

Thanks for stopping by, and hope y’all are finding the new release fun and inspiring!


PINKFRESH STUDIOS CRAFT HOUR LIVE WITH JEFF LINDBERG

ETA: Here’s a link to the REPLAY, in case you missed it live: Craft Hour Season 4, Episode 03

My first ever YouTube Live—I’m not great with technology, but Jeff has reassured me that he’ll do all the heavy lifting. So… If you feel like joining us and watching me show off how inept I can be on LIVE camera, come on down tomorrow morning, Saturday—I believe 11am CST is 9am PST/12noon EST .

I’m not really sure how it all works, since I’ve never done one before and I can’t really link directly to a live video until it’s happening/happened, but this should lead you somewhere close: Pinkfresh Studios YouTube Channel

Pop in, say hi, and watch me make something right before your eyes, mistakes and all. LOL!

JUST SQUIDDING IDEAS & INSPIRATION

Click on the photo above ⬆︎ to see my video tutorial for the creation of this design on the Ellen Hutson YouTube channel!

Click on the photo above ⬆︎ to see my video tutorial for the creation of this design on the Ellen Hutson YouTube channel!

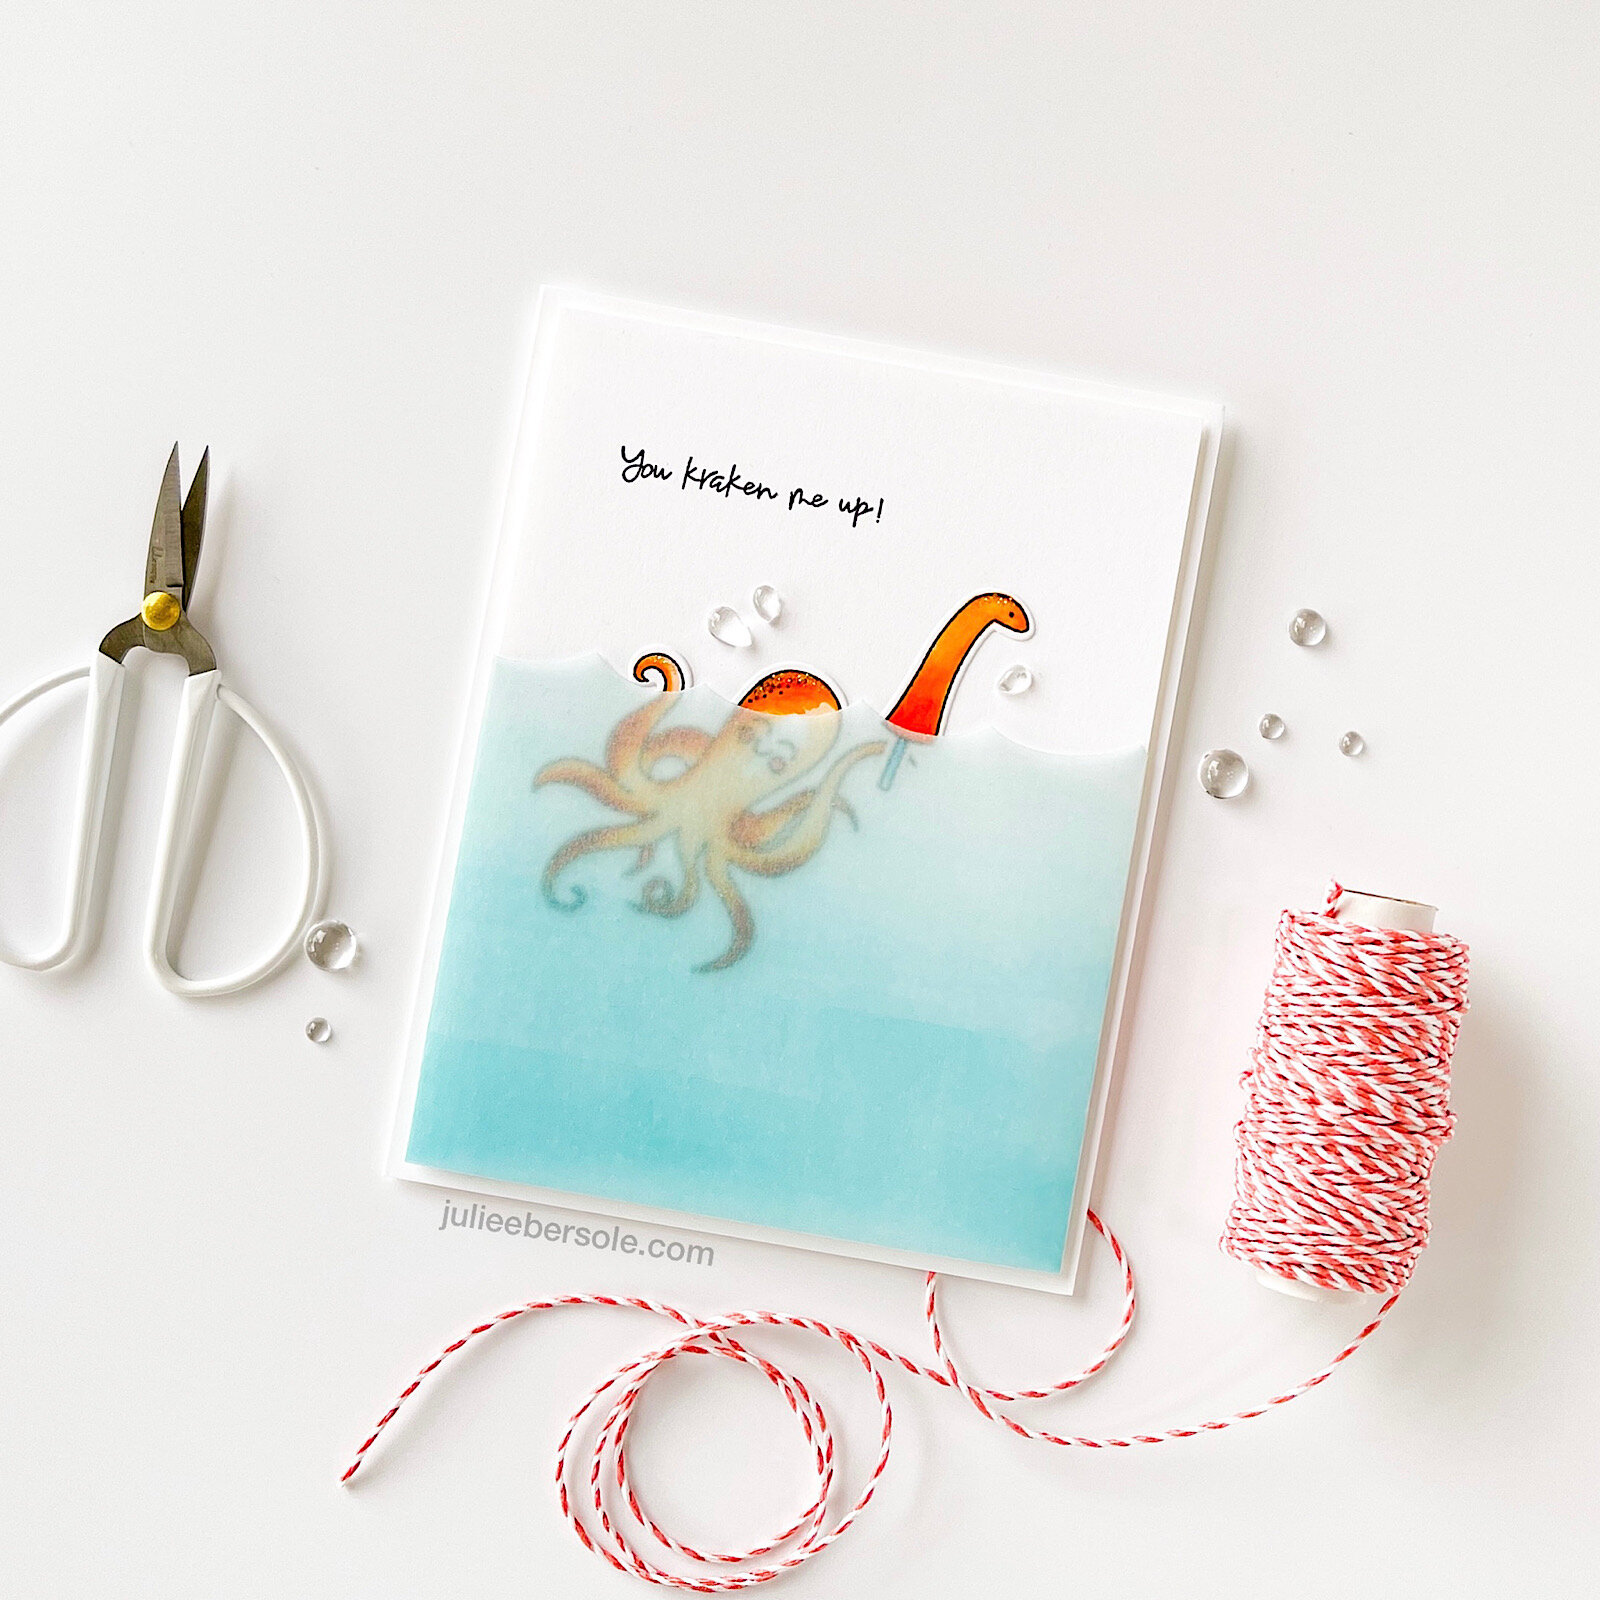
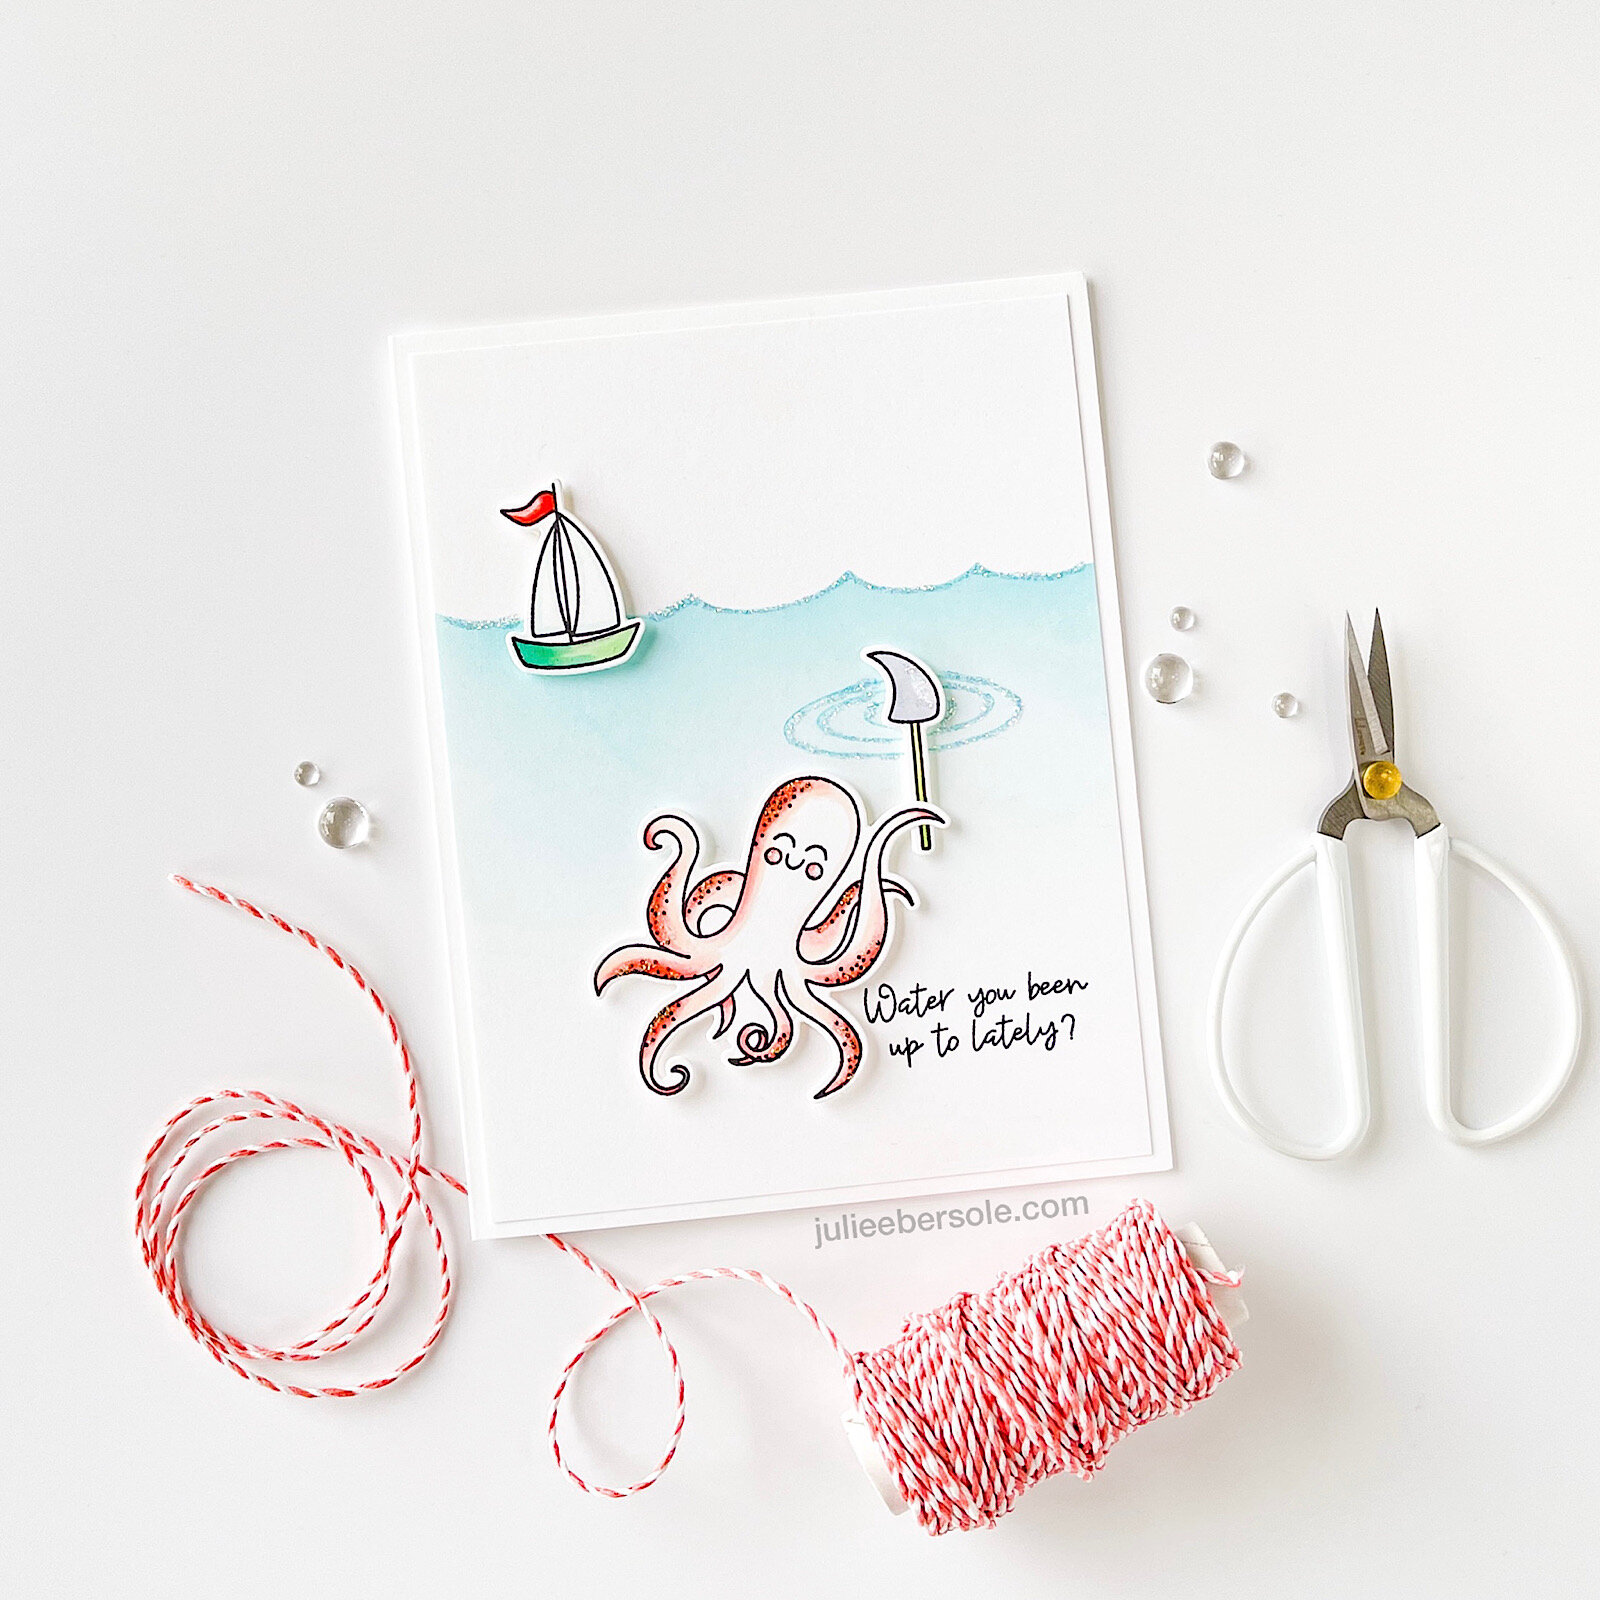
If you love sea creatures and get as much a kick out of puns as I do, you will probably love working with Just Squidding! I have a variety of samples here that I hope will inspire you! It is a seriously fun set to play with!

just-squidding-samples-6.jpg

I used a waves die in a number of these examples to DIY a stencil for ink-blending my ocean background—such an effective way to make subtle backgrounds!

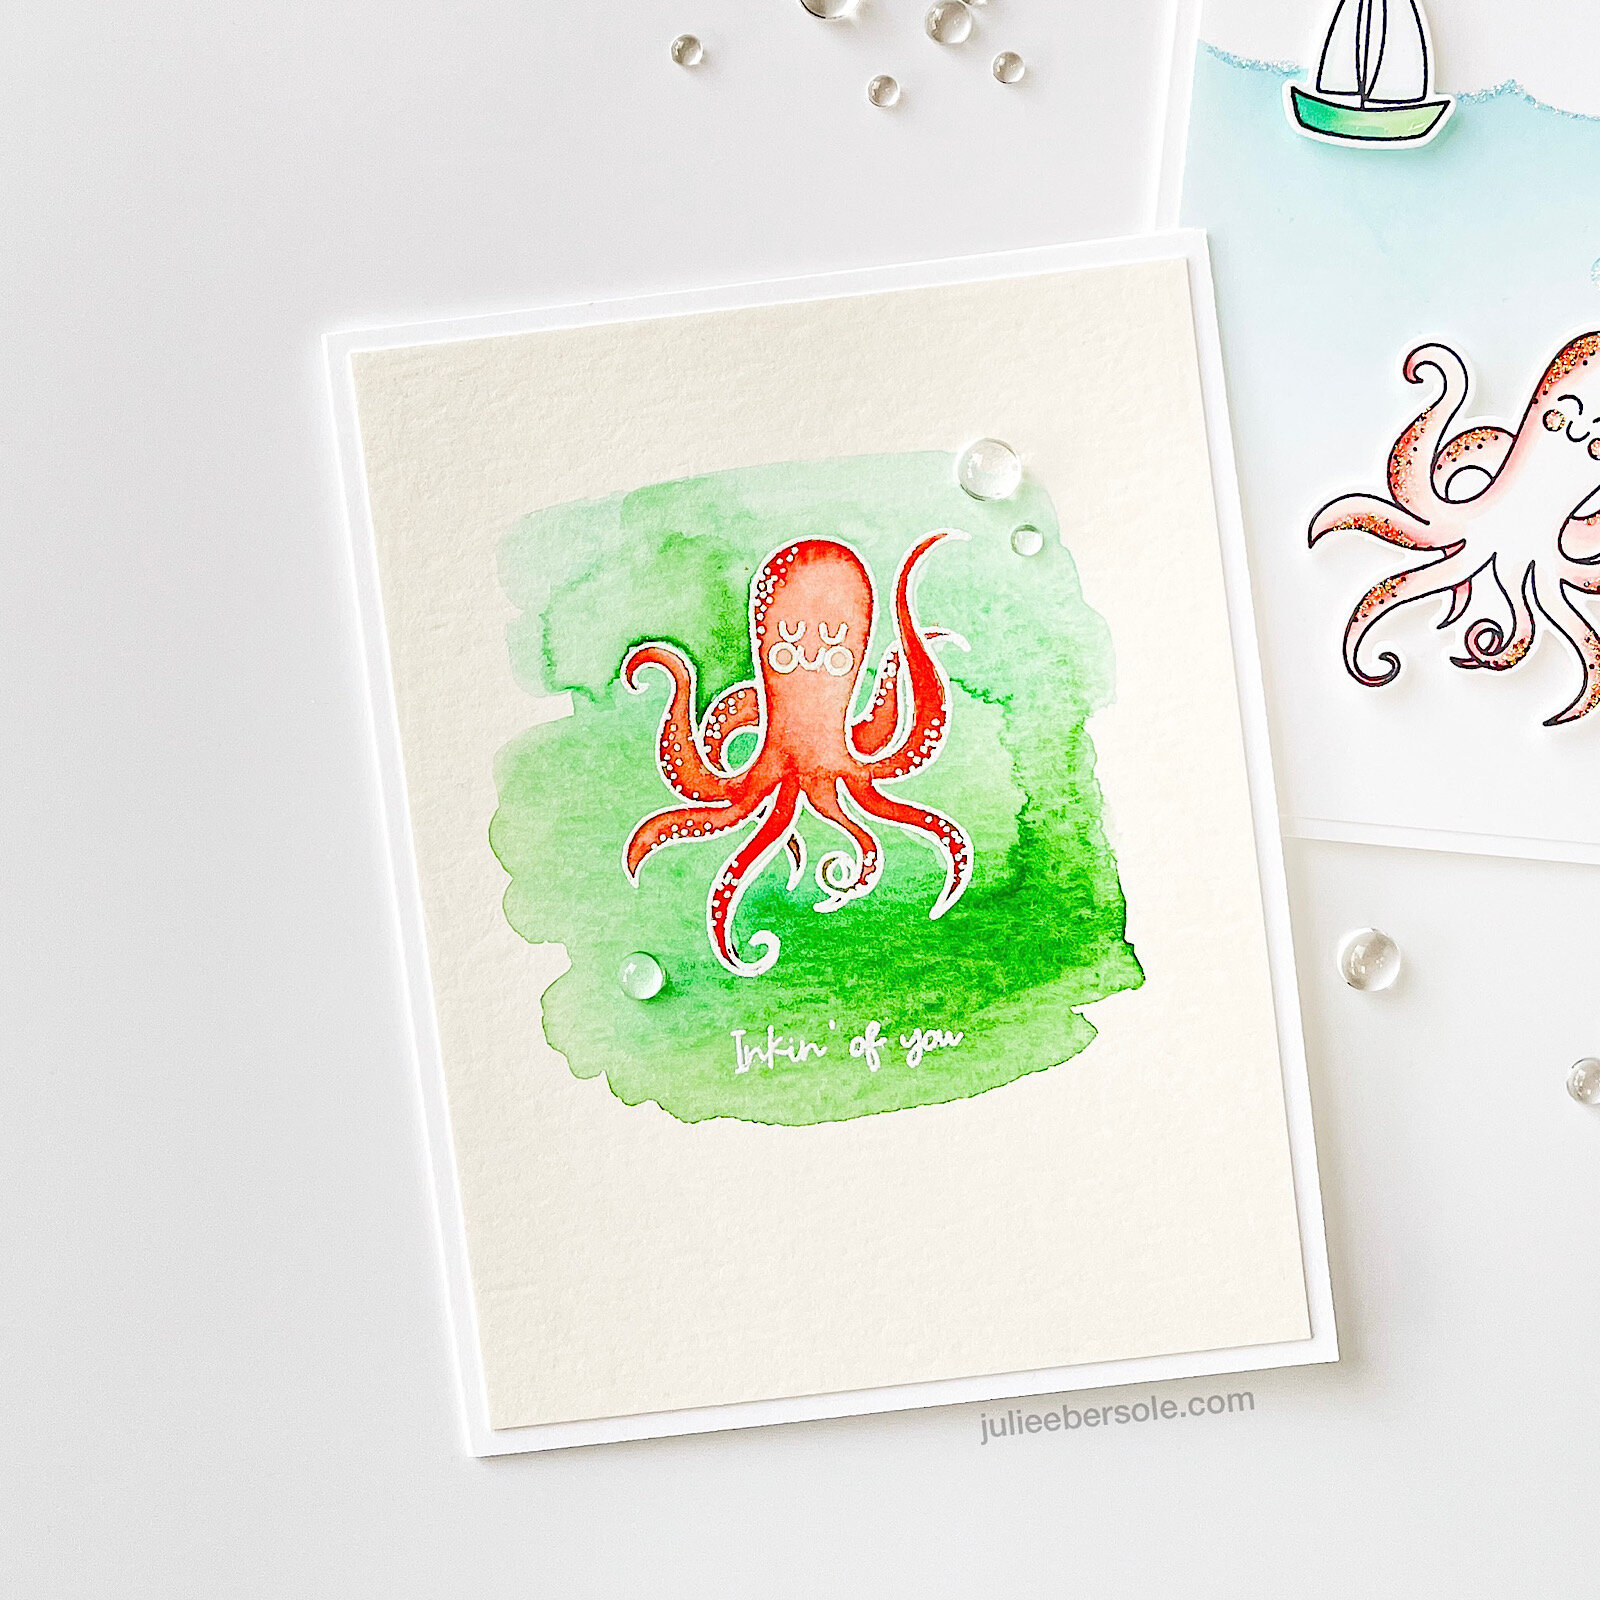
I used Copic Markers to color in all but one of the examples shown here. Can you guess which one I actually used bonafide watercolors on, instead of Copic Markers?

just-squidding-samples-3.jpg

I created a porthole effect on the above card, by die cutting the inner circle first with an Essentials Circles die, then ran it through again with one of the Essentials Stitching Dies so I could stitch embroidery floss around the entire edge for accent—in my head it was a cute idea, but I was thrilled when it turned out even cuter in real life!

just-squidding-samples-4.jpg

White embossed my li’l octopus and have to say that bold colors really make her details stand out! And, those Clear Drops were just begging to be used—any time I’m doing a water scene, I immediately want to reach for them to embellish.

just-squidding-samples-5.jpg

I still haven’t used all the puns available in this set—I need to get busy! Too many chuckles to be had!

Hope you’re staying healthy and safe and that many of you have been able to get vaccinated so you can once again visit and hug loved ones without worry!

Thank you for taking time out of your day to stop by!

P.S. It was the “Inkin’ of you” card . . . (grin)


SUPPLIES:

Disclosure: Affiliate links used wherever possible; when you purchase via my links I may receive a small commission at no extra cost to you. Thanks a bajillion! And, if I could reach through the interwebs to hug you, you’d be wrapped up in the most appreciative mondo squishy hug on the planet!

NEVER-ENDING FRINGE IDEAS AND INSPIRATION

fringe-hit-that-1.jpg

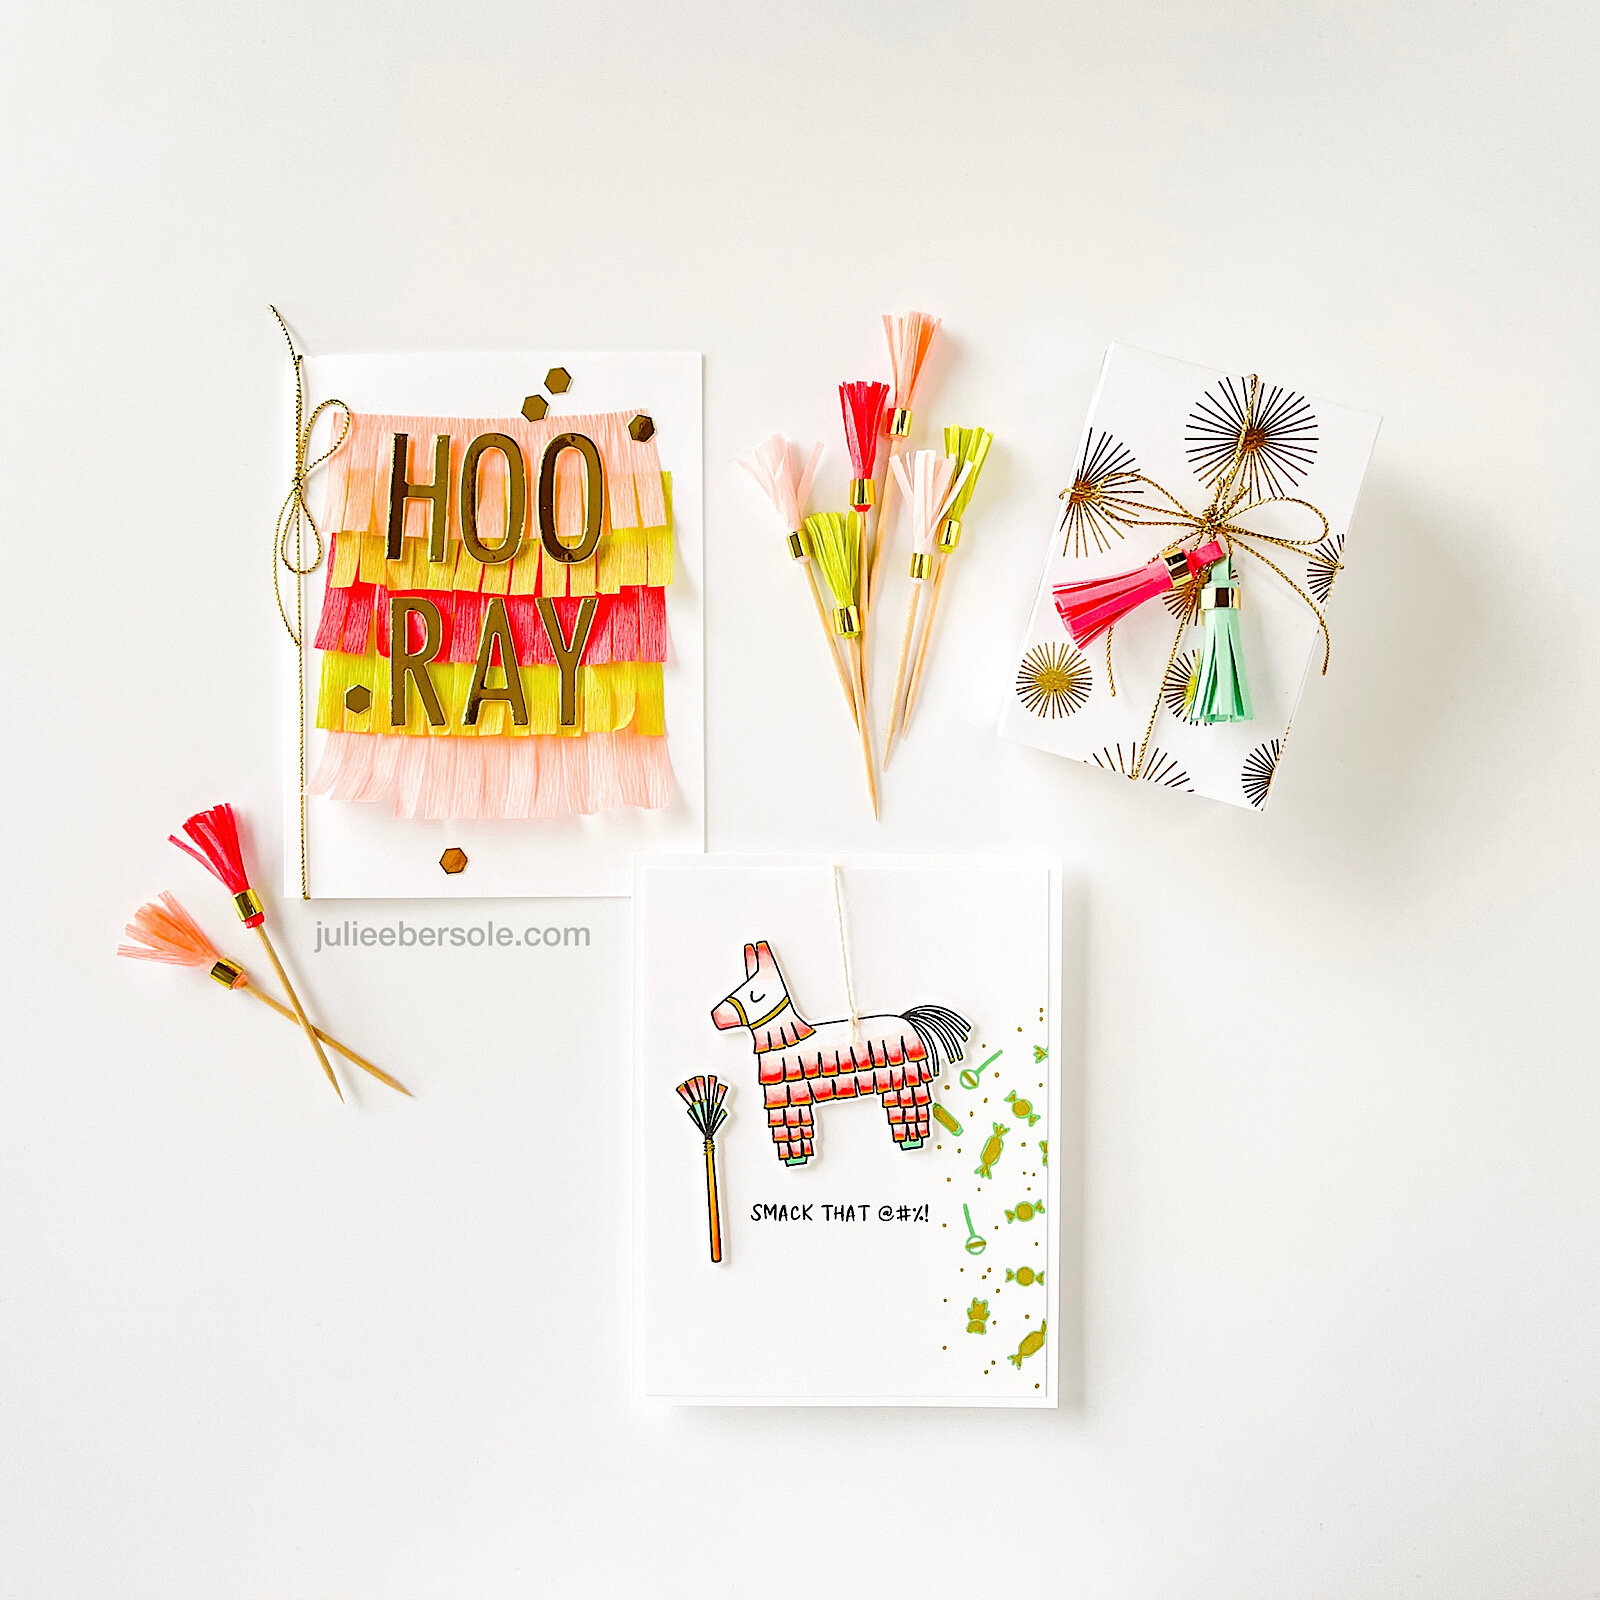
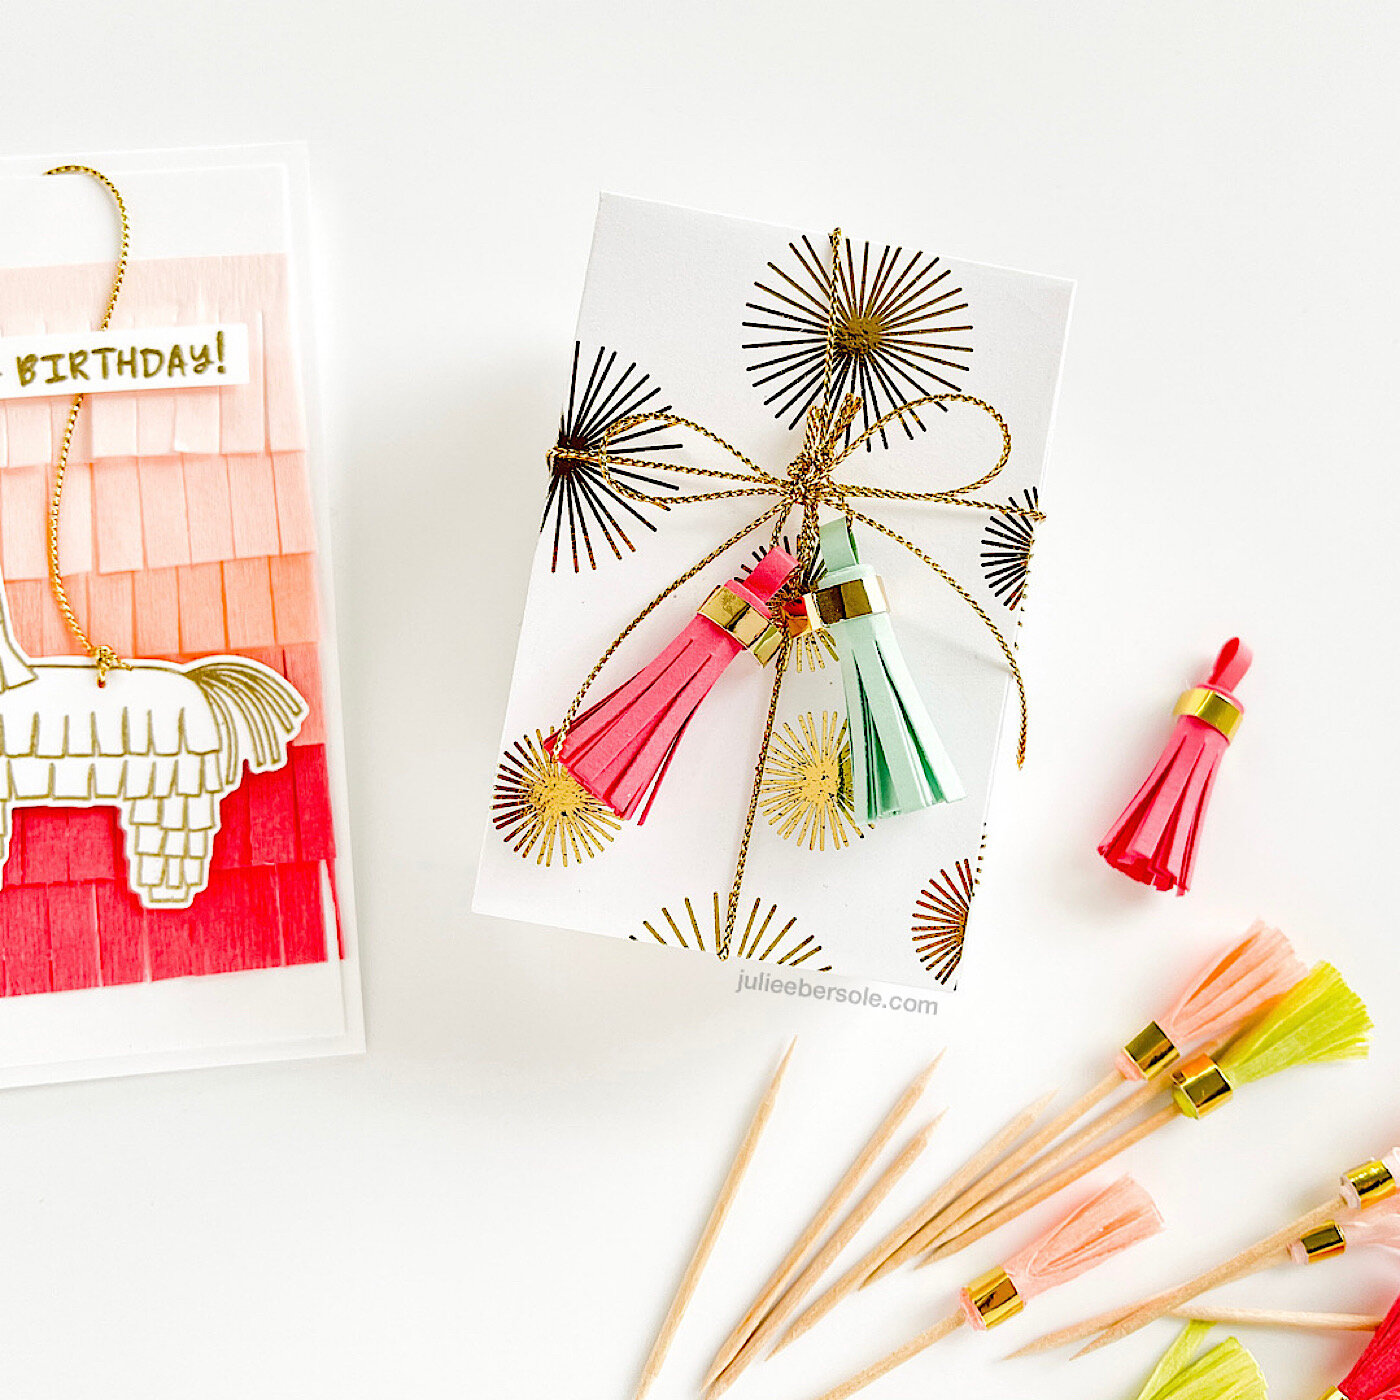
There are so, SO many ways to use the Never-ending Fringe Die—I love having 3 different sizes/widths of fringe to work with! Sometimes you need a smaller size for things like the party picks . . .

fringe-hit-that-5.jpg

. . . and gift package tassels shown here, which are made simply out of card stock. They just finish off this package so nicely! I recently did a how-to video for making tassels using the Never-ending Fringe over on the Ellen Hutson YouTube Channel, linked HERE.

fringe-hit-that-2.jpg

Even tho my piñata above ↑ (from Hit That) is not multi-colored in more, customarily, “traditional” piñata hues, I think it turned out adorable in this ombré pink with minty green and metallic gold accents! (Copic marker colors I used are linked below down in supplies)

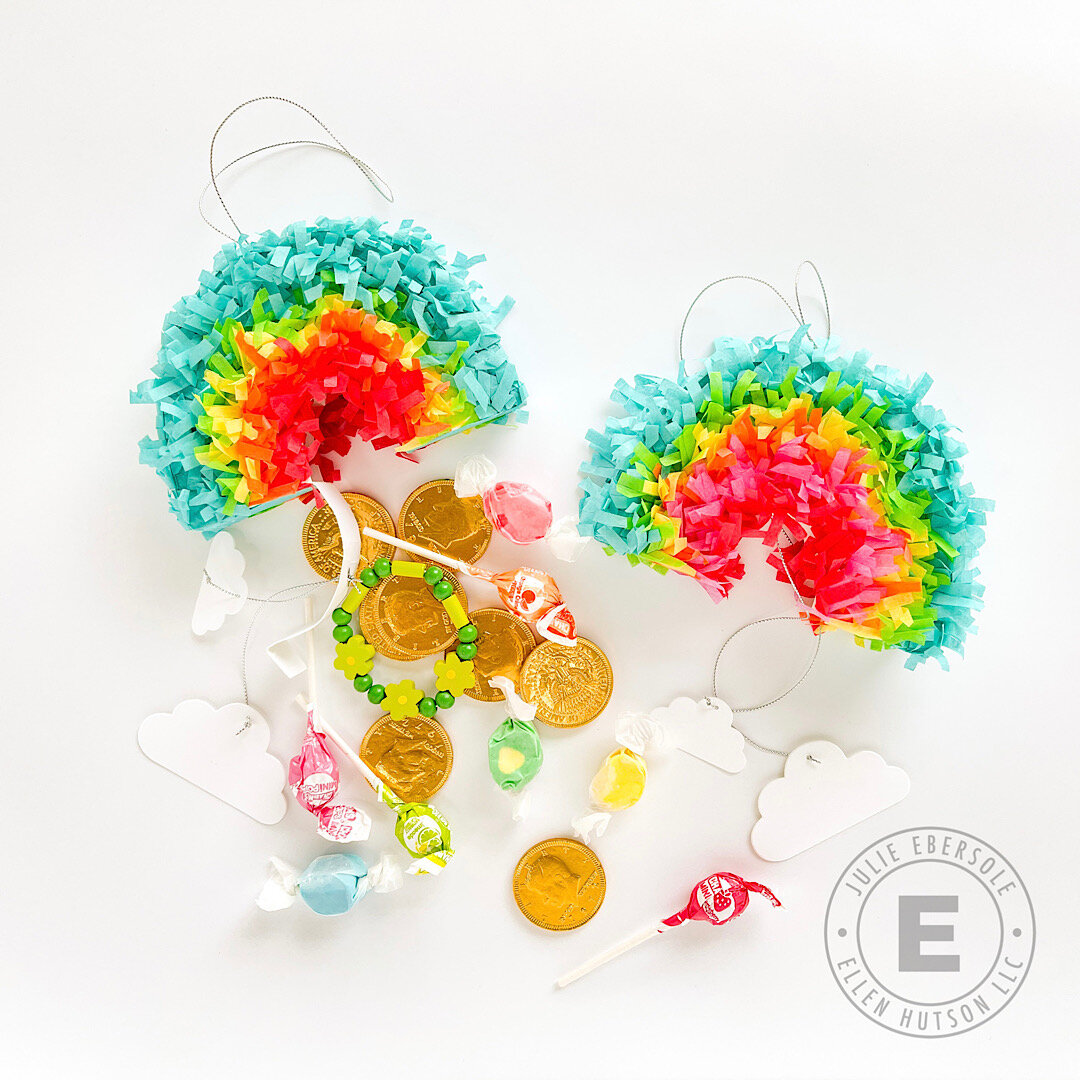
This DIY Mini Pull Piñata video tutorial I did for the Ellen Hutson YouTube Channel, linked HERE, is another of my most favorite projects—I really cannot wait for St. Patrick’s Day to hand them over to my granddaughters and watch their faces when they pull the strings! Here on Whidbey Island, we have very little of the shopping that folks are accustomed to on the mainland (seriously, a trip to Target is an hour+ drive away), but I am lucky in that our local downtown has a wonderfully well-stocked candy and toy shop where I found darling wooden bead bracelets, gold chocolate coins, colorful salt water taffy, and a few other items to stuff inside. Yay!!!

So, what about you? Are you as smitten with fringe as I am?

Thanks for stopping by today!


SUPPLIES:

Disclosure: Affiliate links used wherever possible; when you purchase via my links I may receive a small commission at no extra cost to you. It helps keep the lights on around here. And, if I could reach through the interwebs to hug you, you’d be wrapped up in the most appreciative mondo squishy hug on the planet!