video

ECLIPSE DIE CUTTING EFFECT

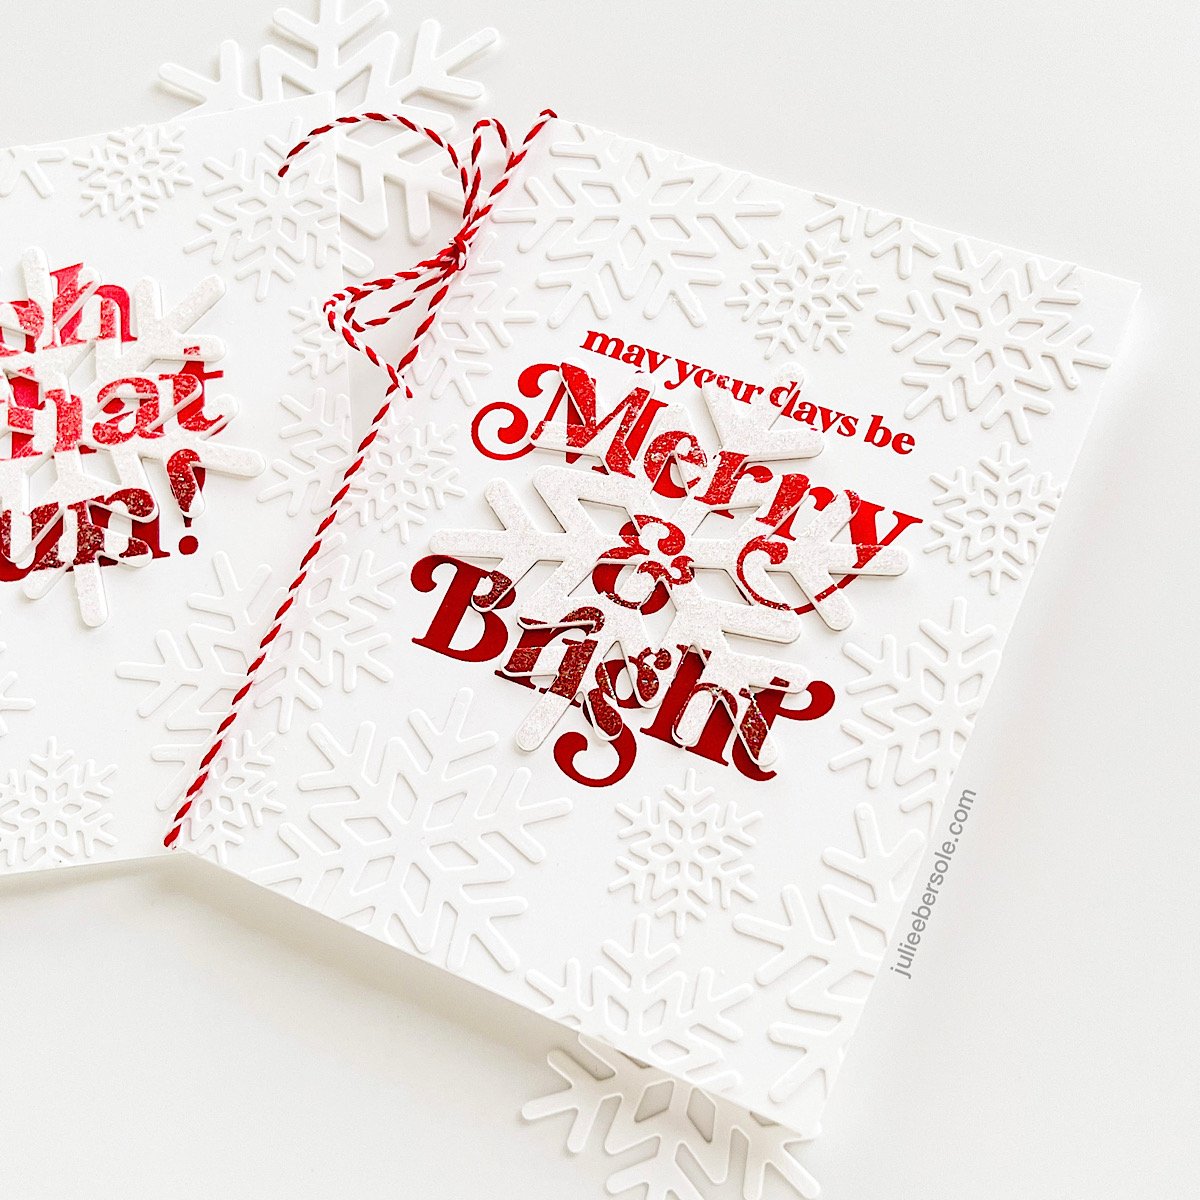
I have seen a number of questions regarding how I achieved the effect on the “Oh What Fun!” card; at the time, I was literally outta’ steam and just couldn’t pull off a video prior to sharing it for the Holiday Release.

Eclipse cards are among my most favorite to make—the technique is simple, not messy, and the end result is one that always seems to fascinate folks. While that’s the focus of my video, I also threw in 2 other techniques that I just happened to combine on these cards, so you’re actually getting a trifecta, LOL! Oooh, go me!

The other two are Ombré Inking, and Faux Embossing Folder (I have no idea if it’s actually called that; it’s what I call it because that’s what it reminds me of), neither of which have to be used in conjunction with the Eclipse Die Cutting, but at the time, that’s the direction the mojo went so I rolled with it. I ended up loving the end result so much I think it was worth the extra time and effort. I wouldn’t necessarily mass produce this type of card, but if I wanted to make an extra special card for someone’s birthday, it is an absolute stunner!

So, would you make a one-off card like this for special occasion? I think something like this would be suitable for a birthday, anniversary, wedding or new baby. If I were making a stack of these, I’d most likely skip the ombré inking and the faux embossing folder effect and just go for the Eclipse.

ANNOUNCEMENT

Also, I wanted to give you a heads’ up that I am going to be transitioning to a new email platform; currently my blog’s RSS feed goes out via MailChimp to those of you that signed up. But, how those emails look has always bugged me (like really, really bugged me!), so I’m moving over to FloDesk.

If you’d like to continue receiving updates/news, other yadda yadda via my email list, please sign up! There’s a new form along the bottom right of my site’s home page you can fill out.

If you’re not interested, no worries; I just didn’t want those who are accustomed to receiving that RSS feed via email to miss out when I finish the transition.

Thanks muchly!


REPOST: FIT TO BE PIED

Because it’s apropos for today, which is Thanksgiving, I’m reposting one of my favorite Bear card designs!

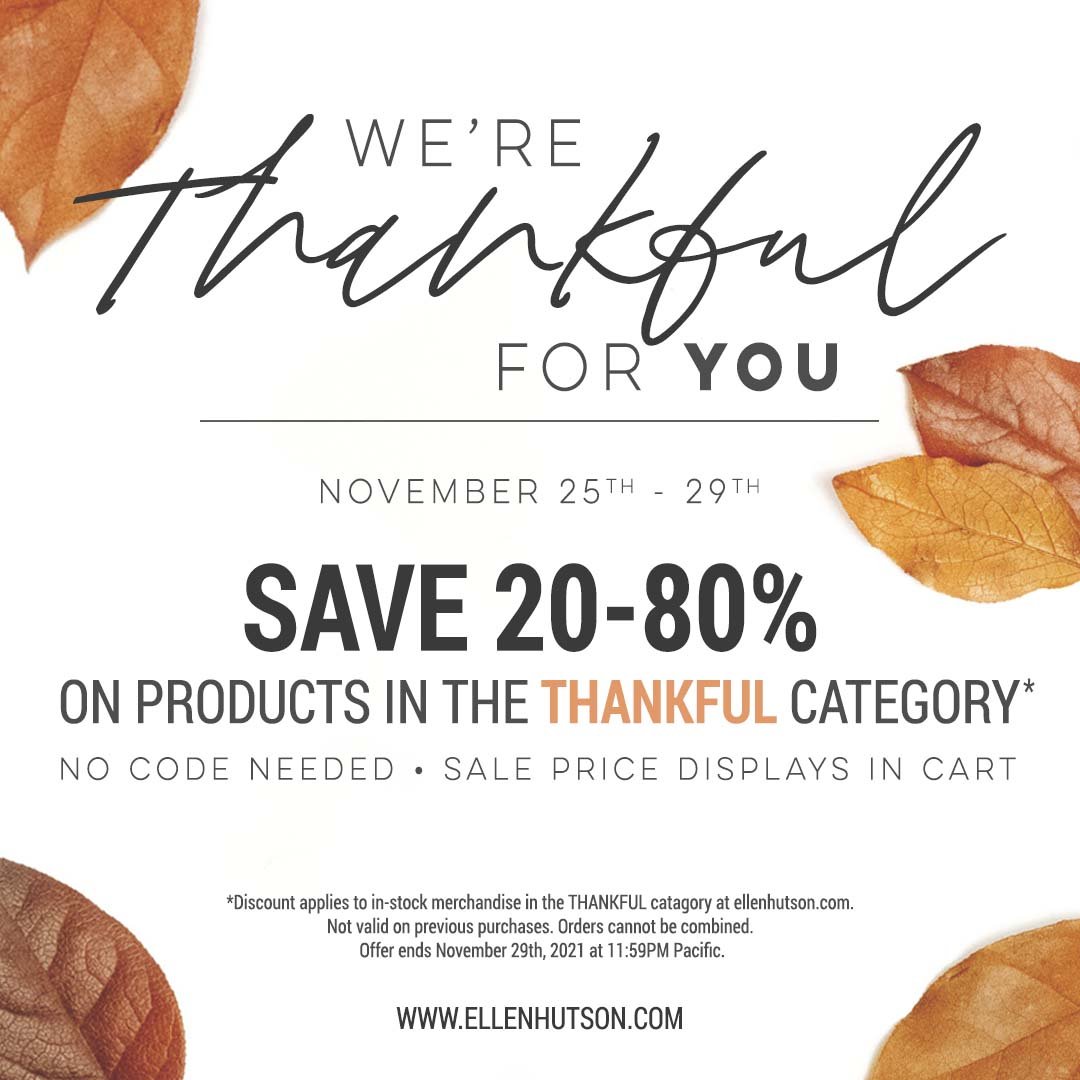
And, if you’re shopping online while waiting for the big bird to finish roasting, heads’ up on the sale going on over at ellenhutson.com right now:


I hope your Turkey Day is indeed “fit to be pied”! (big grin)


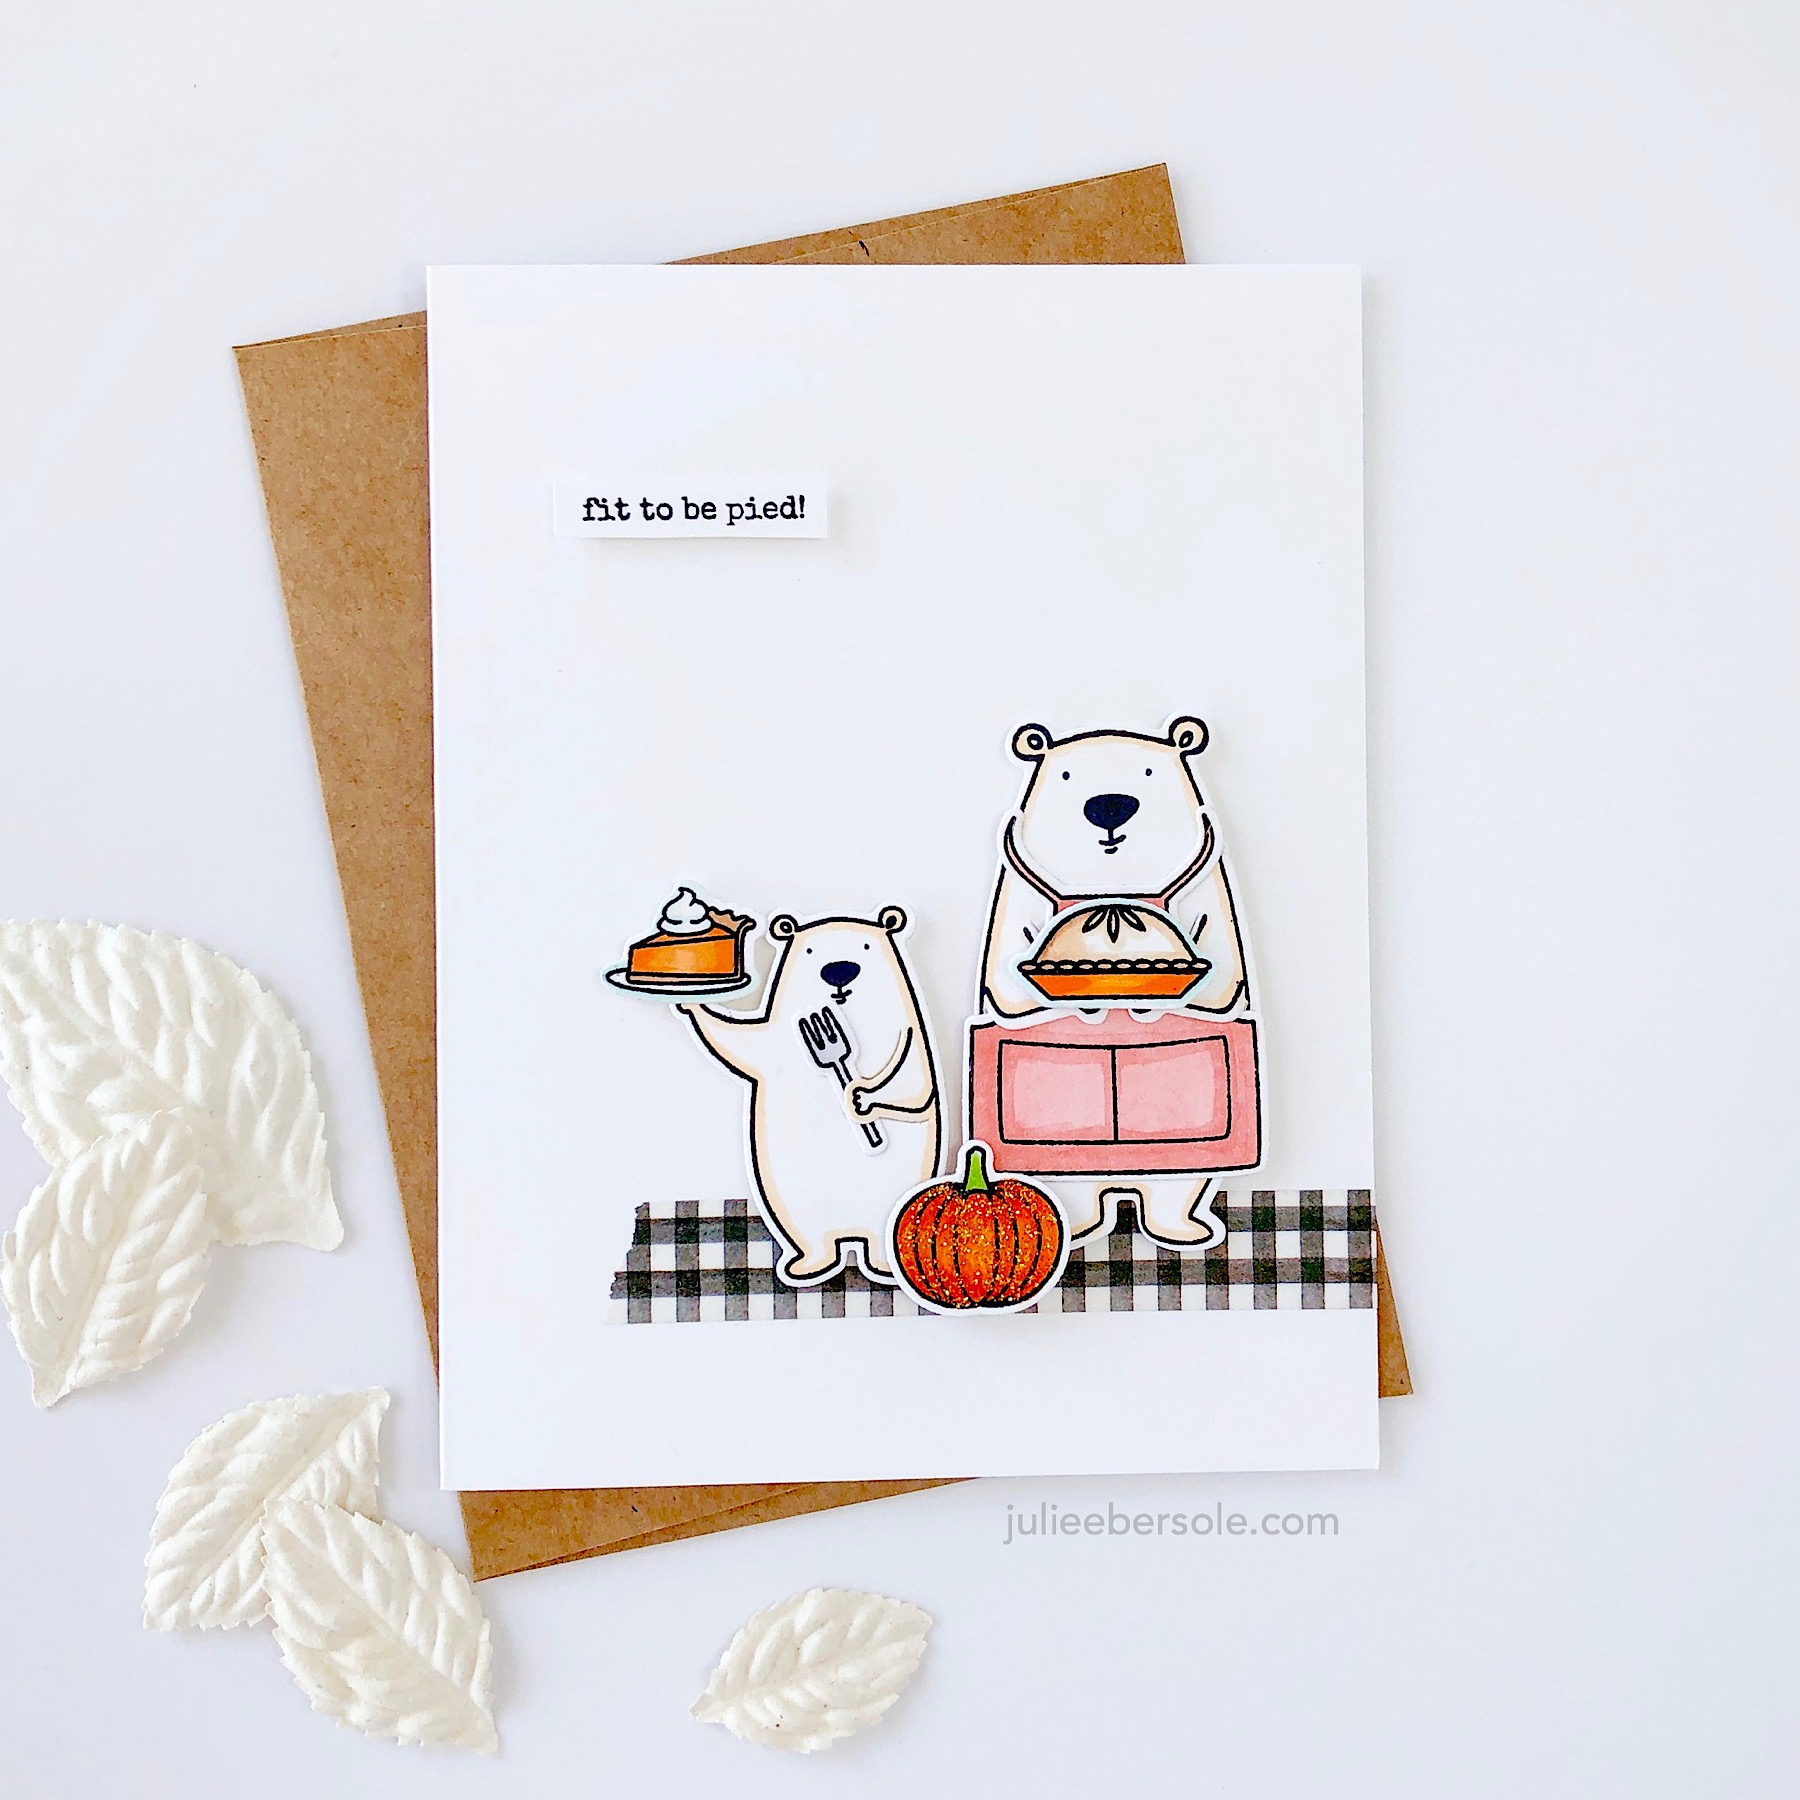
HAH!!! Mama Bear and Li’l Bear have been busy making pumpkin pie. WOOT!!!

I usually refrain from coloring Bear; I just like him in white. But I do like to outline him with a soft color and often reach for Copic Milky White. All of these were stamped with Gina K Amalgam Jet Black Ink, which is alcohol marker friendly. You could also use colored pencils, water-based markers, etc. Normally, I reach for Versafine Clair Nocturne when stamping my images in black, but it does not play nice with alcohol markers unless you clear emboss it.

I also have a quick tip for using stamps that have coordinating SOLID dies. I used the Bear from All Inside for the demo, but this works for any solid die. You can watch right here or over on my YouTube Channel.

If you look closely, you may be able to see how some of the smallish images were outlined outside the lines with a pale blue—this can actually make white images appear even whiter (like the plate and the whip cream atop the slice of pie).

I used Orange Stickles on the pumpkin, but you can substitute Diamond Stickles in a pinch.

Have a fab day and thanks for stopping by!


5 WAYS TO USE SMALL STAMP IMAGES FOR CARD MAKING

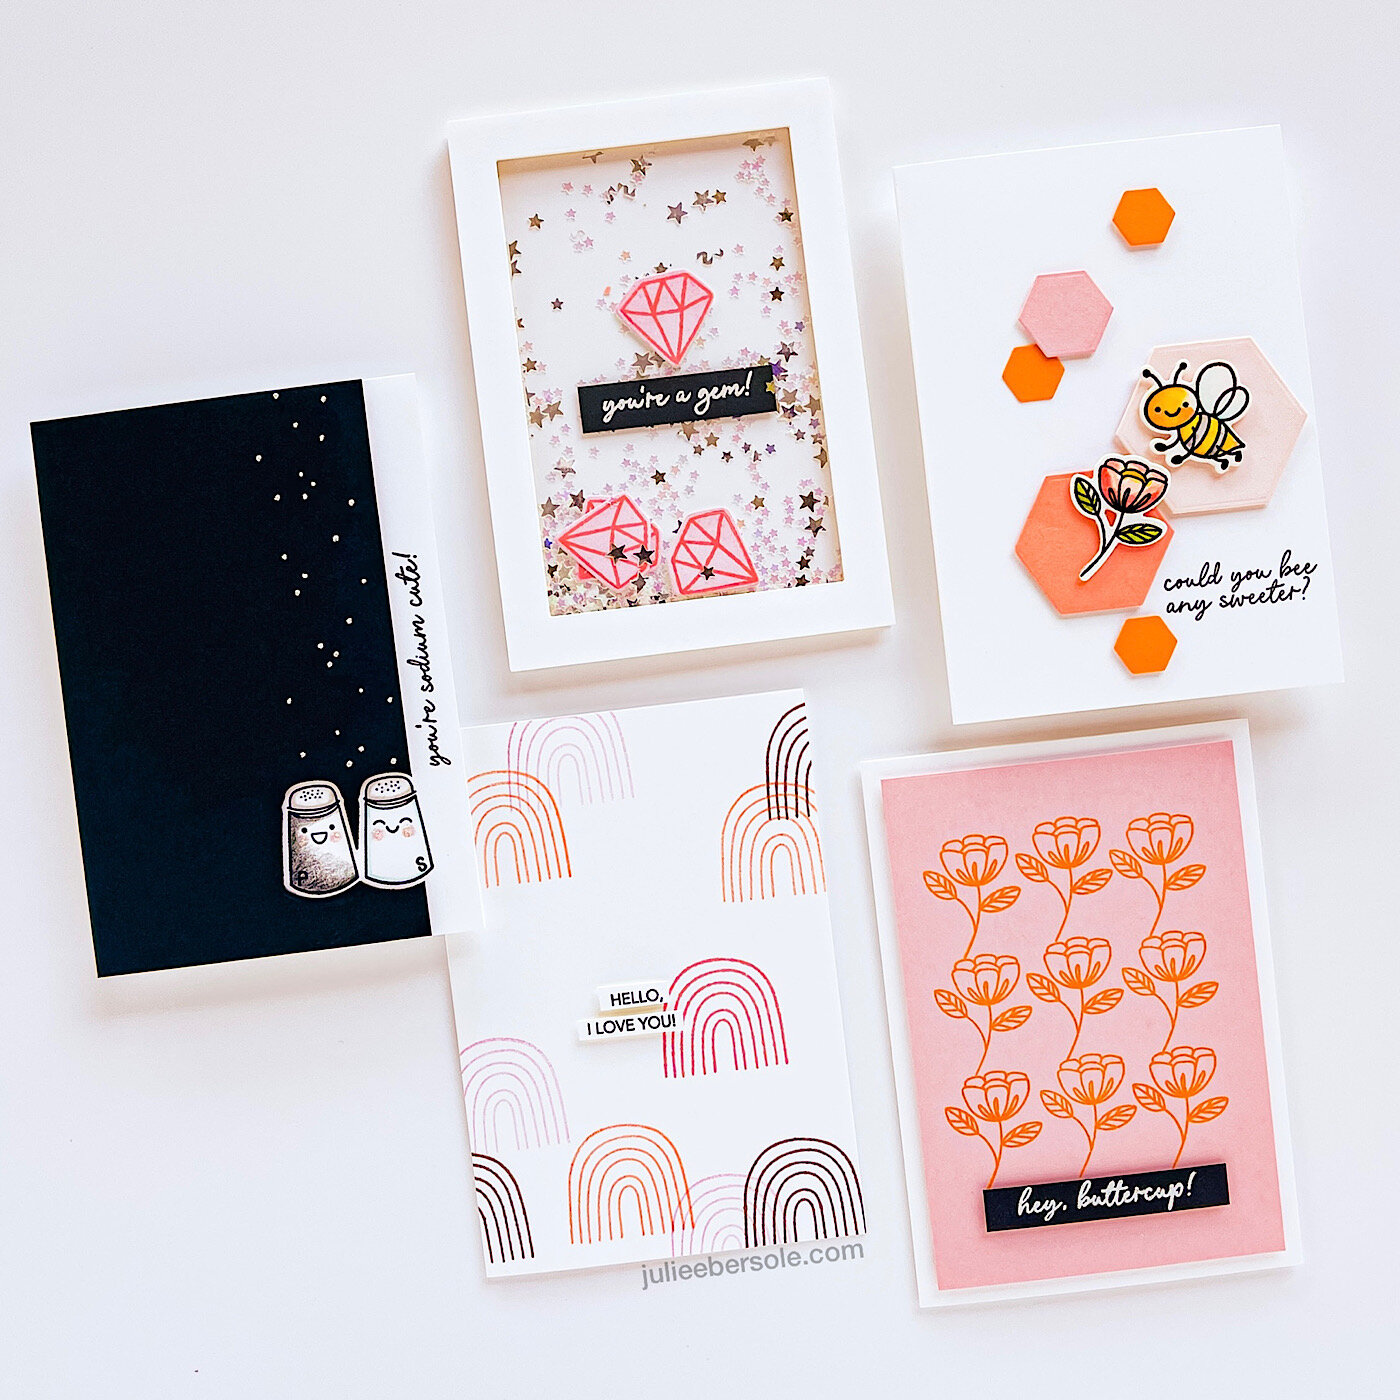
Looking for ways to use the smaller stamps in your stash? My number one tip is to scale down the size of your card! 4 Bar note cards measure 3.5 x 5”. This smaller format lends itself quite well to clean and simple cards where the focus is on the image, or the image + a sentiment.

Would you be interested in 5 MORE ideas for using small stamps? Let me know in the comments!

Have an amazing day!


SUPPLIES:

Disclosure: Yup, those are affiliate links to the products used in my projects and I make a small commission when you purchase via those links, at no extra cost to you. Thank you for buying all the things!

PINKFRESH STUDIOS CRAFT HOUR LIVE WITH JEFF LINDBERG

ETA: Here’s a link to the REPLAY, in case you missed it live: Craft Hour Season 4, Episode 03

My first ever YouTube Live—I’m not great with technology, but Jeff has reassured me that he’ll do all the heavy lifting. So… If you feel like joining us and watching me show off how inept I can be on LIVE camera, come on down tomorrow morning, Saturday—I believe 11am CST is 9am PST/12noon EST .

I’m not really sure how it all works, since I’ve never done one before and I can’t really link directly to a live video until it’s happening/happened, but this should lead you somewhere close: Pinkfresh Studios YouTube Channel

Pop in, say hi, and watch me make something right before your eyes, mistakes and all. LOL!

NEVER-ENDING FRINGE IDEAS AND INSPIRATION

fringe-hit-that-1.jpg

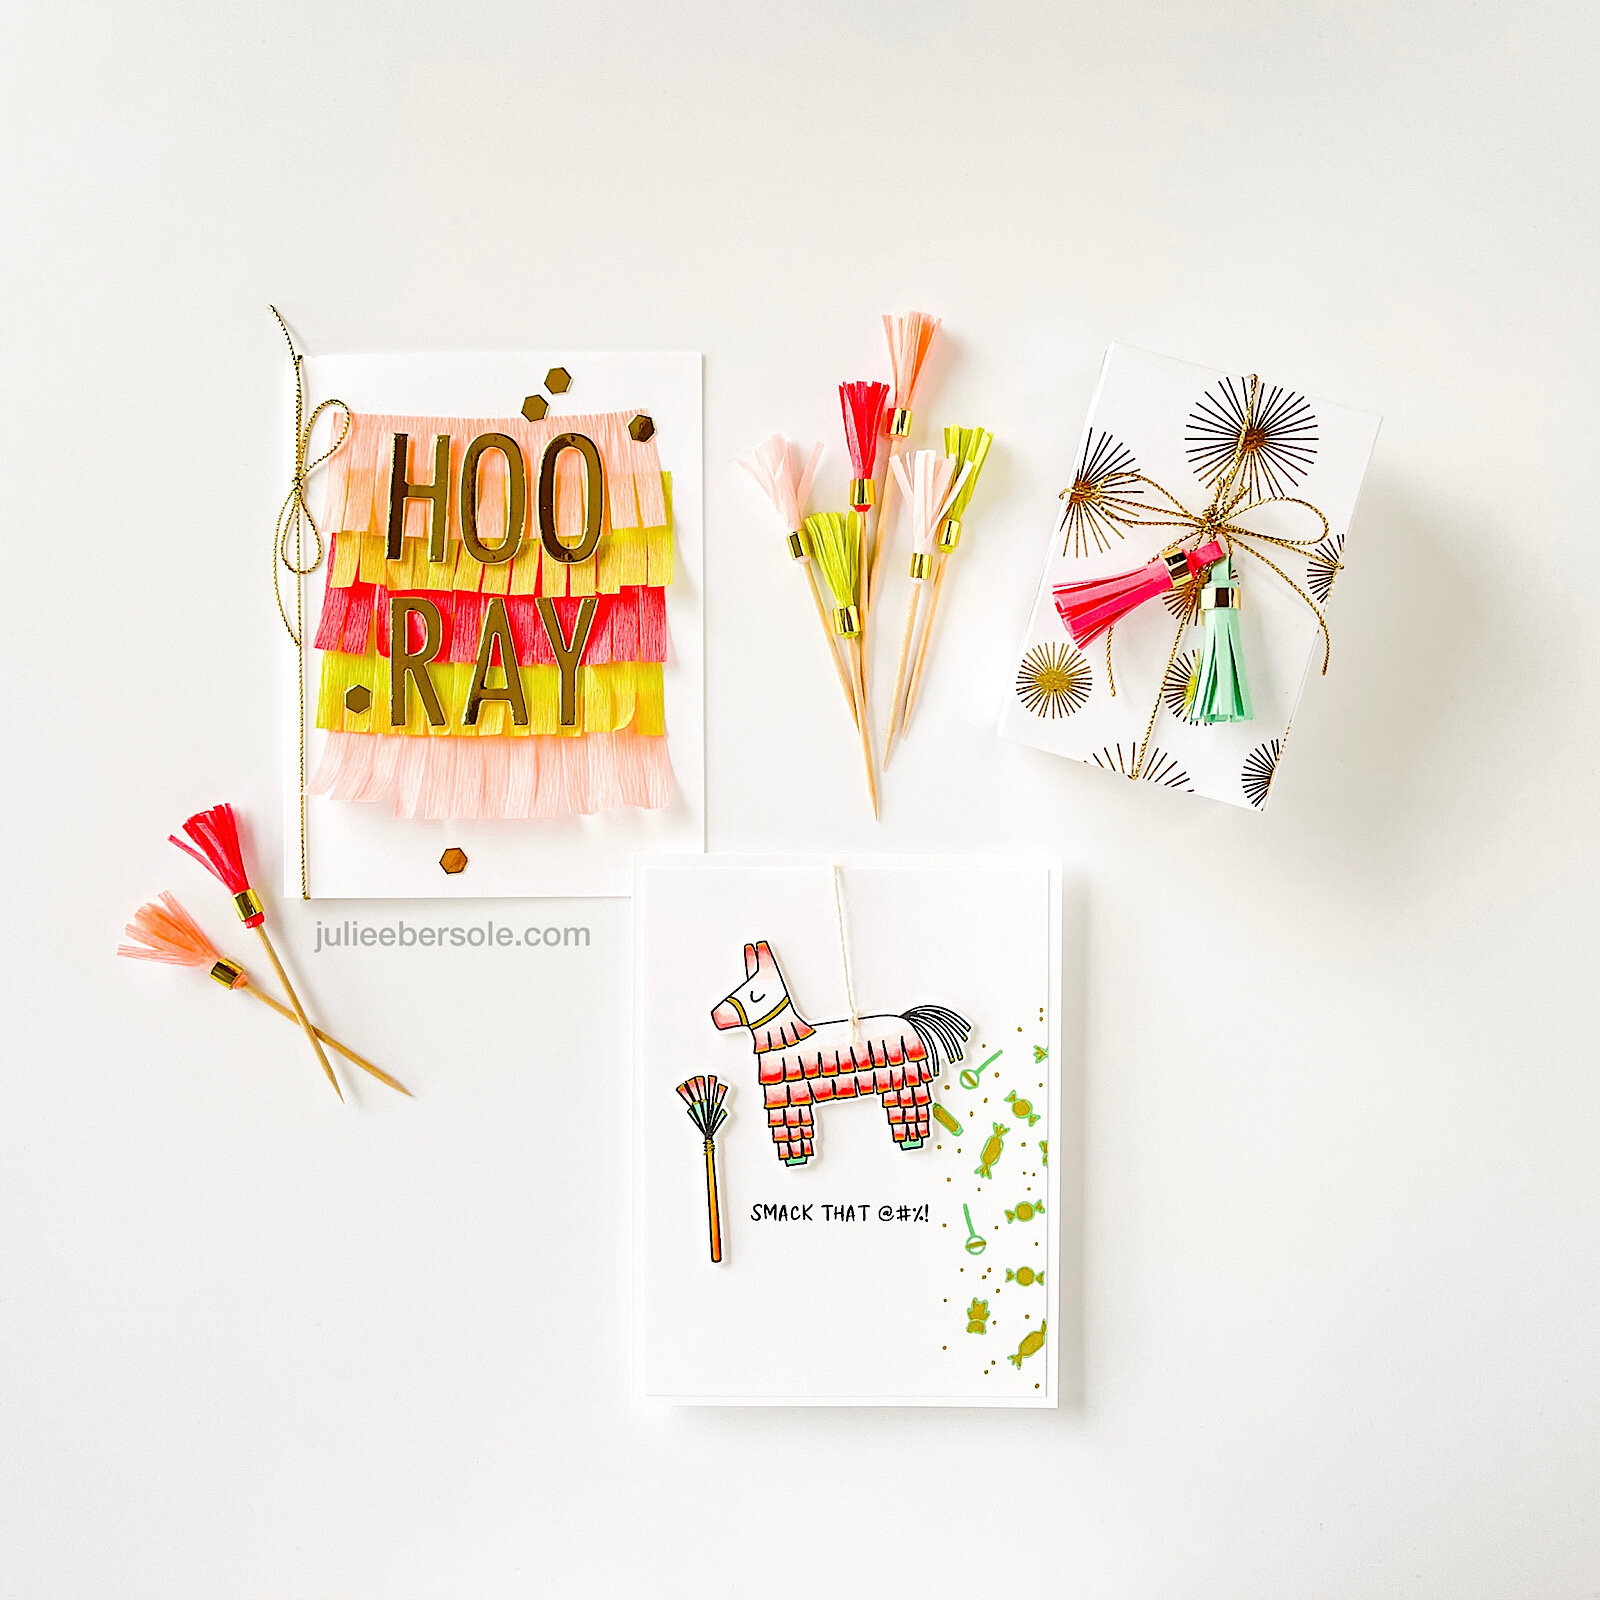
There are so, SO many ways to use the Never-ending Fringe Die—I love having 3 different sizes/widths of fringe to work with! Sometimes you need a smaller size for things like the party picks . . .

fringe-hit-that-5.jpg

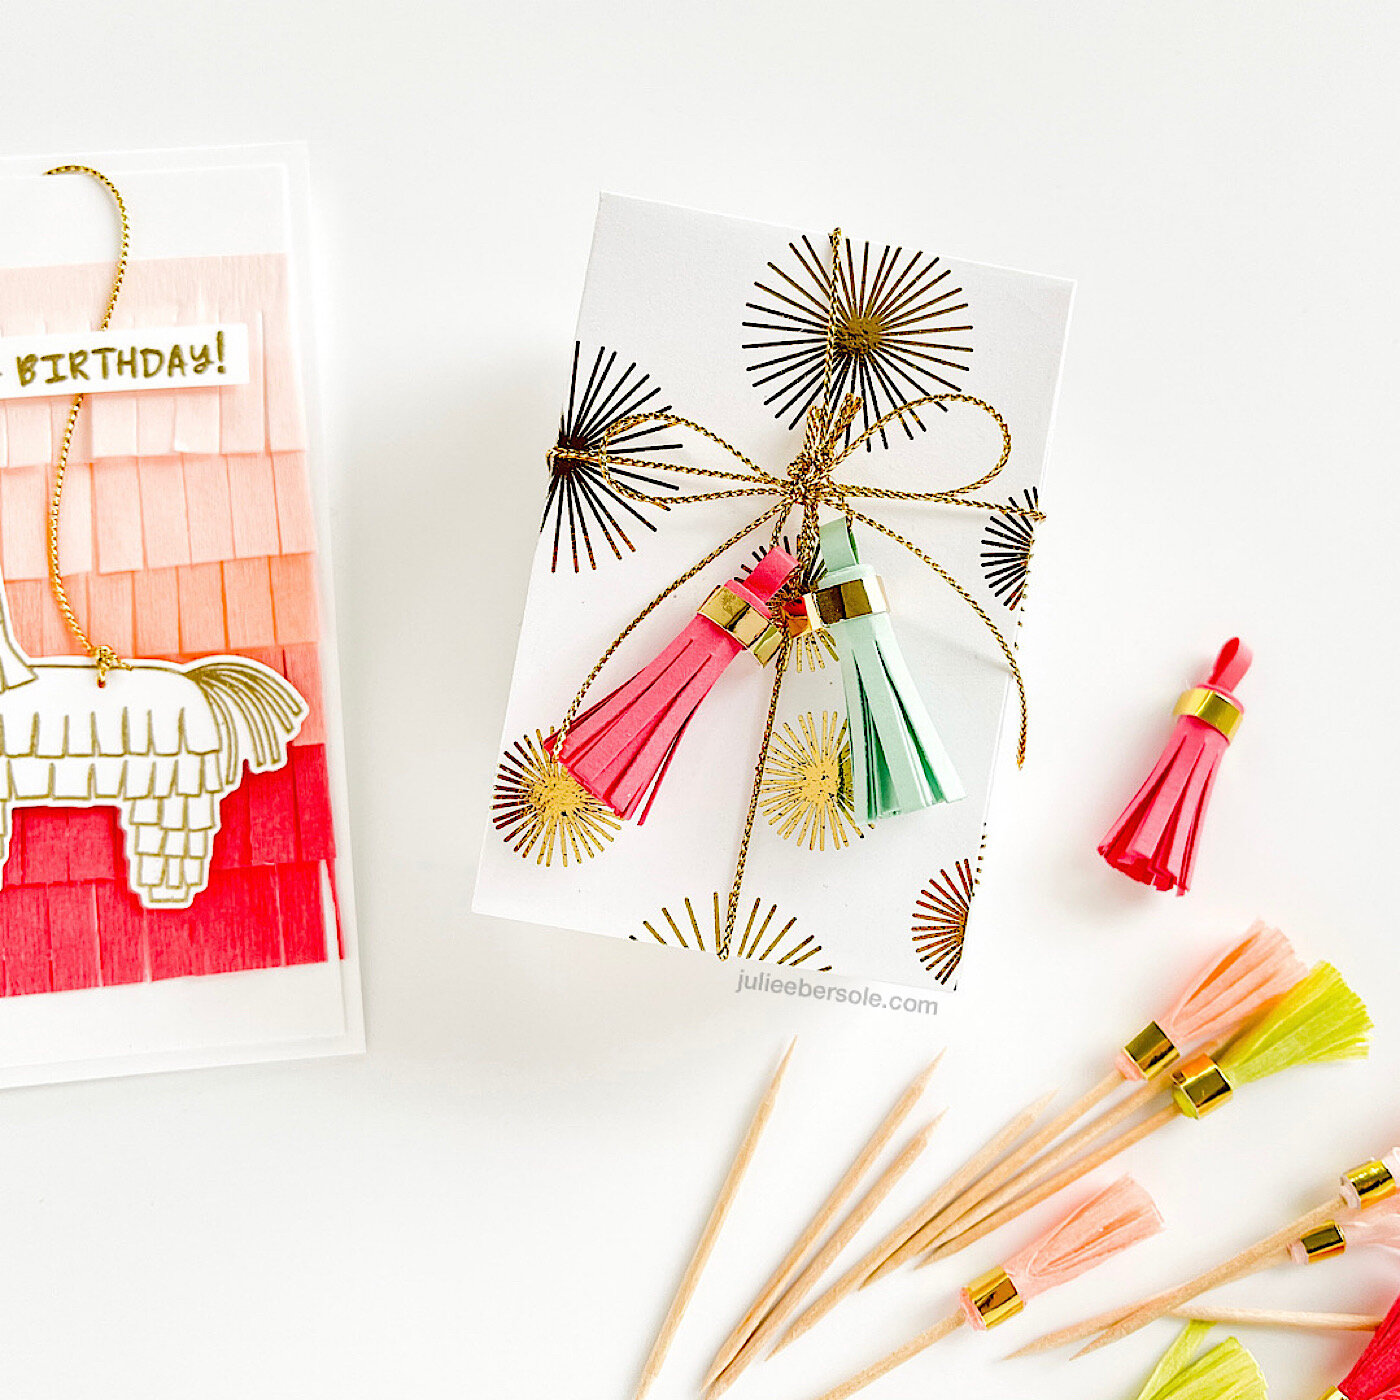
. . . and gift package tassels shown here, which are made simply out of card stock. They just finish off this package so nicely! I recently did a how-to video for making tassels using the Never-ending Fringe over on the Ellen Hutson YouTube Channel, linked HERE.

fringe-hit-that-2.jpg

Even tho my piñata above ↑ (from Hit That) is not multi-colored in more, customarily, “traditional” piñata hues, I think it turned out adorable in this ombré pink with minty green and metallic gold accents! (Copic marker colors I used are linked below down in supplies)

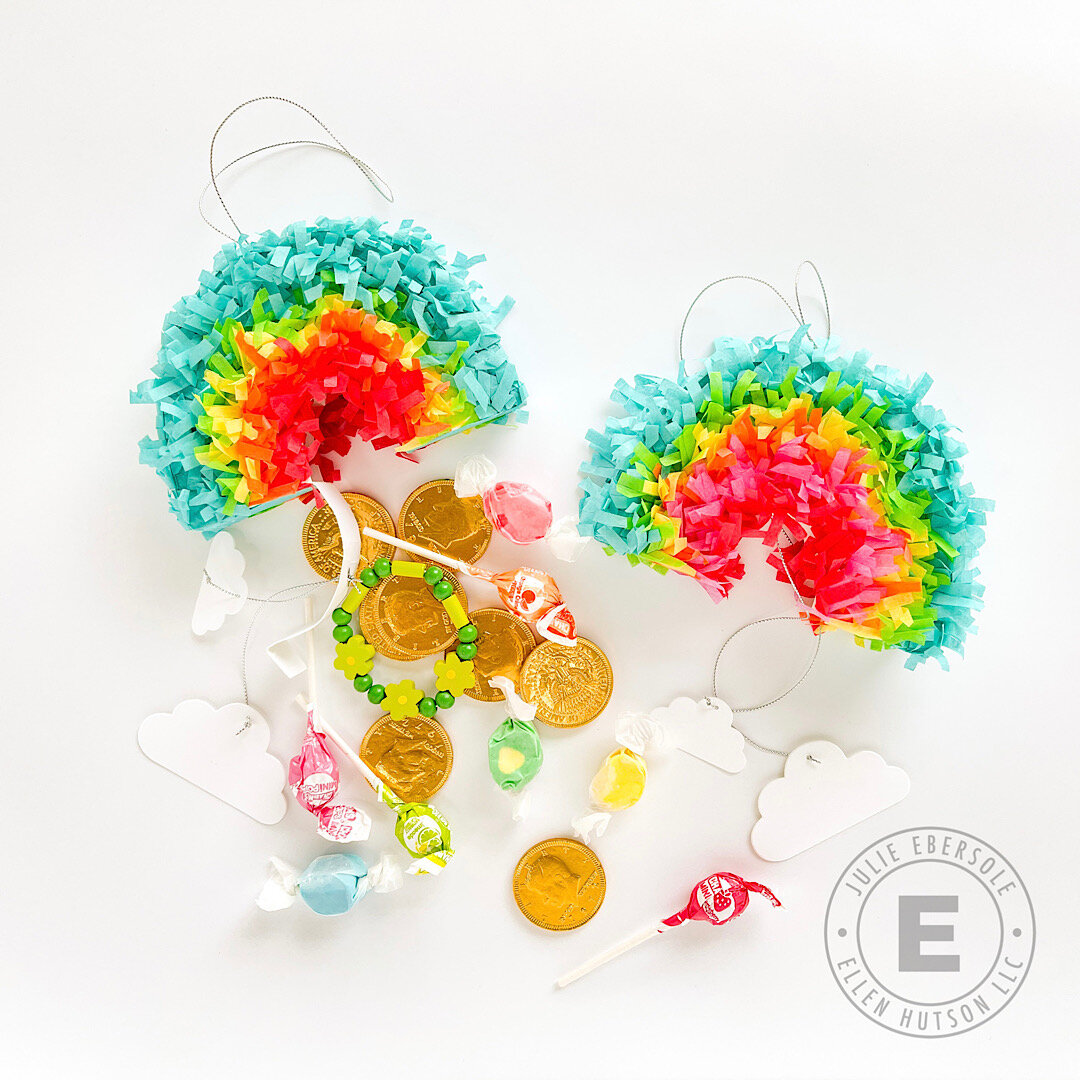
This DIY Mini Pull Piñata video tutorial I did for the Ellen Hutson YouTube Channel, linked HERE, is another of my most favorite projects—I really cannot wait for St. Patrick’s Day to hand them over to my granddaughters and watch their faces when they pull the strings! Here on Whidbey Island, we have very little of the shopping that folks are accustomed to on the mainland (seriously, a trip to Target is an hour+ drive away), but I am lucky in that our local downtown has a wonderfully well-stocked candy and toy shop where I found darling wooden bead bracelets, gold chocolate coins, colorful salt water taffy, and a few other items to stuff inside. Yay!!!

So, what about you? Are you as smitten with fringe as I am?

Thanks for stopping by today!


SUPPLIES:

Disclosure: Affiliate links used wherever possible; when you purchase via my links I may receive a small commission at no extra cost to you. It helps keep the lights on around here. And, if I could reach through the interwebs to hug you, you’d be wrapped up in the most appreciative mondo squishy hug on the planet!