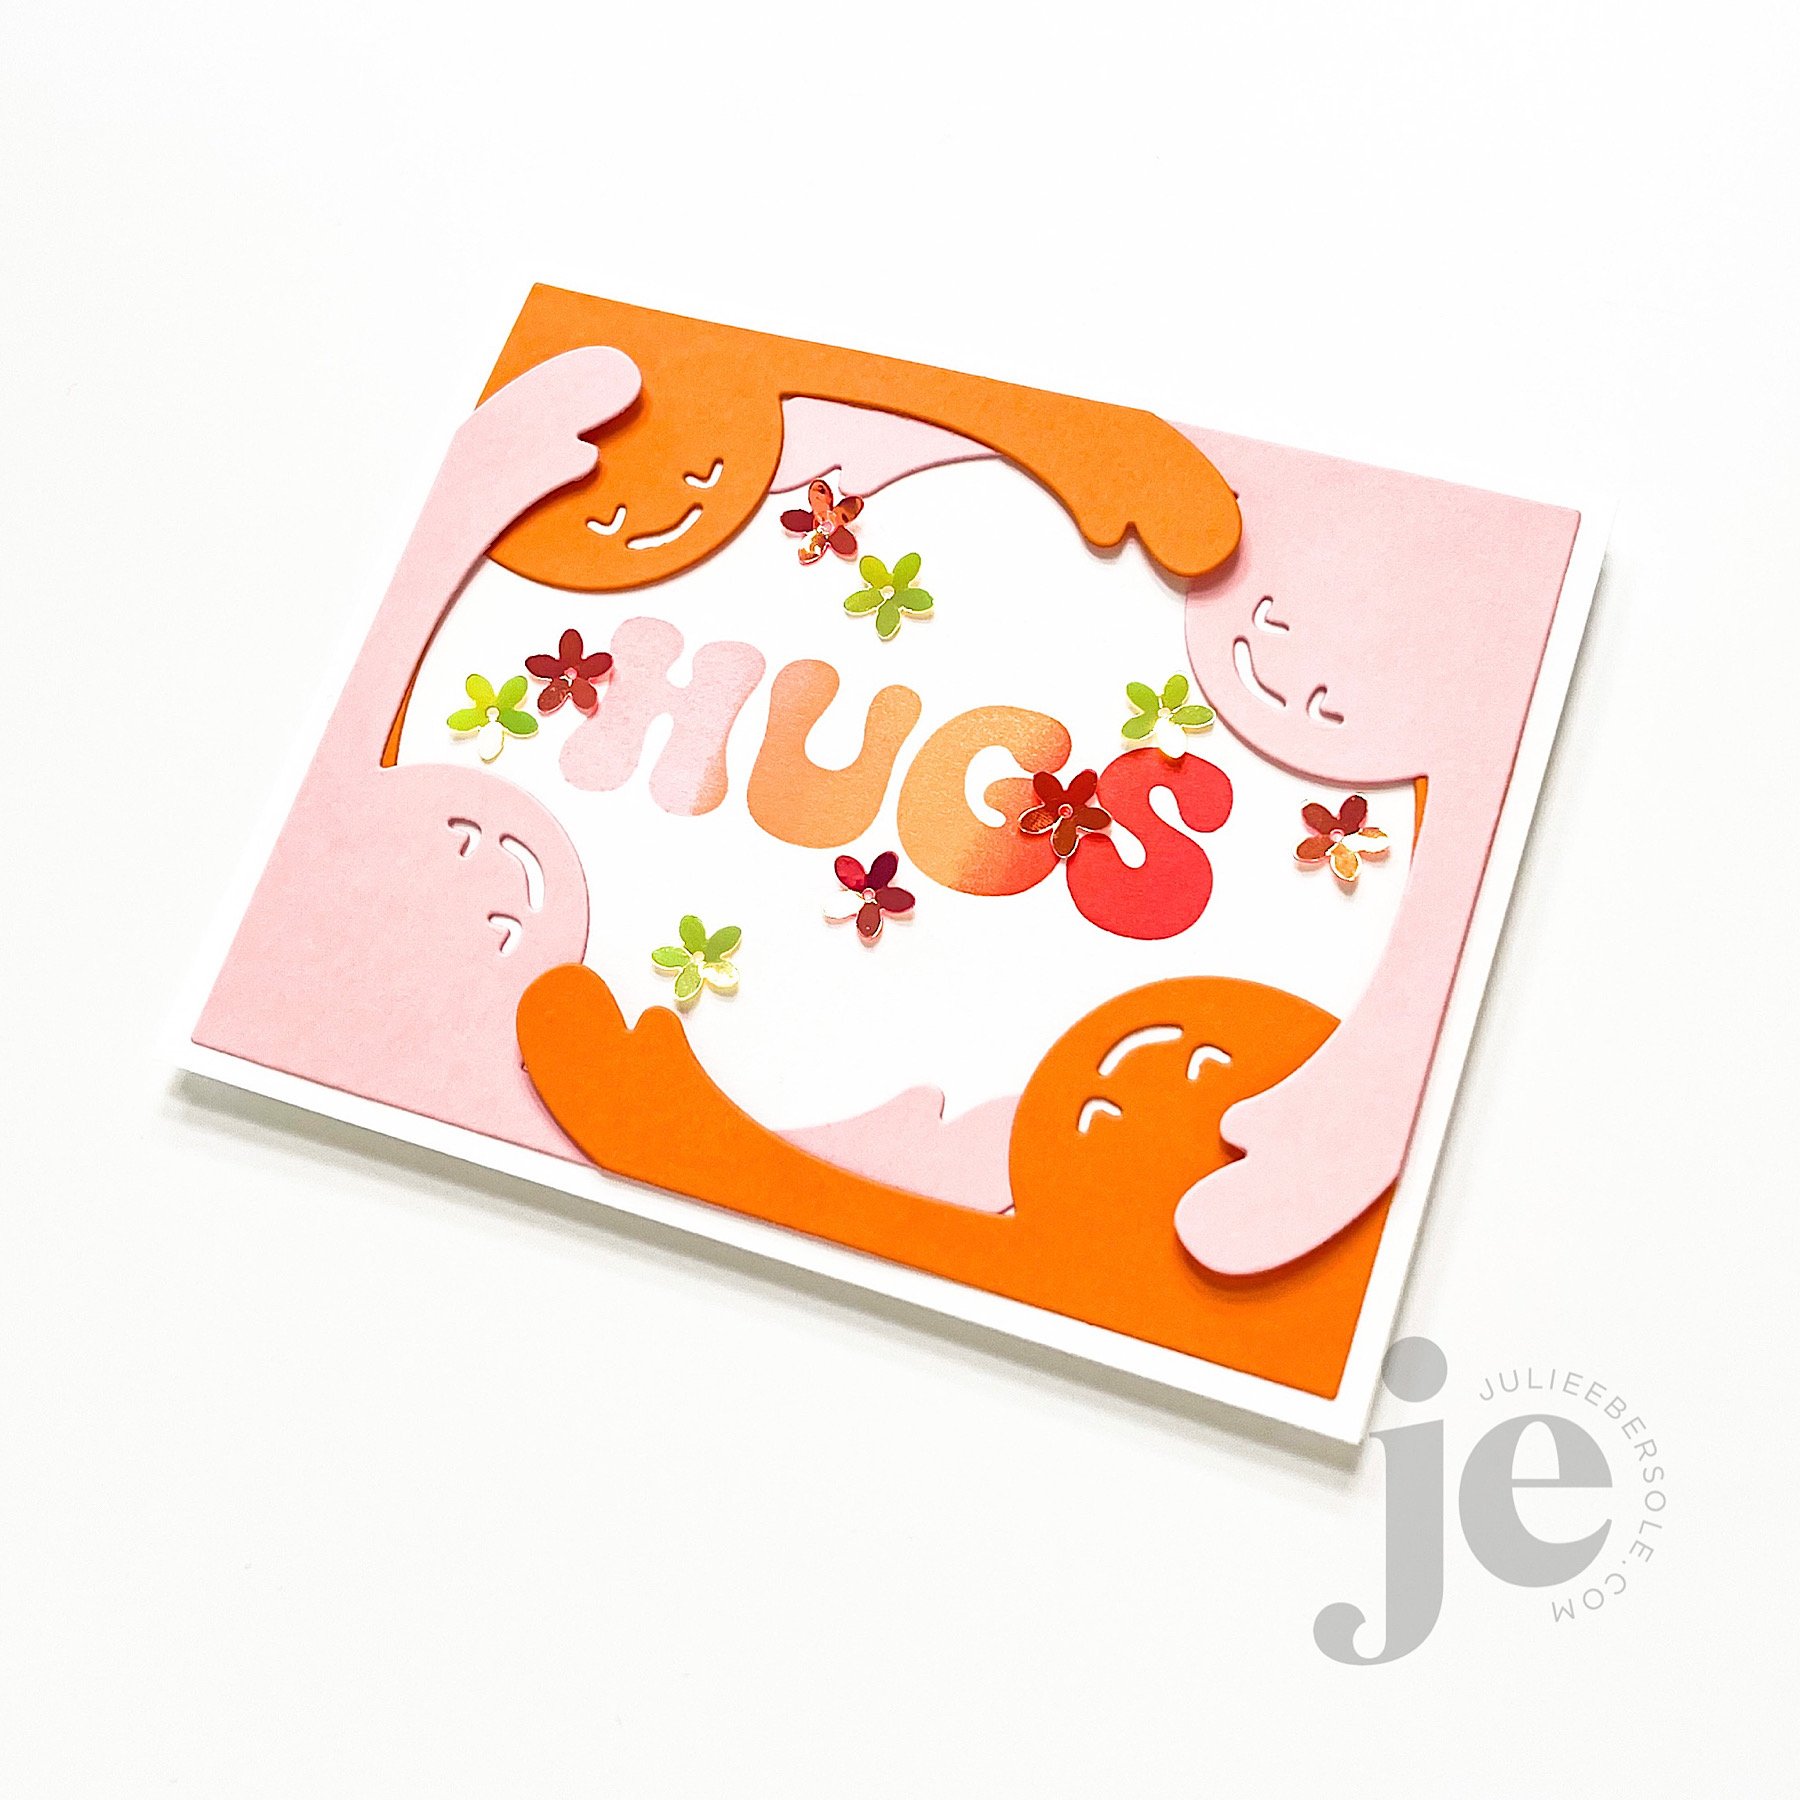
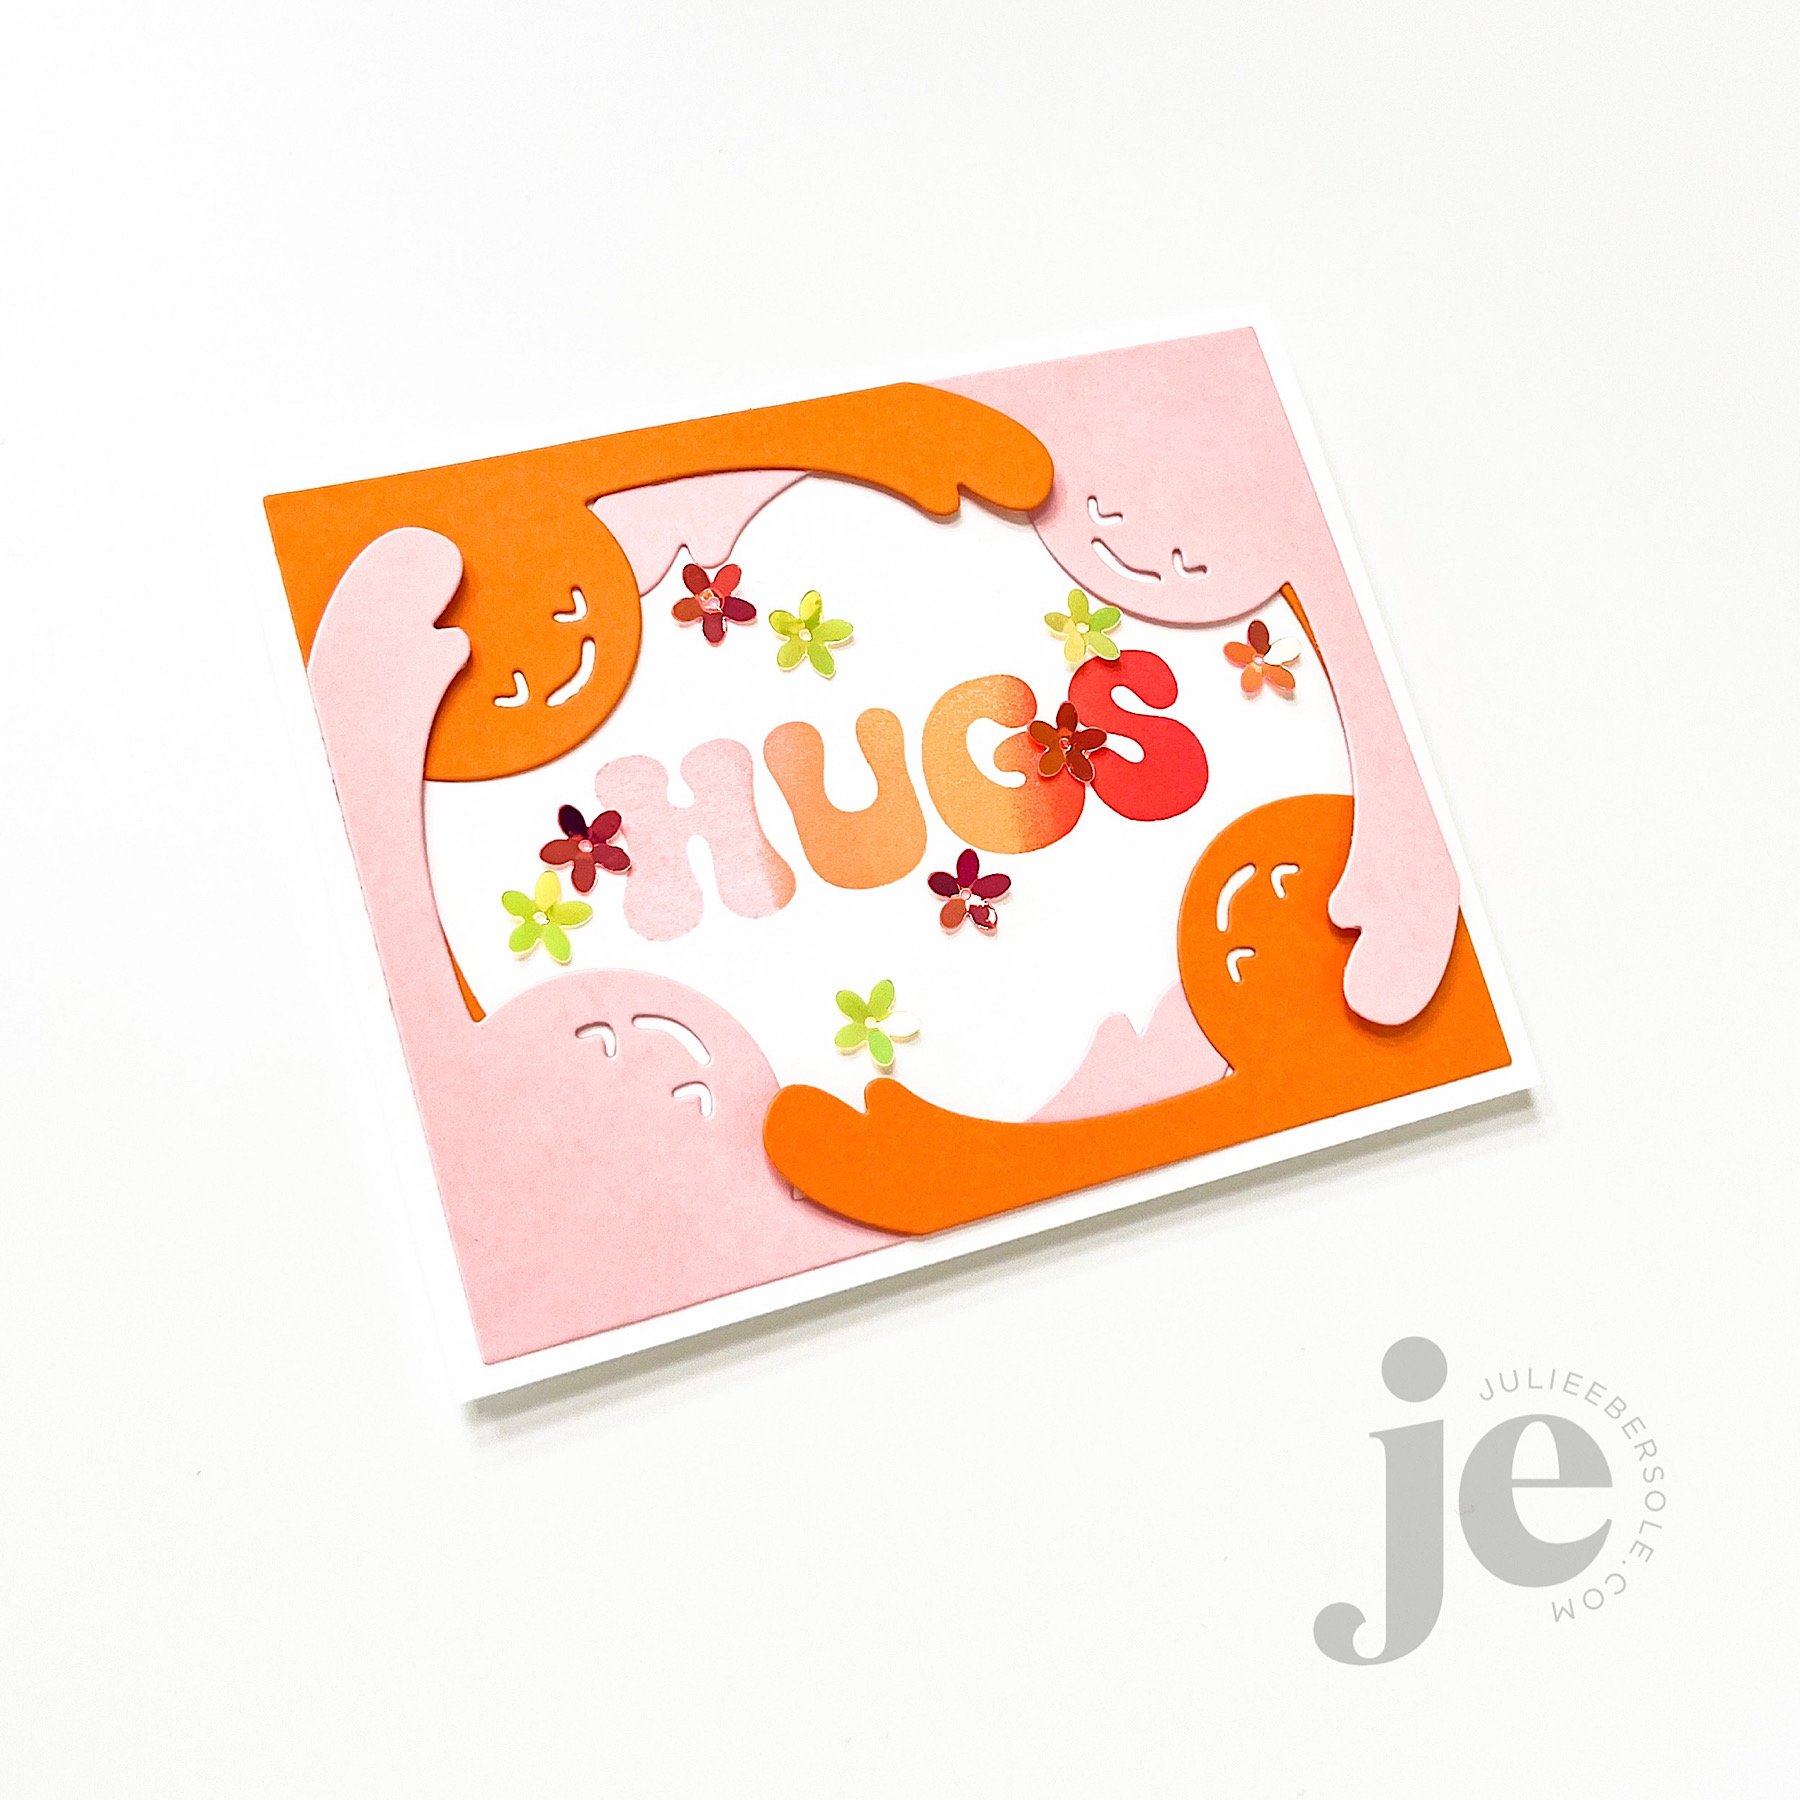
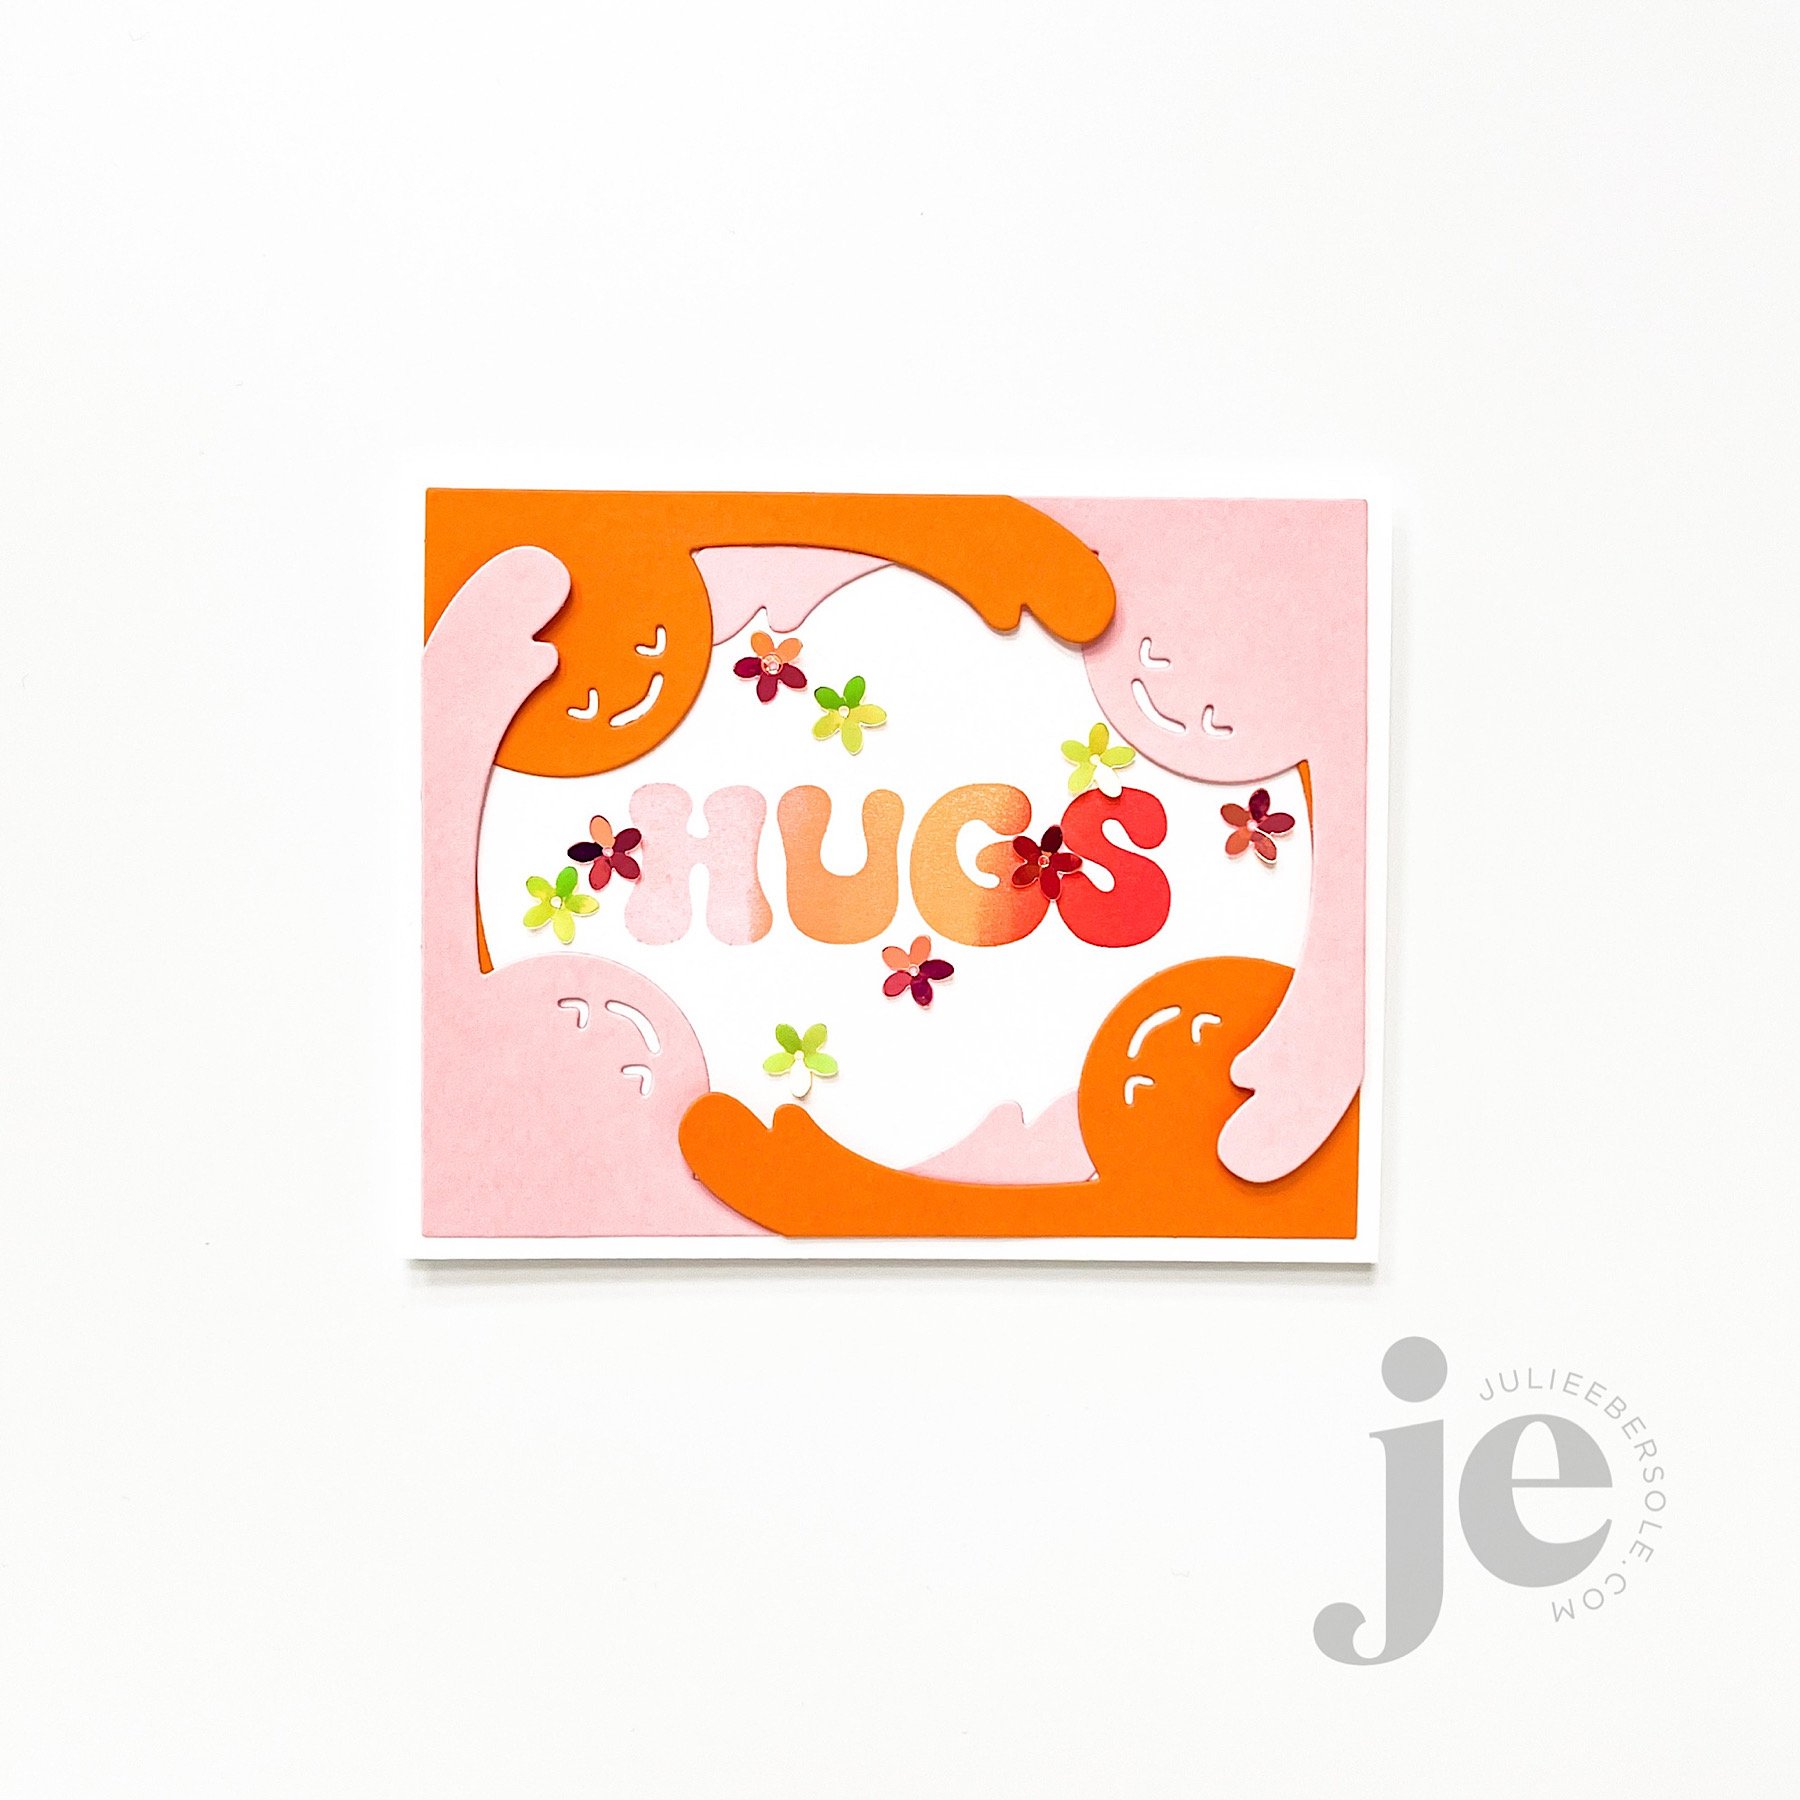
Waffle Flower’s recent release centers around hugs, and I have two sweet hugs cards to share! The first one, above features the Retro Hugs Stamp & Die Combo. It’s so gosh darn FUN to have a design style that was popular when I was growing up resurface and be embraced not just by myself but also by my daughter and granddaughters! I think that qualifies as multi-generational! Am I right?!
I thought it would be fun to “frame” the sentiment with the huggers, arms overlapping. I added pop dots under just the hands resting on top to add a little dimension. I’m STILL into this “warm” combo of pink, orange and coral hues, blending from one to the next. I usually ink up the area I want the palest color first, using these cosmetic blending sponges and stamp, then apply the mid-tone color, blending the edges where the two colors meet on the stamp, and then finally the final/darkest color. I used Glossy Accents to mount some flowery, concave sequins from my stash. Glossy Accents is great for things like this because it maintains its “loft” as it dries and it stays crystal clear.
Inside the card, I used the exact same ombré inking on a stamp that reads, “huggers gonna hug”. SO STINKIN’ CUTE!!!
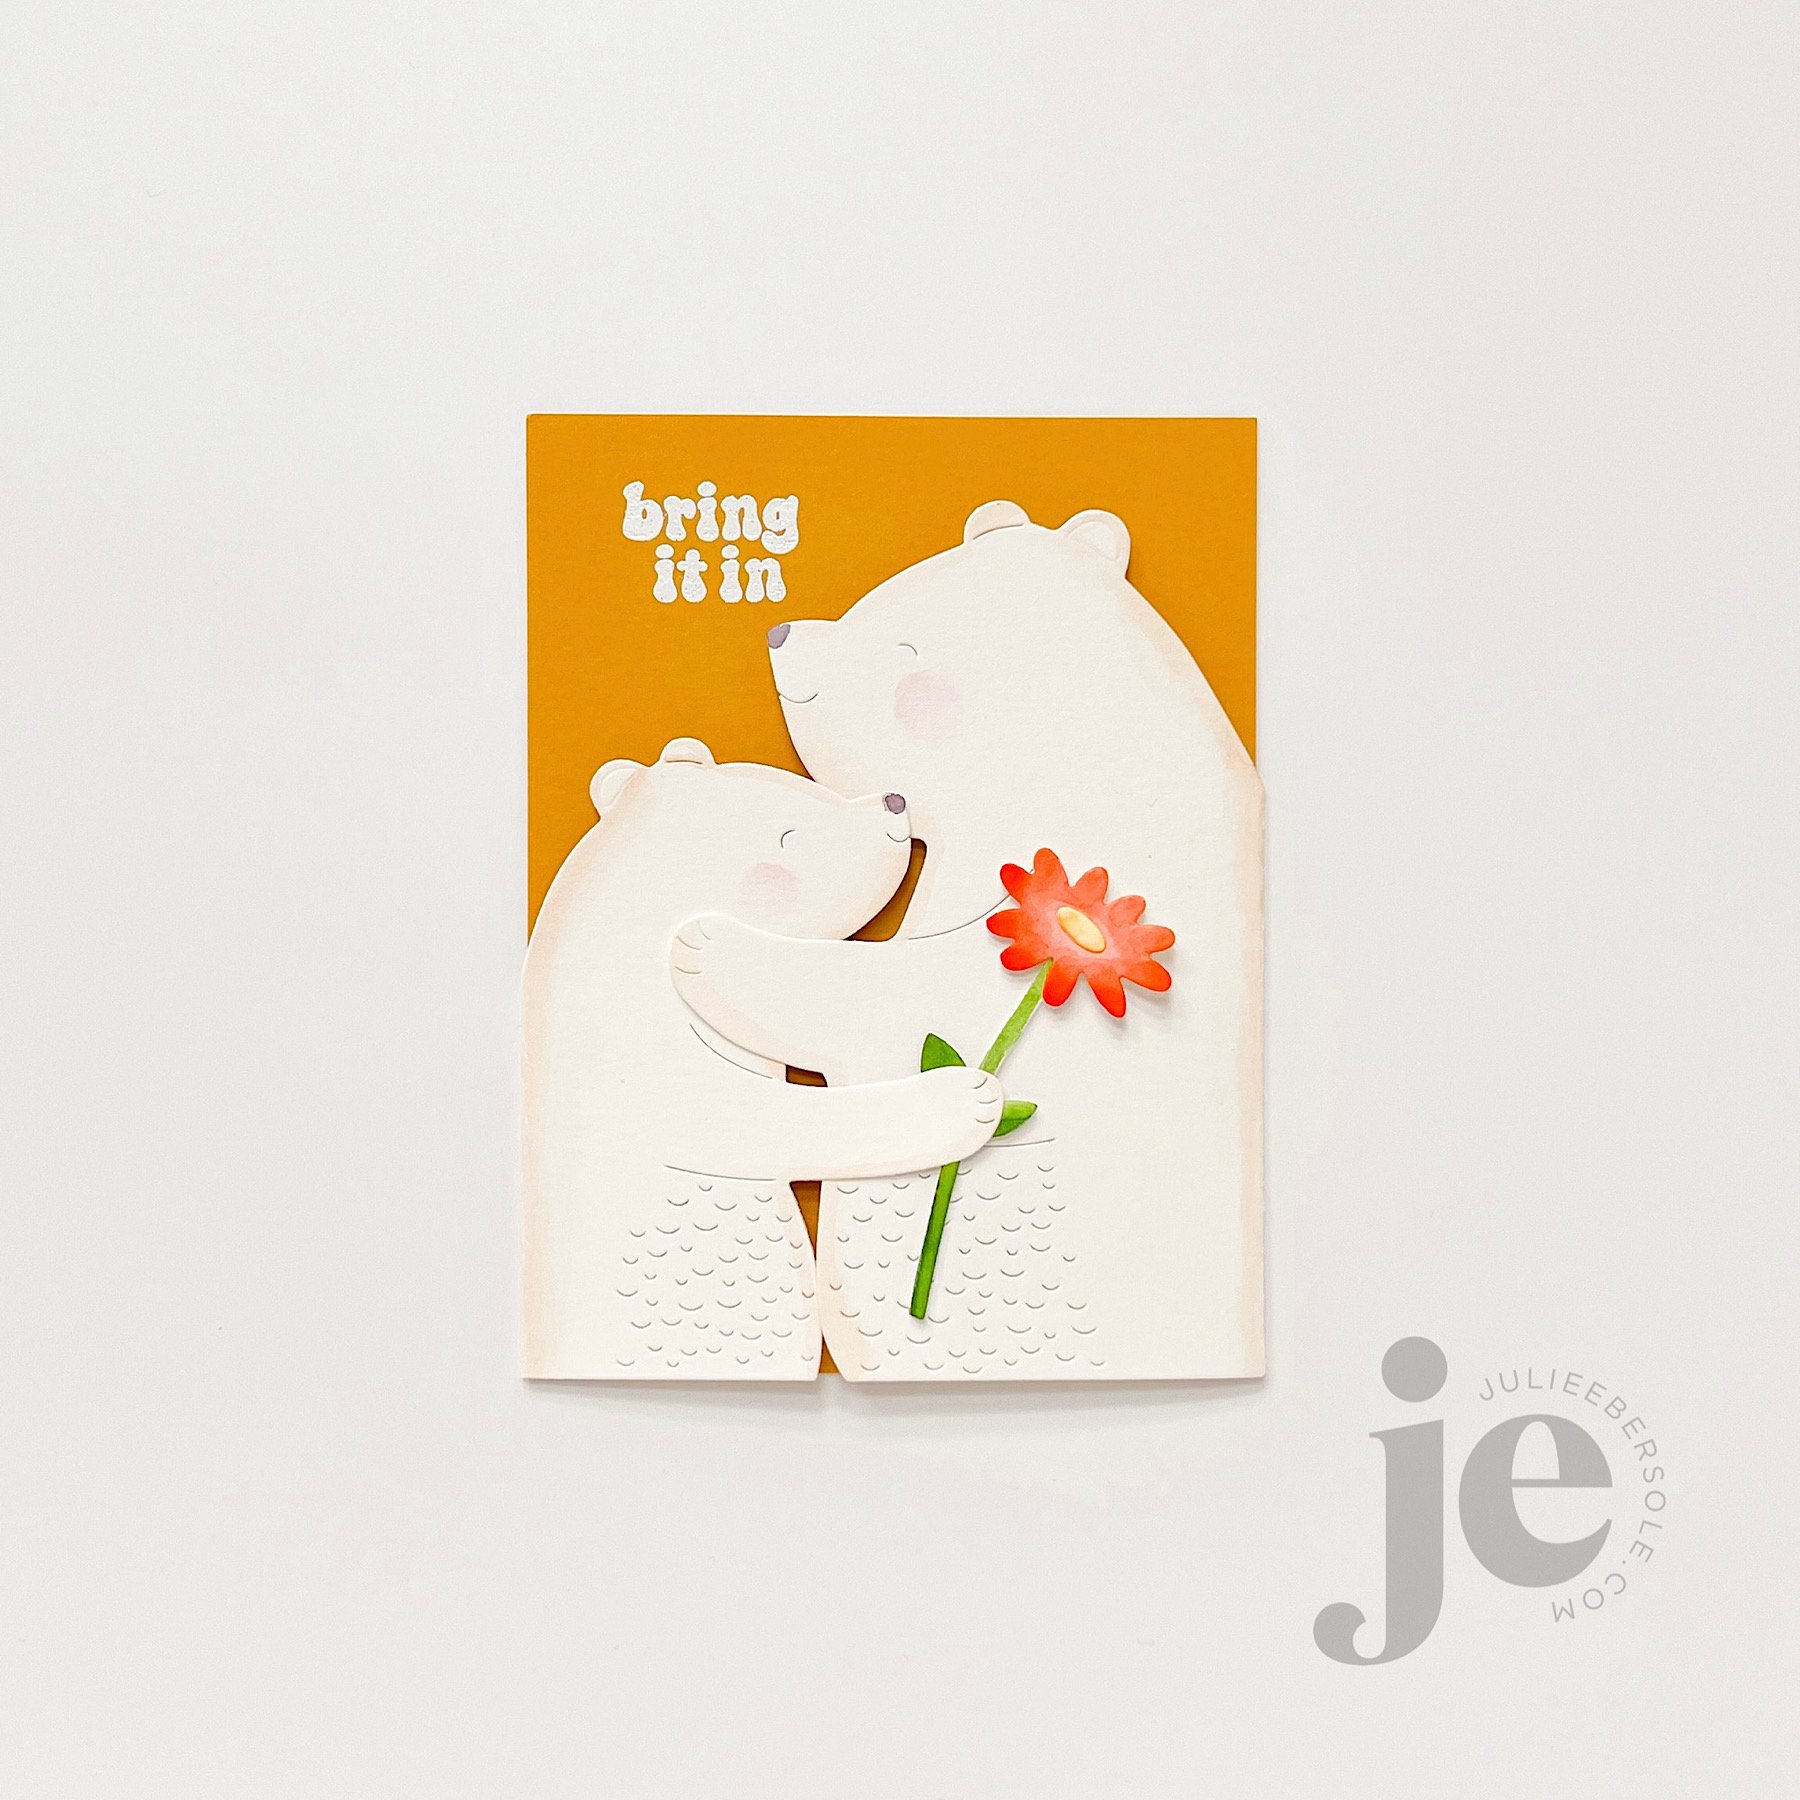
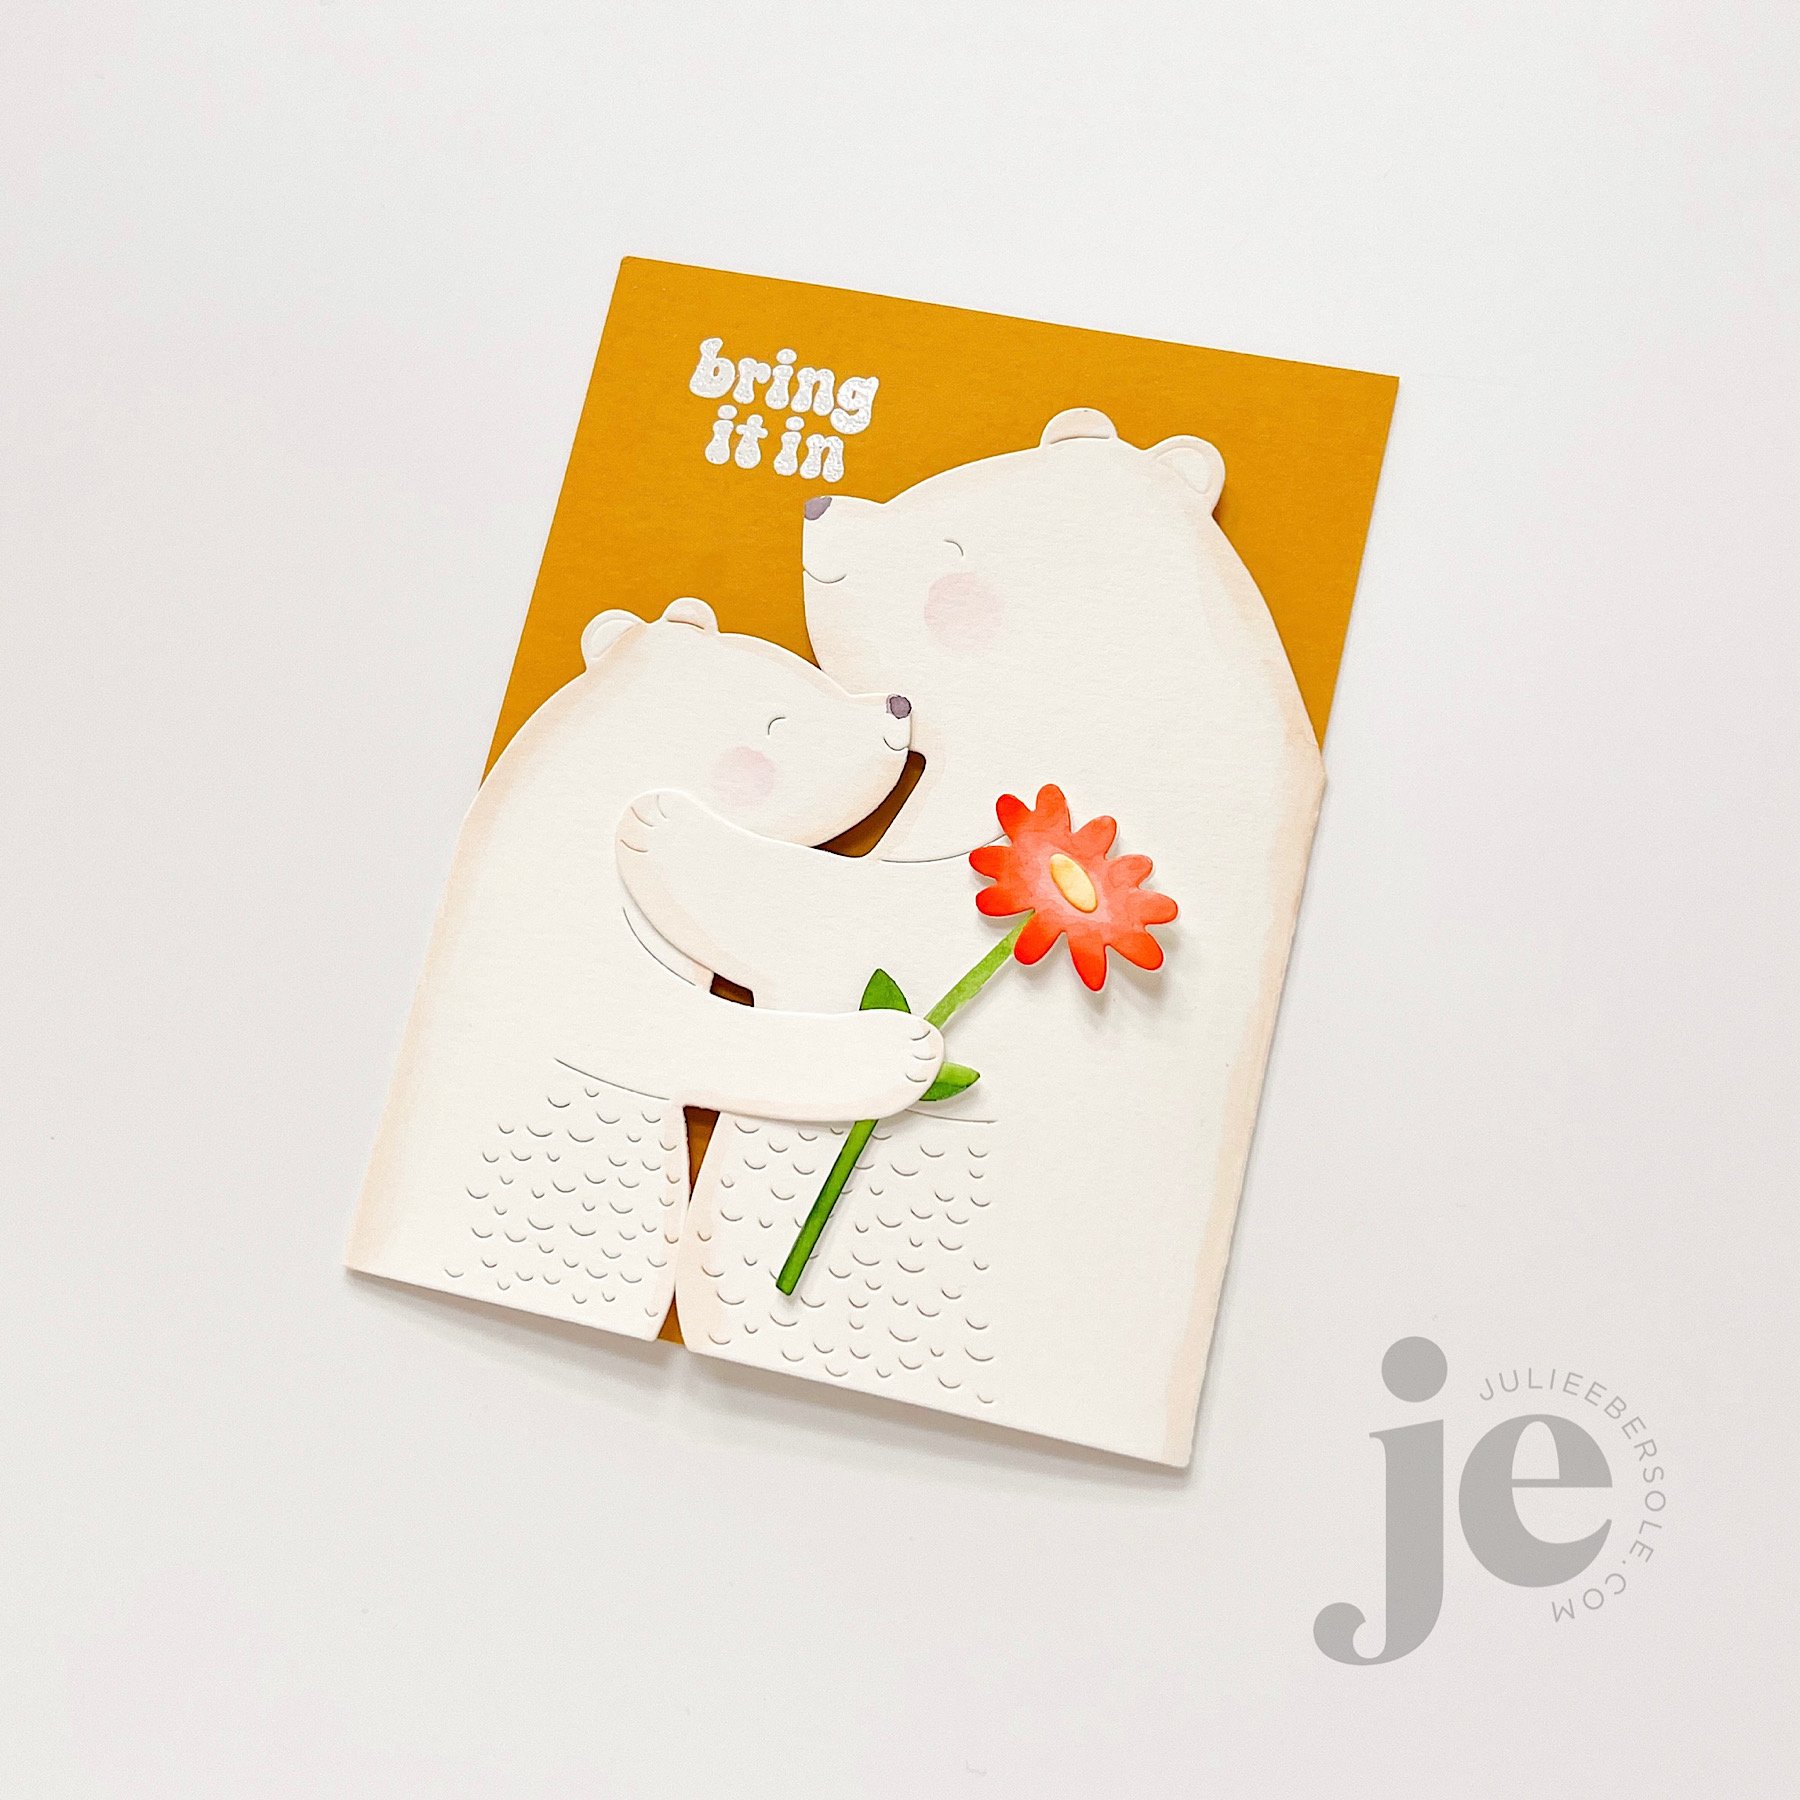
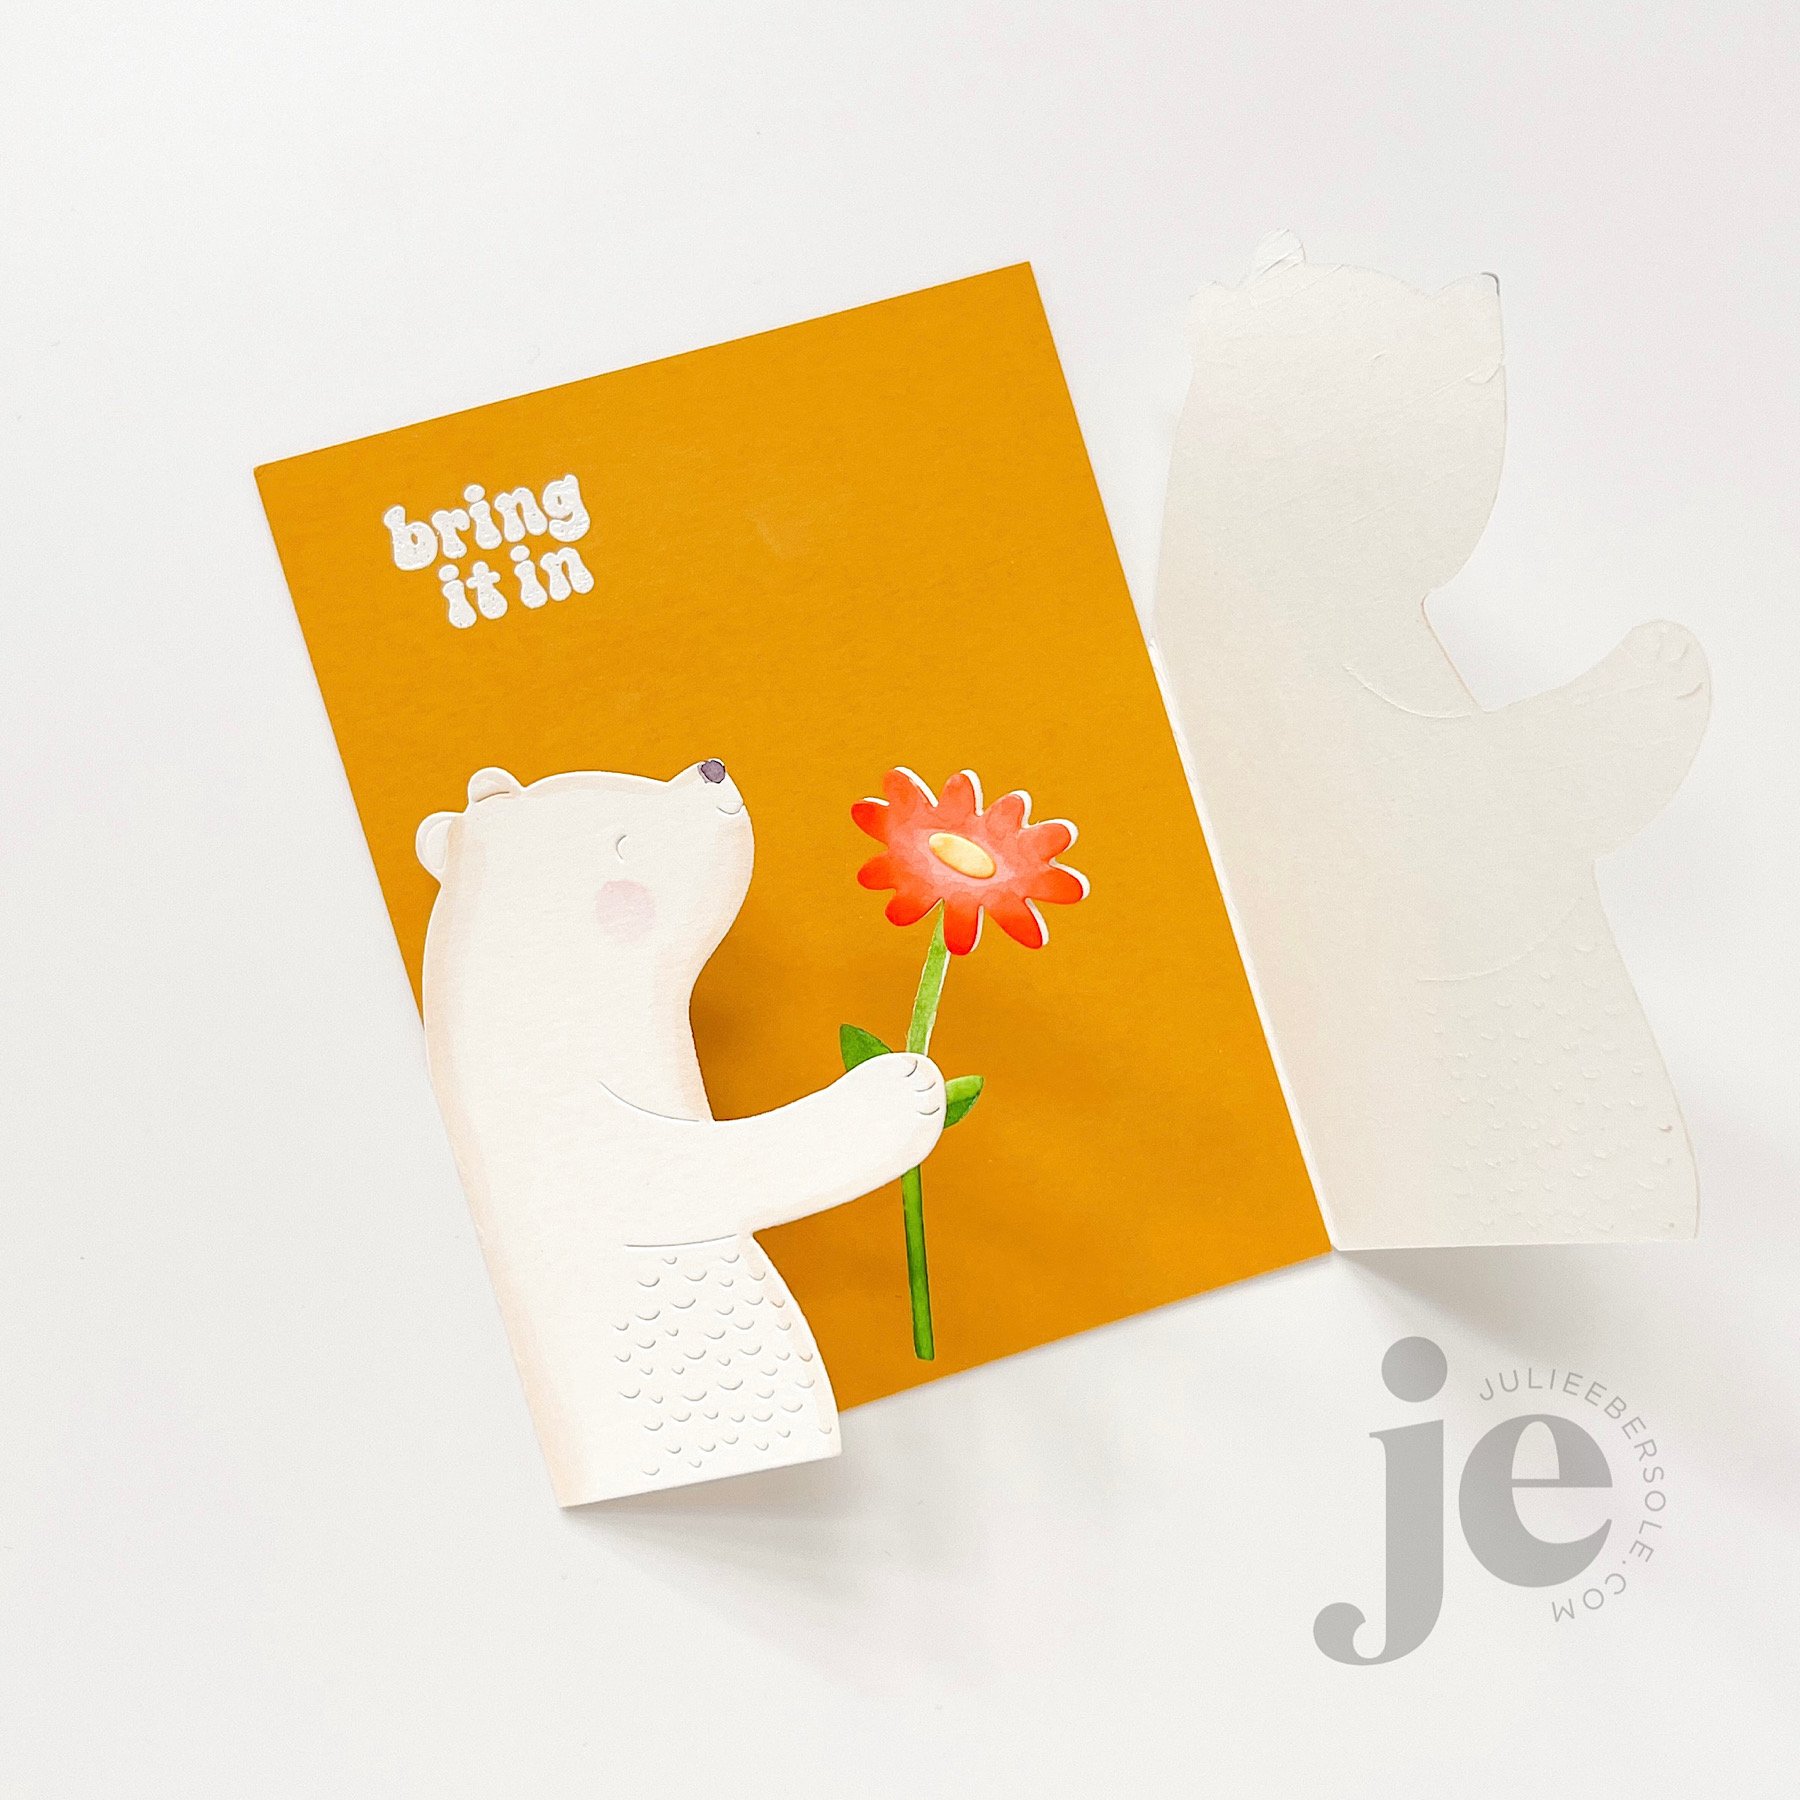
The Bear Hugs Die Set includes each of the bears you see, a flower, some hearts, butterflies and more . . . The bears have flaps so you can attach one to each side of a quarter sheet of card stock and then fold them towards each other, creating this ultra adorable interlocking gate-fold type hug.
I watercolored the bears around the edges with a very light hand using a brown tone, and the flower after die cutting them, and borrowed a sentiment from the Retro Hugs Stamp Set to white emboss a greeting in the upper left corner of a quarter sheet of warm gold card stock (one of my all time favorites). To finish it off, I mounted an extra quarter sheet of plain white card stock to the back, to conceal the flaps.
Although the bears intertwine, depending on the thickness of paper used, you may need to wrap it with twine or make a “belly band” to keep it fully closed. Without anything to hold it closed, it will partially open, and looks ADORABLE displayed on the mantel. Just sayin’ . . . (grin)
My two designs are super simple, but I’m so tickled with how quickly and easily they came together!
Thanks for stopping by and I hope your weekend was relaxing and fun—summer is getting so close now!
Disclosure: I include affiliate links to the products used in my projects and make a small commission when you purchase via those links, at no extra dimes to you. 🙂 Your support is appreciated more than I can say!
SUPPLIES:
Waffle Flower Crafts Retro Hugs Stamp & Die Combo - EH
Waffle Flower Crafts Retro Hugs Stamp Set - EH
Waffle Flower Bear Hugs Die Set - EH
Catherine Pooler Cotton Candy Ink - EH
Catherine Pooler Apricot Ink - EH
Catherine Pooler Coral Cabana Ink - EH
Versamark Embossing Ink - EH
Detail White Embossing Powder - EH
Heat Embossing Tool - EH
MISTI - EH
Neenah Solar White 80# Card Stock - EH
Canson XL Watercolor Paper 140# - EH
Pink Card Stock - EH
Orange Card Stock - EH
Golden Card Stock - EH
Watercolors - EH
Glossy Accents - EH
Sequins - *from my stash; original source: HAI Supply
Dimensional Adhesive - EH
Double Sided Adhesive Tape - EH


