card design

RAINBOWS AND FLAT BOTTOM CLOUDS

2020-03-essentialsOVALS-jebersole-002A.JPG

When I used the oval frames for this project, I had all the solid shapes leftover, providing the perfect opportunity for this design!

I cut all the ovals in half, white embossed the sentiment, then stamped the heart over top. Buffed off the residual ink sitting on top of the embossing from the heart. Then I stacked all the ovals together, slightly imperfectly, as is my usual custom.

BTW, I highly recommend using a DETAIL embossing powder for these types of sentiments for crisp results—the image lines are finer and regular grind powders can obliterate/blur the lines.

Inks, whether dye or pigment, have a tendency to “sit” on the surface of Card Shoppe card stocks (they’re a deliciously heavier weight than most, at 100#) so I decided to heat emboss the sentiment, and stamp the heart AFTERWARDS so that I wouldn’t have powder sticking to the heart. If you have extra time, you could do it in reverse, heat set the heart, then pounce it with anti-static powder to make sure it’s thoroughly dry before stamping and embossing the sentiment. I figured I’d rather save time, since the end results would be pretty much the same anyway.

2020-03-essentialsOVALS-jebersole-002B.JPG

I love how the Essentials Squares enabled me to create a gold foil frame that gives the illusion of an additional layer, but no bulk. Clouds were popped up with foam tape to match the height of the rainbow itself—when you stack that many layers, it does get a bit thick/chunky, but IMHO, totally worth the end result and it’s actually still mailable!

I’m totally making another rainbow card with the other half of these ovals . . . EEP!!!

Have a fab day!


HANDY VALENTINES

2020-02-handyvalentines-jebersole-001A.JPG

Hand gestures convey so much in a conversation—I can’t talk without my hands; I’ve tried! Like so many parents, when my kiddos were little, I’d stretch my arms out wide and tell them I’d loved them “thiiiiiiiis much” (which they understood to mean “to infinity and beyond”, LOL!). Prior to that, it was the Mister who taught me the ASL sign (card on the right); his brother is deaf. So my kids grew up seeing both pretty much every day of their lives.

2020-02-handyvalentines-jebersole-001B.JPG

LEFT CARD TIPS:

  • After using a Copic marker to “paint” the nails, I added a Sakura Clear Glaze to the tips, for a glossy shine (camera didn’t pick that up well, tho.)

  • The hands are popped up just at the palms with thin 3D foam squares for a little dimension.

RIGHT CARD TIPS:

  • When both sides of a die cut are going to be visible, you might want to place a layer or two of scratch paper beneath your card stock; my cutting pads were heavily etched and if I don’t protect the back side of the card stock with scratch paper, the etch marks will often transfer to the back die cut paper when running it through the machine. No likey.

  • I elongated the “arm” by placing it high enough onto the card stock that I could use a craft knife to quickly cut the arms any length I wanted (the bottom of these dies, at the wrist, were purposely designed this way to allow for lengthening the arm).

  • Curl the finger tips as desired (the barrel of a pen or pencil is handy for this) and use glue to secure in place.

Fun and easy, right?! My favorite!

Tomorrow I’ll have a new Hello, Monday video using these same stamps and dies—I think you’ll like it (turned out adorable, if I do say so m’self!) so be sure to check that out on the Ellen Hutson blog HERE.

Catch ya’ later!


CLASSES IN SACRAMENTO, CA - MAR 6, 7 & 8

Once a year, I teach live card-making classes at my friend Stephanie Nishikawa’s Paper Garden Boutique. I have two classes I’ve been preparing for that feature some of my most favorite ideas for simple, yet beautiful cards!

Here’s the details:

Paper Garden Boutique
565 Pavilions Lane
Sacramento, CA . 95825
916-487-2737

• PLEASE CONTACT THE STORE TO REGISTER & RESERVE YOUR SEAT •
SPACE IS LIMITED TO 20 ADULTS PER SESSION

tastetherainbow.JPG


TASTE THE RAINBOW - $40

We’ll make a collection of 10 cards with rainbow theme and/or ombré effects. Techniques may include watercolor, ink blending, washi tape, die cutting, some clever stamping tricks/tips, and more! This class is fast-paced, with basic stamping and card-making skills recommended. Please bring your own detail scissors, preferred adhesive and a small paper trimmer.

  • Friday, March 6th 10am–12pm

  • Saturday, March 7th 10am–12pm

  • Sunday, March 8th 10am–12pm

doubleup.JPG

DOUBLE UP - $40

For every featured stamp/stamp set or die, we’ll create two different looks, for a total of 10 cards! Techniques may include Peek-a-boo windows, eclipse die cutting, DIY chipboard, 3D stamping and more. This class is fast-paced, with basic stamping and card-making skills recommended. Please bring your own detail scissors, preferred adhesive and a small paper trimmer.

  • Friday, March 6th 2–4pm

  • Saturday, March 7th 2–4pm

  • Sunday, March 8th 2–4pm

I’m sooooo lookin’ forward to a ton of paper craftin’ fun, plenty of laughs and mondo squishy hugs! If you can join us, I hope to see you there!

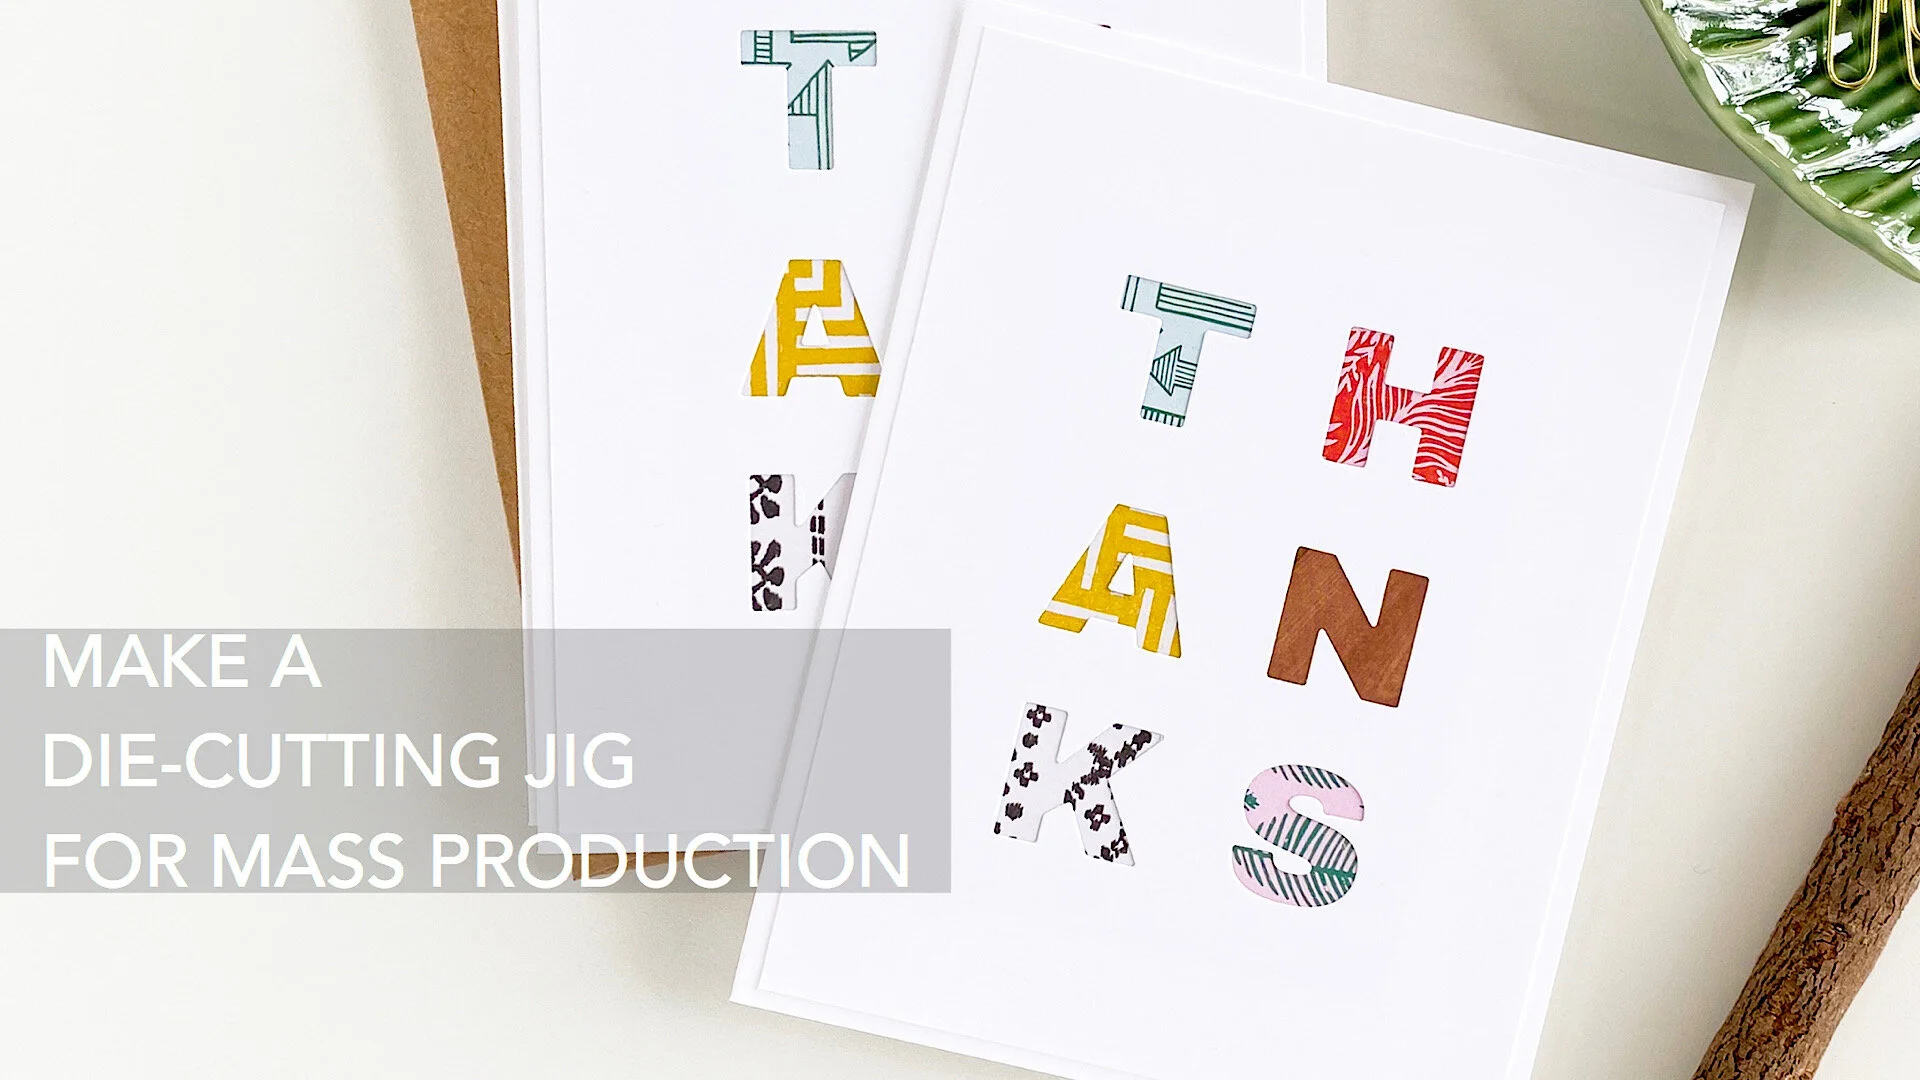
DIE CUTTING JIG FOR MASS PRODUCTION

faux-letterpress-thanks-001-01.JPG

Saw a boxed set of letterpress cards that made me swoon; voices in my head started jabbering. Had to come home and make it real.

Please note: if I weren’t a crafty gal, I’d have bought these in the blink of an eye. Seriously.

First method used was utterly, painfully slow . . .

Had a flash of brilliance. Filmed it. ↓

Felt smugly genius.

faux-letterpress-thanks-001-02.JPG

And, if you figured something similar out already, do me a favor:

Keep it to yourself and allow me my delusions.

•hair flip•

Have a nice day!


SUPPLIES:

Affiliate links are included in this post; if you purchase via my links, it will not cost anything extra and I receive a small commission. Thank you ever so muchly for your kind support!

FOILING ROUND-UP

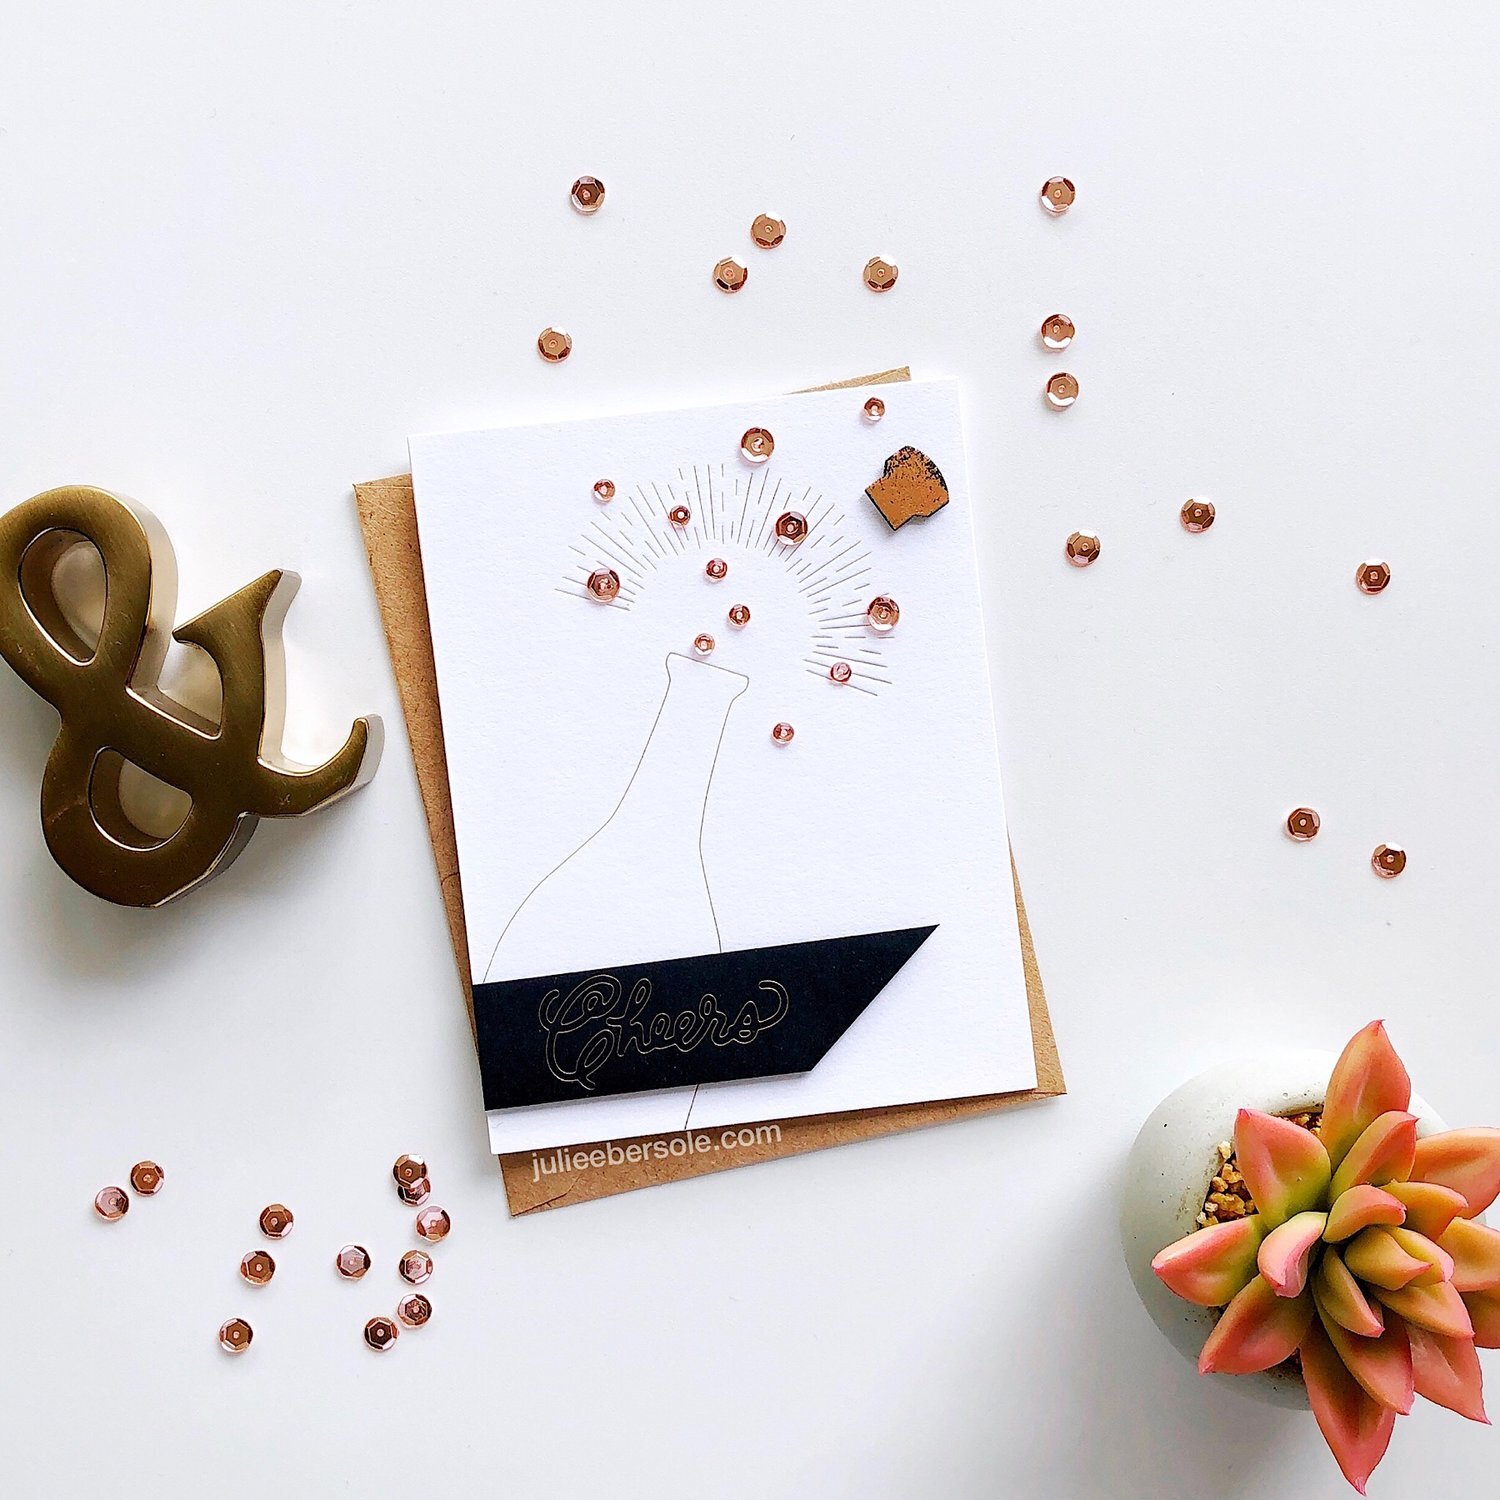
I did a foiling project for the Ellen Hutson blog on Monday (photo and video tutorial link at the bottom of this post), and it reminded me of how much I love the look. Today I’m sharing a round-up of various foiling projects I’ve done over the past year.

Before you scroll down my "foiling memory lane” •chortle•, I did want to mention a few things.

There are many different ways to foil, and a lot depends on the end result you’re looking to achieve and the tools you’d like to use (:

  • Foil card stock and Foil tapes

    • Great for quick die cutting, simple borders or layering panels, etc.

  • Dry adhesives + transfer foils

  • Toner images (laser printed) or special toner paper + reactive foils + MINC or heat laminator

    • Reactive foil brands include Minc (Heidi Swapp), ThermoWeb I-craft Deco Foil, and WOW!, to name a few.

    • Toner, combined with heat + pressure, causes a chemical reaction that serves as an “adhesive” for reactive foils; reactive foils will not fuse to inkjet printed imagery.

    • Works best on smooth/non-textured and thinner card stocks/papers.

    • Fine lines/details may not foil well; reactive foils tend to perform best with bolder images/text.

  • Hot foil (metal) stamps OR low profile dies + hot foils + Gemini Foil Press / Spellbinders Glimmer Hot Foil System

    • Hot (stamping) foils are designed to fuse to surfaces by way of heat + pressure (not toner).

    • Hot foil brands include Crafter’s Companion and Spellbinders Glimmer Foil, to name a few. FYI: Crafter’s Companion produces a “paper craft” foil, and a “multi-surface” foil (i.e. fabric, ribbon, leather, etc.); each is specifically formulated to perform best on their prescribed surfaces.

    • Hot foils work best with metal “stamps” (also known as foil press dies, hot foil plates, foil impression dies, etc.) as well as low profile dies (Yup! Those thin metal dies you normally cut paper with work spiffy!). Watch any videos I’ve linked for more information and details.

    • Hot foiling with this method also yields a beautiful de-bossed, Letterpress effect.

    • Works well with textured card stocks/papers and will knock your fine stationery-loving socks off when done on Letterpress paper.

I own two foiling “systems”, the MINC and the Gemini Foil Press, compatible only with the Gemini Jr / Gemini die cutting machine) and I alternate between them and the other methods I’ve described, depending on the end result I want, and the tools/supplies available to achieve it.

Ogle on . . .

Link: DIY Foiled Letterpress, includes video tutorial and overview of the Gemini Foil Press System.

Link: DIY Foiled Letterpress, includes video tutorial and overview of the Gemini Foil Press System.

Sidebar: I’m gonna straight up confess to you that I’m most partial to the hot foiling method because I am an absolute sucker for Letterpress; gives me the vapors! •heart palps•

Hope these projects inspire and if you find the foiling bug has bitten you, be aware that you can snag 20% savings on in-stock supplies at Ellen Hutson now through January 17th, with code supplies 20 at check out!

Happy foilin’!


Affiliate links are included in this post; if you purchase via my links, it doesn’t cost anything extra and I receive a small commission. Thank you so SO much!