valentine

2 PUNNY VALENTINES PLUS A TUCK AND FOLD CARD

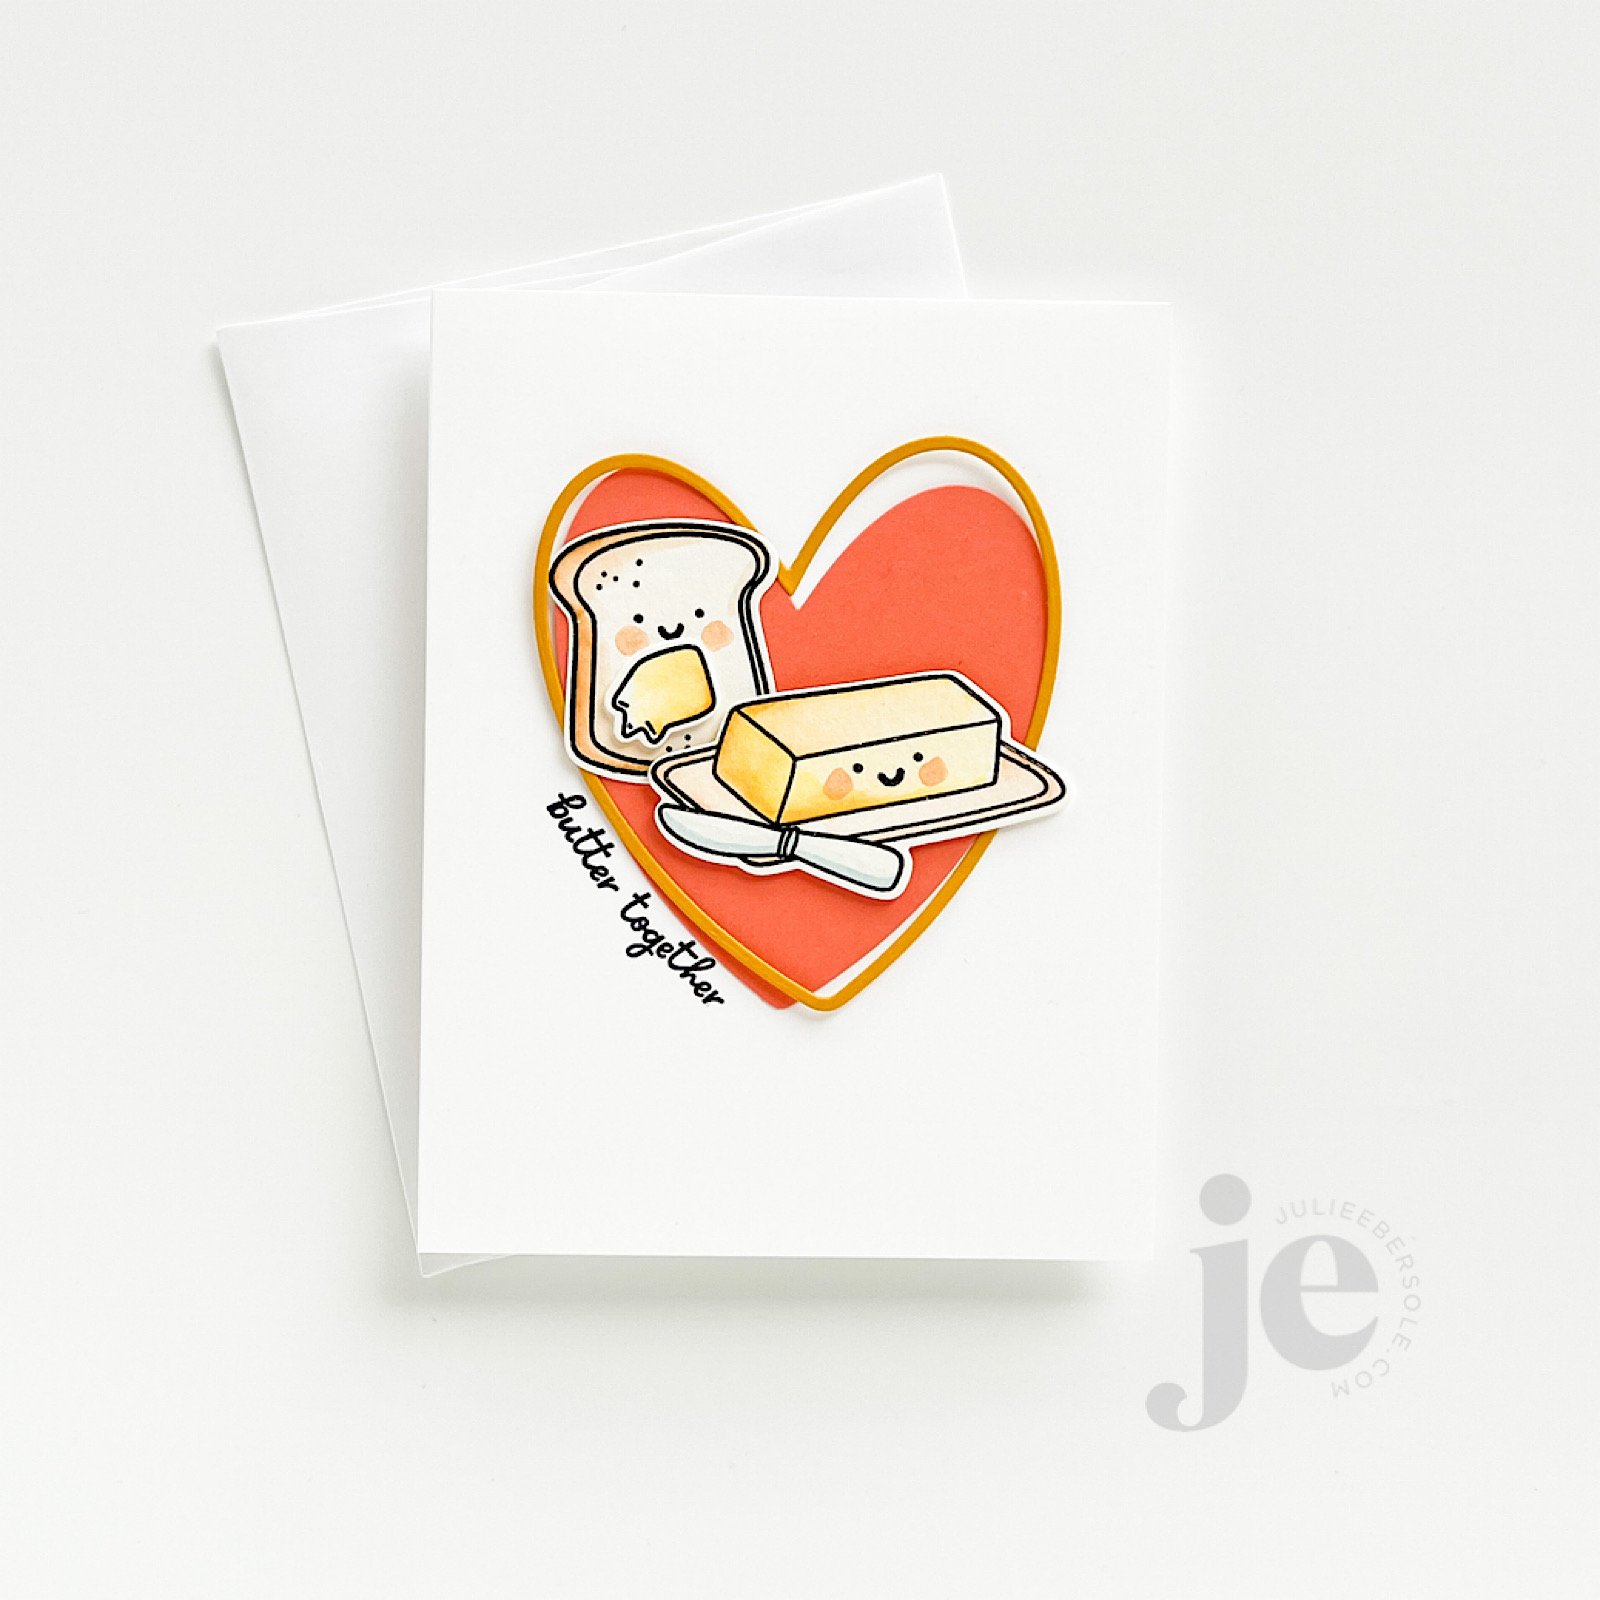
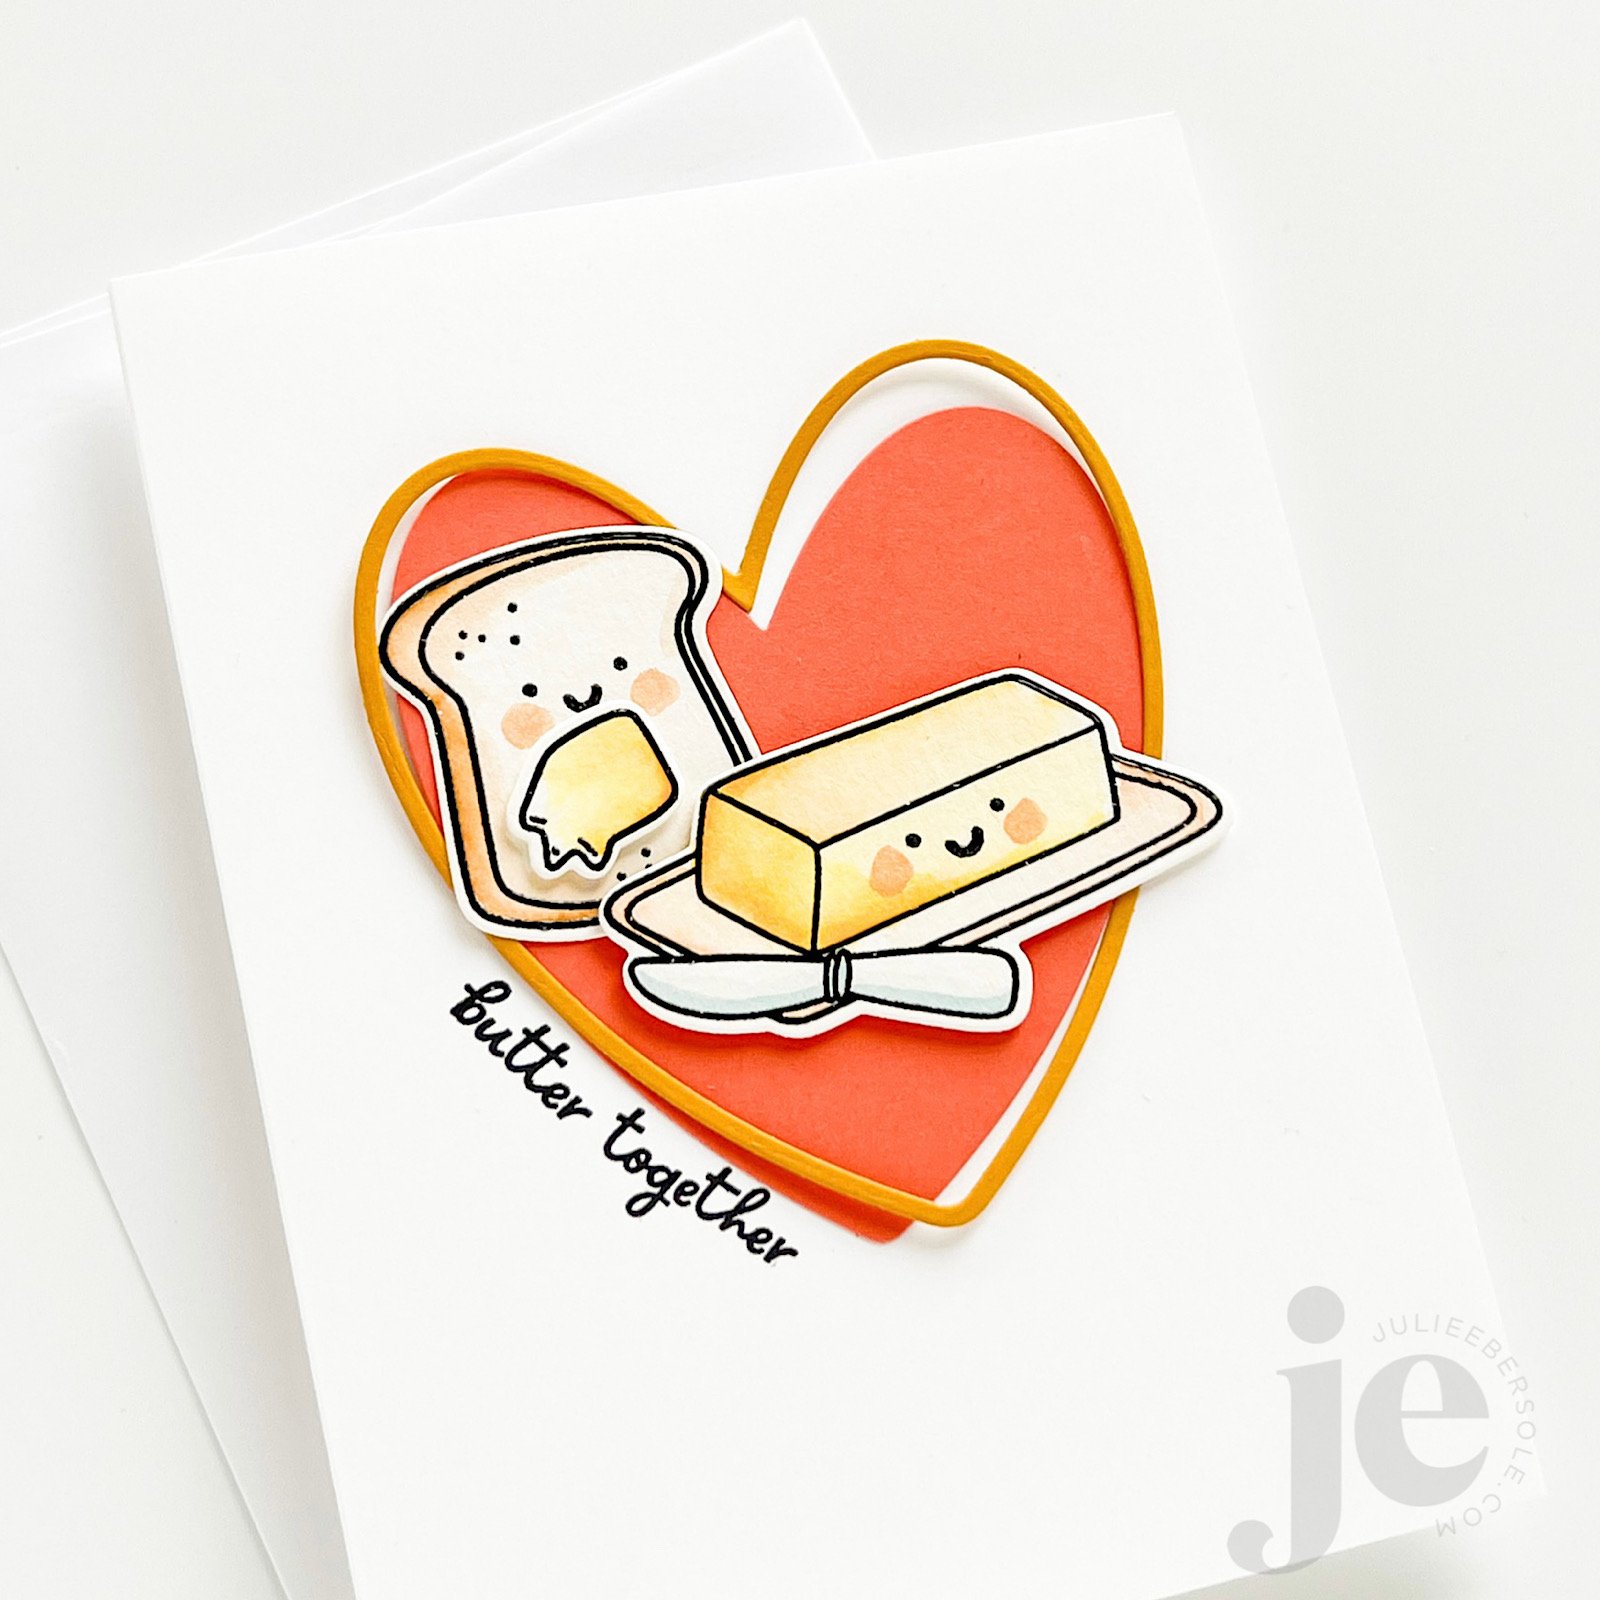
This card started as a sketch, but as I temporarily laid everything out, I felt like it needed something “more”—something small, but a little different from what I do out of habit. Originally, I had planned to white emboss the sentiment onto a strip of black card stock and work it into the layout. That’s a great stand-by that works quite well for many of my designs.

But, the idea of deviating from my stand-by, just slightly, kept nagging at me. So, I mounted the solid pink heart to the base card and then moved that to my MISTI, and curved the sentiment slightly, along the edge of the heart, got it mounted to the lid, and then inked and stamped. The golden colored frame was then mounted a little cattywampus (intentionally) with a little bit of glue in just 3 spots—I like the dimension it gives when it curves slightly up from the card front.

Everything else was clear embossed with my favorite black ink (affil) onto watercolor paper (affil), watercolored and die cut before 3D mounting into place.

Immense satisfaction achieved! (fist pump!)

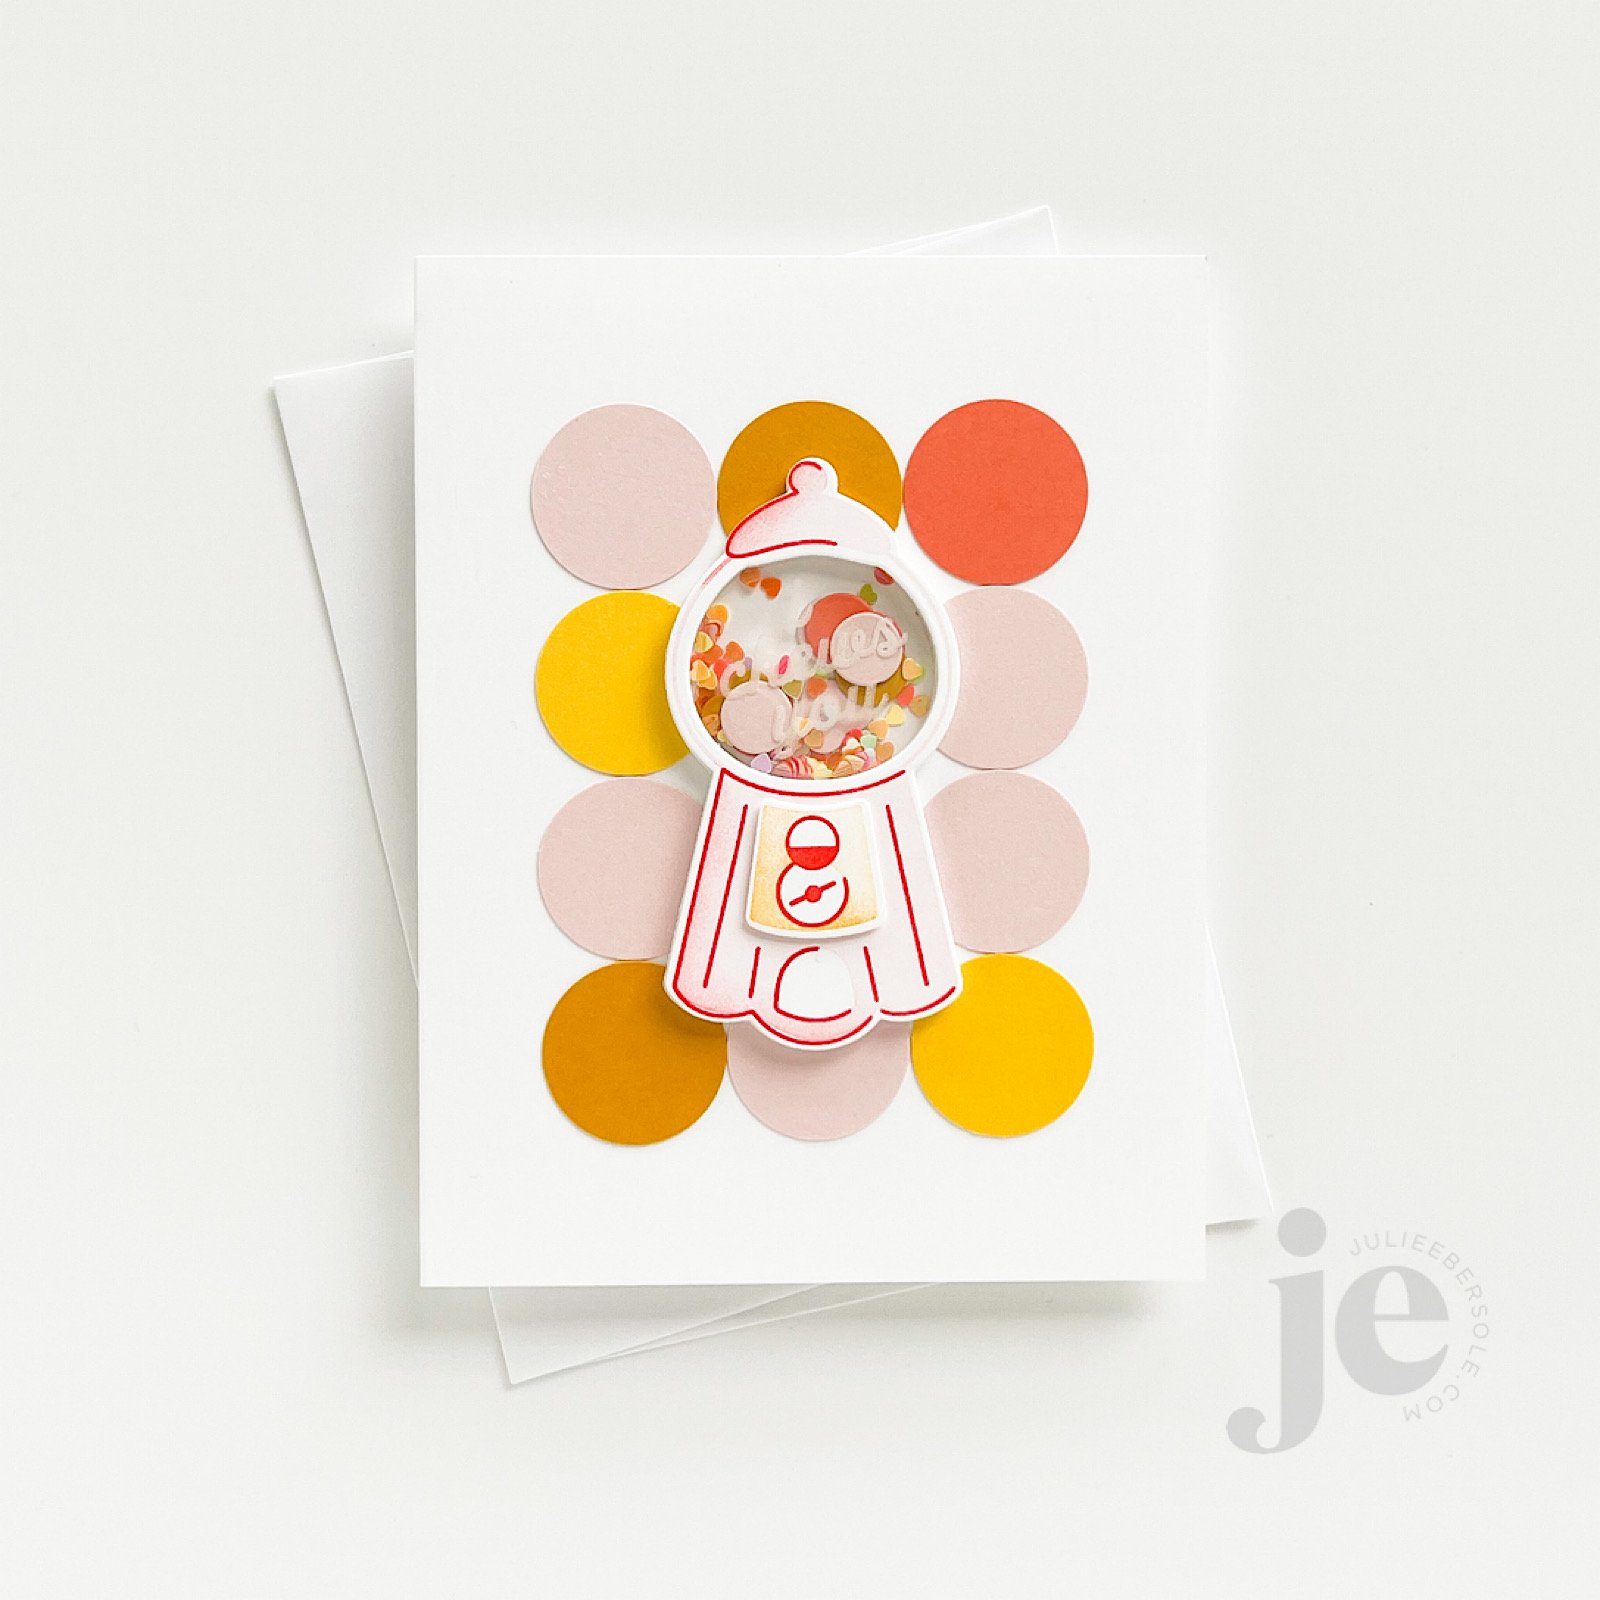
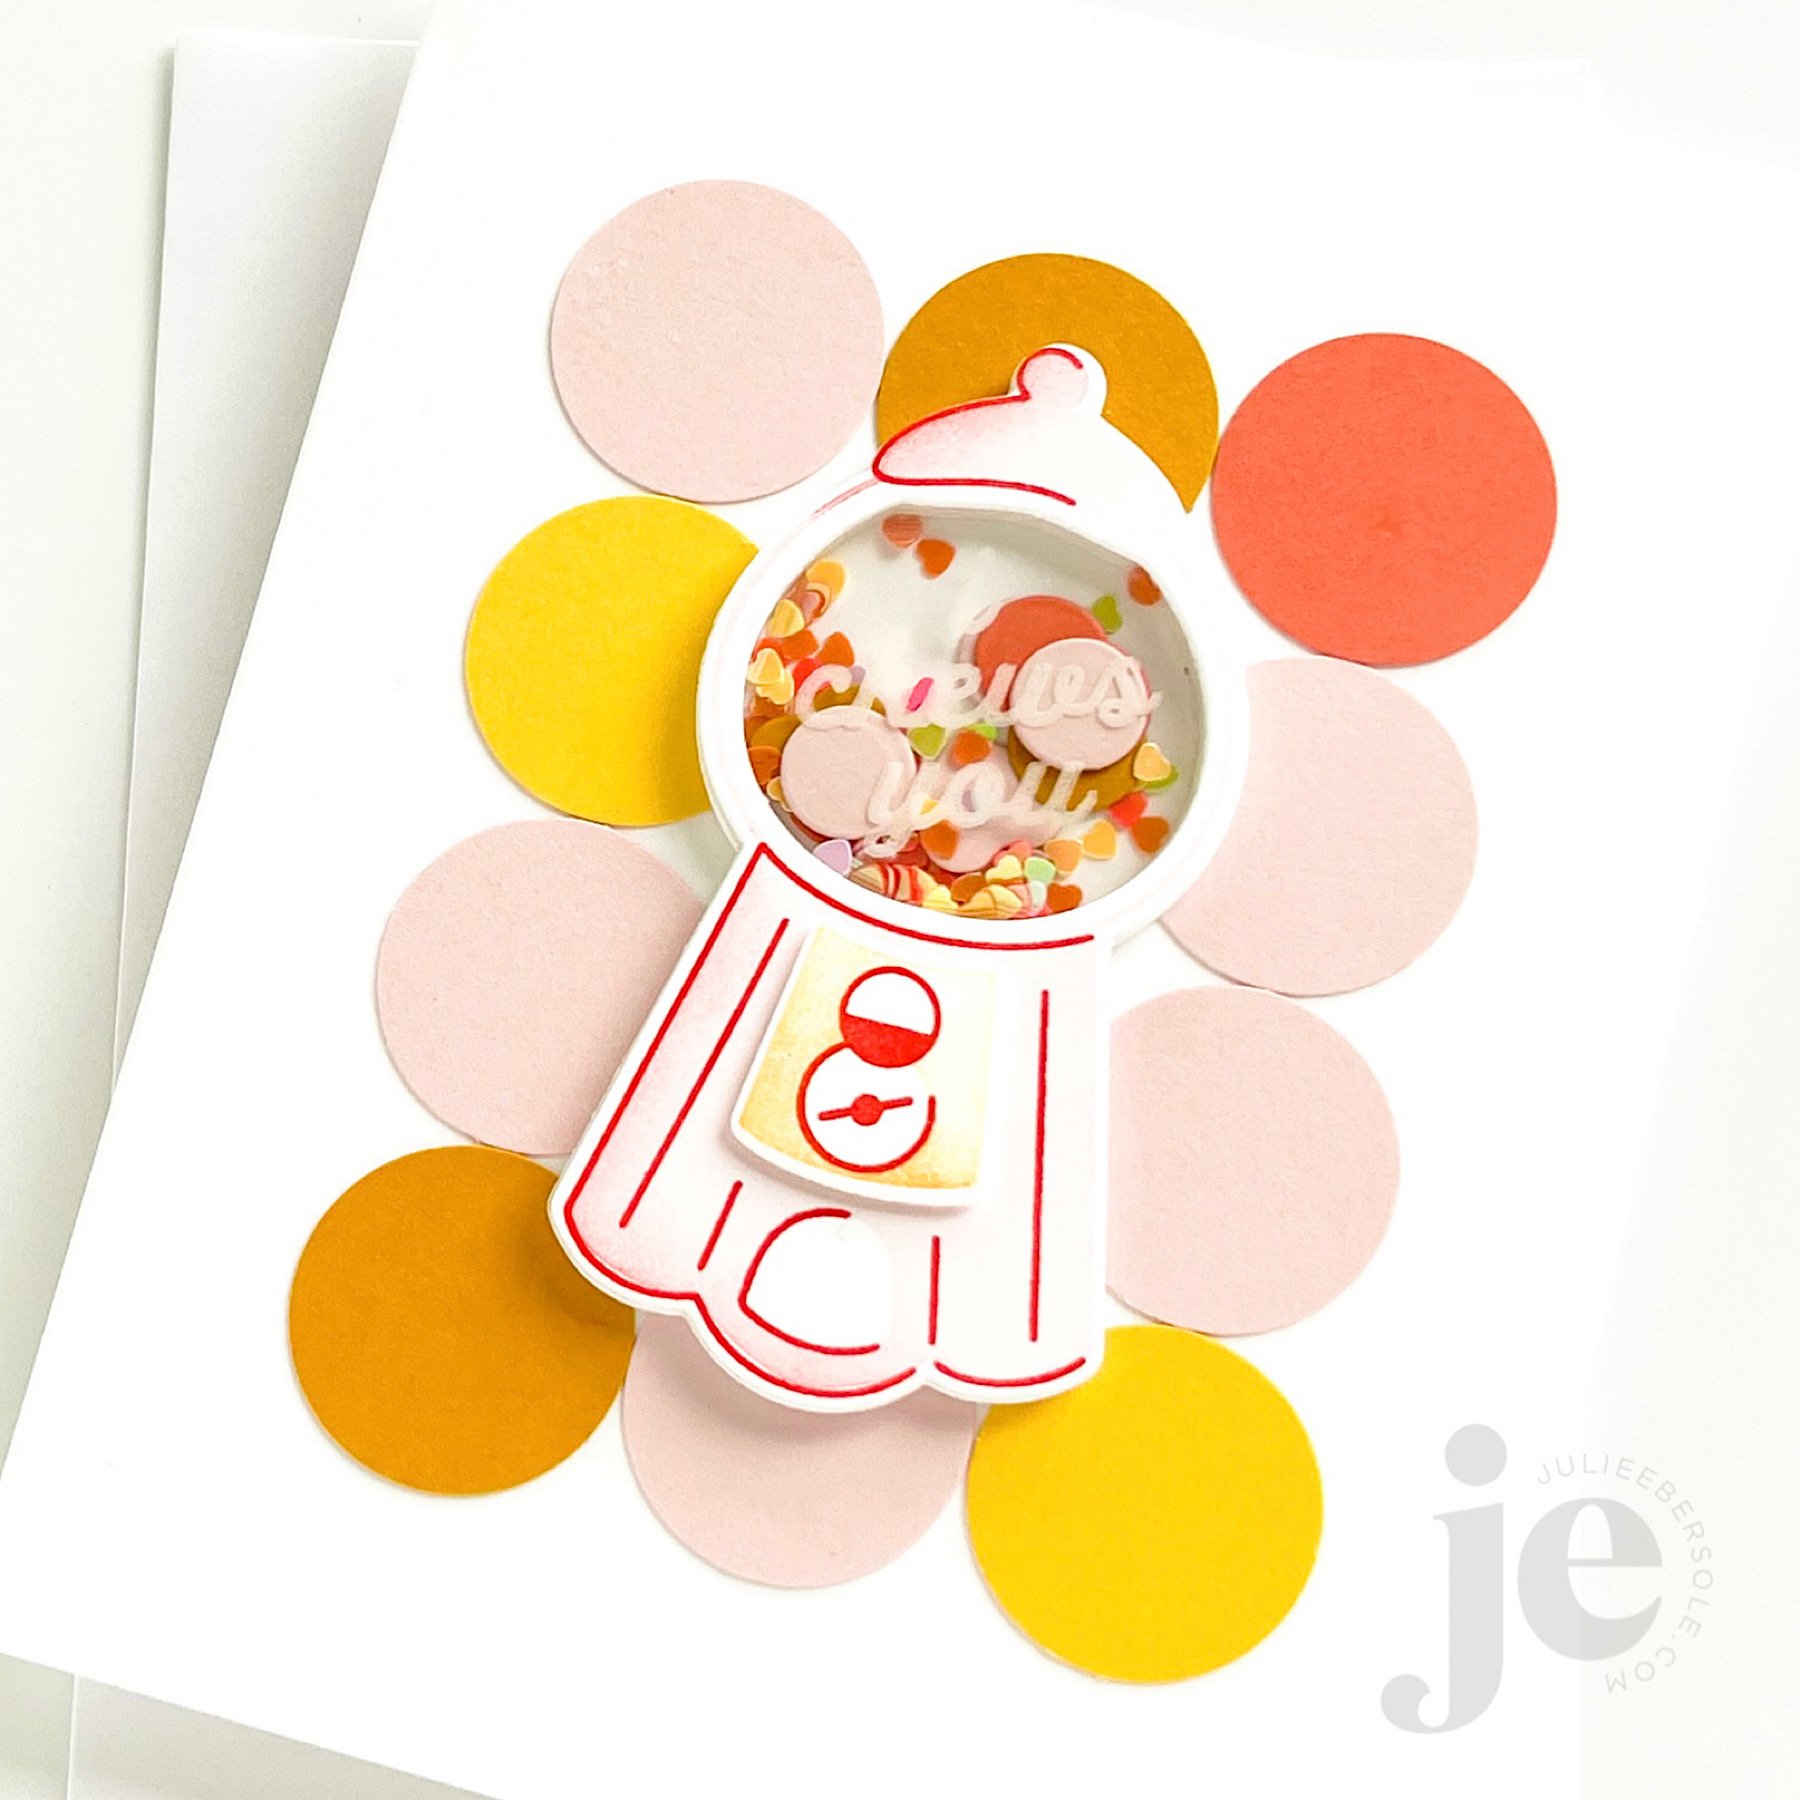
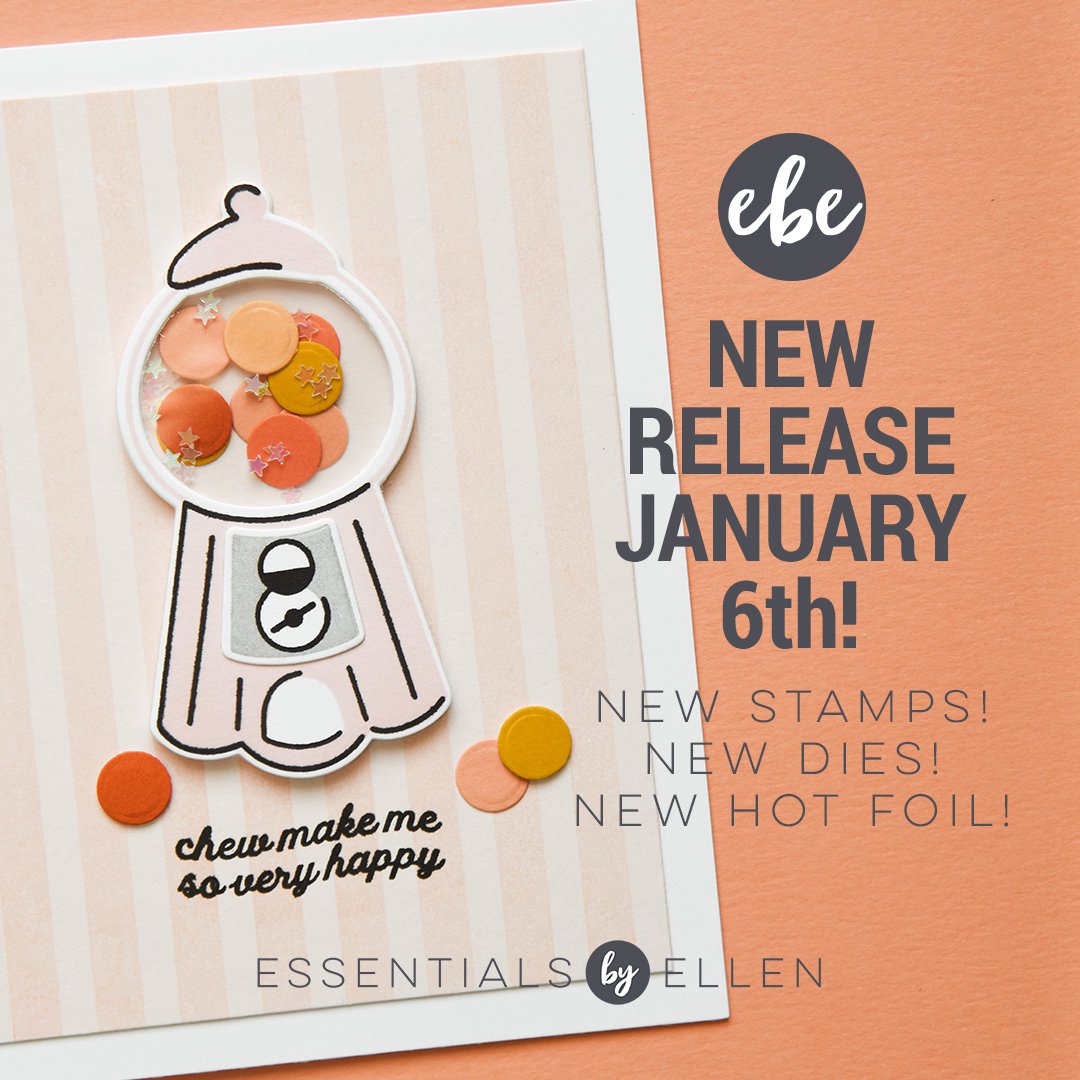
This little bubblegum machine shaker card turned out so cute! Initially, I couldn’t decide on a background/backdrop for the machine and it occurred to me to grab my 1” circle punch and just punched a bunch of “dots” from card stock in coordinating colors—I love it!

I used Staz-On Cotton White (affil) to stamp the sentiment on the Crystal Clear Plastic (affil); I probably should have heat embossed it (this acetate is heat resistant) for better visibility as it’s hard to capture it that well in a photo, but IRL, it shows more prominently. Those teeny, tiny rainbow confetti hearts (affil) were just beggin’ to be filler, so I had to do it!

Here’s a TIP:

If you don’t have any sheet size foam tape (affil) to die cut for the shaker walls, try cutting the shaker front piece 5x from 110# Neenah Solar White (EH / AMZ affil) and just layer/stack them all together with Bearly Art Glue (affil)

feat. BIG LOVE STAMPS (the hearts background) | XOXO DIE

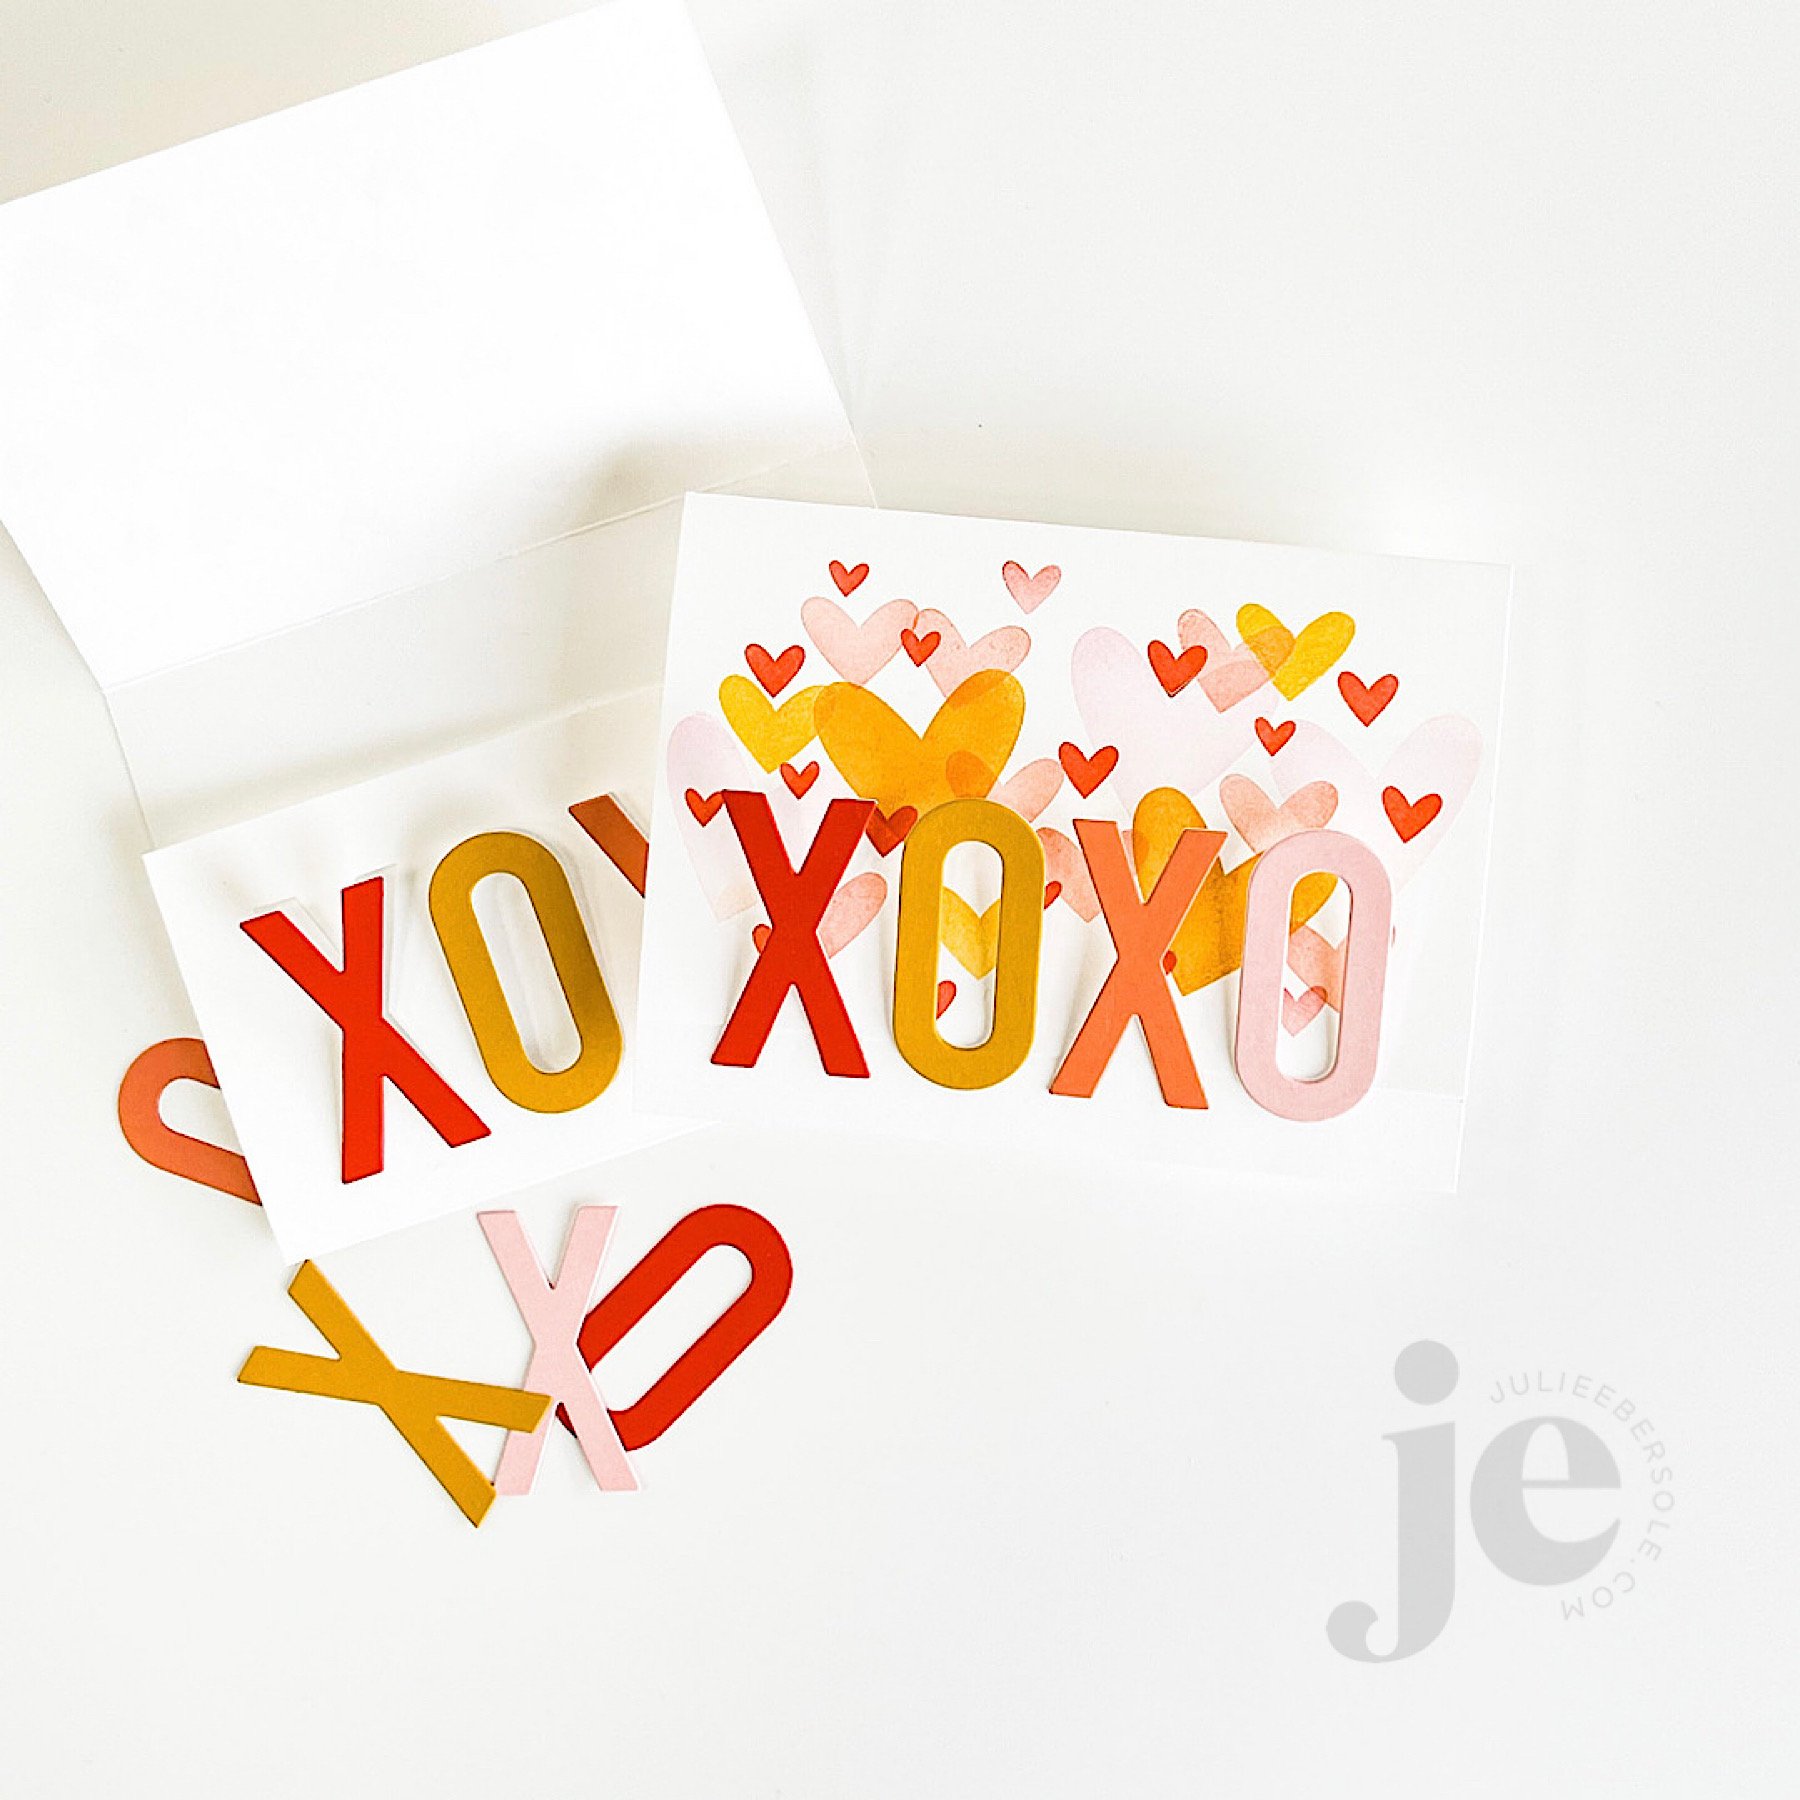
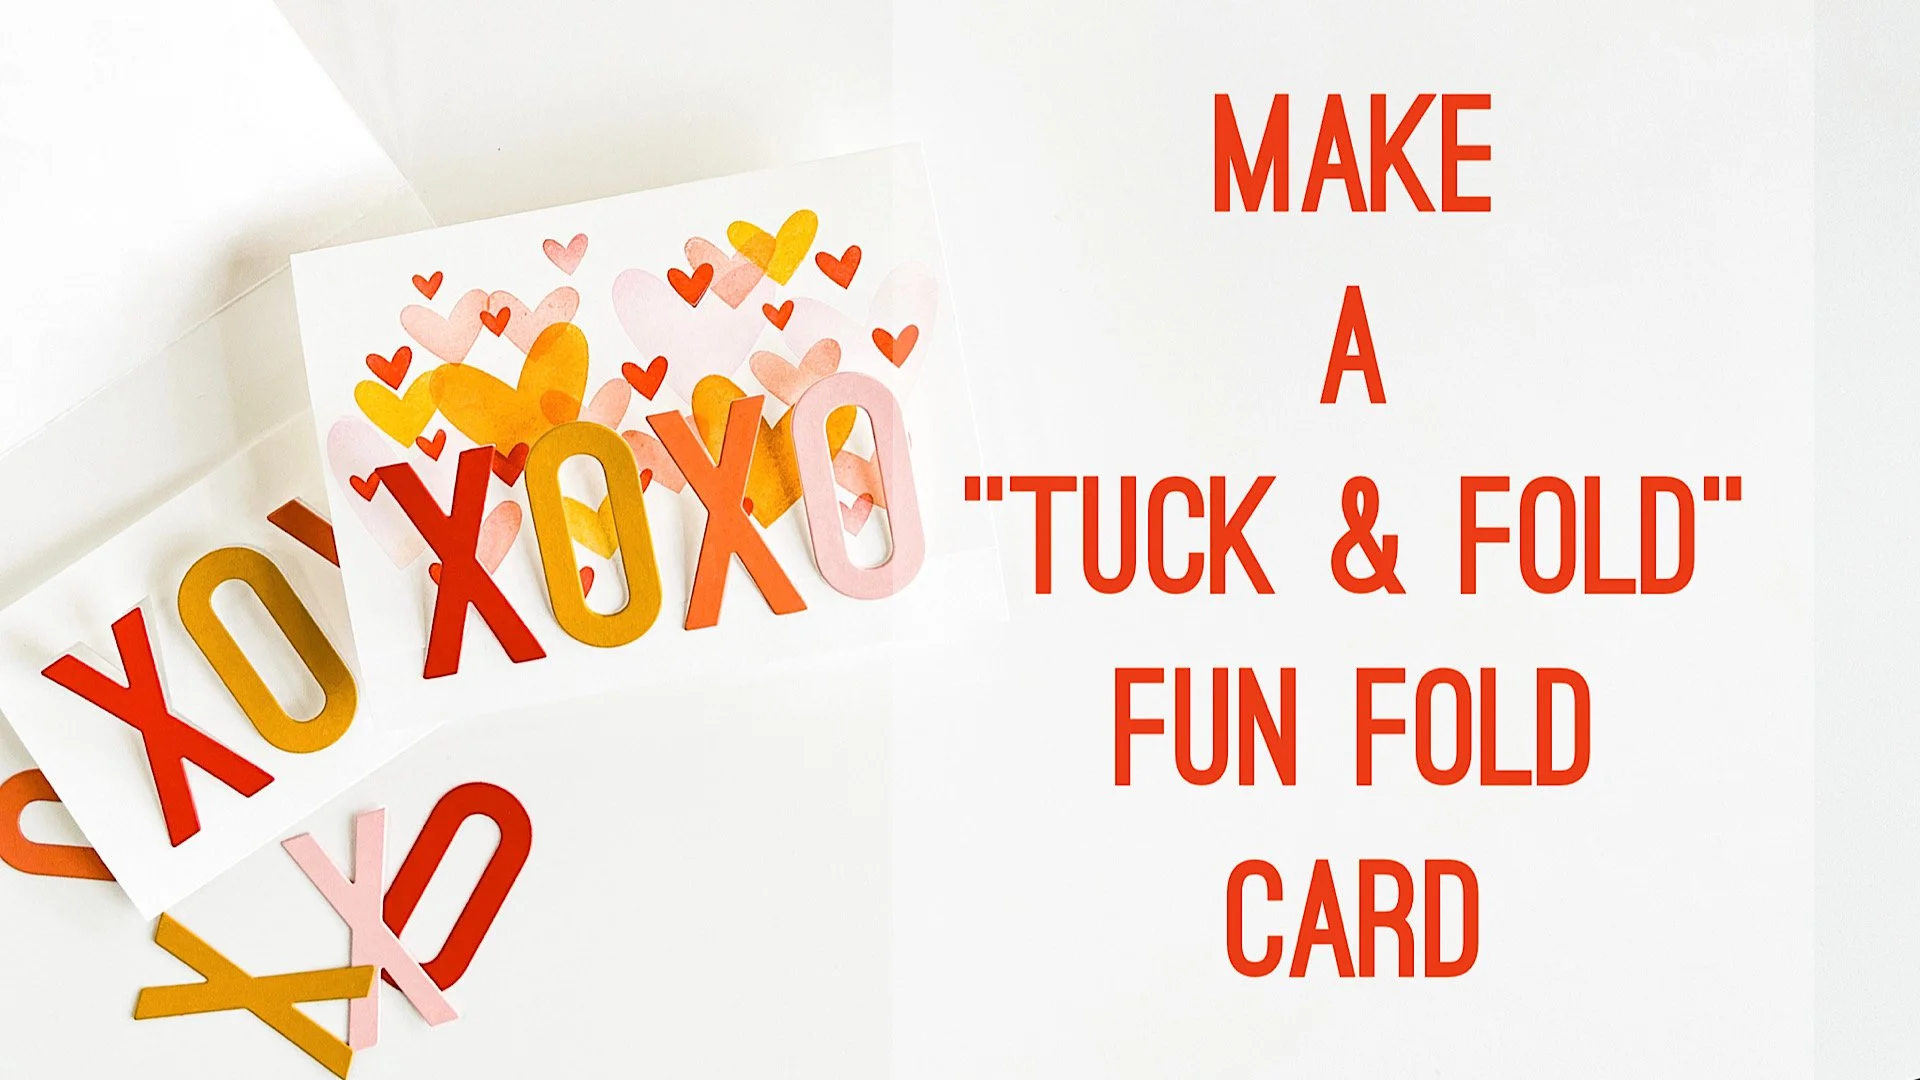
This way fun “fun-fold” design is actually a tri-fold that tucks and folds! I haven’t done one of these in so long and it’s one of my favorites so I need to poke myself as a reminder to do this more often because it’s so easy and always feels “clever”.

Video Tutorial below:

If you give this fun fold a try, you’ll have to let me know what you think! I love that it’s soooooo simple but the explosion of colors just makes it so visually impressive!

I cannot believe we are mid-way through January already; CRAZY!!!

Stay crafty!


Disclosure: I include affiliate links to the products used in my projects and make a small commission when you purchase via those links, at no extra dimes to you. 🙂 Your support is appreciated more than I can say!

OTHER SUPPLIES

The color palette I used for these samples:

Tools:

Embellishments:

Miscellaneous:
LOVE, FRIENDSHIP & VALENTINE RELEASE TODAY!


A new release is here—YAY!!! All the samples on the release page (affil. link) have been givin’ me the vapors!

There’s an Instagram hop going on—skedaddle on over to see eye candy from the design team, toss your name into the hat for prizes and just flat out be inspired! Link: Instagram Hop starts at @ellenhutsonllc

I’m sharing a few samples here, that I’ve shared on my Instagram, in case you don’t follow me there. Hey, I totally get it; not everyone is on all the social medias—not everyone actually “likes” social medias. #amirite? #itsOK

feat. BIG LOVE STAMP SET/DIE (affil link)

Glued some strips of colorful card stock onto my base card, triple die cut LOVE and layered the letters together to create faux chipboard and clear embossed “ya’” over the stripes. A deviation from my normal white; love it so much, I wanna marry it! LOL!

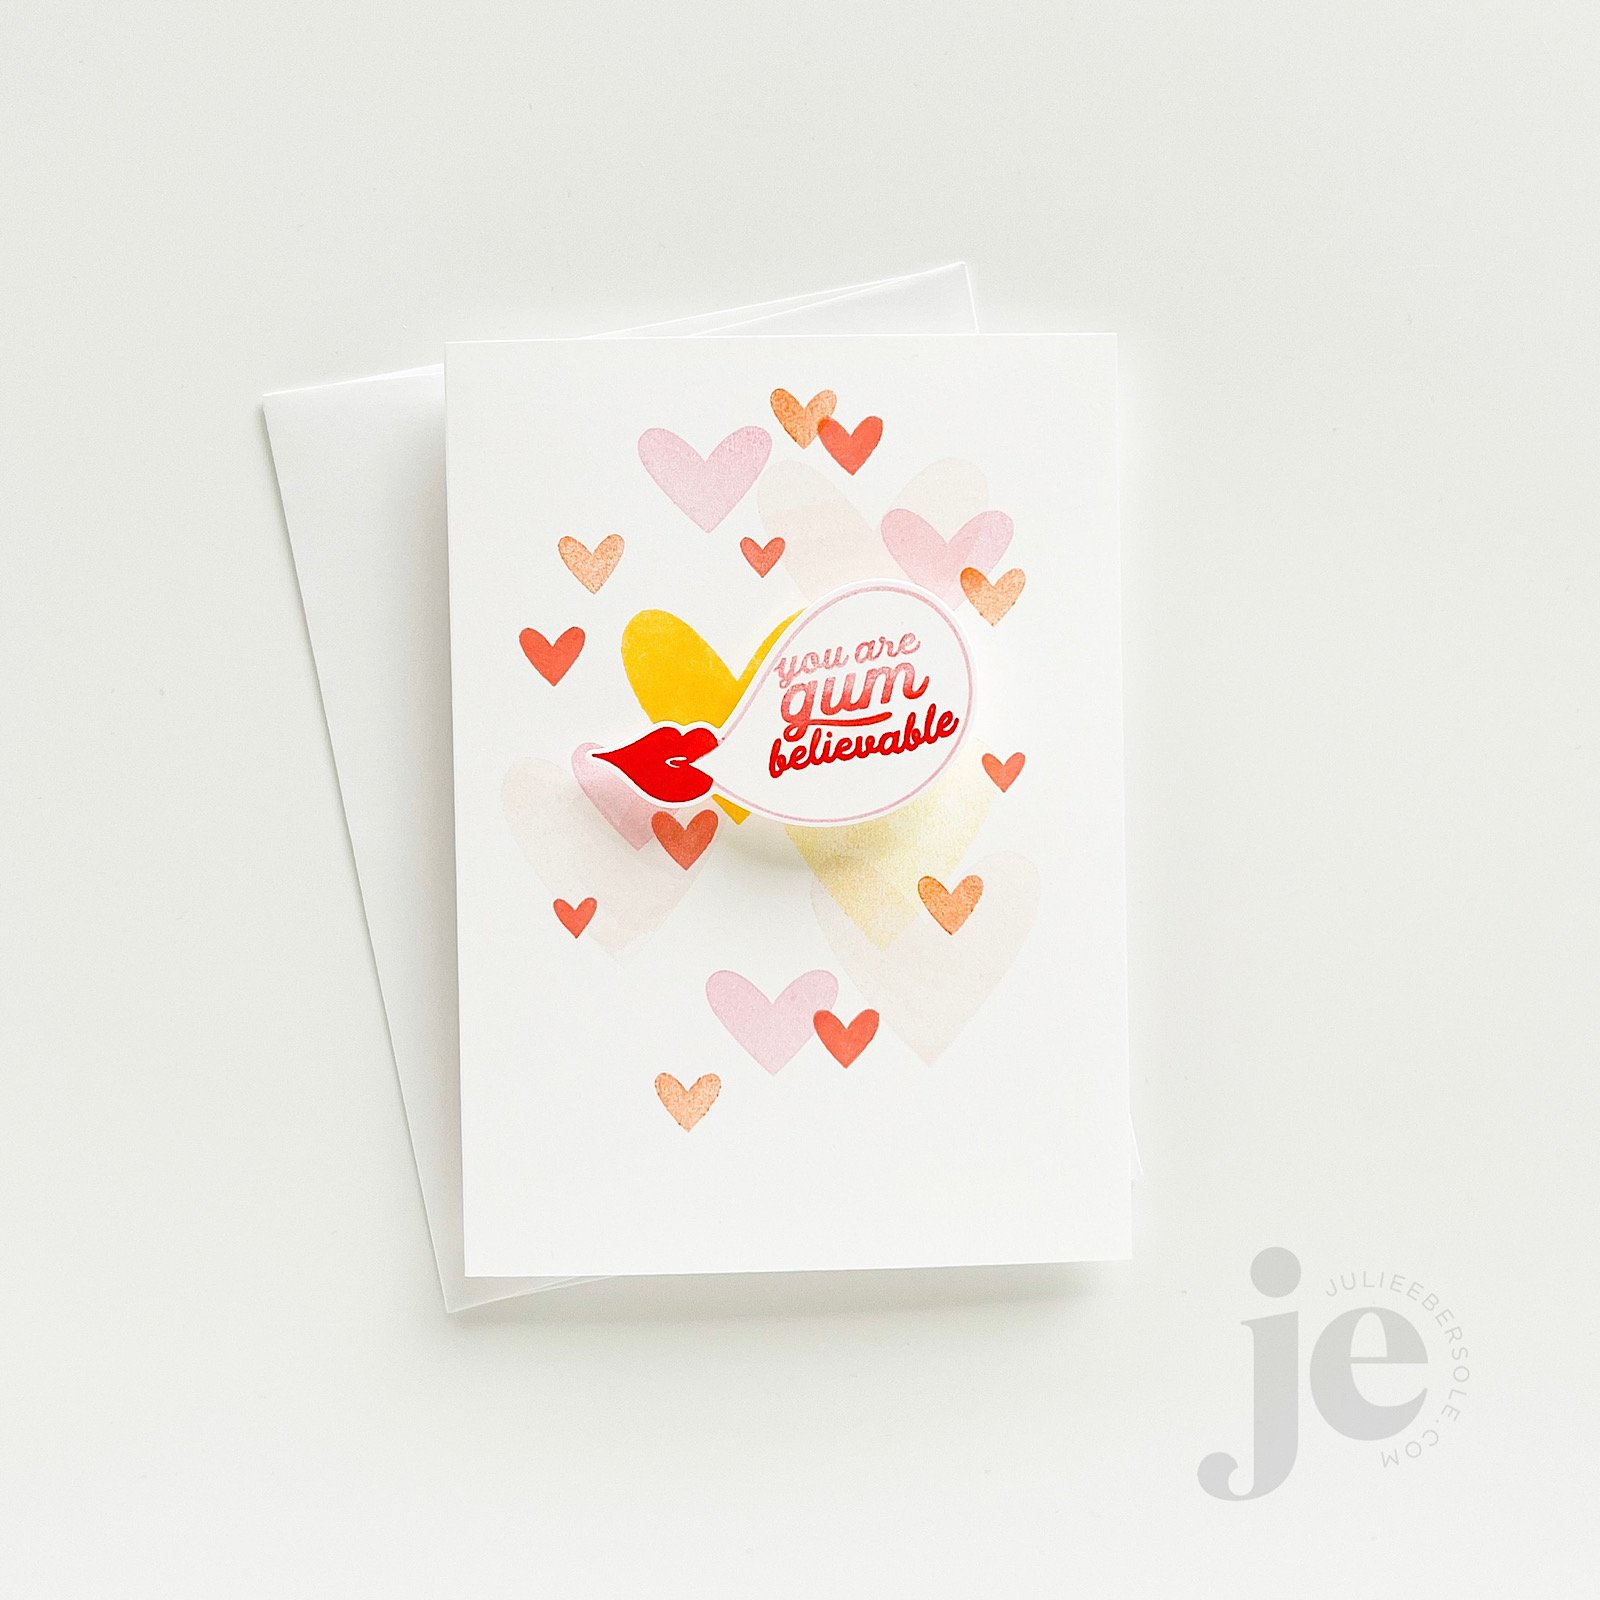
feat. SO CHEWSY STAMP SET/DIE (background hearts from BIG LOVE) (affil links)

Stamped a random background of hearts in my color scheme and popped the die cut image onto a mini Action Wobbler (affil link)—it will compress down when you slip it into the envelope but as you slide it out, it will bobble! One of my favorite interactive mechanisms because it comes already preassembled and you just slap it on there. BAM!!!

I couldn’t capture the shine of the Rose Gold hot foil stamping on the mailboxes, but it is soooooo pretty IRL!

  1. Die cut from watercolor paper (affil link)

  2. Hot foil images

  3. Watercolor over top of foiled designs (it resists the paint/water like heat embossing does)

  4. Assemble

  5. Rinse & Repeat 🤣

Seriously, I could hot foil stamp all.day.long. And, the results on watercolor paper? CHEF’S KISS!!! #allthehearteyes

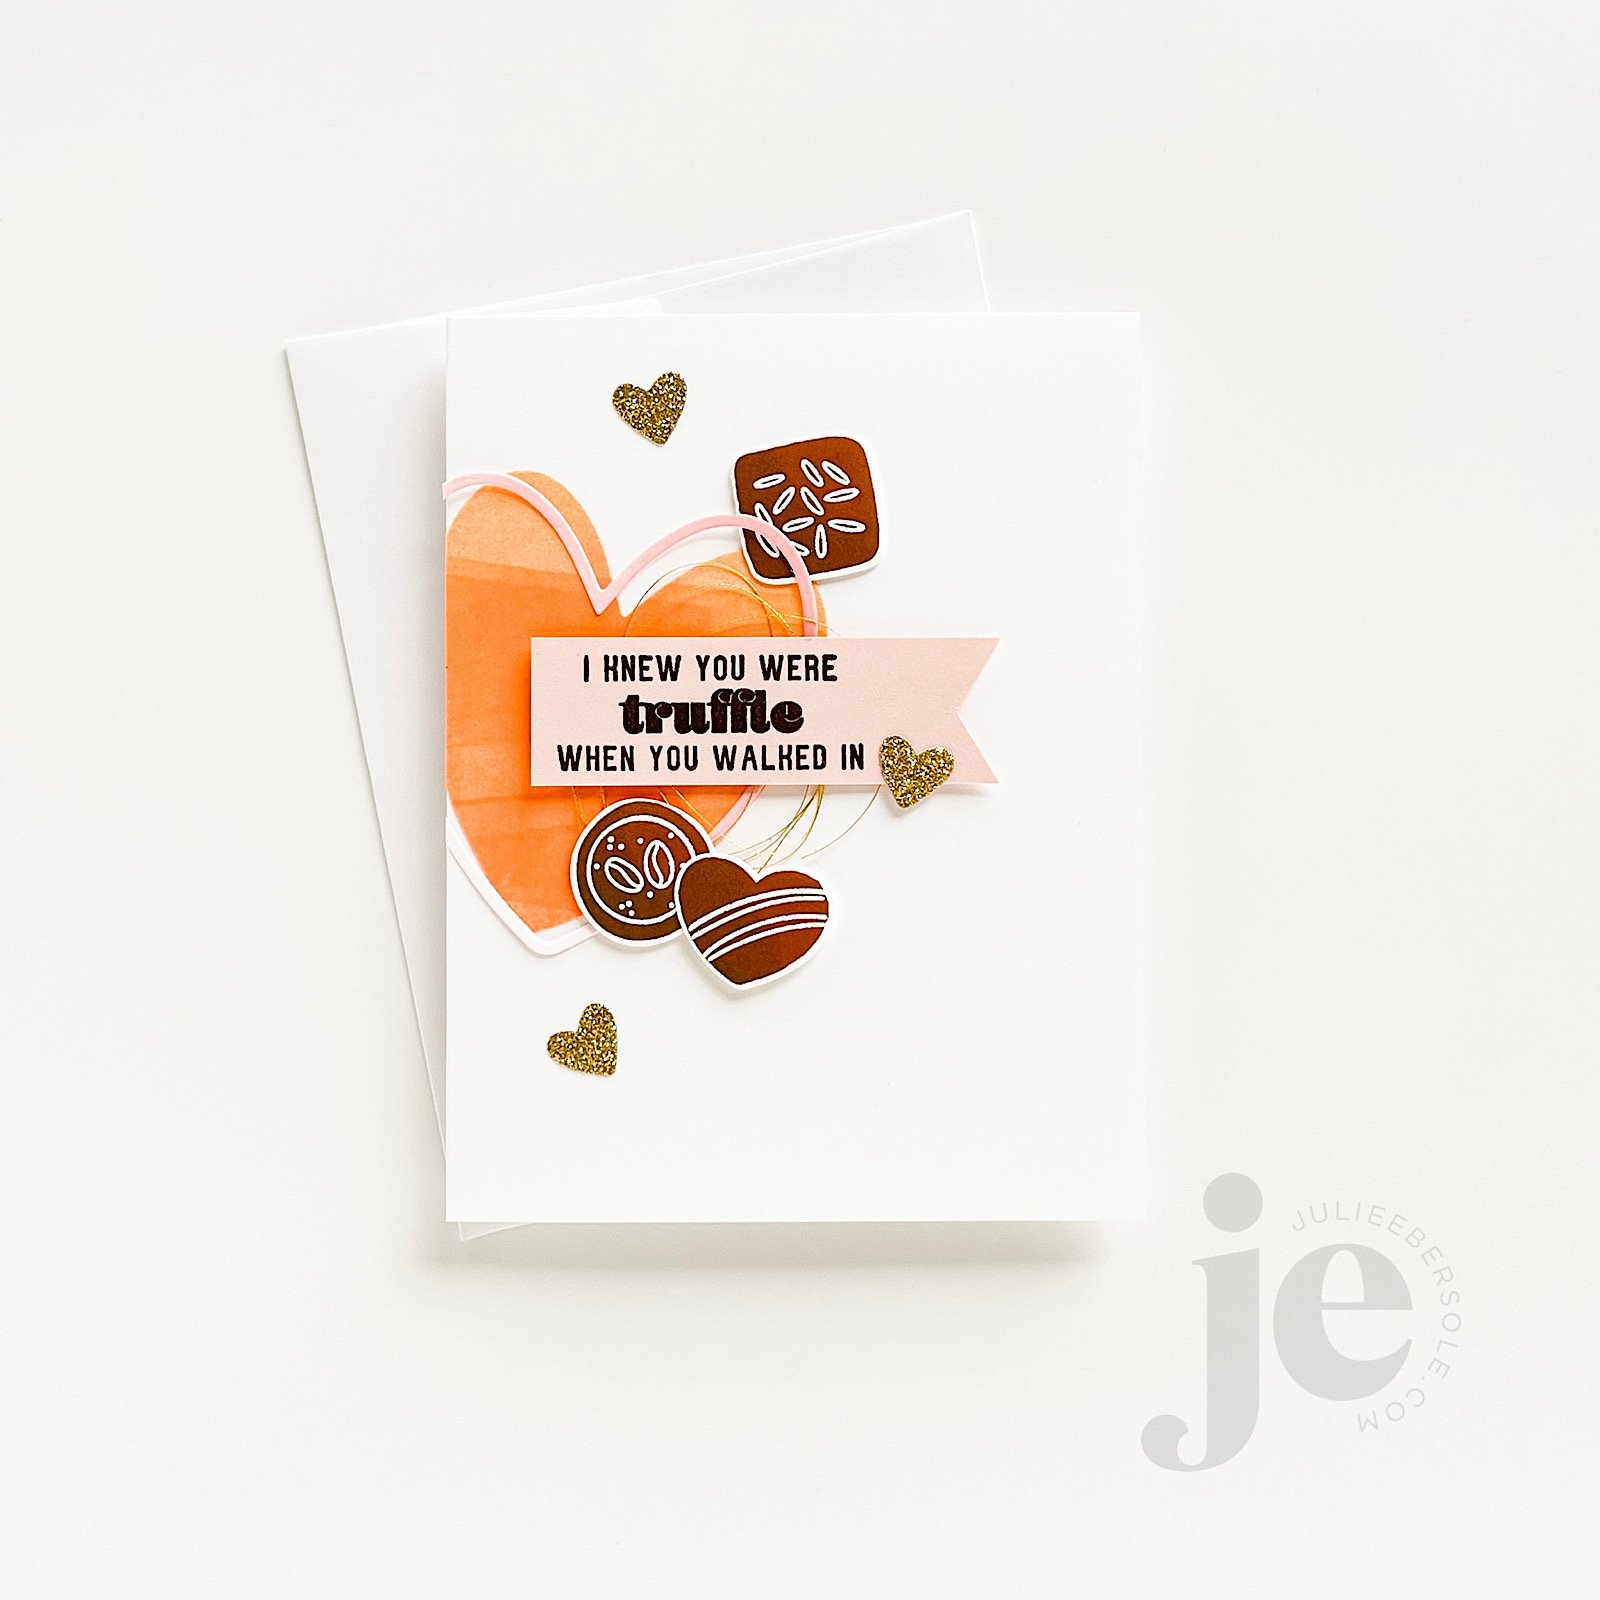
I like chocolate, but I LOVE dark chocolate and truffles most especially and this set is so fun to play around with because of the different truffle shapes and variety of “toppings”. That rich, chocolatey ink effect was achieved by first stamping the solid images using Catherine Pooler Spiced Ink, then ink blending directly onto the stamp using a sponge and Catherine Pooler Icing On the Cake and stamping over the top again to create some shading and dimension. I then stamped the detail images over top with Versamark and white embossed them.

If you have any trouble with embossing powder sticking where you don’t want it in this situation, make sure the solid images are fully dry —you can use your heat tool to warm the paper and evaporate any moisture—and by applying anti-static powder over the surface and THEN stamping and heat embossing the detail images.

I am old enough to remember the satisfying sound of the Librarian’s date stamp going “tttthhhhhunk!” onto a library card. When I got home with my books, I would slip the card out and then tuck it back into the pocket, repeatedly. No idea WHY I would do that, but I suspect it marked the beginning of my love affair with office supplies and stationery products. Go figure!

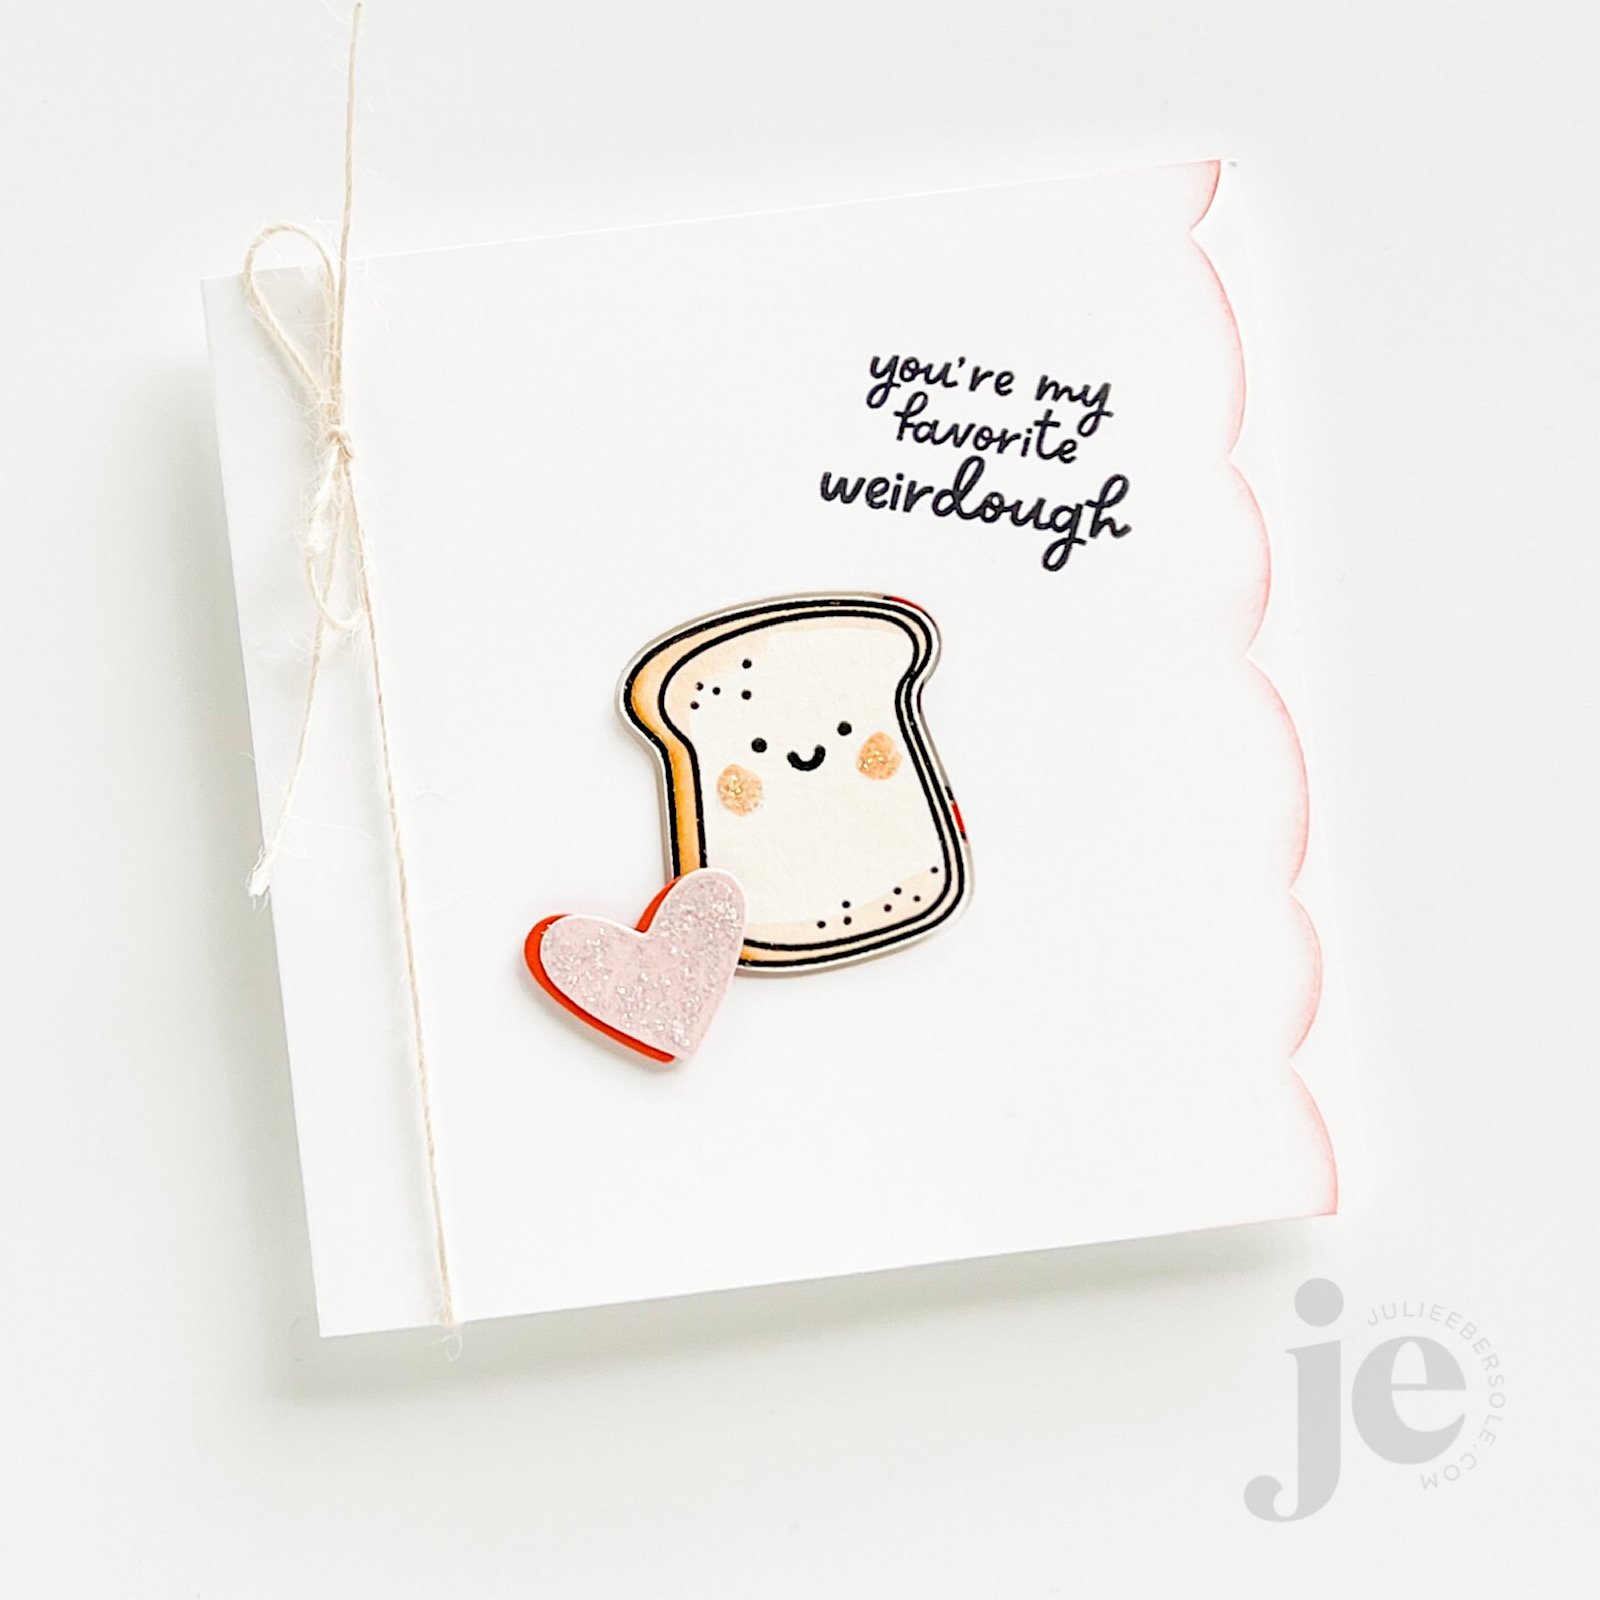
Hey, weirdough!

When you open this one, you’ll see a sweet surprise inside!

feat. JAMMIN’ STAMP SET/DIE (affil link)

I call this a Peek-a-boo Pop Out card—the li’l Bread Slice is hand-trimmed slightly smaller than the actual die cut window and mounted onto foam tape for dimension. Before mounting him through the window, I flush-mounted Jam to the inside of the card in a spot where, when you opened it, she would appear and be peeking over Bread’s “shoulder”—err, ahem—CRUST. (snort)

By the way, that decorative edge along the card front is actually one of the “WAVES” dies; I thought it made for an awesome, shallow and imperfect scalloped edge. (fist pump). Gently blended a little ink along the edge to make it pop a wee bit more.

I must admit that the “just because”, non-occasion-specific card is probably my most favorite of cards to make and receive.

How ‘about you?


Disclosure: I include affiliate links to the products used in my projects and make a small commission when you purchase via those links, at no extra dimes to you. 🙂 Your support is appreciated more than I can say!

OTHER SUPPLIES

The color palette I used for these samples:

Tools:

Embellishments:

Miscellaneous:
PARTIAL DIE CUT VALENTINE CARD

ANNOUNCEMENT

My Blog RSS feed delivery via MailChimp will be ending soon. If you’d like to remain in the know, please sign up for my email list using the form located at the bottom right of my HOME PAGE (the form will not show up in RSS Feed Emails) , and then you can unsubscribe yourself from the Blog RSS Feed emails without missin’ a beat! Thank you!


I’m always looking for alternative ways to use my tools and supplies and this idea has been rolling around in my head for quite some time:

Less is More . . .

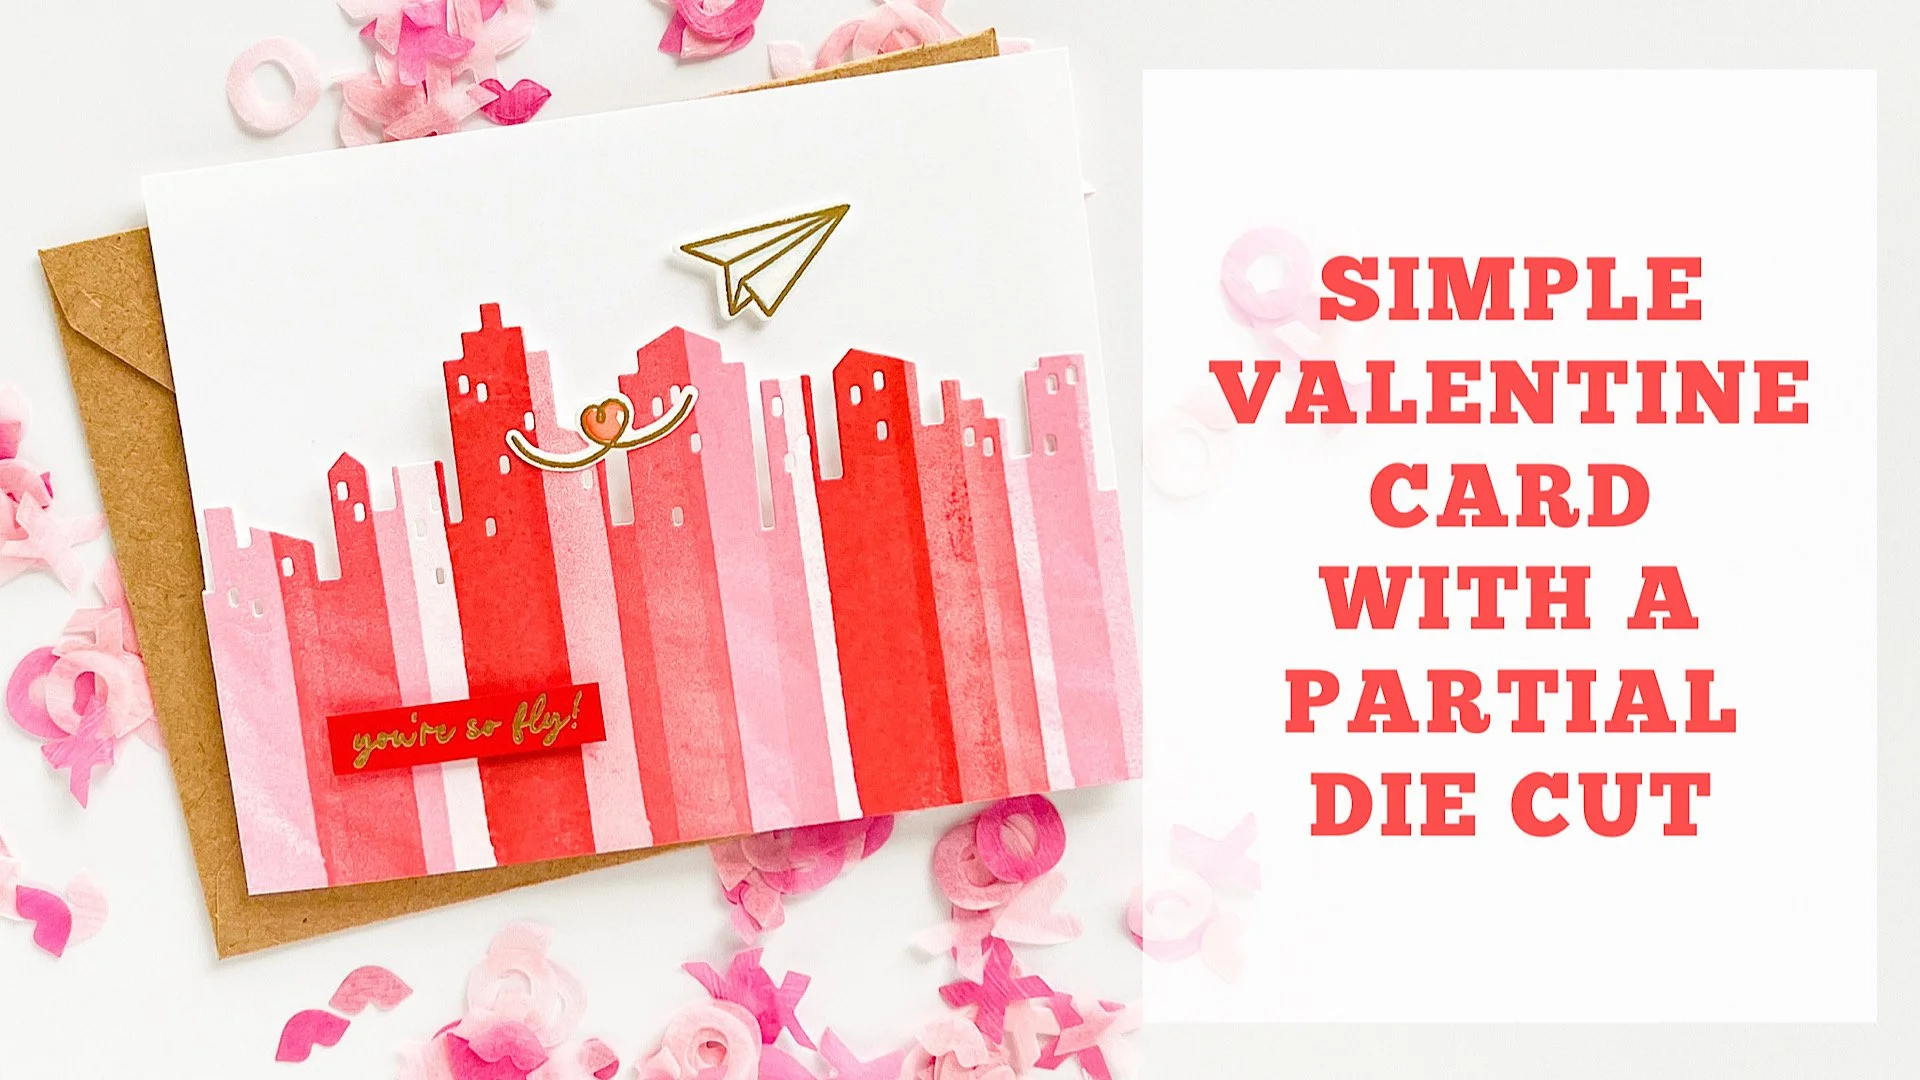
This is one of those “looks-more-complex-than-it-actually-is” kind of cards—the partial die cutting on the card front gives the appearance of more layers because of the colorful, stamped pattern . . . Always a winner in my book!

Full video tutorial below:

HOW TO:

  1. Score a 4.25 x 11” piece of card stock at 5.5” from the short end to make a horizontal side-folding card.

  2. Fold the card and place into the MISTI (the original sized MISTI works best for this because you get more platform area and can move the paper for repeat stamping.

  3. Stamp the longest paint stroke image in a series of stripes, some overlapping, some 2nd generation impressions and some reinked and stamped again to intensify the color.

  4. Use the partial die-cutting method to cut the cityscape through the card front only; trim away the negative piece with scissors or a craft knife (if you’re unsure, just watch the video above).

  5. Gold emboss images from Love Notes onto watercolor paper and watercolor using Zig Clean Color Real Brush markers and a waterbrush. Die cut when dry.

  6. Mount images to card as shown, taking care to position so that the card still swings open freely.

  7. Gold emboss sentiment onto scrap of red card stock; 3D mount to card front.

If you haven’t yet, this is a simple but fun die cutting method to try! Thanks for stopping by!


FREE ONLINE CARD MAKING EVENT

Last week I let you know about the Card Maker Success Summit, which kicks off next week. You’re going to hear from me on Day 1, Feb 17 2:00pm Pacific about Beginner-friendly digital die cutting for card-making.

You’ll also hear from some of my friends, including:

  • Daniel West

  • Therese Calvird

  • Laurie Willison

  • And a whole lot more!

These presentations are totally free to you for the first 24-hours, as long as you’re registered.

You can also get your hands on the VIP All-Access Pass for a reduced price right now. With it you’ll get:

  • VIP All-Access Pass to all 25+ presentations - no waiting!

  • Lifetime access to all 25+ presentations ($1,200 value)

  • 275+ page Card Project Digital Workbook with a card project planning calculator ($59 value)

  • 1 Live Virtual Crop over Zoom with fellow VIP attendees ($59 value)

  • Premium bonus content from our speakers and sponsors, including a Craft room Organization Guide Workbook, SVG Bundles, Free Card and Technique classes, exclusive discounts to your favorite craft stores, and much more! ($600+ value)

 Check out more details HERE


EASY SWING VALENTINE CARD (INTERACTIVE)

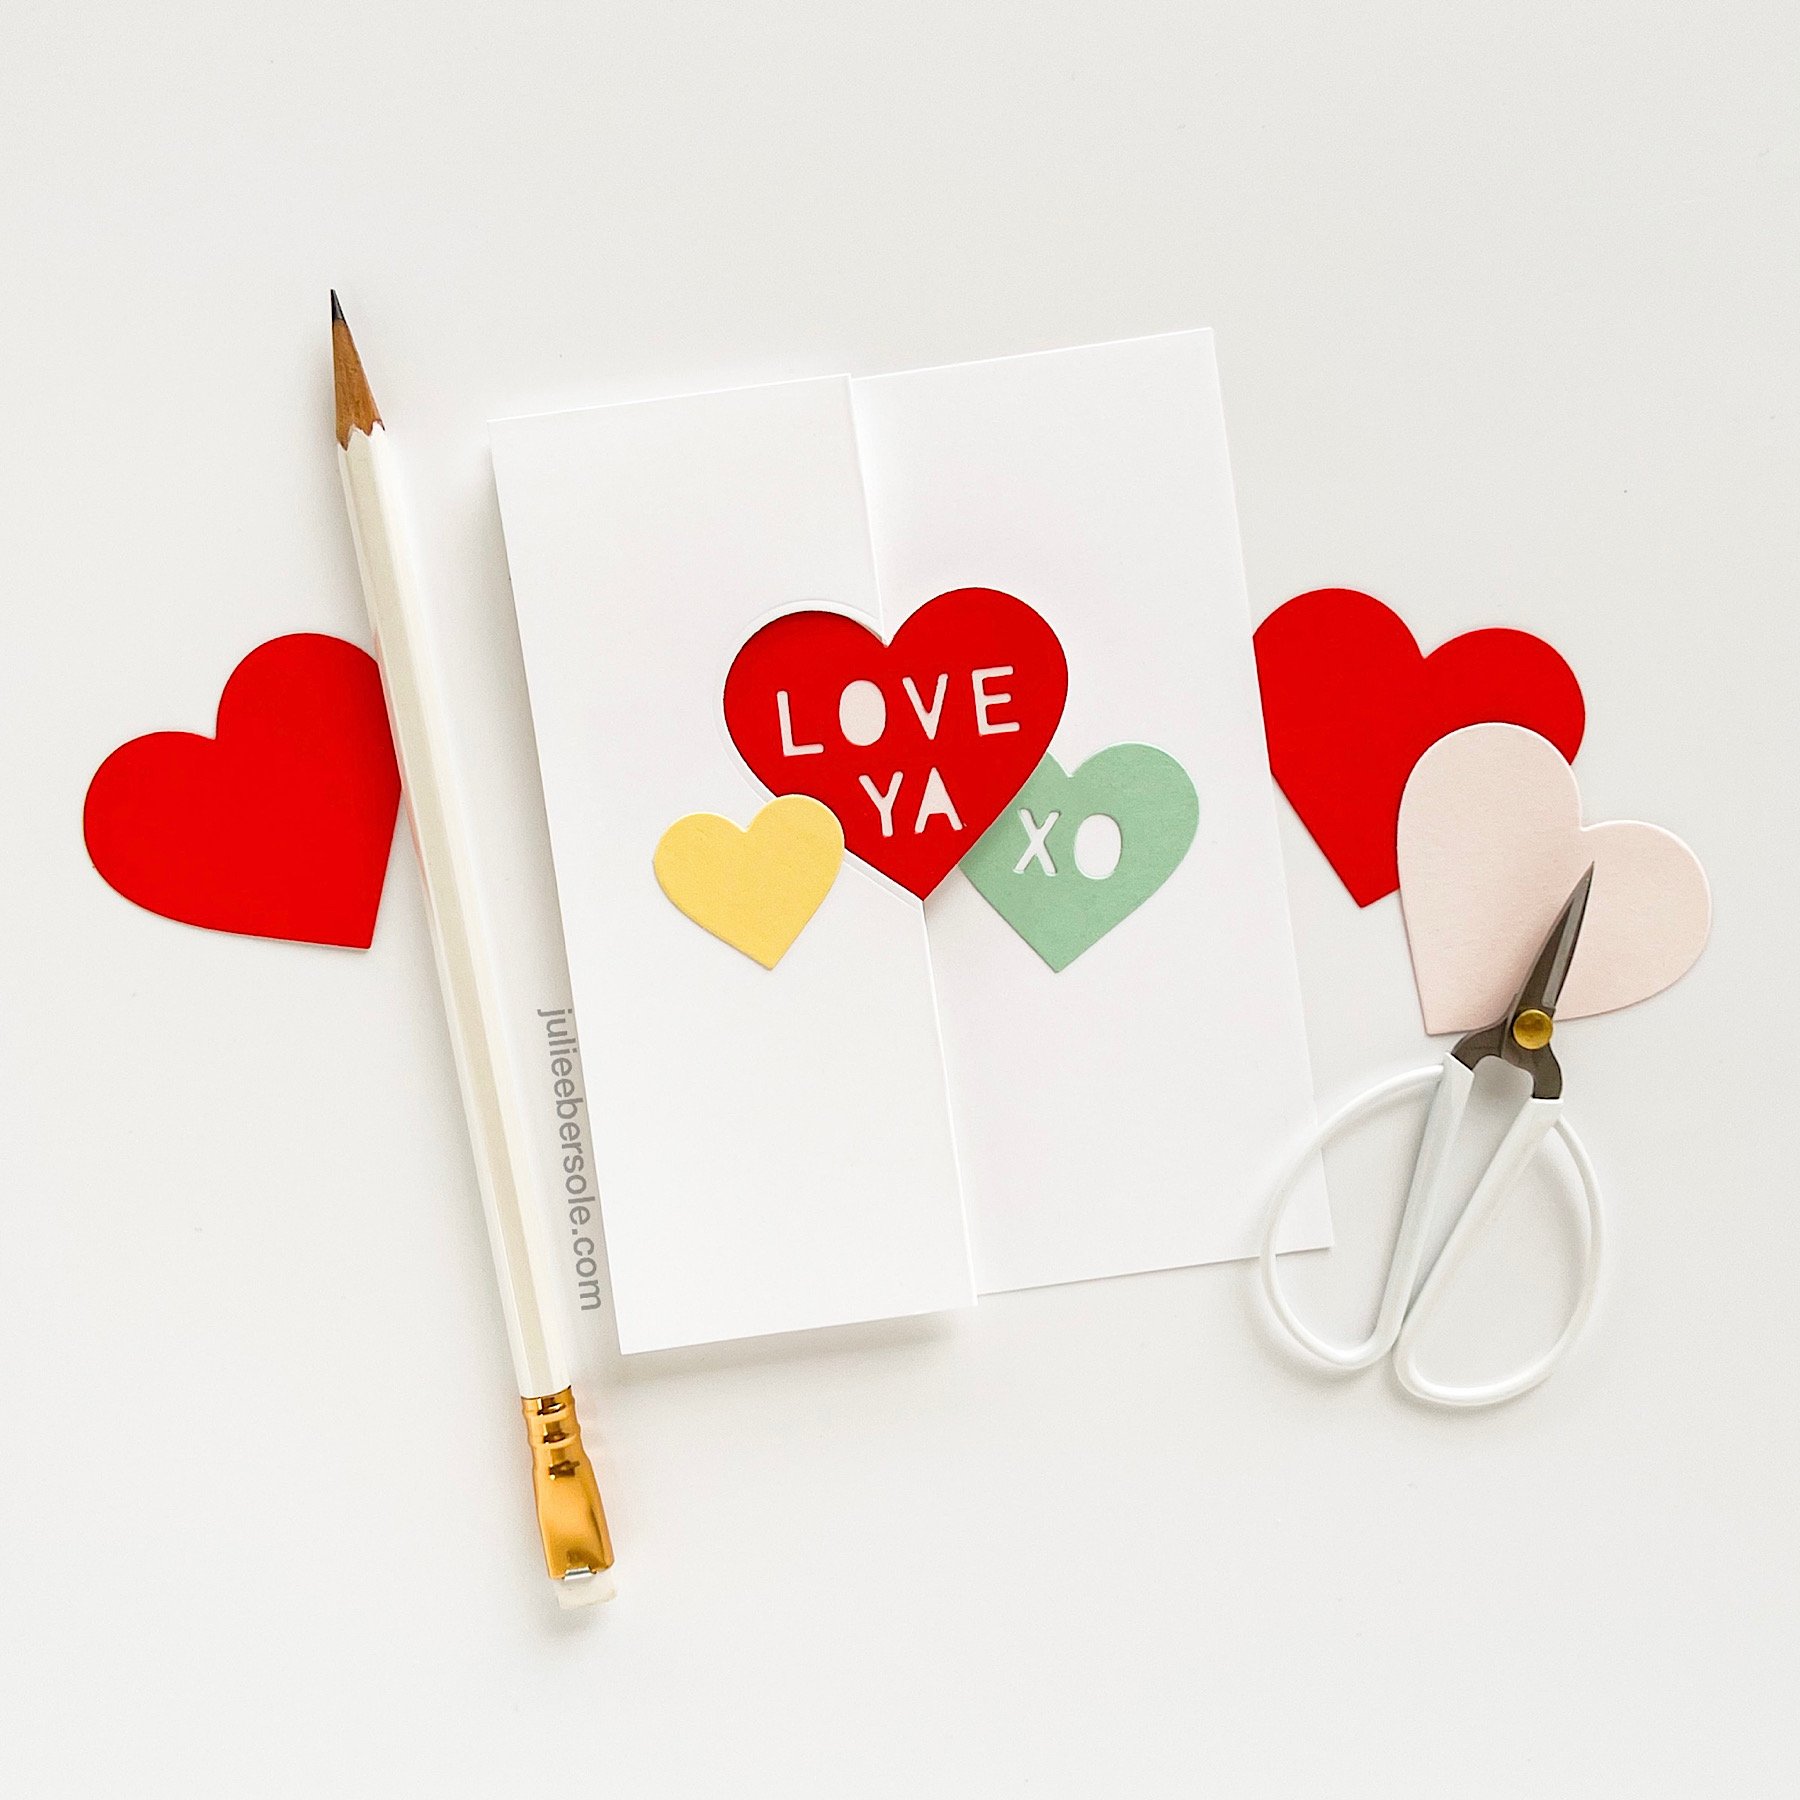
Swing (a.k.a. flip) cards have been around for a long, loooong time—nowadays, you can, of course, purchase dies that make the cuts and score lines for you, which is always nice! However, if you’ve never made one and want to give it a try, they’re quite simple/easy to do; just make sure that the shape you’re using is symmetrical (equal on both sides opposite each other, i.e. a circle, a butterfly, a square, a rectangle, an oval, a star and, in the case above, a heart) for best effect. Anything asymmetrical will be problematic.

BASIC SWING/FLIP CARD INSTRUCTIONS:

  • Start with a card base measuring 5.5 x 8.5”.

  • At 2 1/8” from the left short side, draw a faint pencil line.

  • Center a symmetrical shaped die along the pencil line and use washi tape to anchor in place.

  • Position the top cutting pad over the die and paper, aligning the edge with the pencil line; this insures that there will only be pressure applied up to that point.

  • After completing the die cut, remove die and tape and erase pencil line.

  • Score card base at 2 1/8” from the left short side (in the same position as your original pencil line), taking care not to score through the shape itself (start from the top of the card base and score right up to the top of the shape, skip over the shape, and then continue to score from the bottom of the shape down to the bottom of the card).

  • Score another line at 4.25” from the left short side (this will be the gutter/main fold) of the card.

  • Fold the card in half along the gutter, creasing well, then fold the smaller section back on itself, creating a “z-fold”.

  • As you open and close the card, the shape will swing or flip back and forth; embellish each side as desired.

  • Finished card is A-2 (4.25 x 5.5”) size when folded.

TIP:

If you plan to create a similar “Conversation Hearts” with a knock-out text effect, it helps to use alphabet dies that have extra letters, OR use phrases that don’t require multiples of the same letter. Here are some “Valentine” phrases that don’t require multiples of any given letter:

  • HUGS

  • HEY GIRL

  • WINK

  • U R HOT

  • CUTIE

  • U R LOVED

  • SWAK

  • U ROCK

  • HUG ME

  • ILYSM (Acronym for “I love you so much”)

  • SOUL MATE

  • LOVE BUG

  • XO

You’re welcome!


HANDY VALENTINES

2020-02-handyvalentines-jebersole-001A.JPG

Hand gestures convey so much in a conversation—I can’t talk without my hands; I’ve tried! Like so many parents, when my kiddos were little, I’d stretch my arms out wide and tell them I’d loved them “thiiiiiiiis much” (which they understood to mean “to infinity and beyond”, LOL!). Prior to that, it was the Mister who taught me the ASL sign (card on the right); his brother is deaf. So my kids grew up seeing both pretty much every day of their lives.

2020-02-handyvalentines-jebersole-001B.JPG

LEFT CARD TIPS:

  • After using a Copic marker to “paint” the nails, I added a Sakura Clear Glaze to the tips, for a glossy shine (camera didn’t pick that up well, tho.)

  • The hands are popped up just at the palms with thin 3D foam squares for a little dimension.

RIGHT CARD TIPS:

  • When both sides of a die cut are going to be visible, you might want to place a layer or two of scratch paper beneath your card stock; my cutting pads were heavily etched and if I don’t protect the back side of the card stock with scratch paper, the etch marks will often transfer to the back die cut paper when running it through the machine. No likey.

  • I elongated the “arm” by placing it high enough onto the card stock that I could use a craft knife to quickly cut the arms any length I wanted (the bottom of these dies, at the wrist, were purposely designed this way to allow for lengthening the arm).

  • Curl the finger tips as desired (the barrel of a pen or pencil is handy for this) and use glue to secure in place.

Fun and easy, right?! My favorite!

Tomorrow I’ll have a new Hello, Monday video using these same stamps and dies—I think you’ll like it (turned out adorable, if I do say so m’self!) so be sure to check that out on the Ellen Hutson blog HERE.

Catch ya’ later!