HOLLY JOLLY CHRISTMAS

I adore solid stamps. For me, they’re the epitomé of effortlessness (is that a word?) in the world of stamps.

Holly Jolly Christmas is based on my love of clean, bold graphics and ease of use!

2021-holiday-WM-10.jpg

That tree was stamped first with Rockin’ Red, and then I reinked the bottom edge of the [stamp] image with Peppermint Scrub and blended the edge of the ink line so I would have a smooth transition between the colors when I stamped again over top. Easy ombré perfection makes my stamping heart swoon!

Add in that eclipse die cutting effect and BAM! I’m in love! Sidenote: I usually layer my eclipse die cuts about 3-4 deep using 110# card stock.

2021-holiday-WM-11.jpg

The fa la la stamp in this set was white embossed twice on a longer strip of vellum card stock so I could wrap the ends around the kraft panel to secure it. And, this time, I on the tree, I swiped my Concord & 8th Mushroom ink cube across the stamp to create this cool textured look!

I borrowed the gift packages from Sweet Surprises and added a messy nest of metallic thread and those super-shine silver stars—so hard to pick up how brilliantly they reflect light on camera, but I love them so—IRL, they’re pretty doggone dazzling!


SENDING HOLIDAY CHEER & HOLIDAY SPRIGS

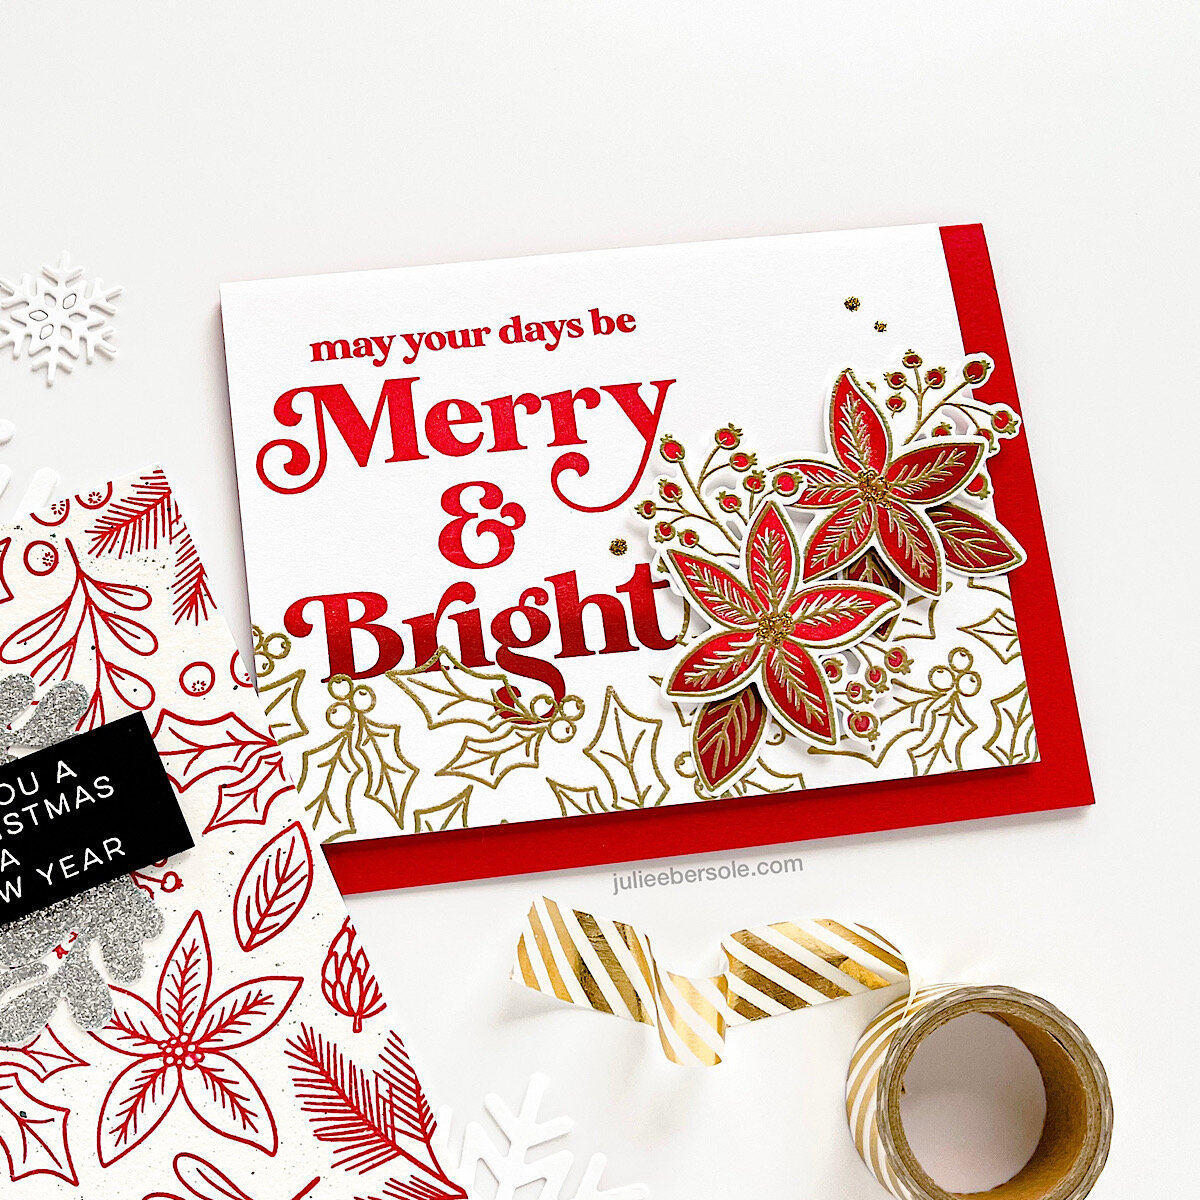
I’m always torn on color schemes for the holidays—not just for cards, but for holiday home decor, too; traditional vs. non-traditional . . . I do love red and white—especially a warm white—it just speaks cozy to me for the holidays. I have to laugh, tho, because at least on my cards I don’t have to “commit” with any permanency, LOL!

feat. Holiday Sprigs / Sending Holiday Cheer / “Wishing you a Merry Christmas…” from Holly Jolly Christmas

feat. Holiday Sprigs / Sending Holiday Cheer / “Wishing you a Merry Christmas…” from Holly Jolly Christmas

Sharing some samples today from the new 2021 Holiday Release that feature Sending Holiday Cheer and Holiday Sprigs. Now, I don’t show them on these particular examples, but there are some humorous quips in Sending Holiday Cheer that would totally bust me up if I opened a holiday card to find them inside. If that resonates with you, definitely take a close look at that set!!!

2021-holiday-WM-07.jpg

I love this ombré inking effect and couldn’t resist repeating that throughout a number of the samples I made for the release page. Holiday Sprigs has solid imagery to coordinate with outline counterparts so if you are not a colorist (like me!), you’ll be happy to have that kind of flexibility.

2021-holiday-WM-06.jpg

The outlines even look so pretty stamped simply in a rich red color against that natural white hue of watercolor paper. I added some fine spatters of black acrylic paint for just a tiny bit of texture and used one of the dies to cut sprigs from glitter paper to create a wreath effect—IRL the sparkle really sets off the whole design.

2021-holiday-WM-08.jpg

I was somewhat hesitant to try this on a darker card stock, but I think the white embossing looks stunning against this grey card stock, especially with the pops of red from the NUVO Drops—such a sophisticated, upscale look! I’m glad I tried it!

I’m so curious to know what other folks lean towards for their holiday colors!

Sidebar: Ellen Hutson is giving away prizes over on our Instagram Hop—if you’re so inclined to toss your name into the hat, go comment along the hop to enter! You can start at my Instagram or the Ellen Hutson Instagram account—just look for the hop graphic so you know you’re commenting on hop related pics!


ESSENTIALS BY ELLEN HOLIDAY 2021 RELEASE IS NOW LIVE

Click on the graphic above to go straight to the release page.

Click on the graphic above to go straight to the release page.

Have you determined what you wanna make for your holiday cards this year? Cuz you’re in luck today! The Ellen Hutson Holiday 2021 Release just dropped! We’ve got snowflakes, stockings, festive holiday botanicals, bold typography and some lighthearted snark for the insides of your greetings (HINT: take a close look at Sending Holiday Cheer on that release page; just sayin’ . . . ) that will elicit some laughs from the recipients of your creations!

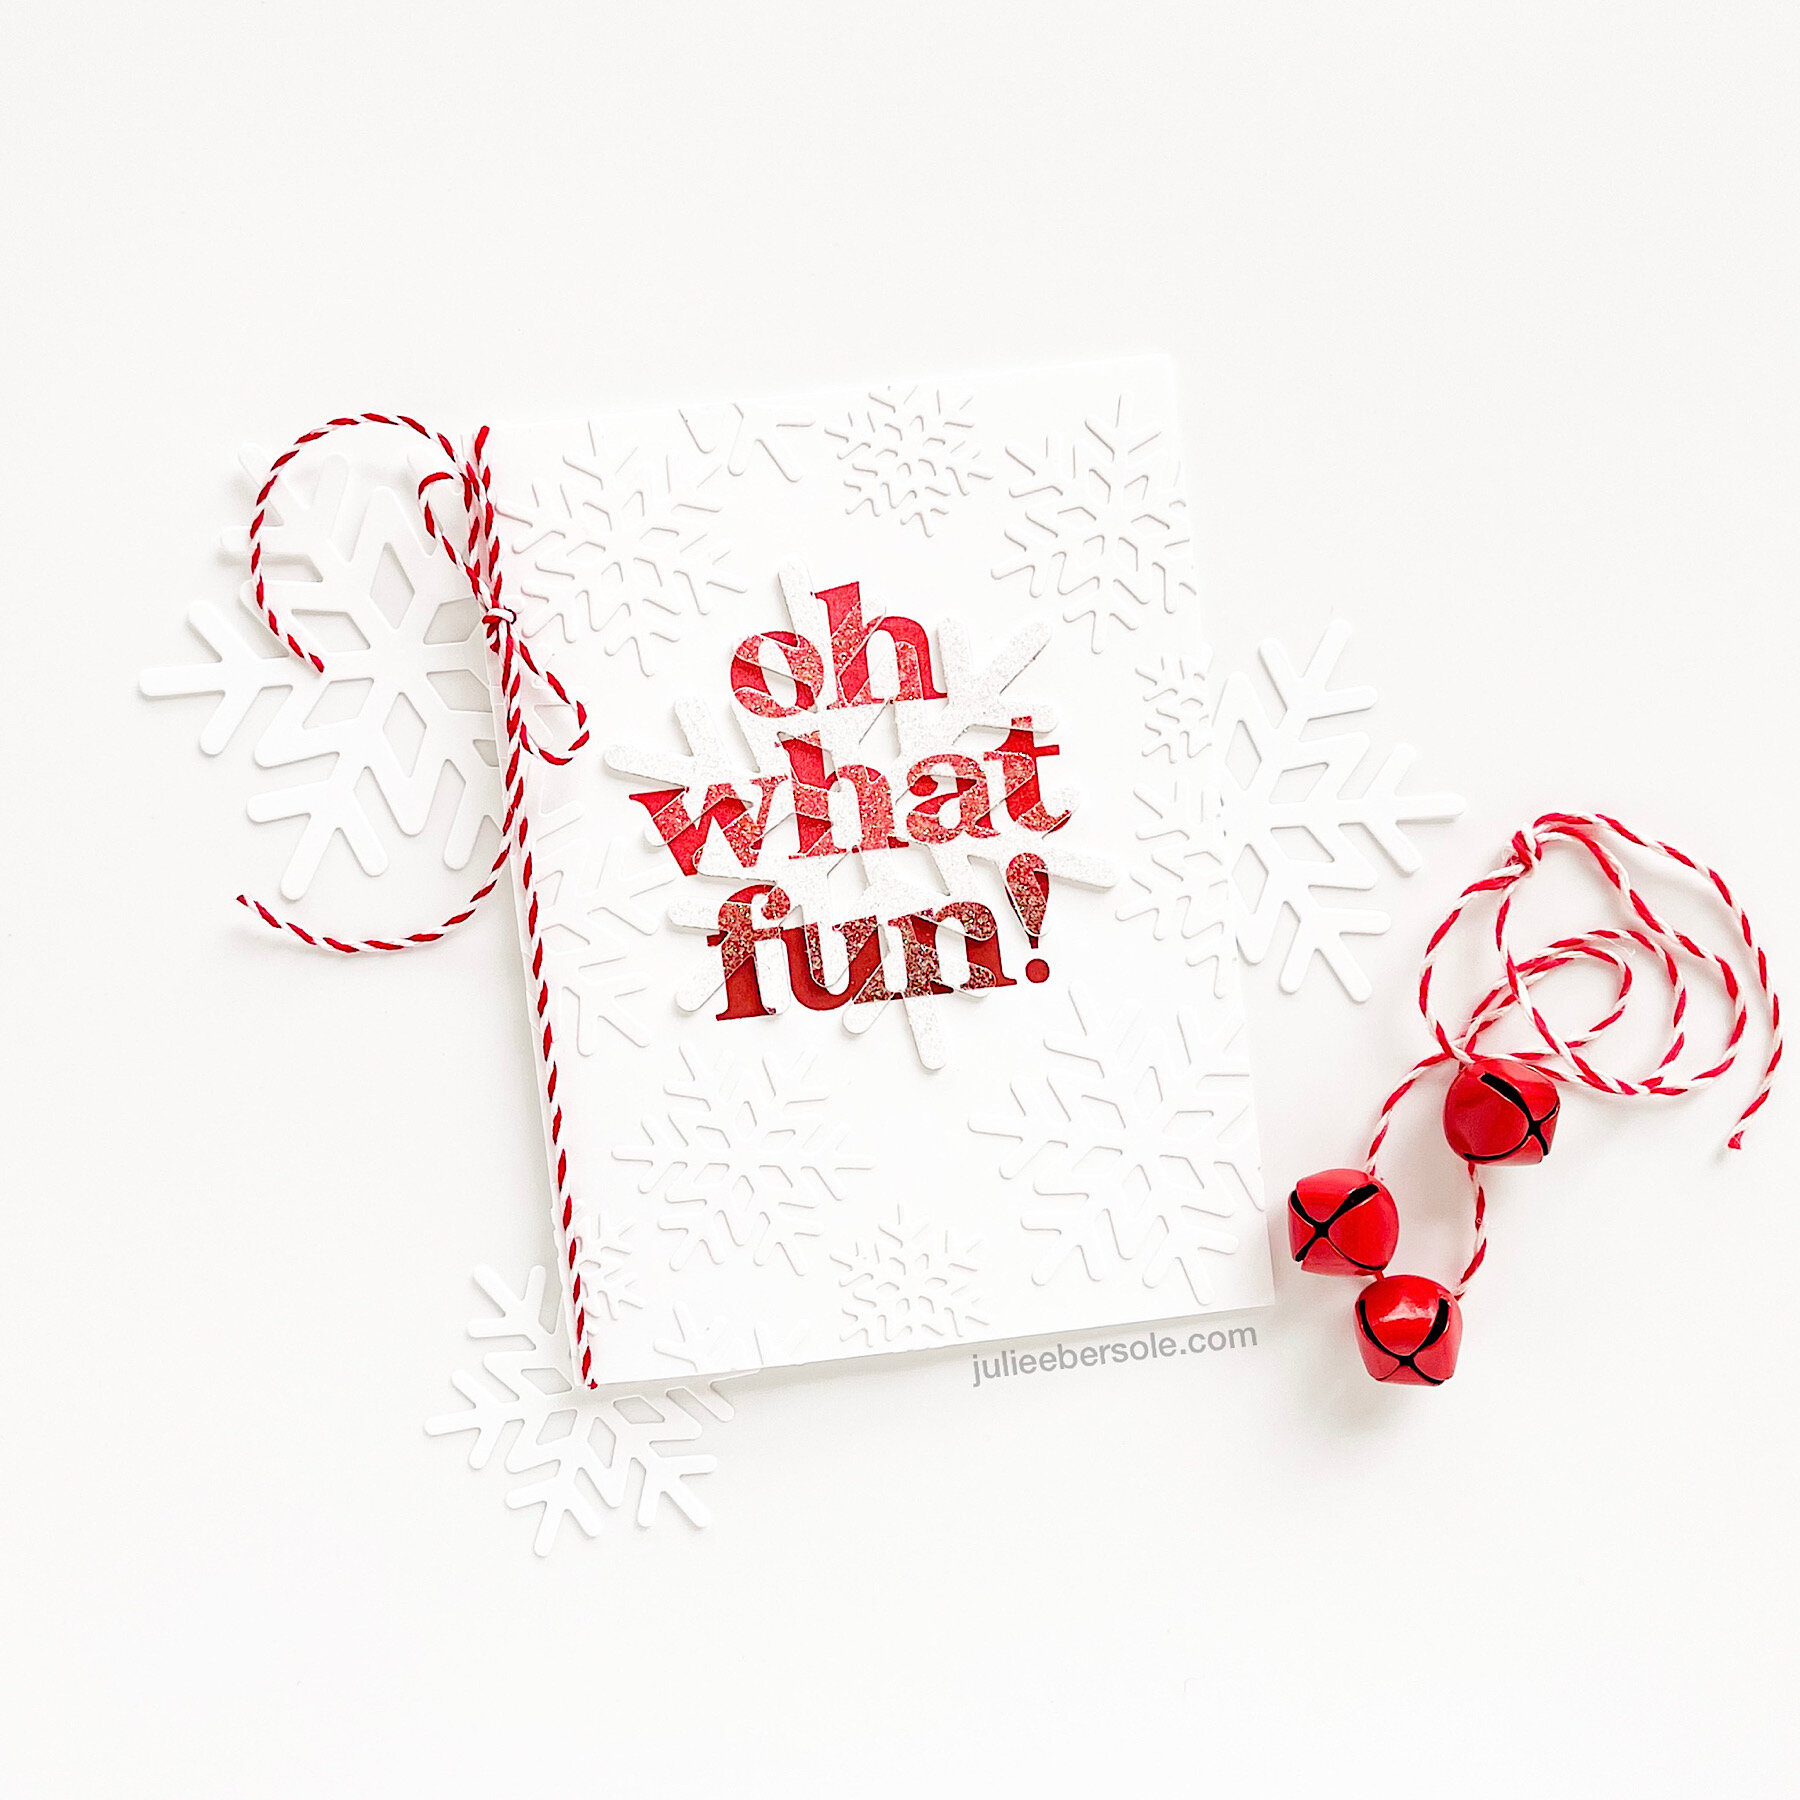
feat. Essentials Snowflakes Die Set / Oh What Fun Stamp Set (Gift with $75 purchase)

feat. Essentials Snowflakes Die Set / Oh What Fun Stamp Set (Gift with $75 purchase)

Today I wanted to highlight the Gift With Purchase Set “Oh What Fun”—I adore the modern lettering and how nicely it plays with this “eclipse” technique, using the new Essentials Sowflakes set (the largest of the set was used to create the eclipse, and the other sizes were layered all over to create a faux embossing folder effect!

“On What Fun” will be included with any orders of $75 at ellenhutson.com Oct 15-17 (while supplies last; please see the website for details).

The ombré inking effect on the sentiment was achieved by inking and stamping first with Rockin’ Red (a stamp positioning tool, like the MISTI, is key to creating this effect with precision), then inking the lower half of the sentiment with Peppermint Scrub, blending the edge with a smooth blending sponge, to avoid a hard line, and stamping again directly over the first impression. The end result will be a beautifully smooth transition from the red to the deeper almost wine hue. I’m a sucker for ombré . . .

If you’re not familiar with the “eclipse” technique, you can see me demonstrate it during a LIVE with Ellen that we did for Summer of Stamping. It’s definitely one of my all-time favorite techniques. Because easy.

As for the faux embossing folder effect? I have a tip for ya’:

Apply Stick-It Sheet adhesive to the back of your card stock BEFORE die cutting the snowflakes; then you can just peel and stick ‘em wherever you want on your card front all quick-like. When you trim off snowflakes that end up hanging off the edge of your card front, many of them can be positioned elsewhere you feel there are any gaps (along the outer straight edges). •fist pump•

I’ll be sharing more samples in the coming days—thanks so much for reading!


BEAR WARE GRAND TOUR

Hey, ya’all! Happy World Card-makin’ Day! Bear is off on some international adventures—with bags all packed and a shiny new passport, he is ready to take on the Grand Tour! (France, Italy + the UK) I wanna go, too!!! You can see this small, but darling release over at Ellen HutsonLLC (←link)

In addition to Bear Ware Grand Tour, there’s also some super fun supporting products that can also be used as stand-alones in other projects! I didn’t happen to use them on these particular samples, but you’ll see them on my blog post / YouTube video over on the Ellen Hutson Blog when that publishes at 10 am.

We also have an Instagram hop going on where you can enter your name to win some prizes by leaving comment love! WOOT! Click HERE to go straight to my IG to join in that fun!

2021-10–02-WCMD-2.jpg
2021-10–02-WCMD-3.jpg

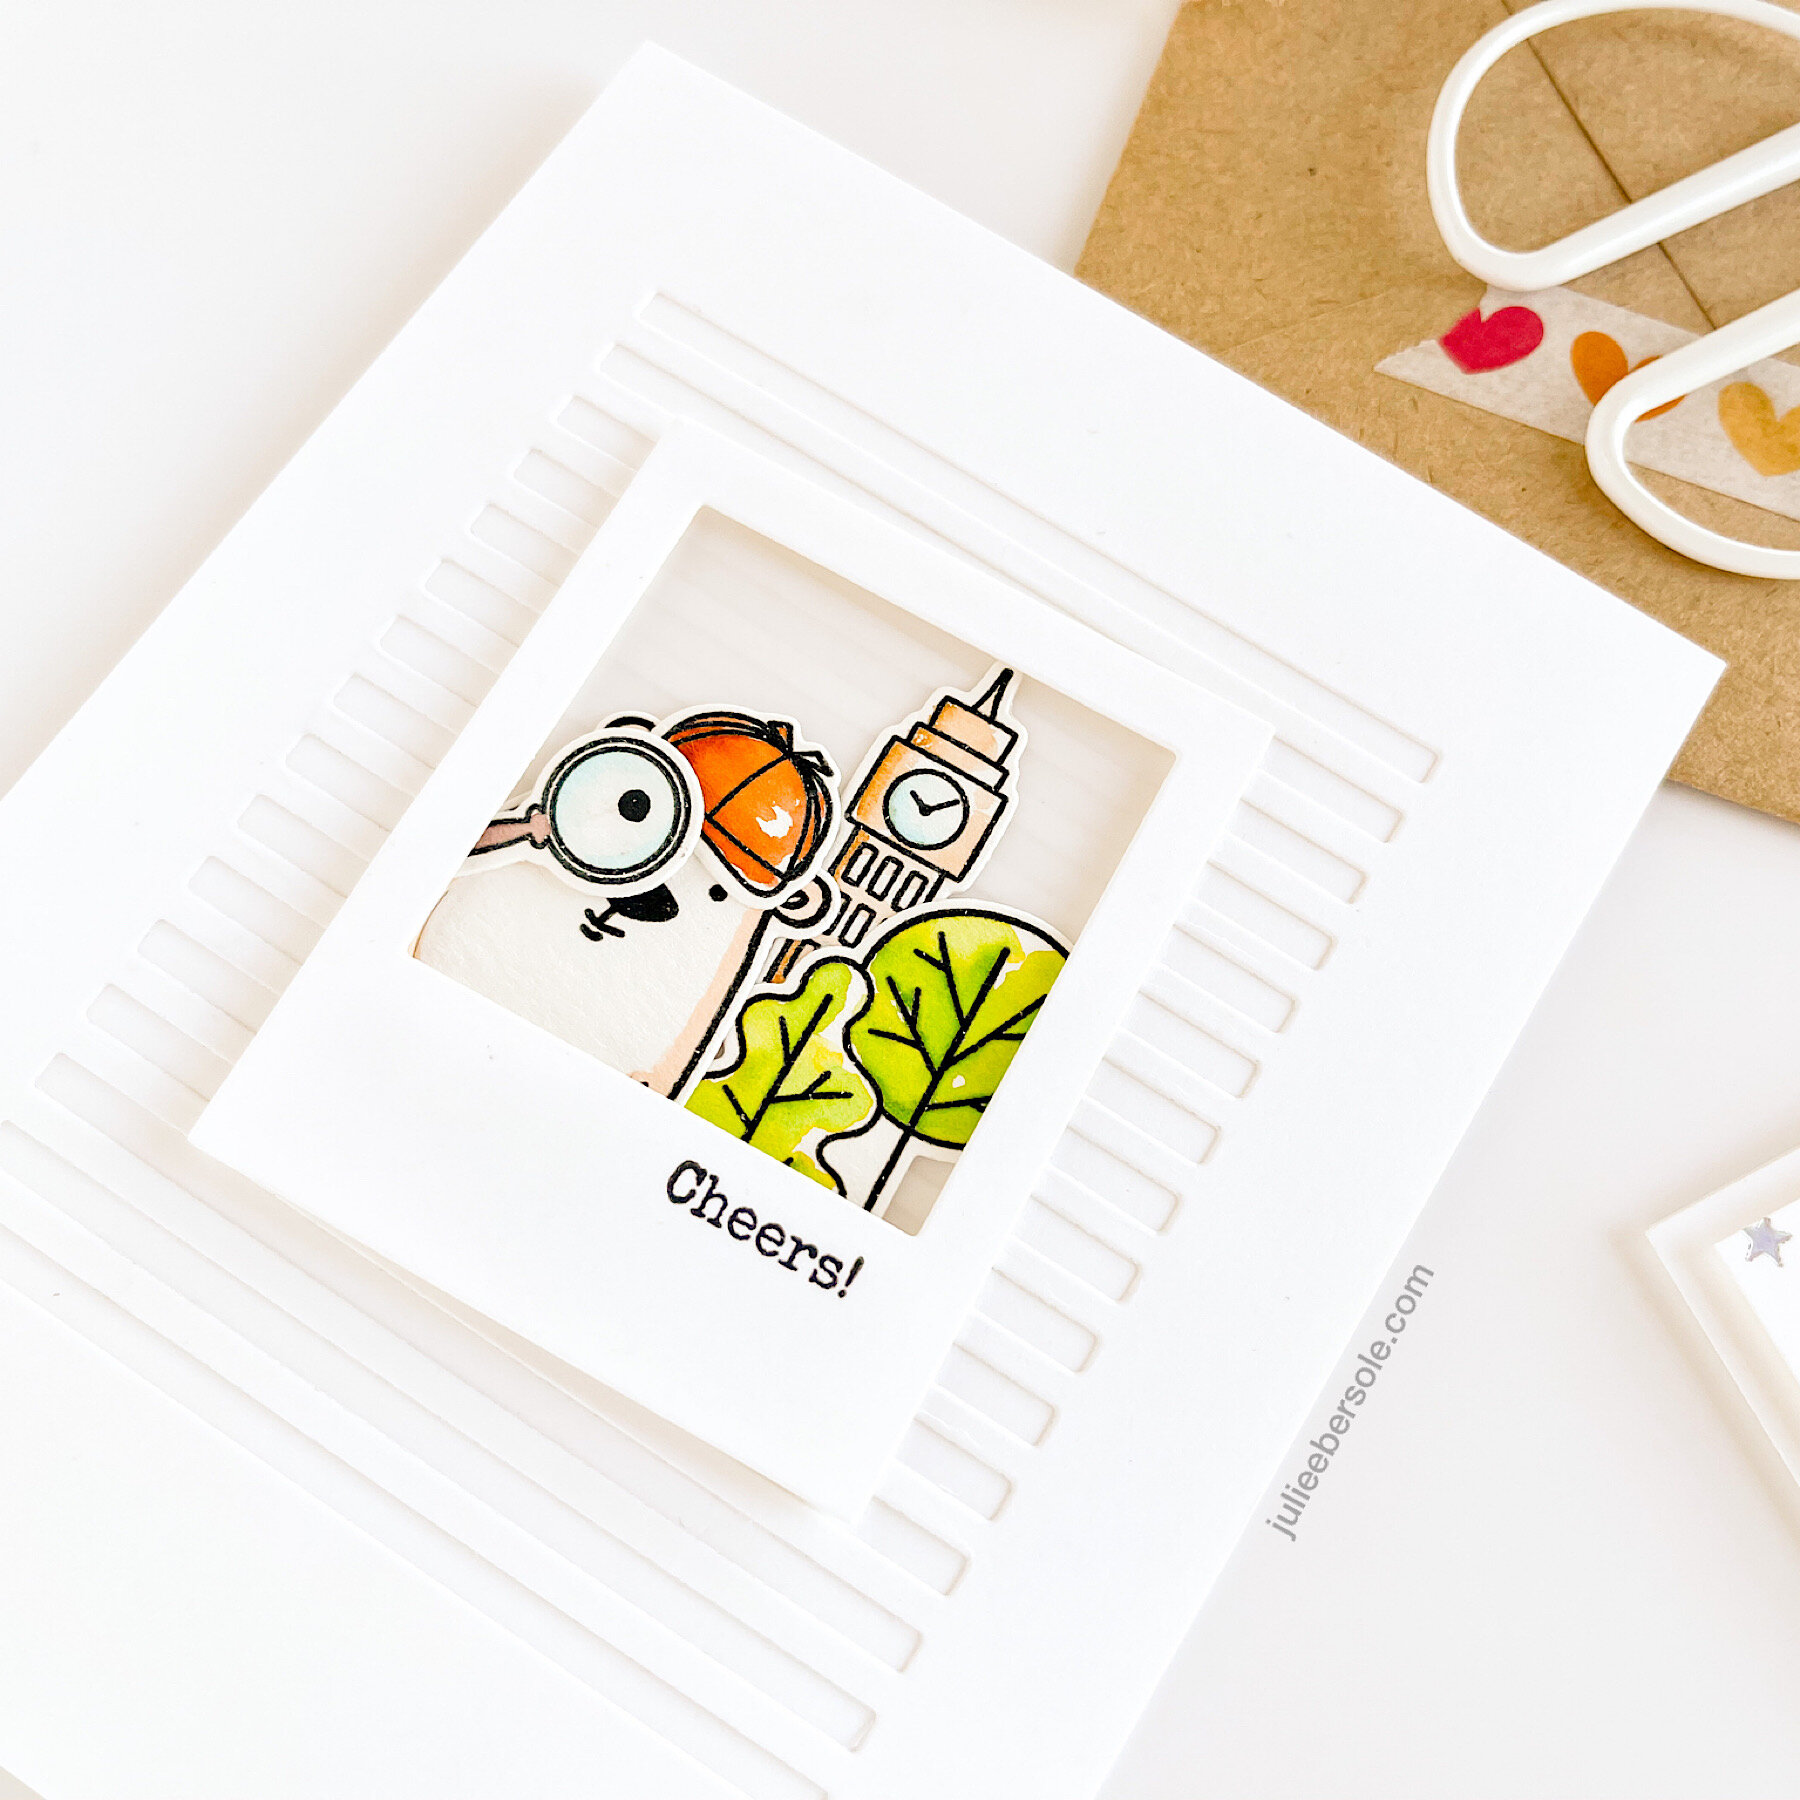
I really couldn’t resist making an Insta-worthy shot of Bear in London, using the Instant Photo Frames! How do you like his deer-stalker? Cracks me up!

For the background, I elongated the Skinny Stripes Die by passing it through my die cutter once, then repositioning the die further down the panel using the previous die cut stripes to guide the positioning and ran it through my machine again . . . felt kinda genius about that, LOL! (serious monkey-clapping)

2021-10–02-WCMD-4.jpg
2021-10–02-WCMD-5.jpg

For this idea, I was waaaaay excited to use some of the travel accessories in the set to create this “alpha substitution” type design using my trusty Classic Block Alphabet Dies! Had to foil the background with those tiny stars! You know me; gotta have all the stars . . . !!!

So, what do you think? Are you a fan of Bear and this latest version?

P.S. I’m not one to “decorate” my envelopes, BUT, one of my favorite things to use Washi Tape for is to decorate the flap of my envelopes—remember back in the day when wax seals were used to seal envelopes? So lovely and romantic when mail was delivered by hand . . . And, highly impractical in today’s world of modern mail machinery. Enter: Washi Tape. It makes me smile when I’m opening a letter before I’ve even seen what’s inside!


Click on the graphic below at 10 am to view my WCMD video on YouTube!


FYI: There’s a special sale going on today only at Ellen Hutson in honor of WCMD. Please read the details in the graphic below and click directly on the graphic to go straight to that sales category!


GIVE ME ALL THE STARS!

I adore stars—this basic shape is truly suitable for so many different occasions and applications! I think the largest sizes of the star shapes would make great banners for the holidays or birthdaysuy

For the creations below, I did full panel watercolor washes onto quarter sheets of my favorite watercolor paper using my Kuretake Gansai Tambi watercolors and a wide flat brush—one of the best investments I’ve ever made to my crafting tools.

Once they were dry, I flattened them under some heavy books overnight and then they were ready to go for whatever I wanted to do with them, which was the following (so far, heh, heh, heh!) . . .

Using the negative from my die cutting session made the perfect backdrop for my li’l Boo, here! I laid down a variety of sizes onto the panel and ran it through in one fell swoop! I’m telling you, it does not get any easier than this!

I had used the Piercing Plate 2 on white card stock for a textural effect on white card stock which I trimmed 1/4” smaller than the base card (standard A-2). Then I mounted the starry watercolor panel onto that and trimmed the edges of that to be flush; mounted that to the base card. I love that some of the stars “bleed off” the edge.

For just a tad more interest, I made a messy nest of black thread from my emergency sewing kit (I don’t really sew, but a girl’s gotta’ do what a girl’s gotta do when the button of her pants pops off, am I right?!)

On this one, I took all the solid cut outs and layered them around my moon, which was first cut using the Alpine Snowfall die, which. isa knock out die, and then cut out using the Essentials Circles. I didn’t bother poking out all the chads in the “moon”, because I liked how it looked when some fell out and others still clung—it’s more moon-like, IMHO. Gotta’ love those multi-functional dies, LOL!

Hope your weekend is stellar! (chortle)

Stay healthy and safe out there!