not a card

ELLEN HUTSON'S ANNUAL 12 TAGS OF CHRISTMAS

Every year, Ellen Hutson hosts the 12 Tags of Christmas, and this year’s theme was Holiday Carols, and you can see my post with all the tips and catch the video at the link above (under the photo). My chosen carol was Holly Jolly Christmas and my friend, and talented fellow stamper, Chari Moss joins me with her interpretation!

Along with the hop there are challenges and a chance to win a shopping spree! You can see all the details there and check out all the gorgeous tags shared by the Ellen Hutson Design Team Members and guests!


For as long as I can remember, my favorite rendition of this carol has always been by the one and only Burl Ives. And, yes, every year I still watch the classic stop-motion animated Rudolph The Red Nosed Reindeer as an adult.

In my video towards the end, you’ll see me reference a great recipe for a cheese log. Cuz I do love me a good cheese log! My daughter brought one to our Thanksgiving Feast and our whole family went bonkers over it and I had to have the recipe! I love that it can be a “make-ahead” appetizer and that is so easy, beautiful, colorful and incredibly yummy! I’m sharing the link to it here: Easy Cranberry Pistachio Cheese Log by Jen, author of Carlsbad Cravings.

I hope this Season finds you able to safely enjoy some in-person time with family and friends! My family LOVES food and FOOD GIFTS are always a huge hit—I’m totally gifting these cheese logs, with the appropriate tag, too. #handmadegiftswithloveforthewin

Happy Holidays!


ANNOUNCEMENT

Also, I wanted to give you a heads’ up that I am going to be transitioning to a new email platform; currently my blog’s RSS feed goes out via MailChimp to those of you that signed up. But, how those emails look has always bugged me (like really, really bugged me!), so I’m moving over to FloDesk.

If you’d like to continue receiving updates/news, other yadda yadda via my email list, please sign up! There’s a new form along the bottom right of my site’s home page you can fill out.

If you’re not interested, no worries; I just didn’t want those who are accustomed to receiving that RSS feed via email to miss out when I finish the transition.

Thanks muchly!


HALLOWEEN LOVERS UNITE!

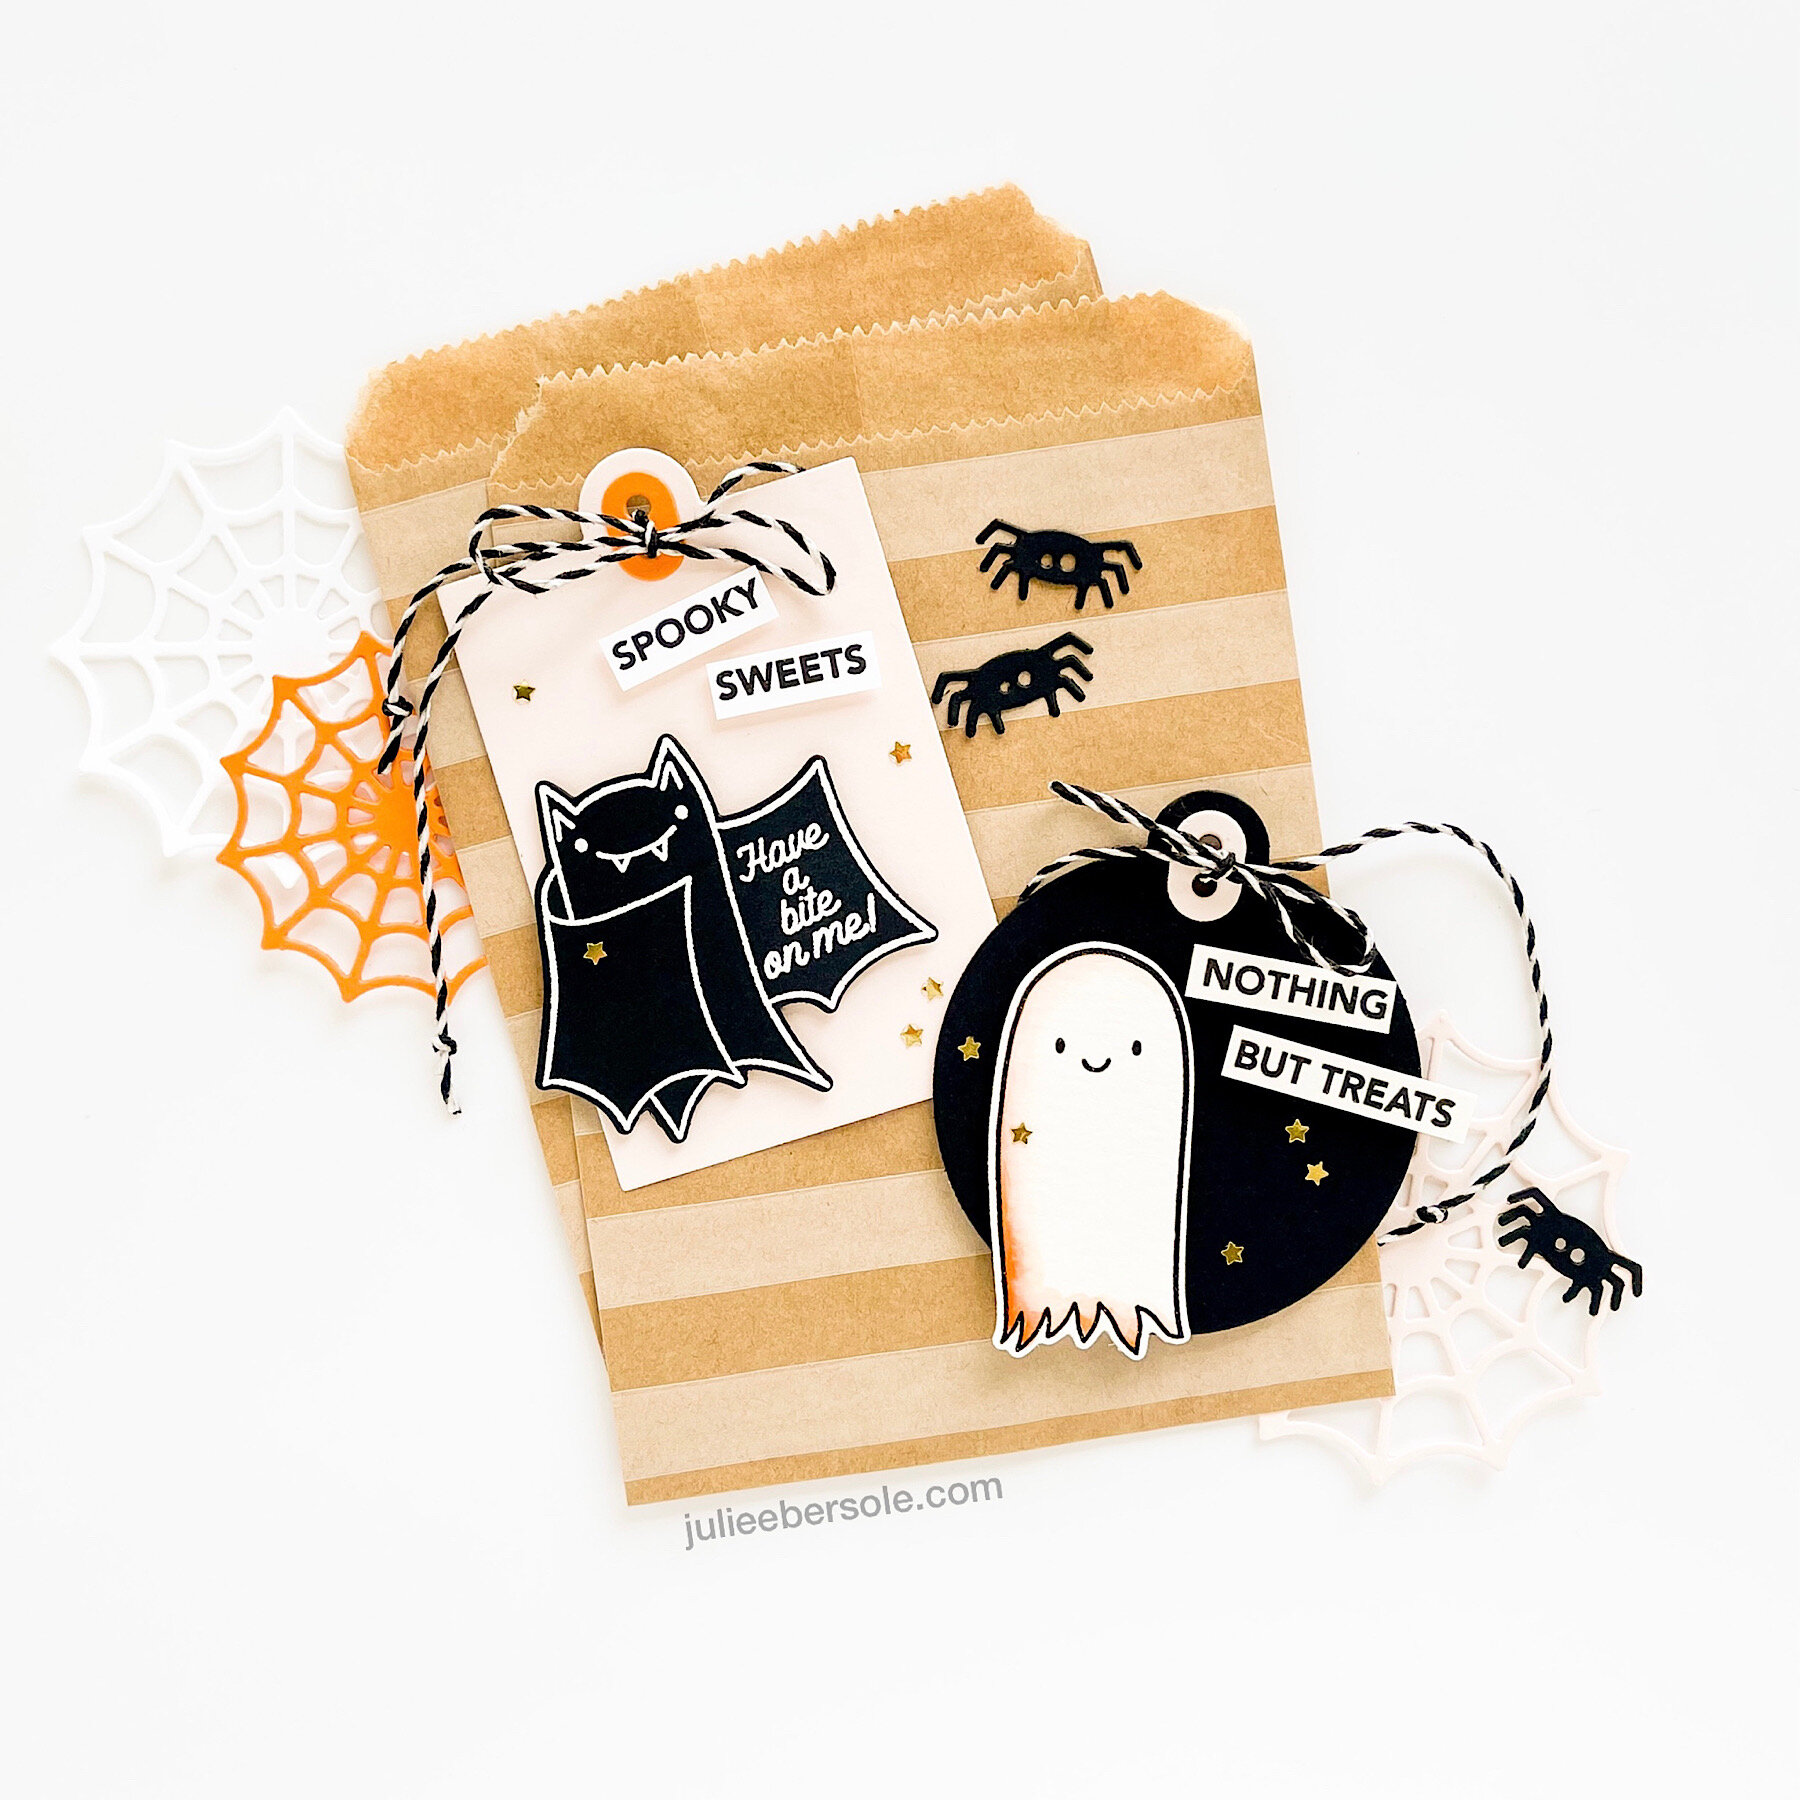
We’ve always especially loved Halloween at my house; it also happens to be the Mister’s birthday! (cue the confetti—Halloween confetti, of course!) I’ve been sharing sneak peeks on my Instagram but I know some of y’all don’t use Instagram, so I’m sharing here, too. If you wanna throw your name in the hat for some great prizes, check out the Instagram Hop we have going on (this post has the details and you can visit the other stops from there!)

Now, I’m a gonna dish particulars about the samples above! Even tho the Halloween Treat Tags can be used as stand-alones, I really had fun combining them with the Farmhouse tags! My images were all heat embossed (the bat in white on black cardstock, ghost in black on watercolor paper, so I could do some light watercolor shading on her) There’s a double-hole punch on the Farmhouse Tags with a matching reinforcer and I love being able to use contrasting colors for the reinforcer.

Why does a project always seem more “finished” if I knot the ends of my baker’s twine??? If I don’t knot the ends, it nags at me. Baker’s Twine in particular, must.be.knotted. I think it’s an OCD thing with me . . .

2021-Sept-farmhousetags-treattags-03.jpg

Tiny gold stars make anything feel more special, am I right? I can never resist adding a light sprinkle of them whenever I can . . . I know they look like they were placed completely at random, but I kid you not, I place each one very deliberately, looking for balance overall and when I’m satisfied, I then glue them into place.

Surely I’m not the only one who futzes over such details . . . ?

P.S. If you want to see the entire 2021 EBE Fall Release, check out the release page HERE. The inspiration samples for the release page are nothing short of MIND-BLOWING GOODNESS, and were all created by my girl Heather Meeson. If you don’t already follow her on Instagram, you really should. You really, really should.


DIY HOT FOIL STAMPED CELLOPHANE PACKAGING

2020-12-hotfoilstamp-cellobags-001.jpg

When a girl’s oven breaks down right before Thanksgiving, she’s gotta scramble. Luckily, the Mister knows how to smoke and grill turkey, and girl knows how to make crock pot mashed potatoes and no-bake pumpkin cheesecake pie; the day was saved! But, the part my oven needs (the control panel ) is (still ) on back-order, we’re in the middle of a Pandemic and Christmas is 12 days away . . .

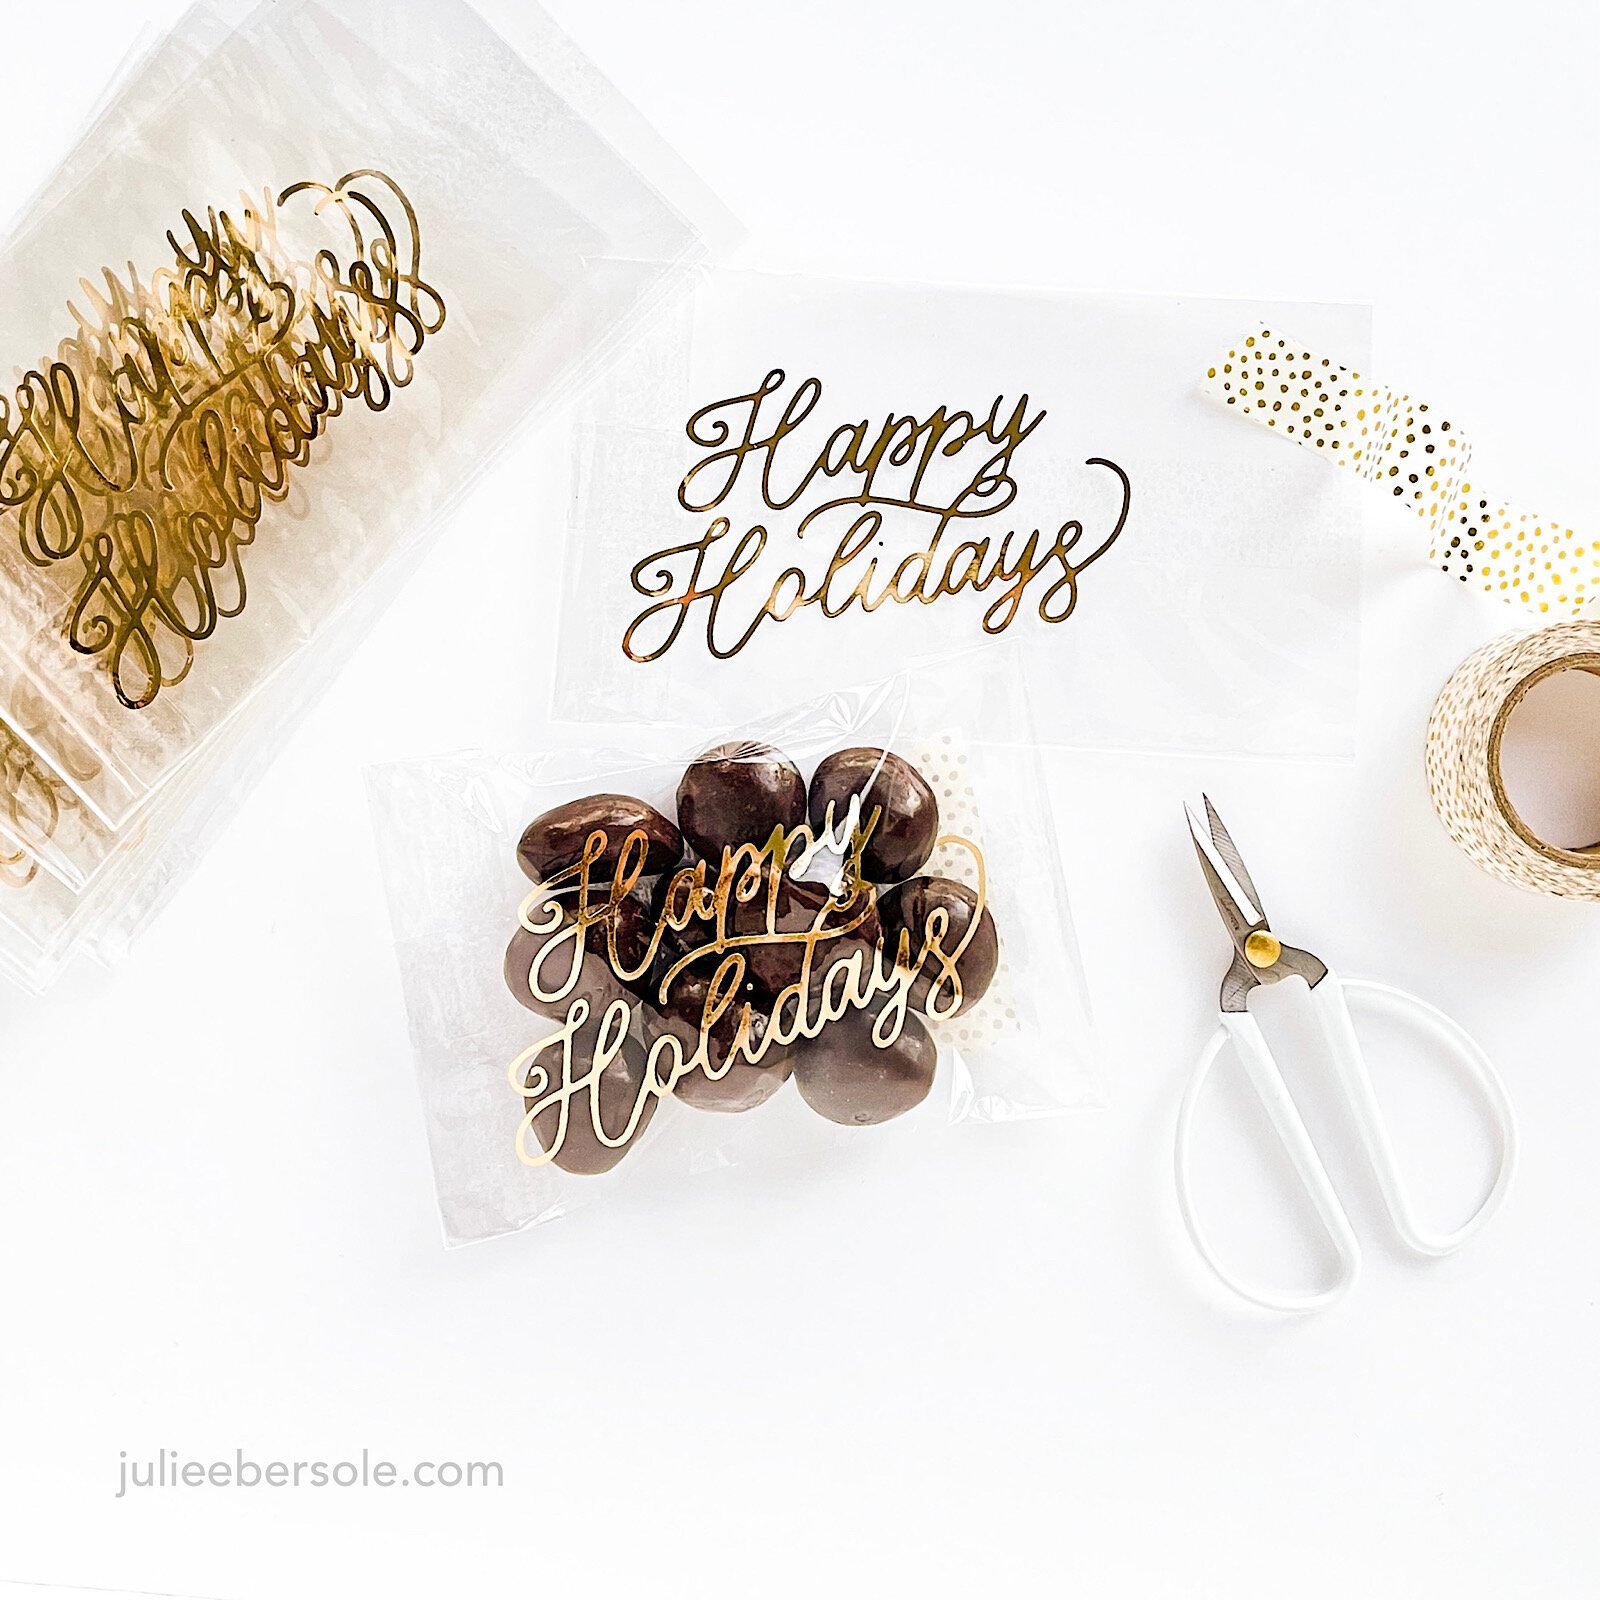
This year will be the one where everything got dipped. In chocolate. Have you ever had dried apricots dipped in dark chocolate? Sinful. White chocolate popcorn? Heavenly. Chocolate coated pretzels—with the fun little sprinkles? Delightful.

How to gift them in a way that feels special and, dare I say it, “upscale”? Today, I’m taking some plain jane cellophane bags and adding gold foil lettering for a gorgeous, high-end presentation and making Martha Stewart proud in the process! •wink• GO, ME!!!

PLEASE NOTE: I am foiling onto crystal clear CELLOPHANE bags NOT Polypropylene bags ).

My Gemini FoilPress Settings:

  • Medium Heat Setting

  • 15 second timer for a medium sized hot foil stamp

  • 110# sheet of card stock for additional shim

TIPS:

  • This method requires heat/pressure activated foils (NOT toner reactive foils ); while you can try other brands of foil, I have found Crafter’s Companion Paper Craft foils to work beautifully and quite consistently with the Gemini FoilPress system.

  • It’s always best to start with the lowest heat setting first and to test the results before proceeding to your project (be prepared to sacrifice a few bags to practice so you can find the settings that work best for your materials and your FoilPress; once you find the secret sauce, write it down and keep it handy. My notes are taped inside my cabinet door where I store my FoilPress ).

  • Slip a piece of card stock trimmed to fit inside the bag; this will improve foil transfer.

  • Removable/low-tack tape makes a great “hinge” for hot foil stamp placement, and anchoring in place to avoid shifting when sending through the Gemini Jr. I’ve been using Purple Tape, but you could also use washi tape.

  • Always allow the foil/cello bag to cool before peeling to reveal the foil.

  • Over-foiling on cello bags is best removed with the dull edge of the FoilPress Magnetic Tweezers or the dull side of scissors blade. (Do NOT use nail polish remover or rubbing alcohol to remove over-foiling on cellophane; it causes a chemical reaction that discolors the bag in a not pretty way. Ask me how I know . . . )

  • Tape residue on the back of your hot foil stamp can easily be removed with rubbing alcohol.

  • After filling your cello bags with a yummy treat, you can use twist ties, pretty washi tapes or possibly one of those heat sealer thingies (I don’t have one those—yet—but I just may have to bite the bullet . . . ).

2020-12-hotfoilstamp-cellobags-002.jpg

I seriously had THE.BEST.TIME foiling these bags! They turned out SO pretty! I’m packaging food, but DANG!!! you could package SO many different kinds of gifts this way!! YAASSSS!!! •fist pump•

My primary source for food-safe CELLOPHANE flat bags is Clear Bags. I also like their gusseted bags. With the Christmas holiday looming, however, they are currently out of stock of some of their most popular size configurations. ACK!!! You can also find cellophane bags on Amazon and big box craft stores that carry baking tools and supplies. You may even discover some vendors on Etsy that offer them ( ? — I haven’t looked but the thought just occurred to me ).

Thanks for stopping by today!


SUPPLIES:

  • Happy Holidays by Julie Ebersole, Essentials by Ellen Hot Foil Stamps - EH

  • Gold, Gemini FoilPress Papercraft Foil Rolls - EH

  • Rose Gold, Gemini FoilPress Papercraft Foil Rolls - EH

  • Silver, Gemini FoilPress Papercraft Foil Rolls - EH

  • iCraft Purple Tape 1-1/2 in X 15 yds - EH

  • FoilPress Machine, Crafter's Companion Gemini - EH

  • Crafter's Companion Gemini Junior EH

Disclosure: Affiliate links used wherever possible; when you purchase via my links I may receive a small commission at no extra cost to you, so please—buy all the things! And, thanks so much for your support!

MAKE A HOLIDAY SHAKER TAG

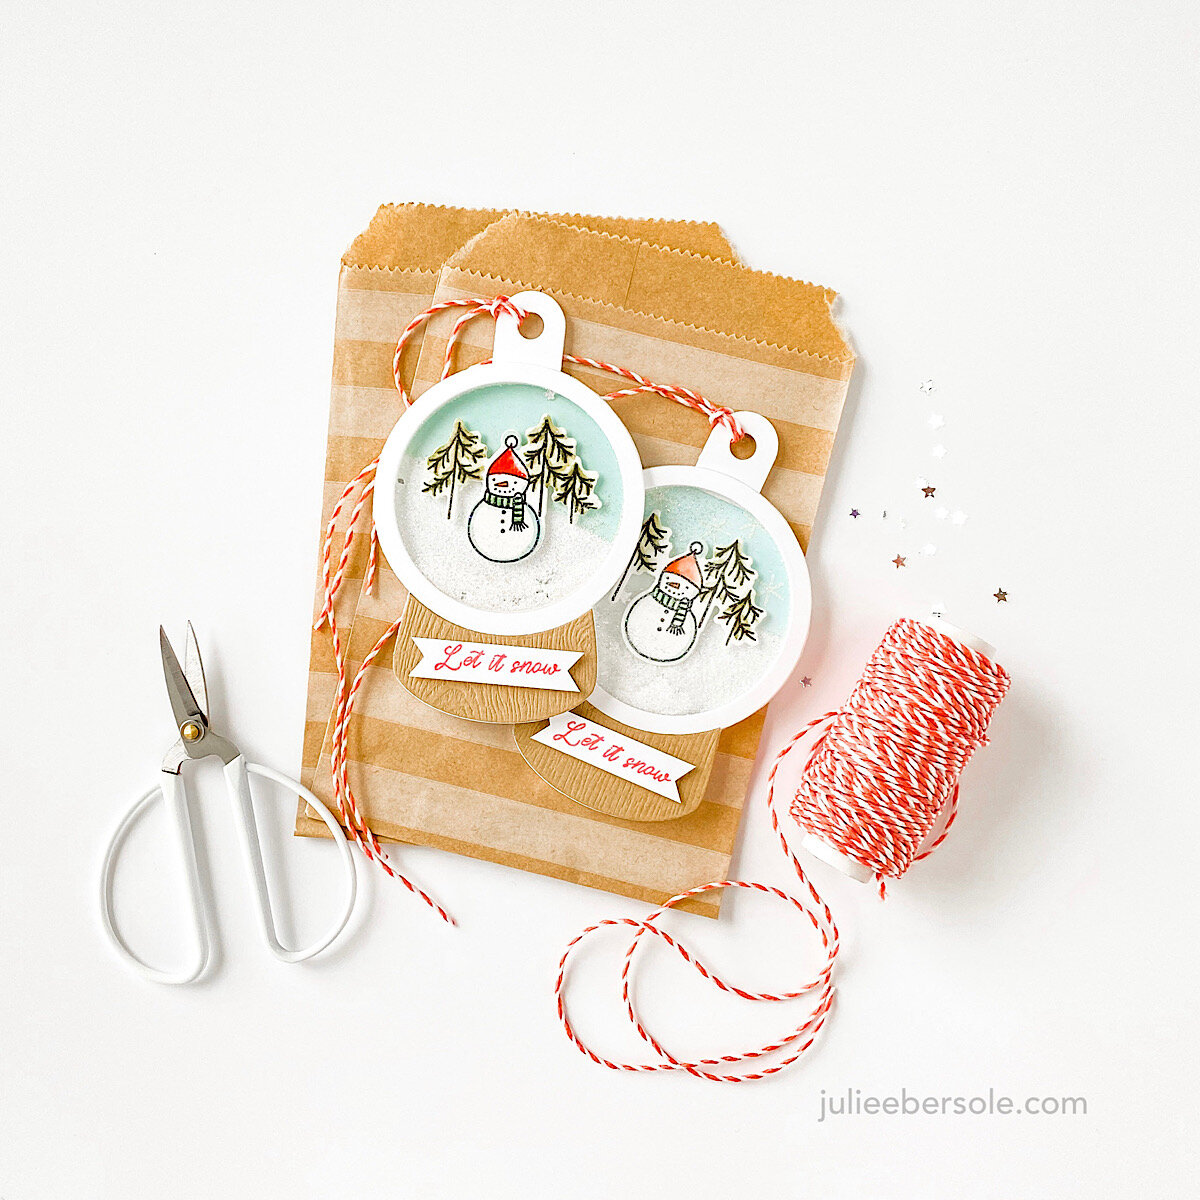
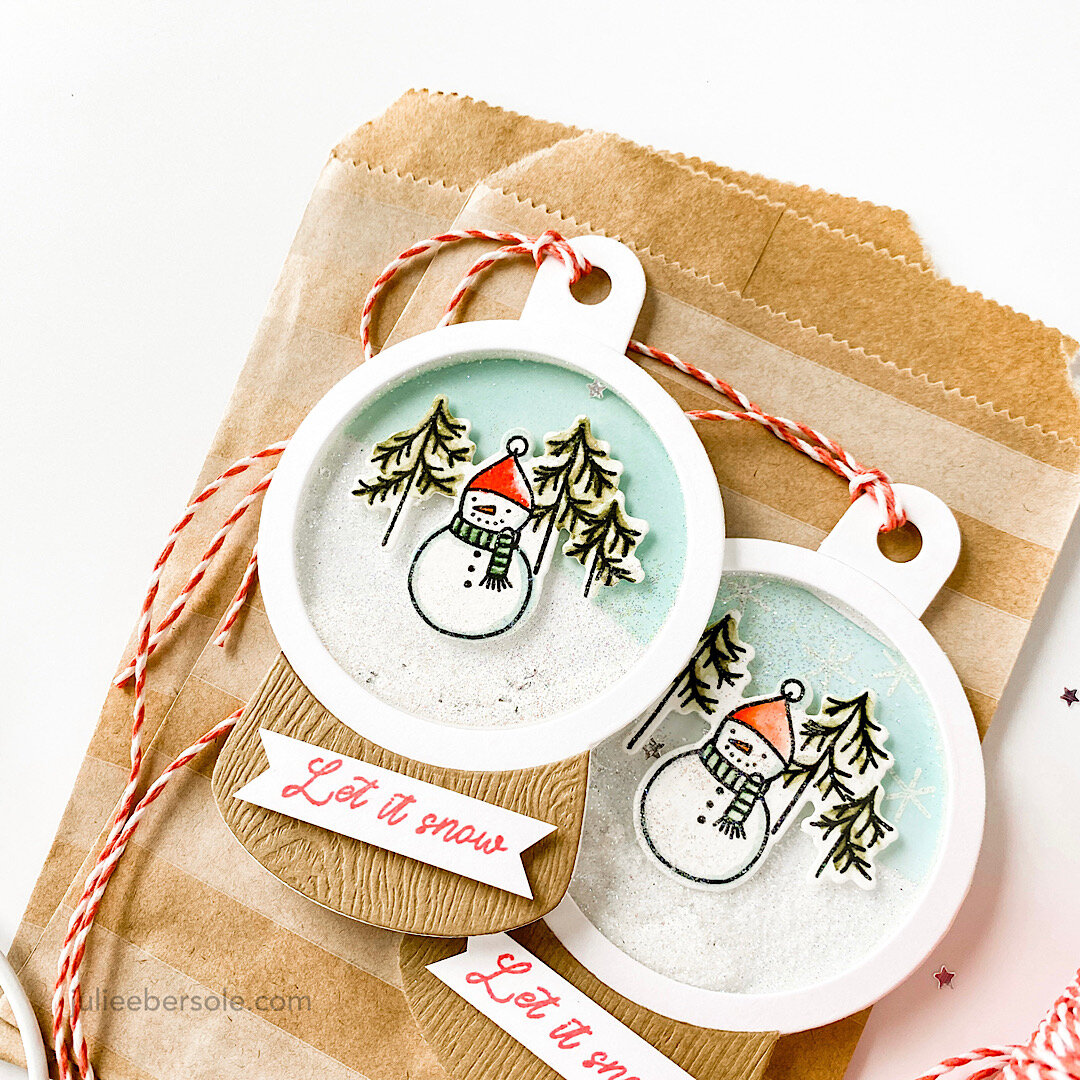
There’s always more than one way to make a shaker, but this one is an easy favorite! I’ve been asked how to get the woodgrain base on the snow globe and it’s honesty very simple, but some things are easier shown than explained, so enjoy the video here or feel free to watch over on YouTube.

I had planned on reserving these tags for adorning my granddaughters’ packages under the tree, but a little 7 year old was giving me those puppy dog eyes and, well, what’s a Nana to do? She caves, that’s what she does. Because they’re made of paper, and she knows she’ll just have to make more when Christmas rolls around . . . •chuckle•

2020-10-05 18.29.28.jpg

SUPPLIES:

Disclosure: This post contains affiliate links; if you see something you like, want or need, and purchase via my links, I receive a small commission, at no extra cost to you, which I use to buy coffee, which fuels my creativity and provides energy to make more card ideas. And, pay the rent.

BEAR COZY KIT

When I was a kid, I used to hand-embroider things like dishcloths, pillowcases and hankies and I had a little box to keep my flosses, needles, bits of fabric and an embroidery hoop. It was the very first hand-craft I can remember trying. (insert happy sigh here)

I’ve been having so much fun with this kit—I made THREE cozies straight away and man, I gotta say that I had forgotten how satisfying and relaxing just doing a simple blanket stitch (totally optional, but, isn’t it purdy????) is! I could makes these guys all day long, seriously! And, they’re just soOOoo stinkin’ cute, I can’t even . . . •all the heart eyes

I added just two simple straight stitches to each of the eyes on my white bear, for eyelashes. And, my brown bear in the background has an even simpler whip stitch around his edges. love LOVE!!!

Here’s a few more details:

The kit is $29.99 and includes the dies, enough felt to make 12 cozies, coordinating embroidery floss, and access to additional digital content. It's perfect for a crafty get together with friends and I already know my granddaughter will want to make a pink bear cozy (pink is her favorite color, naturally!)

It all comes in a reusable, vinyl mesh zippered bag—super handy for keeping everything organized, storage AND for taking on-the-go! I love the fact that this kit is set up for peeps who like to sew and those who don't (various adhesives are listed below)—check out my YouTube video on the Ellen Hutson channel HERE for easy-peasy how-to’s and tips!


I can’t take the cuteness . . .

Have a fab day!