announcement

CARD MAKER SUCCESS SUMMIT + AN ANNOUNCEMENT

ANNOUNCEMENT

In case you have missed previous announcements here on my blog, I’m currently transitioning to Flodesk and going to be ending my Blog RSS feed delivery via MailChimp.

If you’d still like to be notified when I have any kind of news to share or post anything on the blog, please sign up for my email list using the form located at the bottom right of my HOME PAGE (the form will not show up in RSS Feed Emails) , and then you can unsubscribe yourself from the Blog RSS Feed emails without missin’ a beat!

THANK YOU!!!


Just sharing about a FREE upcoming card-making event!

I will be presenting at the Card Maker Success Summit, coming in February! My topic is “Make a Card Using SVG Files and a Cricut Machine”. This is a very beginner-friendly project and includes a free digital cut file I designed so you can follow along with me every step of the way. If you’ve never worked with a Cricut machine, or you’re curious or you actually have one, but, er-umm, still haven’t taken it out of the box yet (not judging!!!) this class will be a great starting point!

You can learn absolutely everything you’d ever want to know about the Summit over HERE, but as a quick overview:

  • The summit will run from February 17th-20th

  • Each day will be packed with amazing speakers who are ready to help you create beautiful, professional hand crafted cards for all occasions that will WOW your friends and family.

  • We’ve got a pop-up Facebook group where you’ll find crafting friends, connect with other card makers, ask the speakers questions, and whatever else we come up with!

  • You can attend the summit absolutely FREE, but you can choose to grab the VIP All-Access Pass at any time. The VIP All-Access Pass will give you an all-inclusive pass to the summit (meaning you get all the videos for life or at least as long as Stamp Me Some Love business is around):

    • On-going access to 30+ presentations

    • 275+ page digital workbook

    • Virtual Card Making Crop over Zoom

    • Premium bonus content from a number of speakers including svg files, courses, free memberships, exclusive discounts and more!

Please note: The VIP All-Access Pass is currently being offered at significant savings right now, and it will disappear for good once the summit is over, so I encourage you to start thinking about it now.

In the meantime, you can click the button below to grab your free ticket!

My fellow presenters and I have been workin' hard behind the scenes to make this a super fun-tastic experience and I hope to see you there! Thanks for stopping by!


Disclosure: This post includes my affiliate link(s). If you use my links to make a purchase, thank you so, so much for your support!

VALENTINE CARD HACK + AN ANNOUNCEMENT

ANNOUNCEMENT

In case you have missed previous announcements here on my blog, I’m currently transitioning to Flodesk and going to be ending my Blog RSS feed delivery via MailChimp.

If you’d still like to be notified when I have any kind of news to share or post anything on the blog, please sign up for my email list using the form located at the bottom right of my HOME PAGE (the form will not show up in RSS Feed Emails) , and then you can unsubscribe yourself from the Blog RSS Feed emails without missin’ a beat!

THANK YOU!!!


On with today’s post:

Created this card (and video) on the Ellen Hutson Blog the other day, linked HERE.

I call it a hack because I have pretty much zero Valentines specific stamps and dies. LOL! Desperate times call for desperate measures, right?! I was feeling quite smug over how this turned out—cuter than what I had in my head. That’s always a win, right?!

HOW TO:

  1. On a panel white card stock (a quarter sheet), make pencil marks 1” apart along the top long edge (starting from the right to the left) and and then along the left short edge starting from the top and working your way down.

  2. Using a score board, align the first pencil mark (remember, you started from the right!) and the lower right corner of the panel along the same groove and deboss (score) a line from the pencil mark to that corner.

  3. That corner will be your “pivot” point as you shift the panel to align the next pencil mark and score another line; repeat until you have all your “sunrays” completed! If that doesn’t make sense, just watch the video I did for Ellen’s YouTube channel.

  4. Trim 1/4” off the top long edge and the left short edge; mount this to the front of a standard A-2 (4.25 x 5.5” when folded) card base made from white card stock. Set aside.

  5. Die cut All The Feels twice from pink card stock and once from red. Glue the die cuts together and onto the card front, creating a “drop-shadow” effect, as shown.

  6. Stamp the hand/heart image from Love Notes using red ink onto pink card stock and die cut; pop up onto card as shown.


BOOM❣️

I love making projects like this—it’s a fabulous way to stretch your supplies and tools!

Hope you get some creative time this week and thanks for stopping by!


5 OF MY FAVORITE ESSENTIALS BY ELLEN PRODUCTS

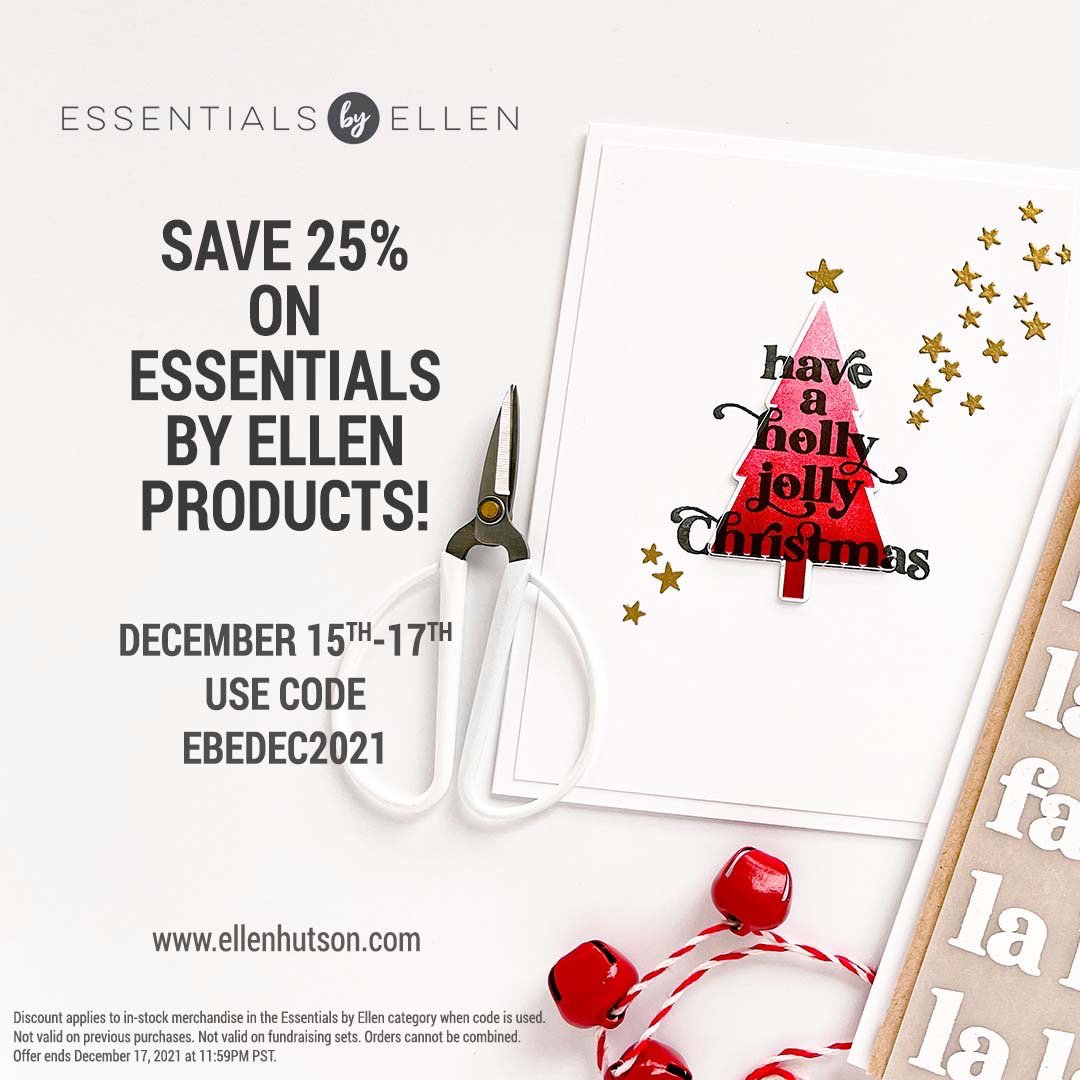
Yup—it’s your lucky day! Ellen Hutson is having a 25% of sale on the Essentials by Ellen product line! My stamp sets/die designs are part of that line, so yes! That discount applies to my exclusive designs, too! Yippee!!! Here’s a direct (affiliate) link to the sale category: Essentials by Ellen

The sale ends December 17th, 11:59pm Pacific and don’t forget to use code EBEDEC2021 at check out!

Aside from my own designs, tho, Ellen’s shop carries a number of other exclusives that are among some of my all-time faves!

5 ESSENTIALS BY ELLEN PRODUCTS I RELY ON:

  • EBE Storage Envelopes - When Ellen first started producing my designs, she asked what kind of packaging I would want, from a crafter’s perspective. I mentioned I’d really love it if they came in storage sleeves/pockets that were so sturdy I could keep and organize them in the same, without the need to invest in something else extra. She nailed it!

  • EBE Crystal Clear Plastic - I use this not only for shaker windows, but also for clear cards, as support for various pop-up mechanisms, making DIY clear overlays, as a mixing palette for watercolor paints and so on and so forth. Sometimes acetate can have a slight haze or cloudiness but not this one; it’s always literally crystal clear!

  • EBE Ebony Black Card Stock - It’s a nice rich black, and at 100# it’s also got a nice heft to it. It’s my go-to black card stock.

  • EBE Teflon Bone Folder - Ellen actually gifted me my first teflon bone folder many years ago; at the time I was skeptical that it being teflon made any kind of difference. I later ate my words, because after my first use it became a tool I can’t imagine being without. It creases my fold lines all buttery smooth, and doesn’t leave a shine on the paper. Truth.

  • EBE 40# Vellum - A frosty but translucent finish that is also weighty enough to serve as a card base. That’s what I’m talkin’ ‘bout.

I can’t say enough good things about the above products—they are/have been long-time staples for me! If you haven’t tried any of ‘em yet, now’s a good time!

Hope your week is going well, and thanks for popping in!


ANNOUNCEMENT

Also, I wanted to give you a heads’ up that I am going to be transitioning to a new email platform; currently my blog’s RSS feed goes out via MailChimp to those of you that signed up. But, how those emails look has always bugged me (like really, really bugged me!), so I’m moving over to FloDesk.

If you’d like to continue receiving updates/news, other yadda yadda via my email list, please sign up! There’s a new form along the bottom right of my site’s home page you can fill out.

If you’re not interested, no worries; I just didn’t want those who are accustomed to receiving that RSS feed via email to miss out when I finish the transition.

Thanks muchly!

ELLEN HUTSON'S ANNUAL 12 TAGS OF CHRISTMAS

Every year, Ellen Hutson hosts the 12 Tags of Christmas, and this year’s theme was Holiday Carols, and you can see my post with all the tips and catch the video at the link above (under the photo). My chosen carol was Holly Jolly Christmas and my friend, and talented fellow stamper, Chari Moss joins me with her interpretation!

Along with the hop there are challenges and a chance to win a shopping spree! You can see all the details there and check out all the gorgeous tags shared by the Ellen Hutson Design Team Members and guests!


For as long as I can remember, my favorite rendition of this carol has always been by the one and only Burl Ives. And, yes, every year I still watch the classic stop-motion animated Rudolph The Red Nosed Reindeer as an adult.

In my video towards the end, you’ll see me reference a great recipe for a cheese log. Cuz I do love me a good cheese log! My daughter brought one to our Thanksgiving Feast and our whole family went bonkers over it and I had to have the recipe! I love that it can be a “make-ahead” appetizer and that is so easy, beautiful, colorful and incredibly yummy! I’m sharing the link to it here: Easy Cranberry Pistachio Cheese Log by Jen, author of Carlsbad Cravings.

I hope this Season finds you able to safely enjoy some in-person time with family and friends! My family LOVES food and FOOD GIFTS are always a huge hit—I’m totally gifting these cheese logs, with the appropriate tag, too. #handmadegiftswithloveforthewin

Happy Holidays!


ANNOUNCEMENT

Also, I wanted to give you a heads’ up that I am going to be transitioning to a new email platform; currently my blog’s RSS feed goes out via MailChimp to those of you that signed up. But, how those emails look has always bugged me (like really, really bugged me!), so I’m moving over to FloDesk.

If you’d like to continue receiving updates/news, other yadda yadda via my email list, please sign up! There’s a new form along the bottom right of my site’s home page you can fill out.

If you’re not interested, no worries; I just didn’t want those who are accustomed to receiving that RSS feed via email to miss out when I finish the transition.

Thanks muchly!


ECLIPSE DIE CUTTING EFFECT

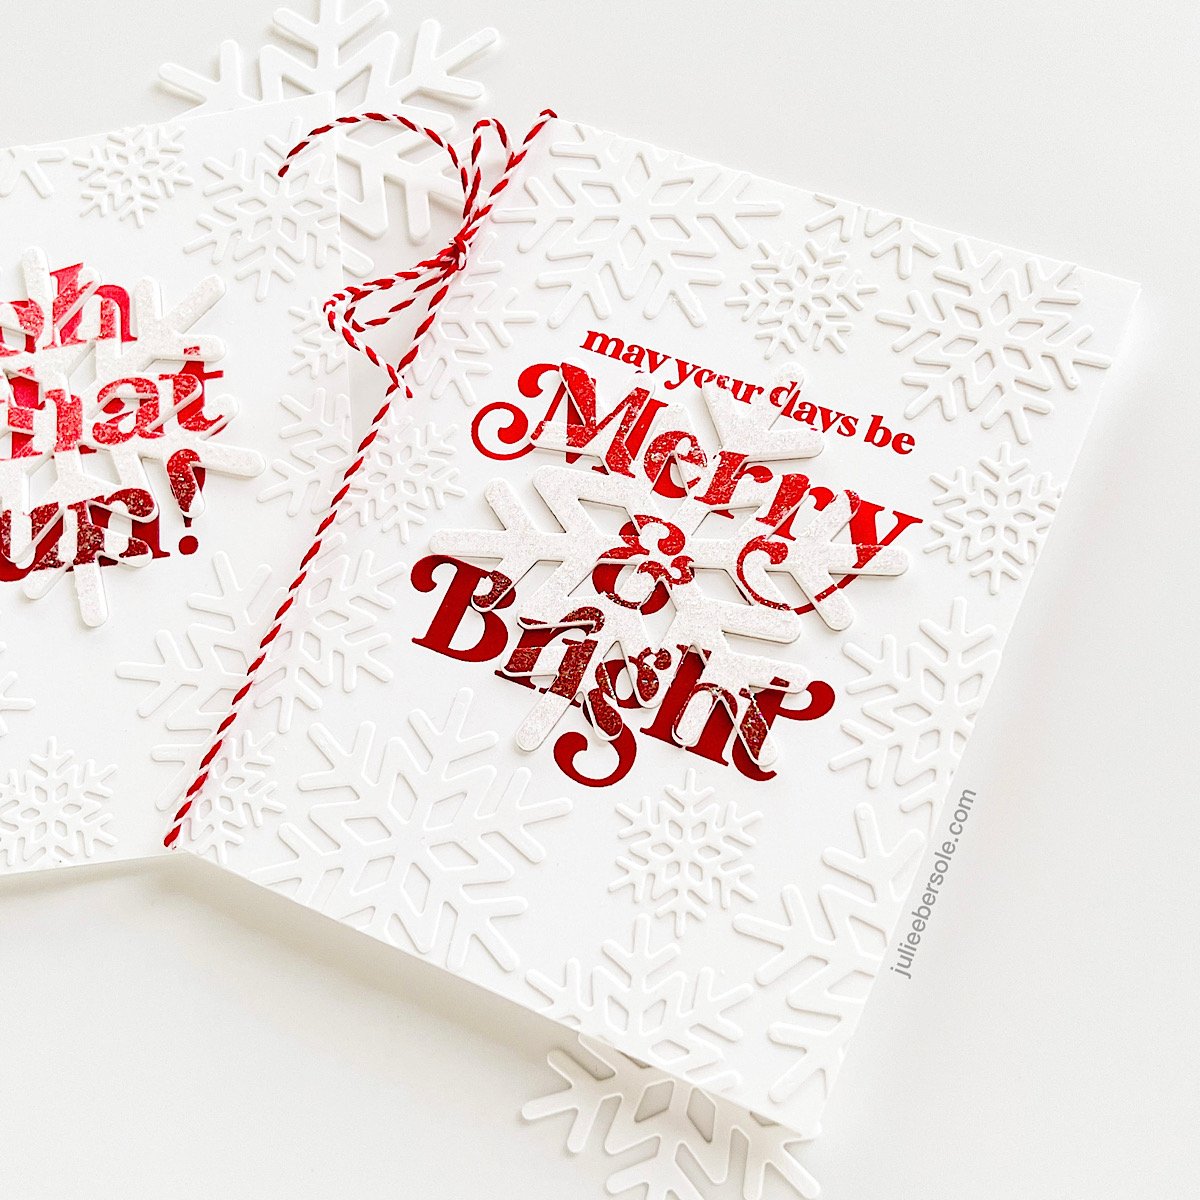
I have seen a number of questions regarding how I achieved the effect on the “Oh What Fun!” card; at the time, I was literally outta’ steam and just couldn’t pull off a video prior to sharing it for the Holiday Release.

Eclipse cards are among my most favorite to make—the technique is simple, not messy, and the end result is one that always seems to fascinate folks. While that’s the focus of my video, I also threw in 2 other techniques that I just happened to combine on these cards, so you’re actually getting a trifecta, LOL! Oooh, go me!

The other two are Ombré Inking, and Faux Embossing Folder (I have no idea if it’s actually called that; it’s what I call it because that’s what it reminds me of), neither of which have to be used in conjunction with the Eclipse Die Cutting, but at the time, that’s the direction the mojo went so I rolled with it. I ended up loving the end result so much I think it was worth the extra time and effort. I wouldn’t necessarily mass produce this type of card, but if I wanted to make an extra special card for someone’s birthday, it is an absolute stunner!

So, would you make a one-off card like this for special occasion? I think something like this would be suitable for a birthday, anniversary, wedding or new baby. If I were making a stack of these, I’d most likely skip the ombré inking and the faux embossing folder effect and just go for the Eclipse.

ANNOUNCEMENT

Also, I wanted to give you a heads’ up that I am going to be transitioning to a new email platform; currently my blog’s RSS feed goes out via MailChimp to those of you that signed up. But, how those emails look has always bugged me (like really, really bugged me!), so I’m moving over to FloDesk.

If you’d like to continue receiving updates/news, other yadda yadda via my email list, please sign up! There’s a new form along the bottom right of my site’s home page you can fill out.

If you’re not interested, no worries; I just didn’t want those who are accustomed to receiving that RSS feed via email to miss out when I finish the transition.

Thanks muchly!