announcement

CLASSES IN SACRAMENTO, CA - MAR 6, 7 & 8

Once a year, I teach live card-making classes at my friend Stephanie Nishikawa’s Paper Garden Boutique. I have two classes I’ve been preparing for that feature some of my most favorite ideas for simple, yet beautiful cards!

Here’s the details:

Paper Garden Boutique
565 Pavilions Lane
Sacramento, CA . 95825
916-487-2737

• PLEASE CONTACT THE STORE TO REGISTER & RESERVE YOUR SEAT •
SPACE IS LIMITED TO 20 ADULTS PER SESSION

tastetherainbow.JPG


TASTE THE RAINBOW - $40

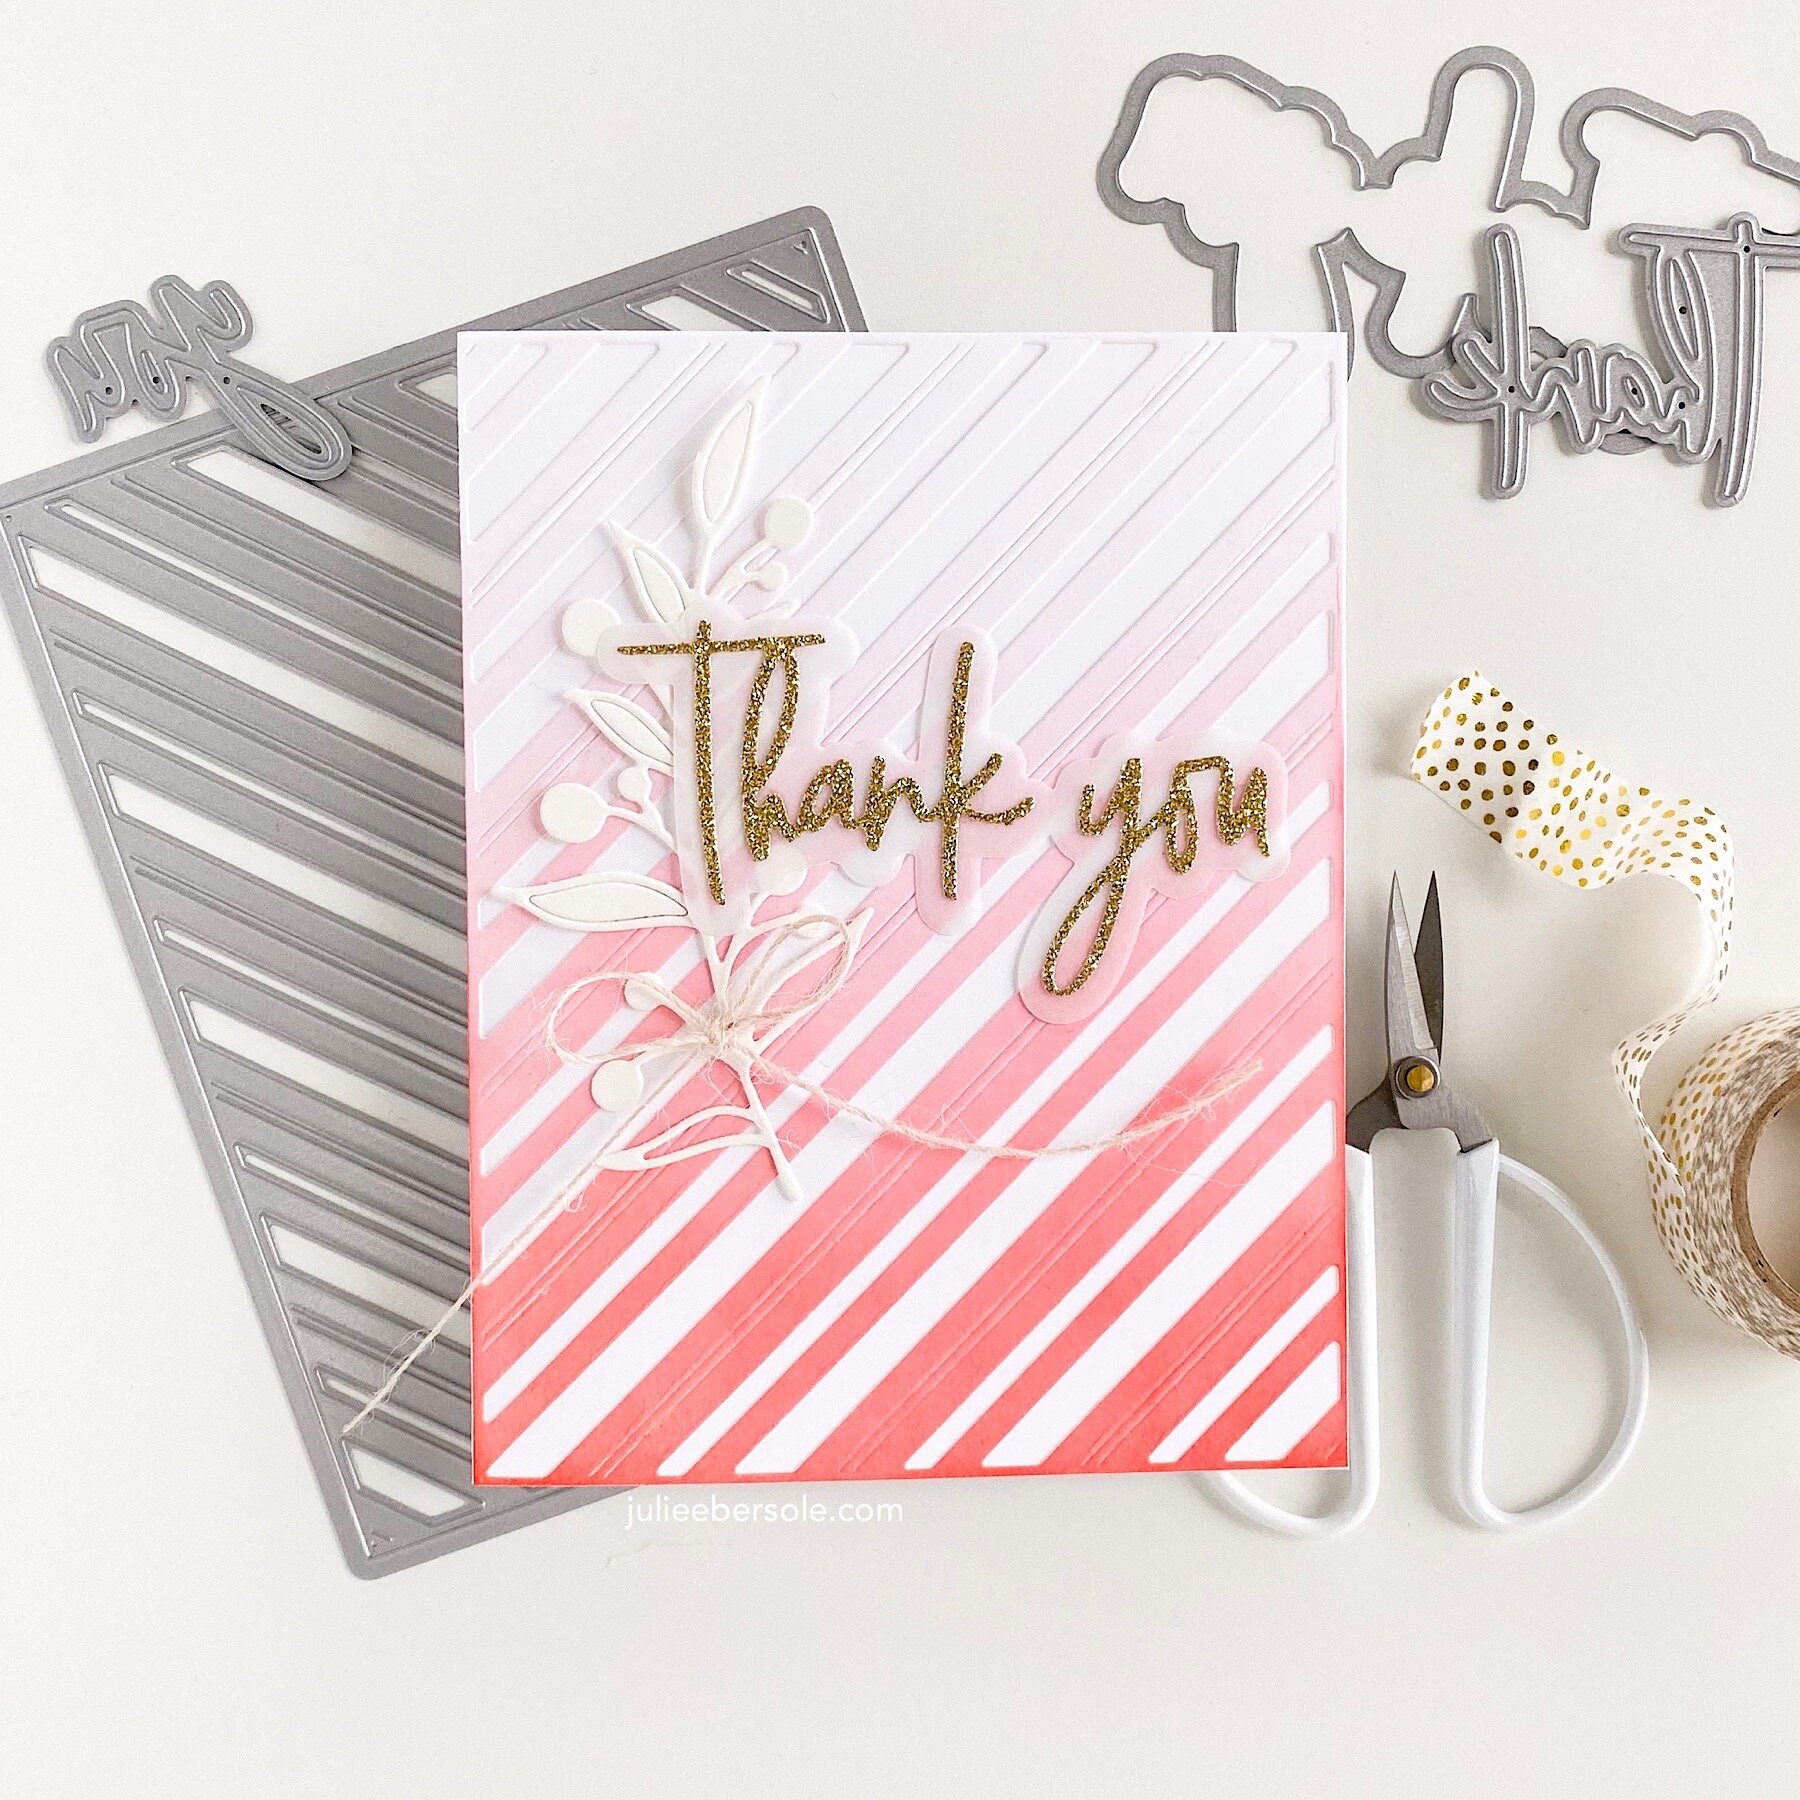
We’ll make a collection of 10 cards with rainbow theme and/or ombré effects. Techniques may include watercolor, ink blending, washi tape, die cutting, some clever stamping tricks/tips, and more! This class is fast-paced, with basic stamping and card-making skills recommended. Please bring your own detail scissors, preferred adhesive and a small paper trimmer.

  • Friday, March 6th 10am–12pm

  • Saturday, March 7th 10am–12pm

  • Sunday, March 8th 10am–12pm

doubleup.JPG

DOUBLE UP - $40

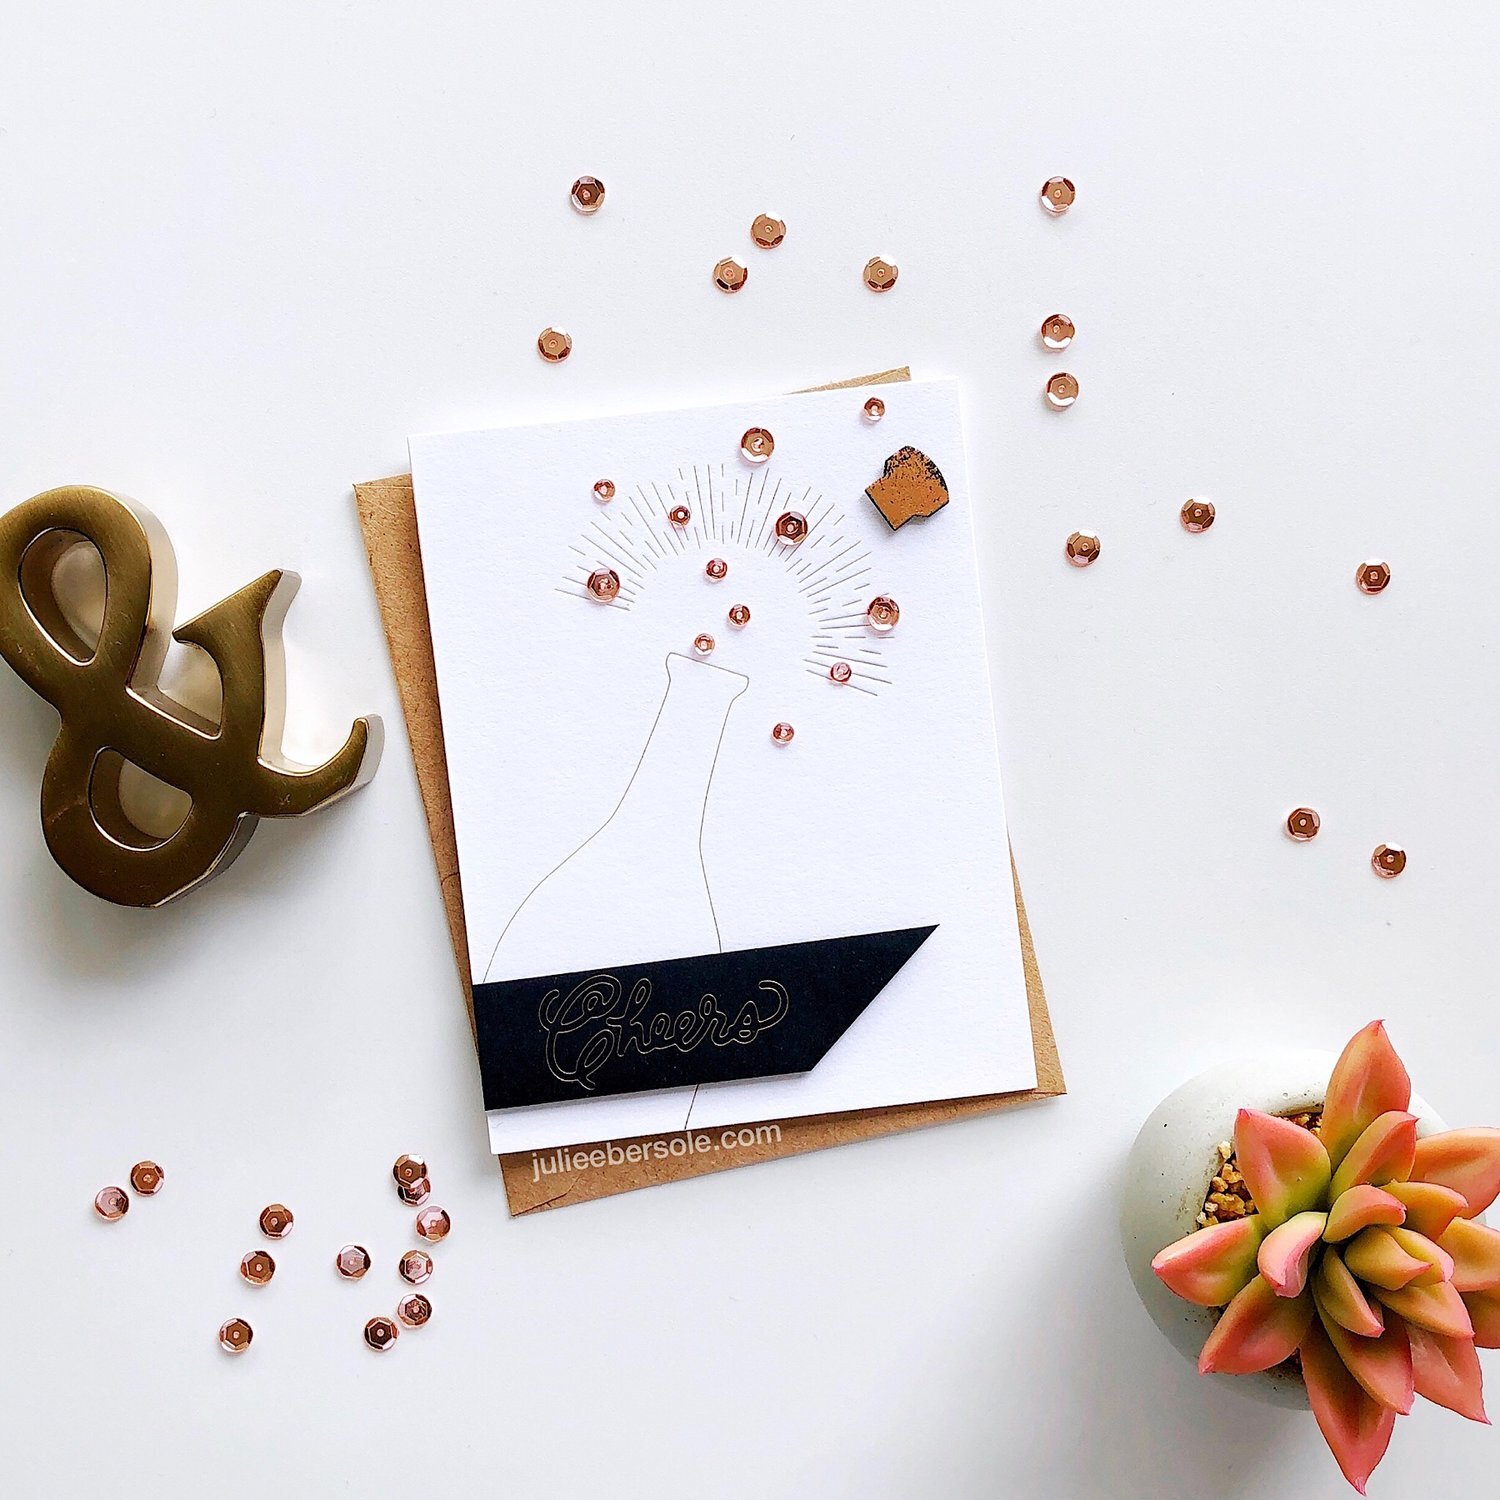
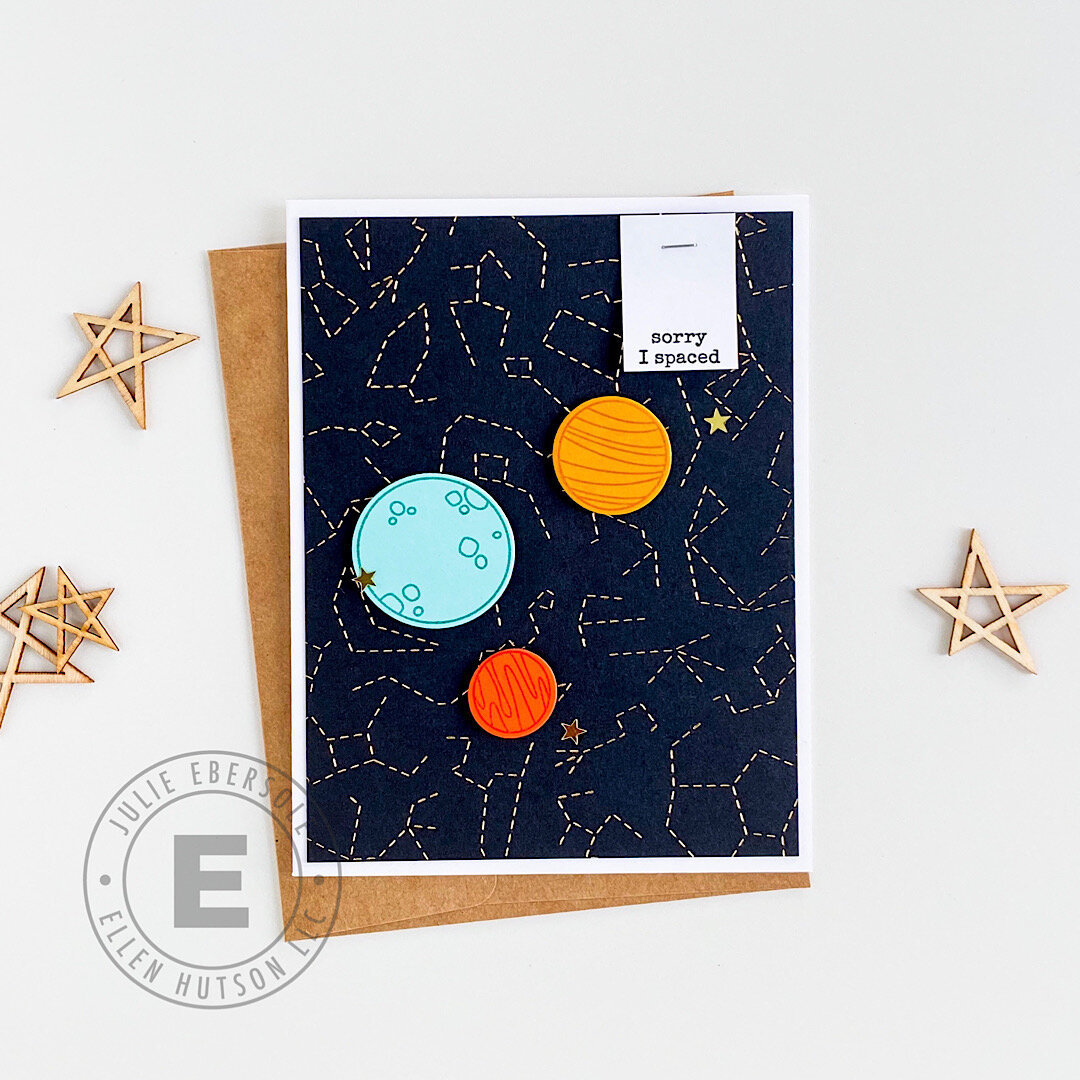
For every featured stamp/stamp set or die, we’ll create two different looks, for a total of 10 cards! Techniques may include Peek-a-boo windows, eclipse die cutting, DIY chipboard, 3D stamping and more. This class is fast-paced, with basic stamping and card-making skills recommended. Please bring your own detail scissors, preferred adhesive and a small paper trimmer.

  • Friday, March 6th 2–4pm

  • Saturday, March 7th 2–4pm

  • Sunday, March 8th 2–4pm

I’m sooooo lookin’ forward to a ton of paper craftin’ fun, plenty of laughs and mondo squishy hugs! If you can join us, I hope to see you there!

FOILING ROUND-UP

I did a foiling project for the Ellen Hutson blog on Monday (photo and video tutorial link at the bottom of this post), and it reminded me of how much I love the look. Today I’m sharing a round-up of various foiling projects I’ve done over the past year.

Before you scroll down my "foiling memory lane” •chortle•, I did want to mention a few things.

There are many different ways to foil, and a lot depends on the end result you’re looking to achieve and the tools you’d like to use (:

  • Foil card stock and Foil tapes

    • Great for quick die cutting, simple borders or layering panels, etc.

  • Dry adhesives + transfer foils

  • Toner images (laser printed) or special toner paper + reactive foils + MINC or heat laminator

    • Reactive foil brands include Minc (Heidi Swapp), ThermoWeb I-craft Deco Foil, and WOW!, to name a few.

    • Toner, combined with heat + pressure, causes a chemical reaction that serves as an “adhesive” for reactive foils; reactive foils will not fuse to inkjet printed imagery.

    • Works best on smooth/non-textured and thinner card stocks/papers.

    • Fine lines/details may not foil well; reactive foils tend to perform best with bolder images/text.

  • Hot foil (metal) stamps OR low profile dies + hot foils + Gemini Foil Press / Spellbinders Glimmer Hot Foil System

    • Hot (stamping) foils are designed to fuse to surfaces by way of heat + pressure (not toner).

    • Hot foil brands include Crafter’s Companion and Spellbinders Glimmer Foil, to name a few. FYI: Crafter’s Companion produces a “paper craft” foil, and a “multi-surface” foil (i.e. fabric, ribbon, leather, etc.); each is specifically formulated to perform best on their prescribed surfaces.

    • Hot foils work best with metal “stamps” (also known as foil press dies, hot foil plates, foil impression dies, etc.) as well as low profile dies (Yup! Those thin metal dies you normally cut paper with work spiffy!). Watch any videos I’ve linked for more information and details.

    • Hot foiling with this method also yields a beautiful de-bossed, Letterpress effect.

    • Works well with textured card stocks/papers and will knock your fine stationery-loving socks off when done on Letterpress paper.

I own two foiling “systems”, the MINC and the Gemini Foil Press, compatible only with the Gemini Jr / Gemini die cutting machine) and I alternate between them and the other methods I’ve described, depending on the end result I want, and the tools/supplies available to achieve it.

Ogle on . . .

Link: DIY Foiled Letterpress, includes video tutorial and overview of the Gemini Foil Press System.

Link: DIY Foiled Letterpress, includes video tutorial and overview of the Gemini Foil Press System.

Sidebar: I’m gonna straight up confess to you that I’m most partial to the hot foiling method because I am an absolute sucker for Letterpress; gives me the vapors! •heart palps•

Hope these projects inspire and if you find the foiling bug has bitten you, be aware that you can snag 20% savings on in-stock supplies at Ellen Hutson now through January 17th, with code supplies 20 at check out!

Happy foilin’!


Affiliate links are included in this post; if you purchase via my links, it doesn’t cost anything extra and I receive a small commission. Thank you so SO much!

HEADS UP! PAPER CRAFT SALE

The Essentials by Ellen 25% off select items sale is going on NOW through Jan 1st 11:59pm PT. Sale applies to the EBElove category (click HERE for to go straight there) and you must use code EBElove25 at check out to get the discount.

Happy treat yo’self!


Affiliate links included in this post; if you shop via my links, it doesn’t cost you anything extra—not one smidge—and I receive a small commission, for which I thank you most profusely.

PINKFRESH STUDIOS DECEMBER ESSENTIALS 3

How about some Pinkfresh Studio eye candy? I’m hopping along with the Pinkfresh gang today and have some samples I created with a few dies from their Essentials 3 release!

At the bottom of my post you’ll find details about Pinkfresh Studio’s giveaway and promo so be sure to read the details after checking out these creations:

Feat. Fancy diagonal stripes (PFS) | Other: Essentials: Classic Words Set, Pinkfresh Studio Dies (PFS / EHLLC*)

Feat. Fancy diagonal stripes (PFS) | Other: Essentials: Classic Words Set, Pinkfresh Studio Dies (PFS / EHLLC*)

Need a sweet thank-you for those lovely holiday gifts you received? You can ink blend any color you like onto card stock prior to die cutting, but a lovely shade of red reminds me of candy canes, LOL!

The branch die I used as an accent is retired, but a similar one here would also work well!

Feat. Radiating background 1 (PFS) | Other: Essentials: Classic Words Set, Pinkfresh Studio Dies (PFS / EHLLC*)

This radiating background die is SO fun—with a circle in the center, you can use the opening to create a shaker! Filled mine with teeny star confettis—Gold (similar HERE), Clear Iridescent*, Rainbow Iridescent*

Feat. Teardrop tag with fillable elements (PFS) | Other: Aviary, PinkFresh Studio Clear Stamps (Retiring) (PFS / EHLLC*) ; Aviary, Pinkfresh Studio Dies (Retiring) (PFS / EHLLC*)

This tag die has a sweet teardrop shape and different semi-circle designs you can inset—for this card, I just used one of the semi-circle designs to knock out a window style backdrop behind the birdies. (Finished card is a 4-bar and measures 3.5 x 5”)

Feat. Diagonal Stitched squares (PFS) ; Fillable tag with pocket (PFS) | Other: Fruitastic, PinkFresh Studio Clear Stamps (Retiring) (PFS / EHLLC*) / Fruitastic, PinkFresh Studio Dies (Retiring) (PFS)

With little eyelet/lace pattern options, a pocket and peek-a-boo opening, you can make all kinds of darling tags! I think the diagonal stitched square layer compliments it well and gives this card such a fresh look!

••• PRIZE INFO •••

Pinkfresh is giving away the full Essentials 3 Release on the Pinkfresh blog and on their IG feed

And, they’re giving me a $25 gift card to give away to one of you lucky devils! The winner will be chosen from the comments on this post, so please leave some love! (grin)—and don’t forget to visit the hoppers on the roster below for more opportunities to win.

Winners will be posted on Monday, Dec 16th on the Pinkfresh Studio GIVEAWAY PAGE. Please check that page and claim your prize within 2 weeks.

TODAY’S HOP ROSTER:

You are invited to the Inlinkz link party!

Click here to enter

Thanks for stopping by and may the odds be ever in your favour! (wink!)


*Affiliate links within this post are marked with an asterisk; when you shop via my links, I receive a small commission.

BIG SCRIPTY THANK YOU IN GOLD

TWO THINGS: A share. And a sale.

THE SHARE:

Saw something similar on Pinterest, went agog, had to emulate. I. LOVE. IT.

big-scripty-thankyou-gold-001-2.JPG

Full disclosure—I used a small leafy branchy stamp from a favorite Flora & Fauna set to stamp some accent images using a soft yellow ink. I traced over them with a gold gel pen and then doodled the remaining leaves. The monoline strokes were actually drawn using the shadow die from that set as a guide. When you don’t have a gel pen AND ink pad in a matching shade of metallic gold, you have to wing it. YAASSSS, QUEEN!!! (monkey clapping and bouncing up and down rather vigorously)

Seriously, I love this card so much I could marry it. Gives my minimalist heart the vapors!!!

THE SALE: ↓

CLICK THE GRATITUDE GRAPHIC ABOVE TO GO STRAIGHT TO THE GRATITUDE19 CATEGORY—DON’T FORGET TO ENTER THE CODE AT CHECK OUT!

CLICK THE GRATITUDE GRAPHIC ABOVE TO GO STRAIGHT TO THE GRATITUDE19 CATEGORY—DON’T FORGET TO ENTER THE CODE AT CHECK OUT!

There are bargains galore in that section—and keep your eye on items marked “retiring”; once they’re gone from the shop, they’re gone foh-evvaaaah! Hope you find some treasures!