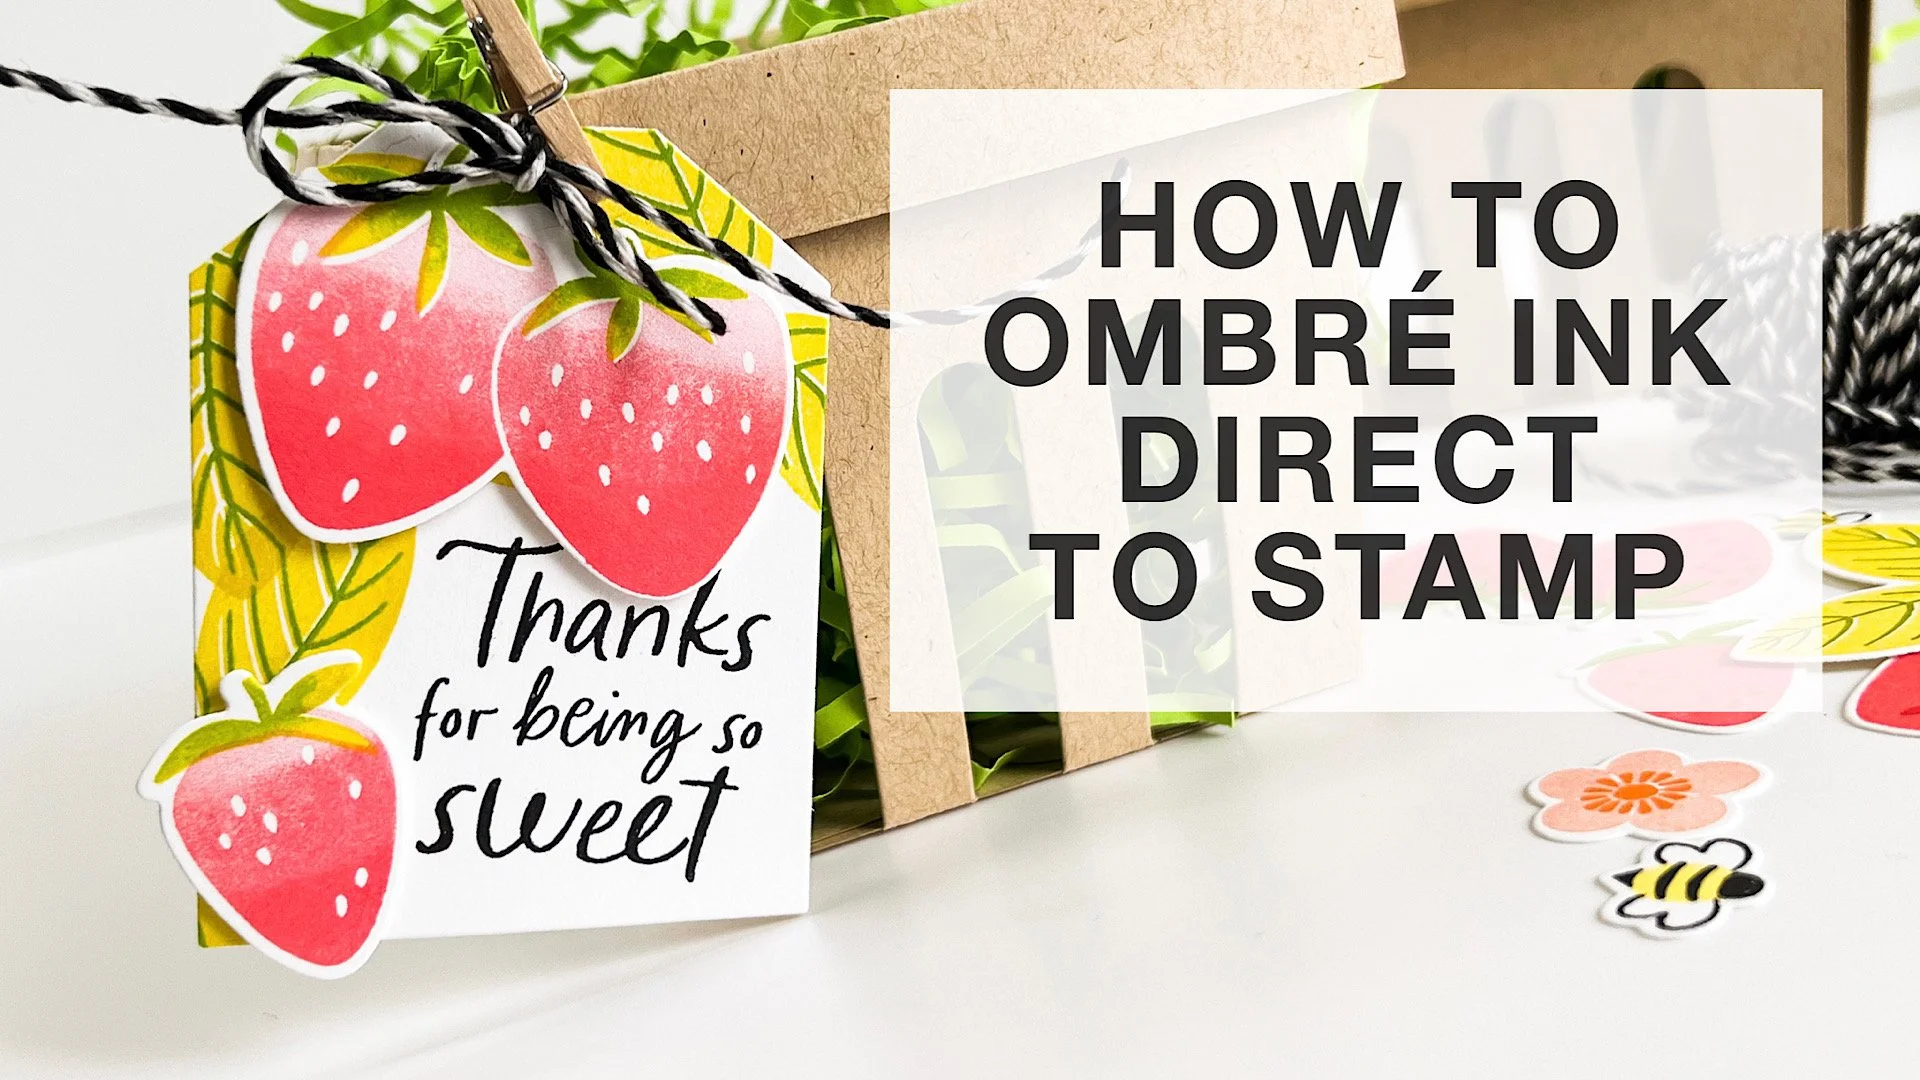
That beautiful variegated or ombré ink effect is a wonderful look when combined with solid stamps. You can achieve it by blending ink colors directly on the stamp surface! I’m working with water-based dye inks and using a MISTI positioning tool; for this method, a positioner is key to being able to stamp precisely over the original impression multiple times.
VIDEO
HOW TO:
Select 2-3 shades of ink in the same hue, ranging from light/pale to dark (for really large stamps, you may want 3-5 variations of ink color, but for stamps the size used in this project, 2 is plenty).
Ink stamp with lightest color first and impress to paper; if mass producing and die cutting images out, try my suggestion of trimming quarter sheets of card stock even further down into smaller pieces so you only have to rotate those pieces and not reposition the stamp in order to maximize the paper.
Use the darker color to ink only a portion or a side of the stamp where you want shading or deeper color.
Use a blending tool, like the Little Smoothie, to rock or pounce the rounded end of the sponge across the edge of the ink to soften. Stamp over original impression.
Repeat Step 4 as often as desired.
Highly contrasting colors of ink may require you to clean the stamp before switching colors to avoid cross-contamination of ink pads.
All the beautiful shades of ink pads out there make this one of the easiest methods for achieving “multi-colored” images, especially when working with solid stamps!
Thanks for stopping by!
SUPPLIES:
Strawberry Fields by Julie Ebersole, Essentials by Ellen Clear Stamps - EH
Strawberry Fields by Julie Ebersole, Essentials by Ellen Designer Dies - EH
Berry Basket by Julie Ebersole, Essentials by Ellen Designer Dies - EH
Shipping Tags by Julie Ebersole, Essentials By Ellen Designer Dies - EH
Solar White - 25 pk, Neenah Classic Crest Cardstock - EH / SB
New & Improved Mini MISTI Laser Etched Stamping Tool (6-1/8 X 7), My Sweet Petunia - EH
Midnight, Avery Elle Hemp Twine (EH) / Doodlebug Black Twine (SB)
Platinum 6 Die Cutting And Embossing Machine, Spellbinders Tools - EH / SB
Disclosure: Affiliate links to the products used in my projects, that I like and use may be included; I make a small commission when you purchase via those links, at no extra cost to you. Thank you for all your support!


