Disclosure: I include affiliate links to the products used in my projects and make a small commission when you purchase via those links, at no extra dimes to you. Thank you.
VIDEO

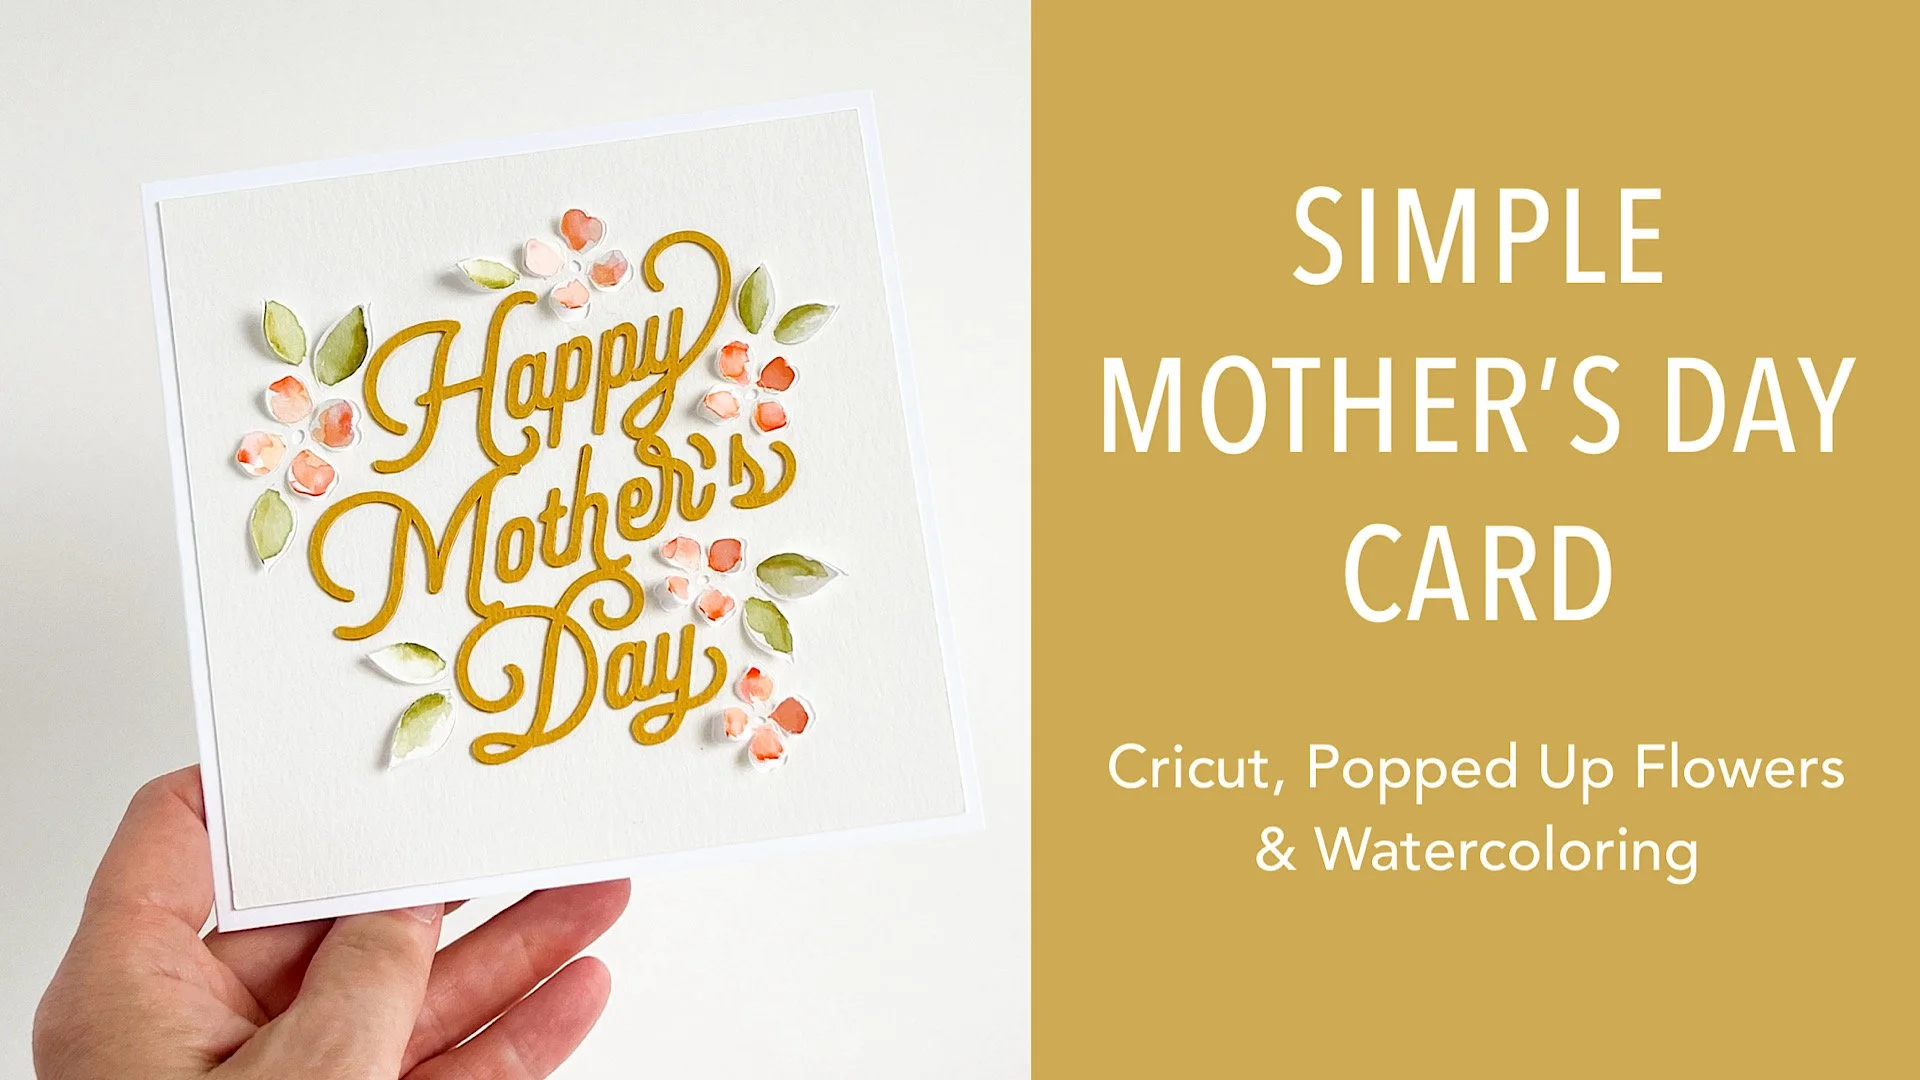
I don’t know anyone that doesn’t appreciate flowers. This design is a fun way to incorporate dimension and watercoloring, but it did take me some time (many test cuts/prototypes) to perfect it. As far as cutting and assembly goes, I do have some tips that I figured out that I think would be helpful to anyone—but in particular, someone new to digital cutters.
Cutting machines, such as the Cricut, are somewhat constrained in how intricately/delicately they can cut paper materials. Much is dependent upon sharpness of blade, the quality and thickness of the paper, the way the fibers are bound together, how much cotton is in the fibers, etc.

As a general rule of thumb, the heavier the weight of the paper/card stock, the more difficult it is for the machine to achieve clean cuts with intricate and/or small designs. Every machine (even among the same brand and model) is calibrated slightly differently; settings that work for me and my machine should be used as a starting point for you to develop and tweak to suit your machine.
For the above design, I used three card stocks types, with these settings on my Cricut Maker:
140# Watercolor Paper → Poster Board
80# Precision Card Stock by Park Lane (American Crafts Precision is identical) → Card Stock for Intricate Cuts
80# Neenah Solar White (for the 5” square base card) 🚫 Cuts terribly on a digital machine; use a paper trimmer to make your base cards and low profile metal paper craft dies to die cut shapes with a manual die cutting machine, like the Spellbinders Platinum 6 or an electric machine, such as the Gemini Jr.
TIPS:
The Cricut Maker is capable of using an optional Fine Tip Debossing Tool* that actually works better than the scoring stylus or the scoring wheel; well worth the investment, especially on thicker or textured papers! Anything you want to score make sure to change the operation in Design Space from a basic cut to DEBOSS. (Design Space automatically assumes every line is a basic cut when uploading SVG files.)
ETA 04/30/24 If you’re working with an Explore (Air) Series or you have the Maker but don’t want to purchase the Deboss Tip, you can accomplish the same thing using the Scoring Stylus; watch a video about that HERE.
To make faux chipboard from intricate cuts, cut multiples from 65-80# card stocks and glue them together; you’ll achieve much cleaner cuts; intricate designs cut from 100# card stock or heavier are better suited for a laser cutter.
Use clean, sharp blades; use the plunger end of the blade housing to push the blade out to inspect and remove any debris or bits stuck in there. If the blade is gunked up, use alcohol prep pads to remove adhesive. If the blade tip is broken off or dull, replace the blade (they cannot be sharpened). If you cut vinyl or other materials, reserve a blade for paper and the other for vinyl, etc. to help extend the life of blades.
Brand new Standard Grip mats may be too sticky at first; neutralize the tack a little by patting clean hands against the surface. It will help prevent tearing when removing the paper after the cut.
Purchase back-up mats; it can save you time if you load different colors of card stock onto separate mats and have them ready to go.
Use a brayer to make sure paper is secured to mat with no air gaps; you can use a scraper, but I find it doesn’t work quite as well and it can sometimes scratch/scar the material surface.
Make sure cutting mats are clean; no debris or bits of material on the surface.
Always flip your cutting mat over and curl/roll it away from paper materials to avoid curling/warping paper.
Position images towards the bottom of the cutting mat whenever possible; when the cut finishes, do NOT press the unload button; instead check first to ensure the cuts are complete. If not, press the paper back into place on the mat and hit the “C” button again. The machine will run through the cut a 2nd time in exactly the same position. If you unload the mat and then decide to re-run the cut, you will not be able to line it up in the exact same position due to a 3% margin of play on the feed guides.
Clean Color Real Brush Markers: Apply quick swipes of color and avoid coloring completely; use a waterbrush to blend the colors to create a painterly effect.
Does any of this written info help? I never know whether or not to include it. Personally, I prefer written instruction over video, any day of the week, unless it is impossible to describe with words, LOL!
SUPPLIES:
Neenah Solar White, Classic Crest 80# Card Stock (for 5” square card, cut with paper trimmer)
Waterbrushes (built-in reservoir) -
Pin Pen -
Brayer -
Alcohol Prep Pads (for cleaning blades) -