Disclosure: I include affiliate links to the products used in my projects and make a small commission when you purchase via those links, at no extra dimes to you. Thanks muchly!
BROTHER SCANNCUT SDX125E (affil link)
I design all my SVG (Scalable Vector Graphic or .svg) cut files using vector software, such as Adobe Illustrator or Affinity Designer. I can export my designs directly from software like this to SVG format, which is compatible with Cricut's Design Space, Silhouette Studio's Designer Edition (paid upgrade) and other cutting machine softwares that are compatible with SVGs.
Many of you may own a Cricut (affil) digital cutting machine, as I do; it's currently the most prominent hobby cutting machine for crafters because it's most likely the easiest for novices/those less tech savvy to learn and use. But a number of you may own or have recently acquired a Brother ScanNCut (affil). The ScanNCut is unique within the industry in that it is currently the only hobby cutter with a built-in scanner, making “Print Then Cut” functions, such as sticker-making, considerably easier.
While the Brother ScanNCut is considered a stand-alone machine that doesn't necessarily require a computer to operate, it uses a proprietary file format called FCM (or .fcm) to communicate with the machine. To use an SVG cut file with the ScanNCut, it must first be converted to FCM. You can do this using Brother's Canvas Workspace software, which is available for FREE. You can either download it (MAC or PC) or use the online version/browser version; you'll need to register for a free account as well.
TIP: The downloadable software is more powerful/has more features than its cloud/browser based counterpart. I highly recommend downloading and learning it to get the most out of your ScanNCut. You can also purchase software upgrades (similar to Silhouette Studio) to access even more features.
I'm sharing how to use the free, downloadable software to convert any SVG file to FCM. Please bear in mind I am not a ScanNCut expert and I purchased my ScanNCut CM350 nine years ago; it has since been discontinued. Granted, I haven't used it since I purchased the Cricut Maker (OG, not the Maker 3) four years ago and I can only assume there have been updates to the software. I haven't used the cloud version, but I suspect the process is similar?
In this instance, I figured a video tutorial would be most helpful:
Important things to note with Canvas Workspace:
Be aware that Canvas Workspace always imports an SVG file UN-grouped but sometimes at the incorrect size; BEFORE making any adjustments, follow the steps in the video to group all layers together and then resize accordingly; if you cannot determine the grouped file's proper size, you can use Cricut's Design Space (create a free account; paid subscriptions are only for their Access Library filled with design/project files and includes extra software features) and upload the file there to find out the dimensions. Design Space always imports SVGs as grouped, making this an excellent hack for confirming file dimensions. Once the grouped file has been properly sized, you can ungroup all the layers and manipulate each one individually.
While most SVG designers, myself included, usually create our files in color, Canvas Workspace will often import the entire SVG file in black. I don't know why. It is up to the user to determine the colors for all the layers/shapes.
Initially it will appear that all the pieces/layers are not there. This is because they are stacked on top of each other, in the order that the designer intended, and all black. But, if you click on the layers panel on the right menu, you will be able to see all the pieces are indeed there and you can move and rotate each piece individually to fit within the 11.5 x 11.5" maximum cutting area (12x12 mats; 11.5x23.5" for 12x24 mats) and maximize the space. Any layers/pieces that extend outside the maximum cutting area (which is indicated as a red outline) will not cut.
Solid score lines, while present and evident in the layers menu are often not actually visible until you apply a "line" color (not a "fill"; there are two options for applying color) to them in the properties panel, which really helps! These lines can also be converted to dashed cut lines, and then be grouped to their corresponding cut layer so that these operations will occur where they are supposed to in relationship to each other.
MY WORKFLOW FOR CONVERTING SVGs to FCM FILES:
Create a new empty folder on my desktop; name it similarly as the SVG file. This will be my "project" folder where all the FCM files specific to this design will be organized; makes everything easier in the future.
Import the SVG and once it's on the Canvas, without altering/moving anything, group ALL layers together; double check grouped file size in Cricut Design Space, and if necessary, resize file accordingly.
Ungroup all layers, then select and apply desired "fill" colors to each layer/shape. Apply "line" colors to score lines for visibility (I usually use primary blue, as most designers indicate score lines in that color)
Convert solid score lines to dashed cut lines and group to corresponding layer/shape.
Pick a color to start laying out/prepping for conversion. As an example, I'll start with white. Using the layers panel, I will HIDE (using the eyeball icon) all layers/shapes that are NOT white.
Arrange all white layers/shapes within the maximum cutting area (the red outline), taking care that none of them overlap each other.
Export to FCM, to the project folder on my desktop, giving it a distinct name, i.e. white-snow-layers. (It will give you a warning that all of the hidden layers will be excluded in this export; this is what we want.) The ".fcm" at the end of the file name should populate automatically upon export.
Now hide all white layers/shapes on the canvas, and UN-hide the next set of layers/shapes that are all the same color, such as "light green", repeating Steps 6-7.
Repeat the process with each color until the whole SVG file has been converted to FCM files, separated by color.
Now you can transfer the FCM files to your ScanNCut for cutting, using one of the following methods shown on Brother’s website HERE.
Once you develop a workflow, you’ll be able to speed through this fairly quickly; having your layers sorted and saved by color inside your project folder should make it much easier and faster for reproducing.
Happy crafting with SVG files and your ScanNCut!
Julie
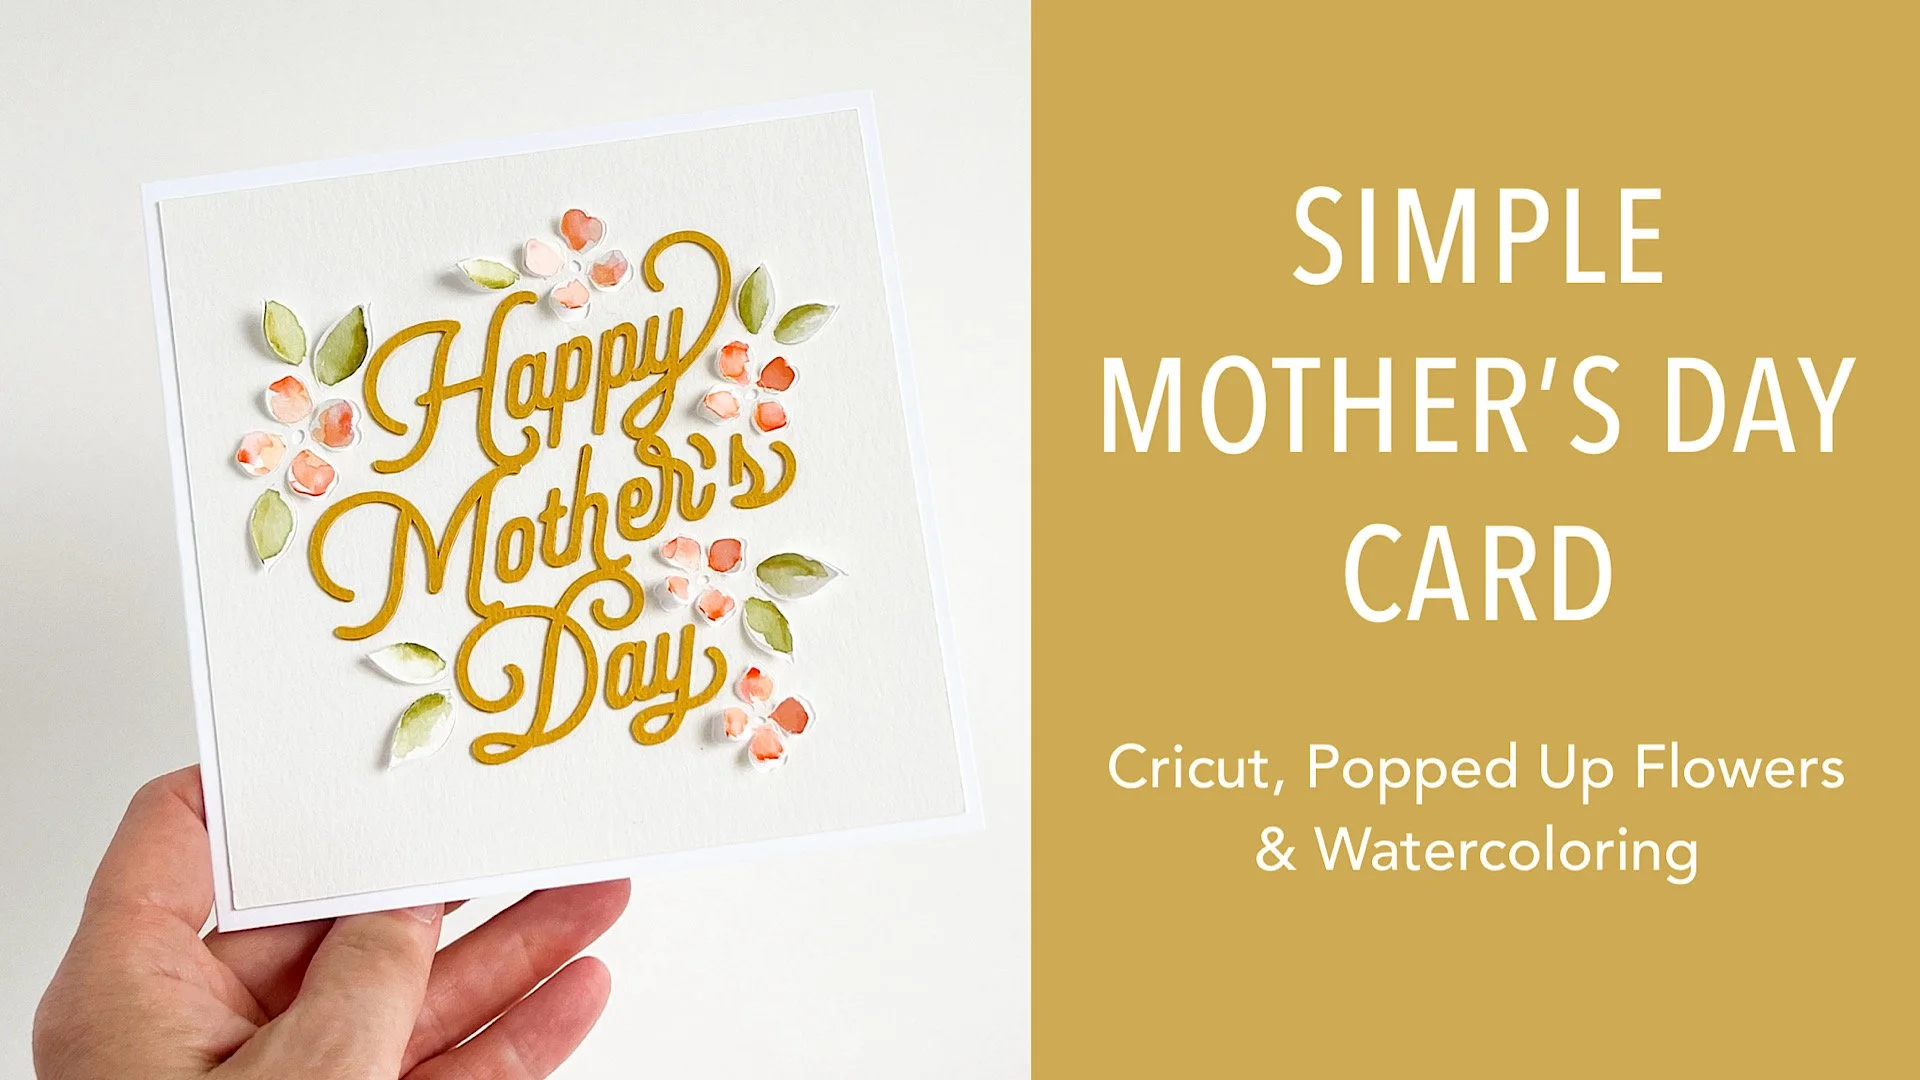
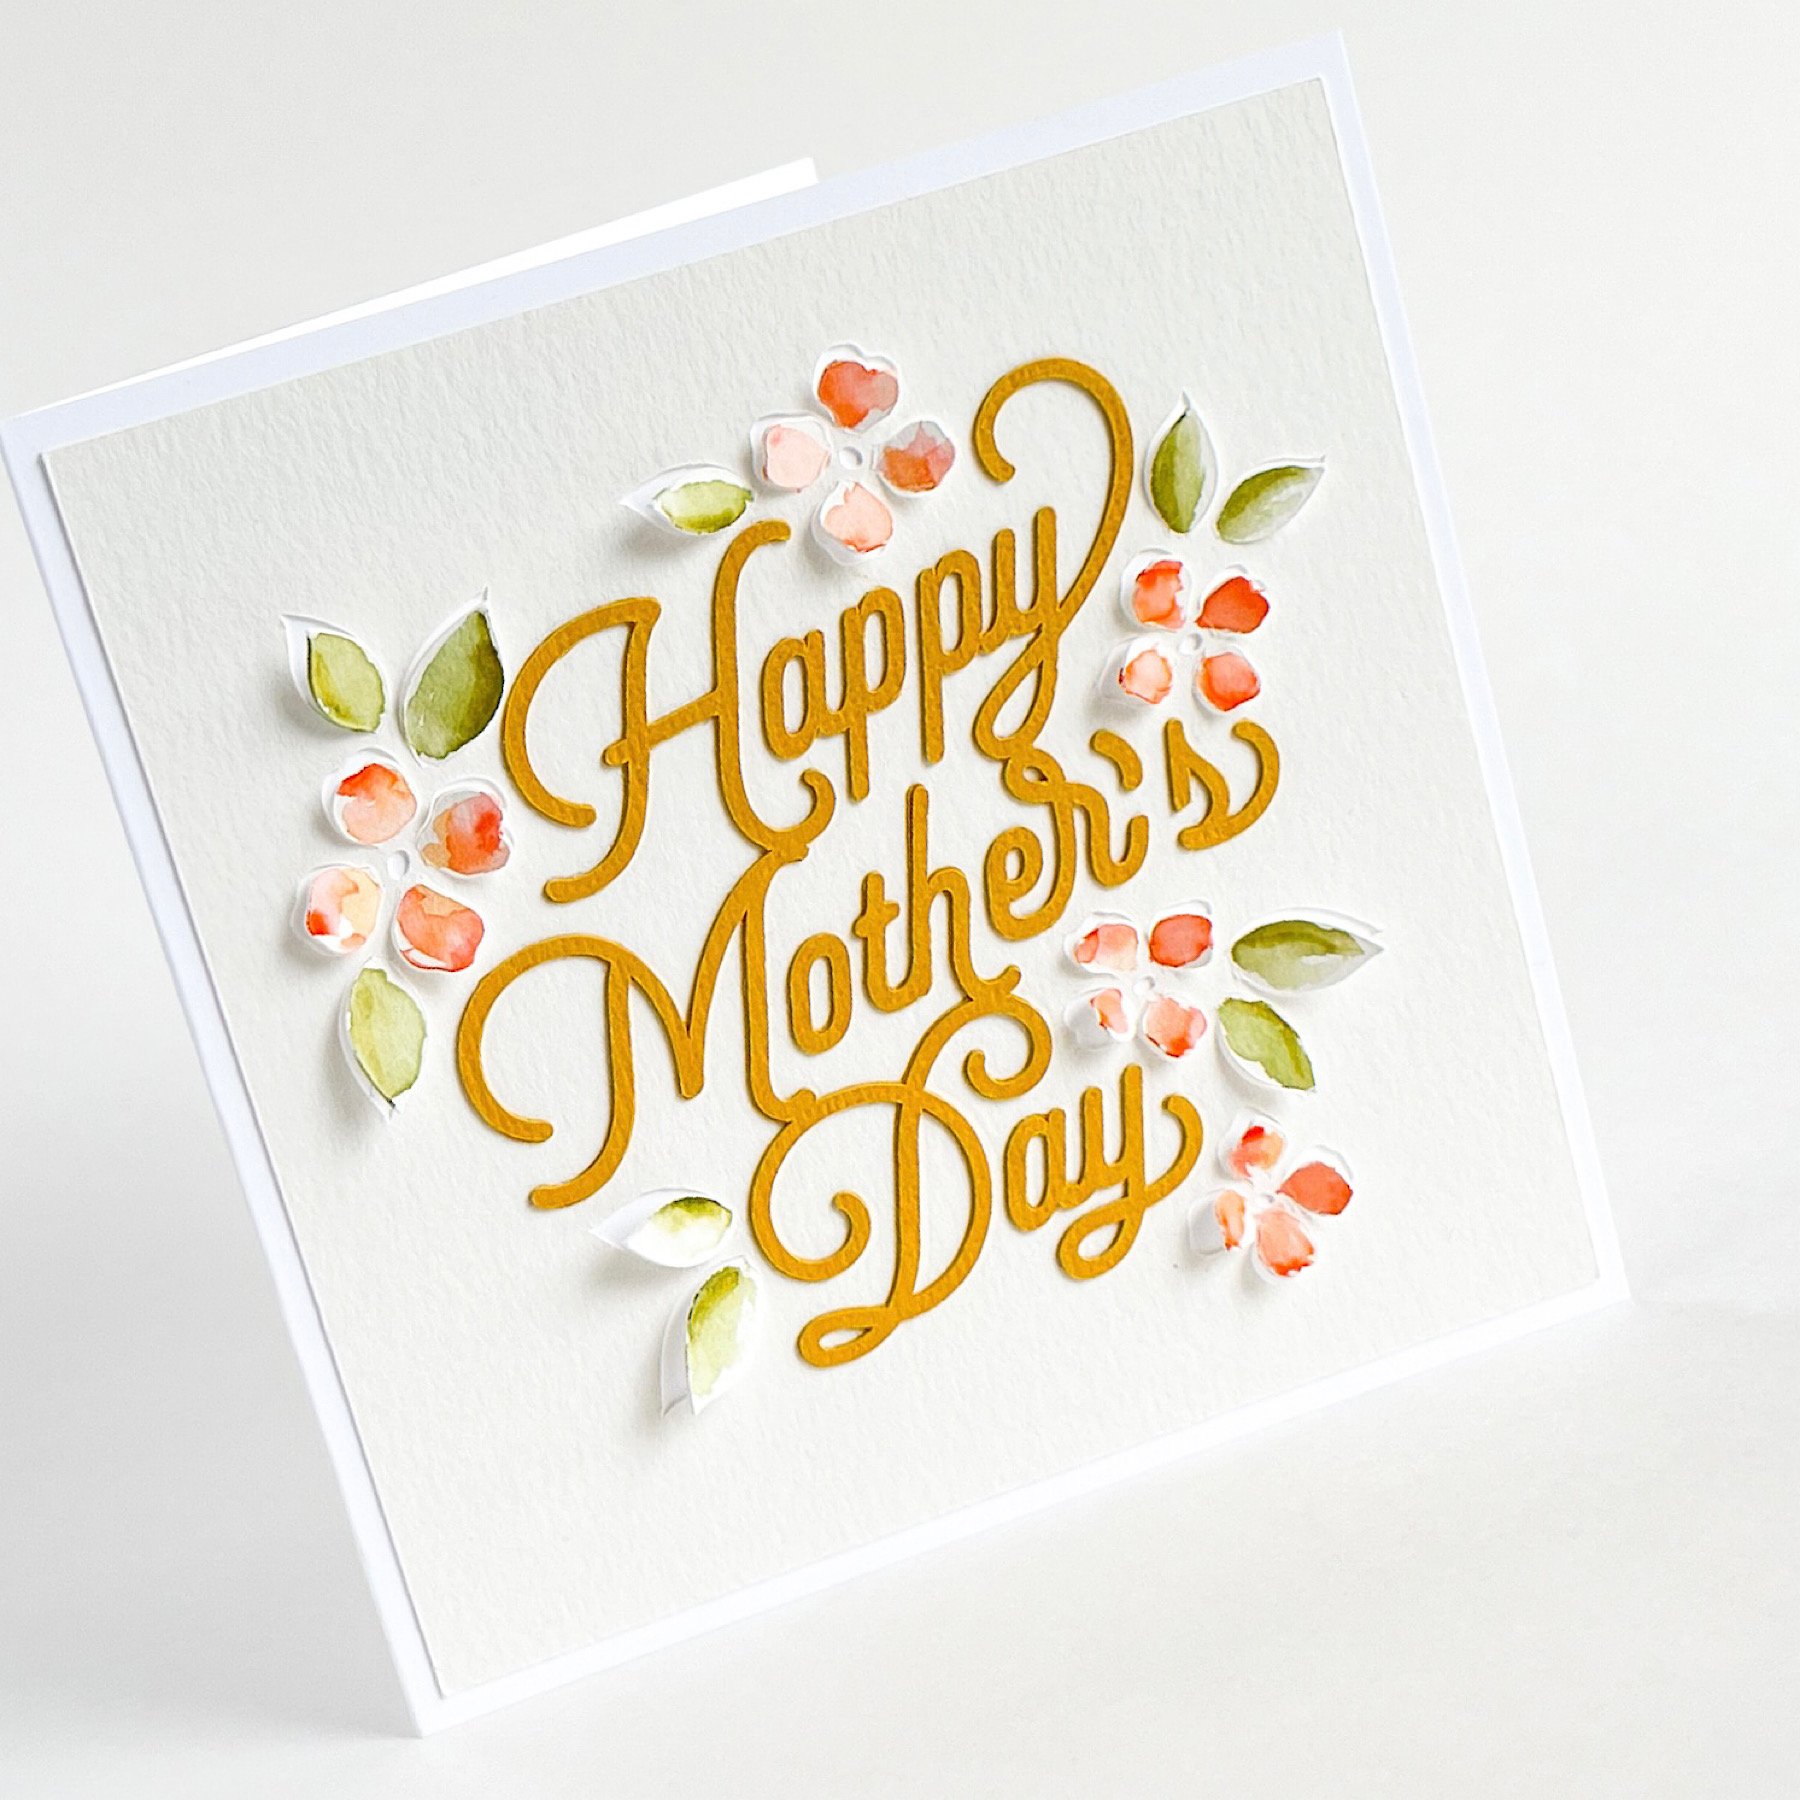
If you’re interested in the SVG file shown in the video to demonstrate or either of the two machines, thank you for using my affiliate links.
BROTHER SCANNCUT SDX125E (amz. affil)
CRICUT MAKER 3 (amz. affil)


